— Gallery

Recent work, grouped by service.

Browse completed projects by the type of work you need.

— Drywall Repairs & Patching

Drywall repair & patching.

Holes, cracks, and damaged sections cut out, taped, mudded, sanded, and finished to match the surrounding wall.
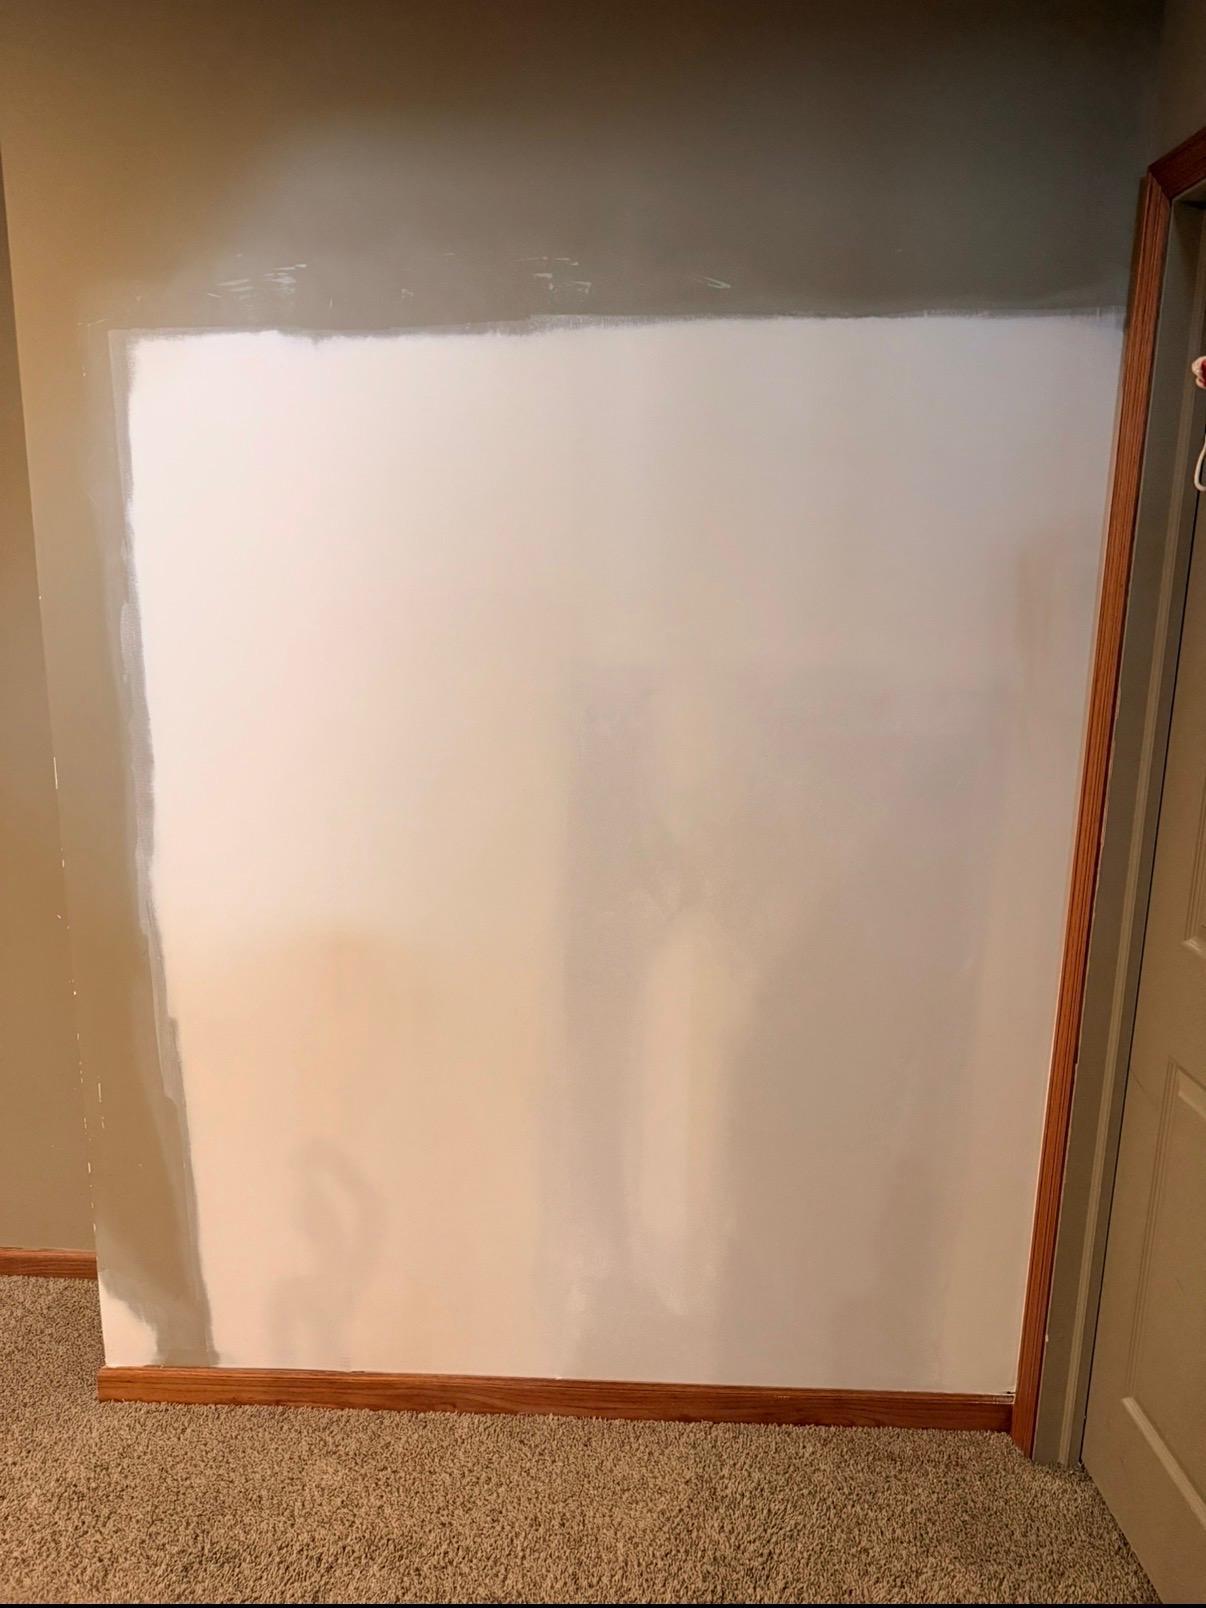
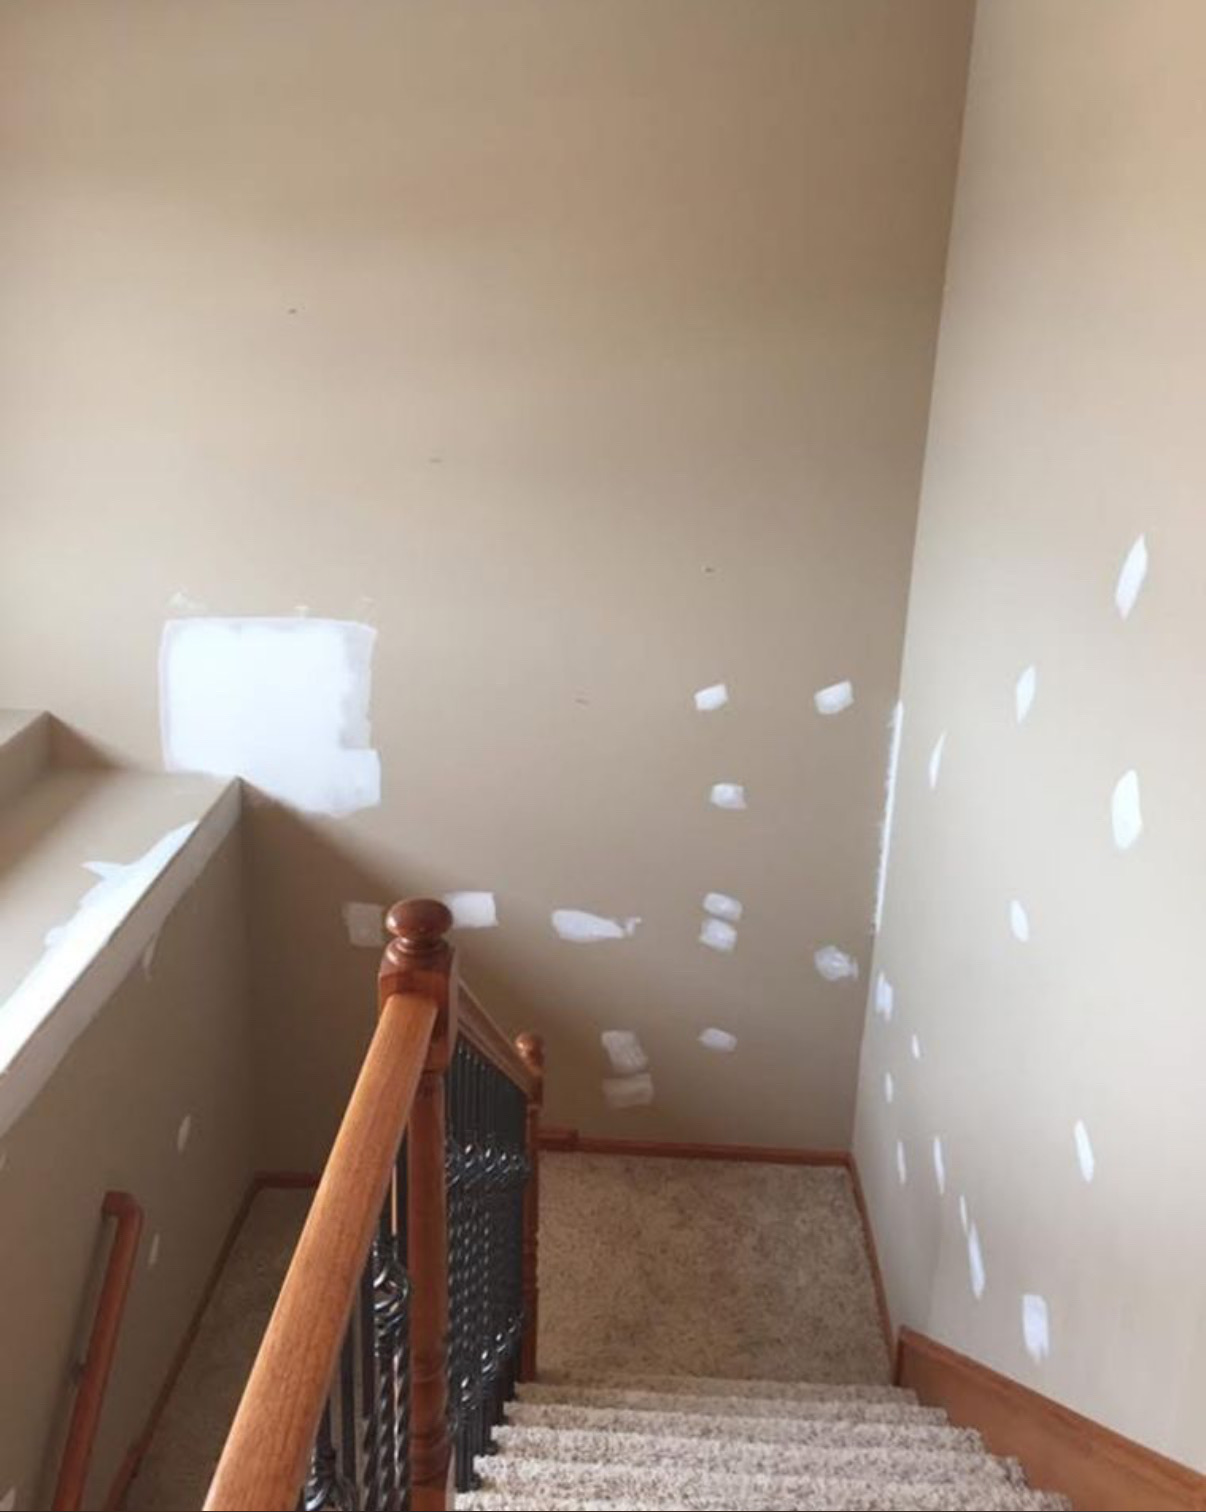
Large wall section patched, taped, and skim-coated to paint-ready
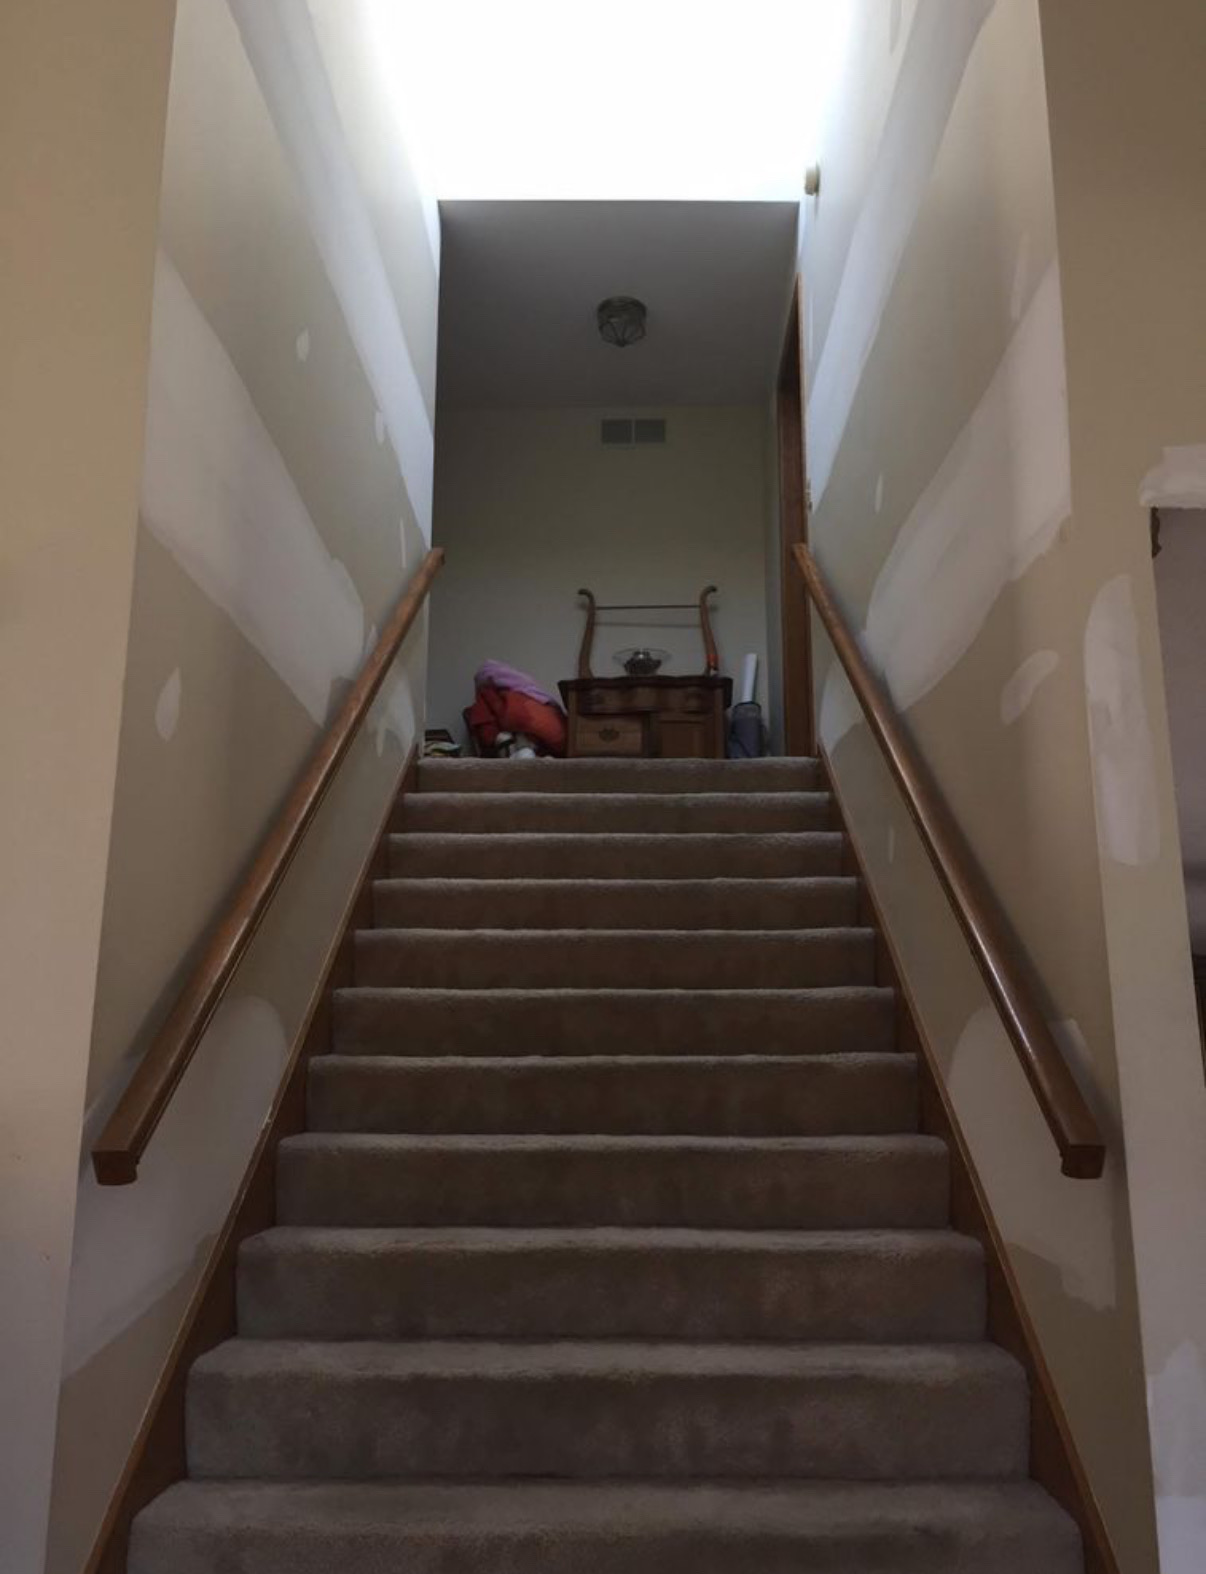
Tall stairwell with multiple patches mudded ahead of paint
Stairwell walls fully mudded and sanded — paint-ready finish
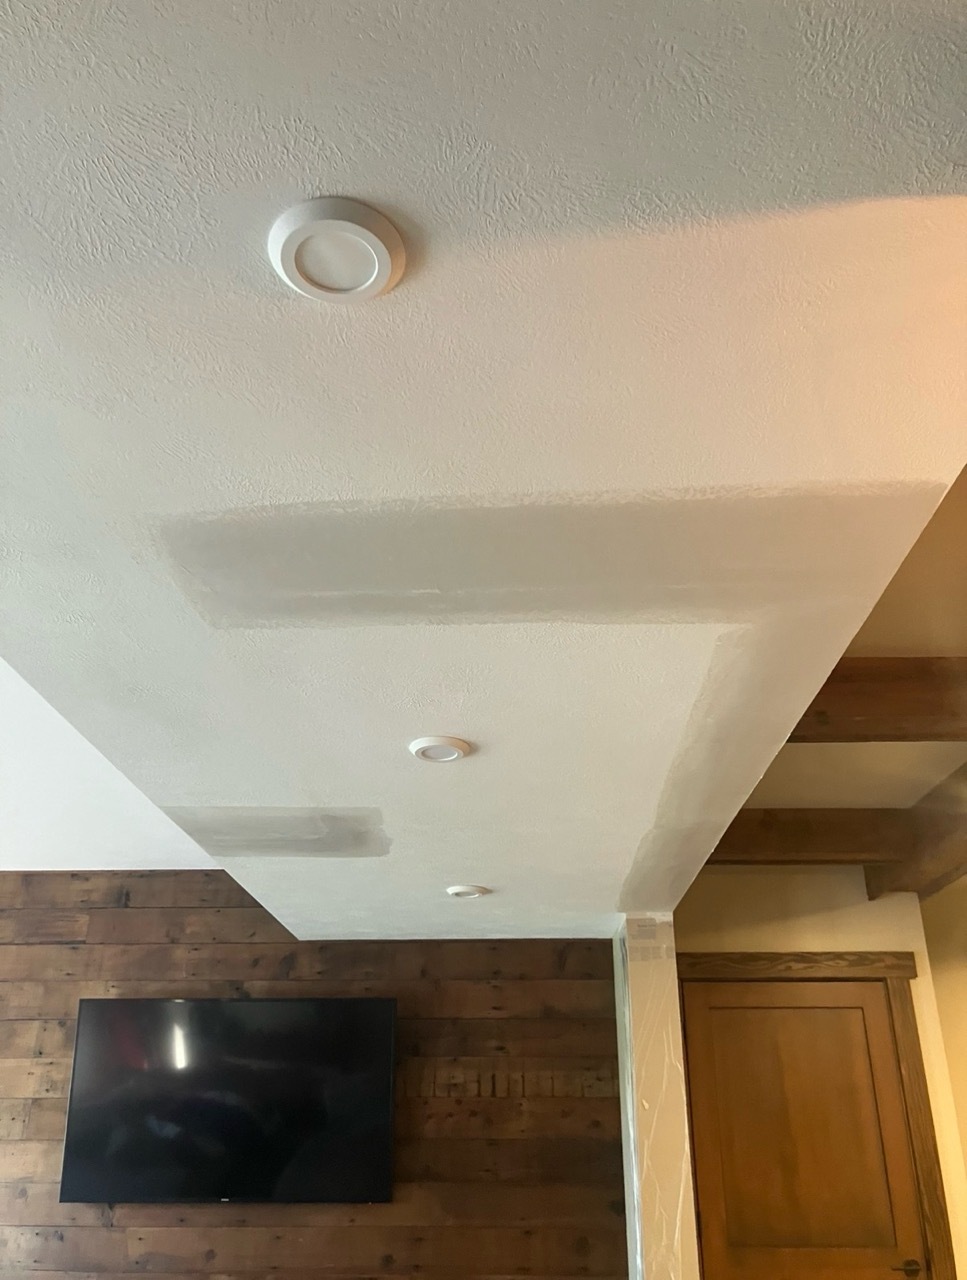
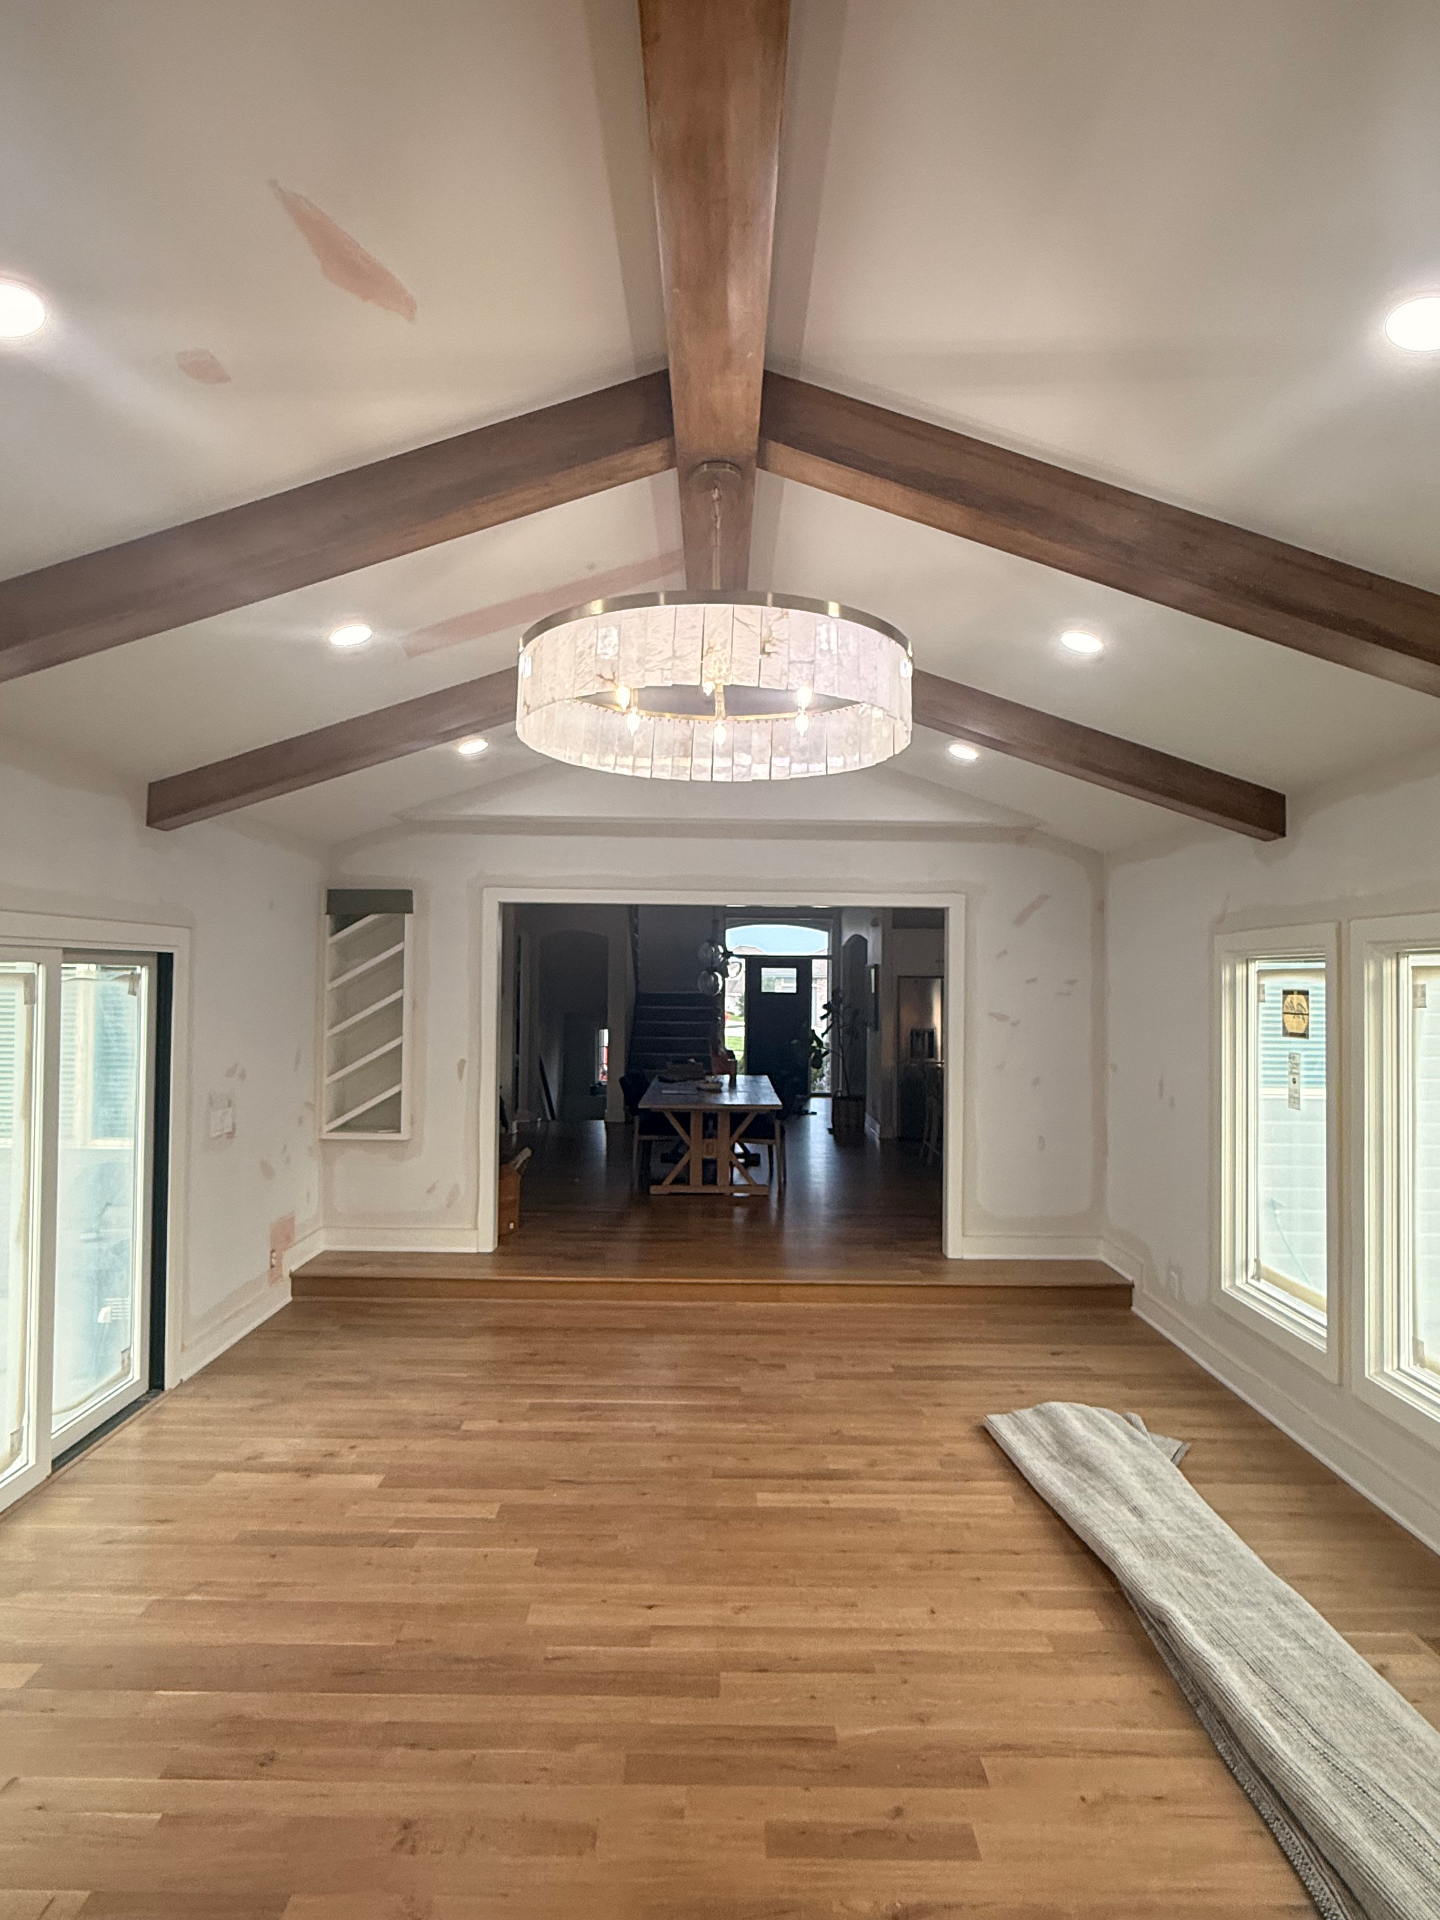
Ceiling patch blended over a wood-paneled feature wall
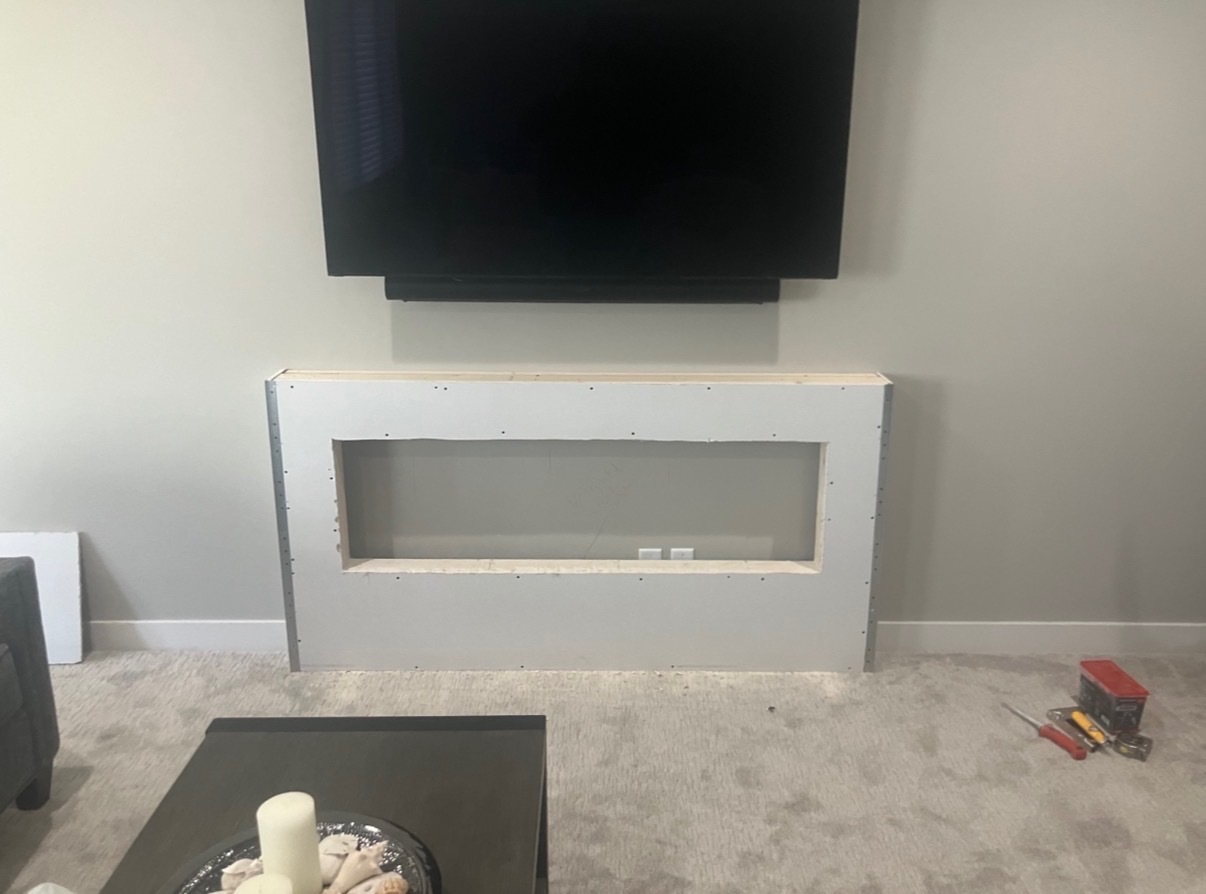
Custom drywall niche framed and boarded into a TV wall
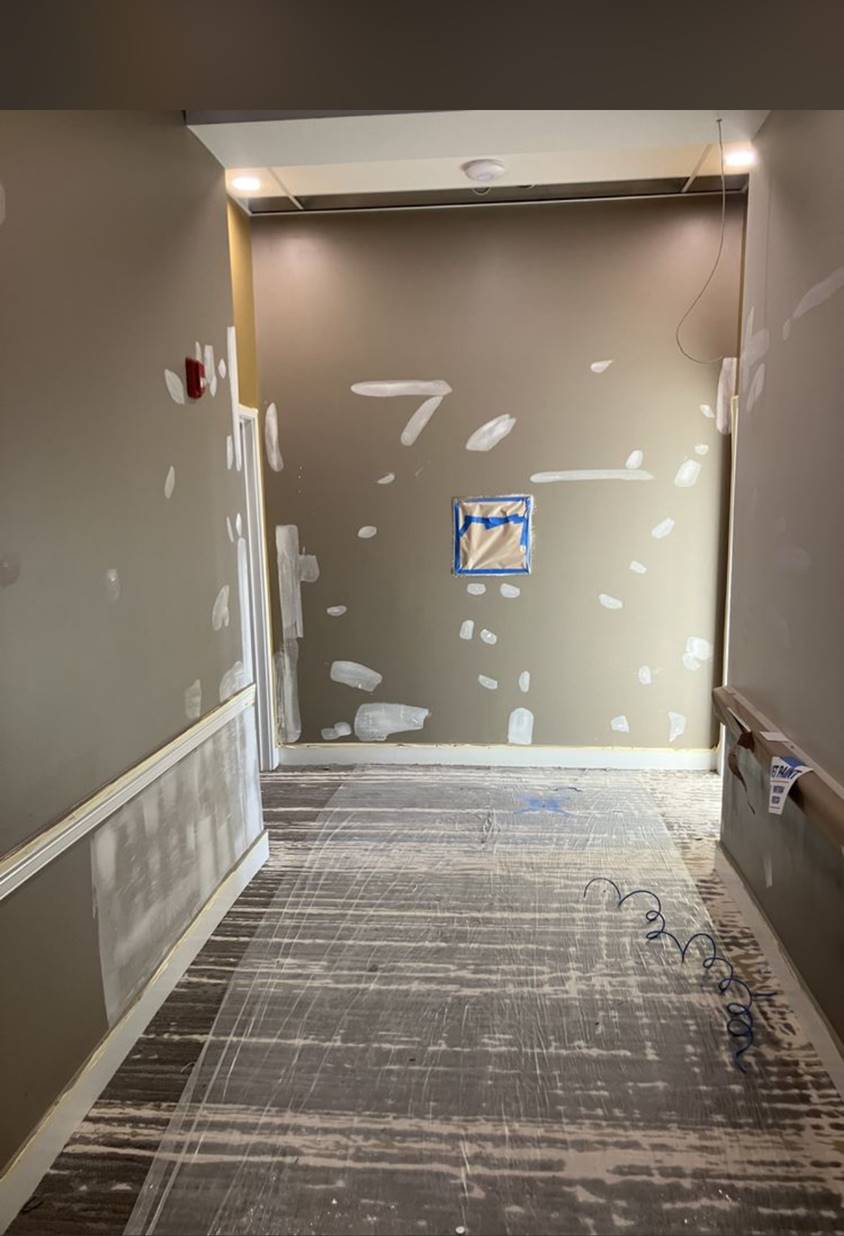
Multiple patch repairs across a commercial corridor

— New Construction & Installation

New construction & installation.

Drywall hung, screwed off, and taped over bare framing — ready for finish coats and paint.
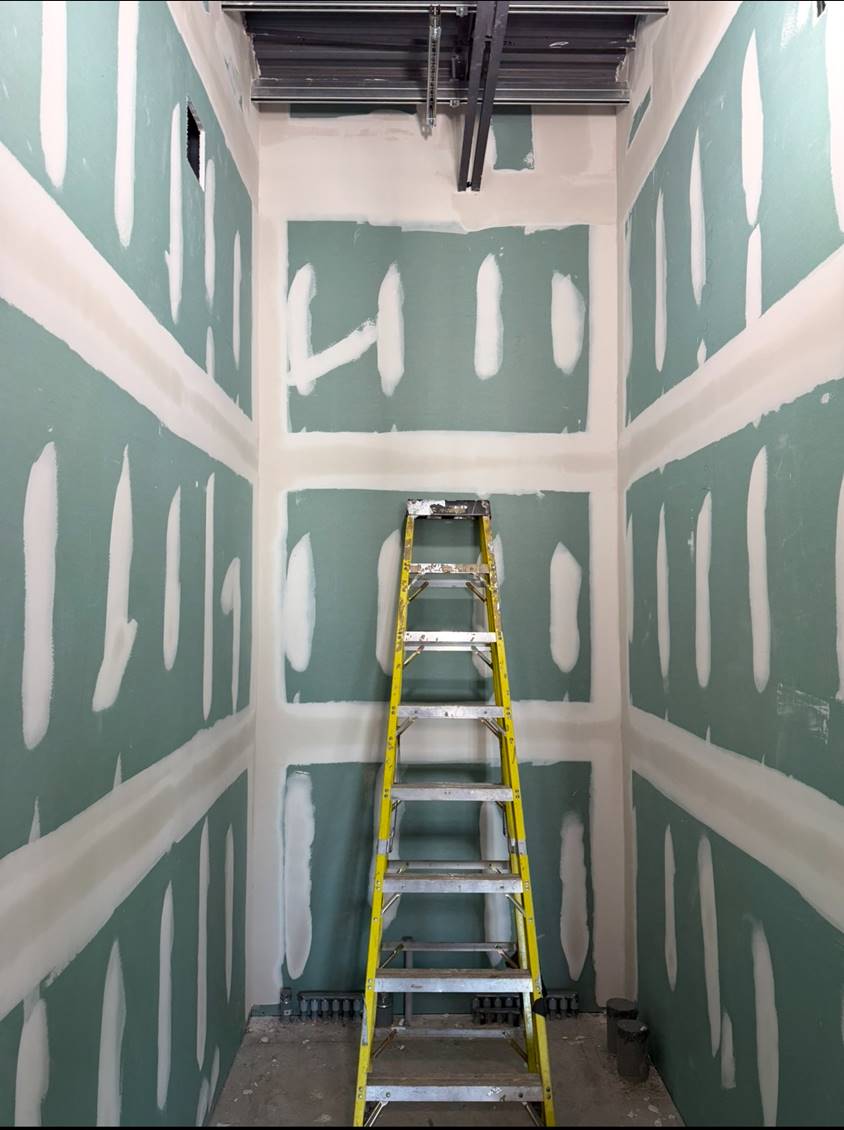
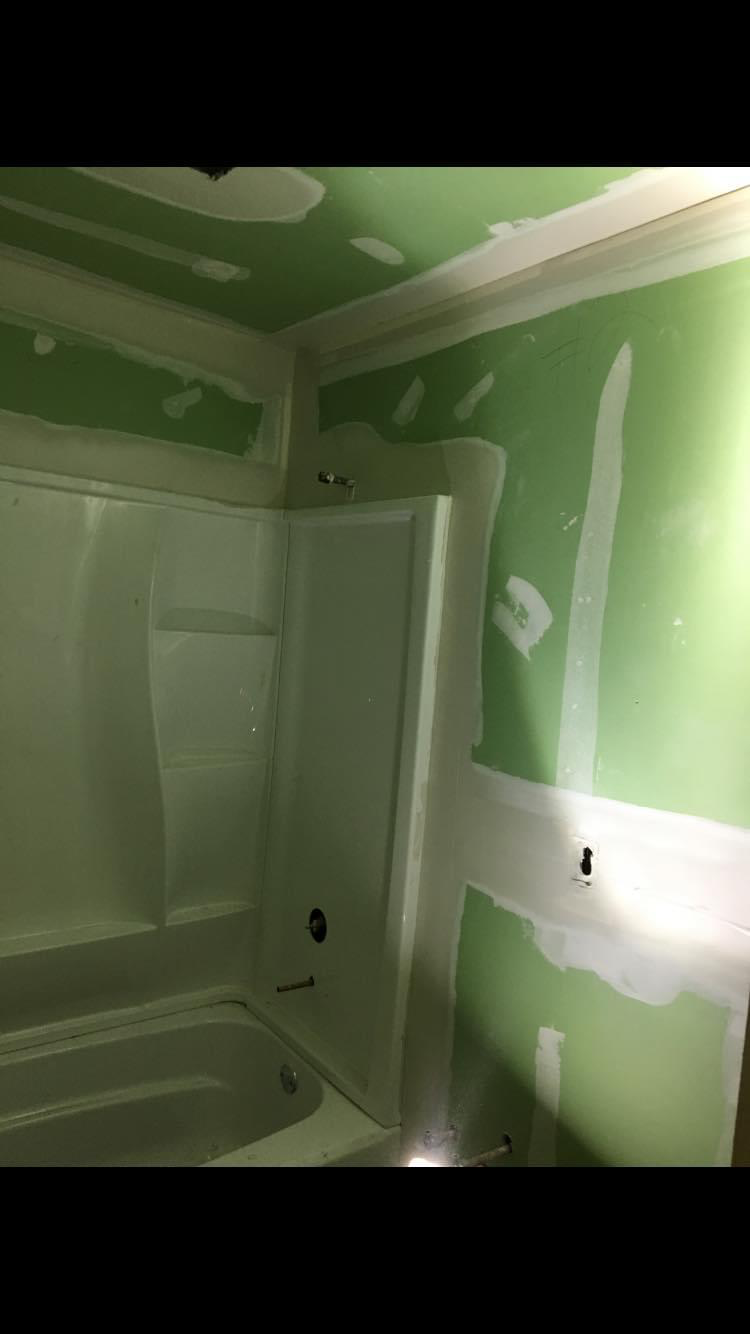
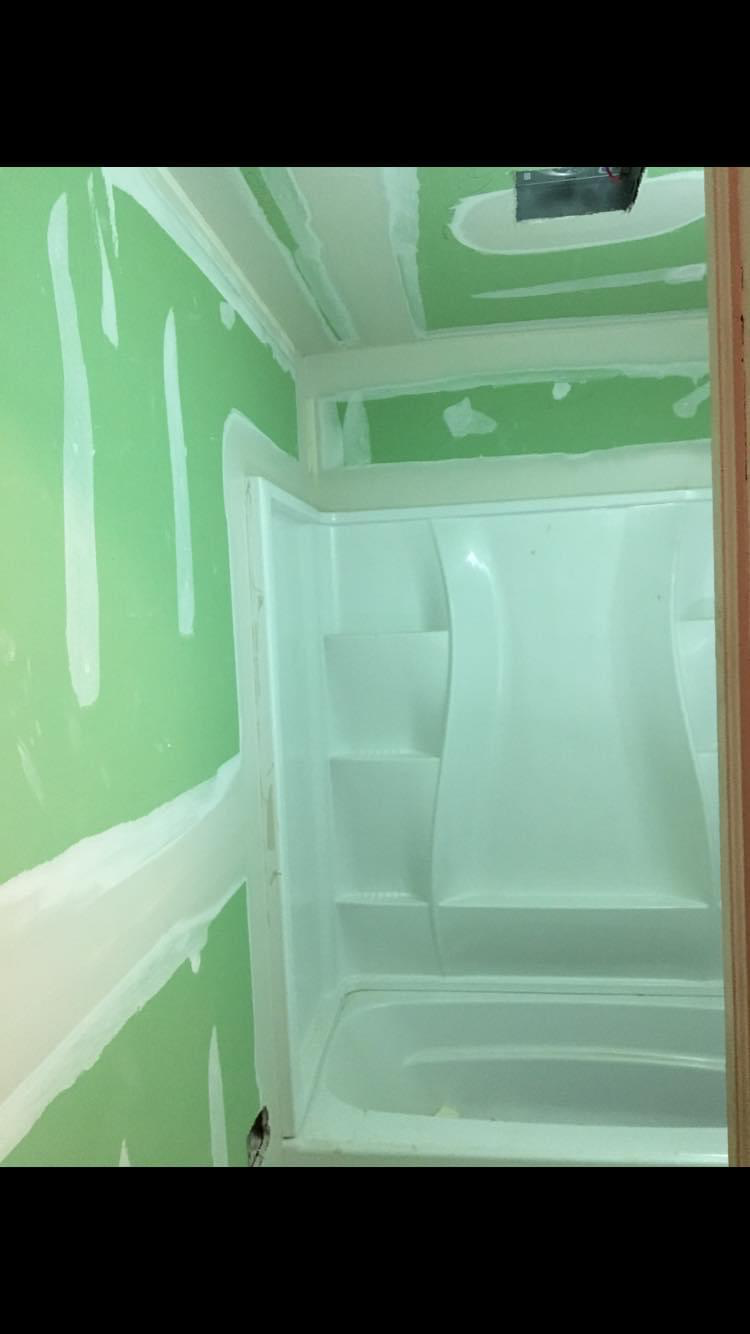
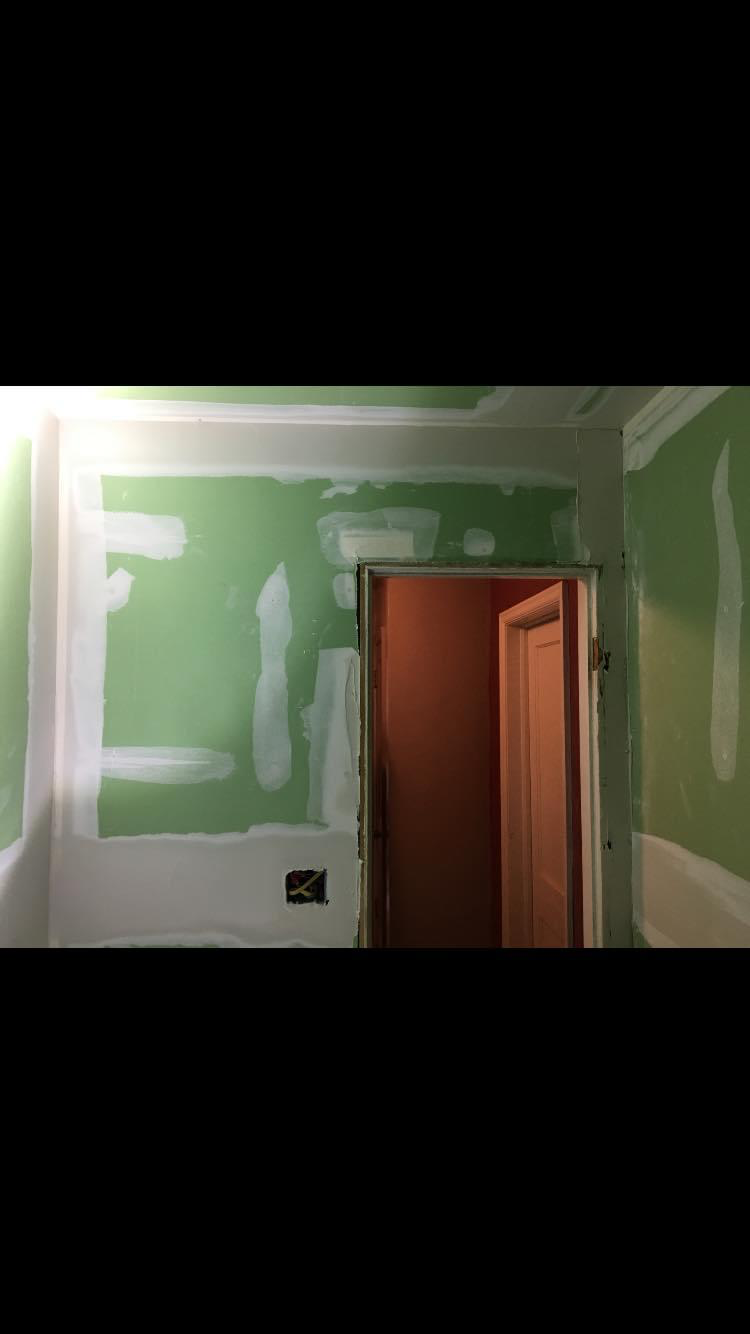
Tall stairwell hung with moisture-resistant board and taped
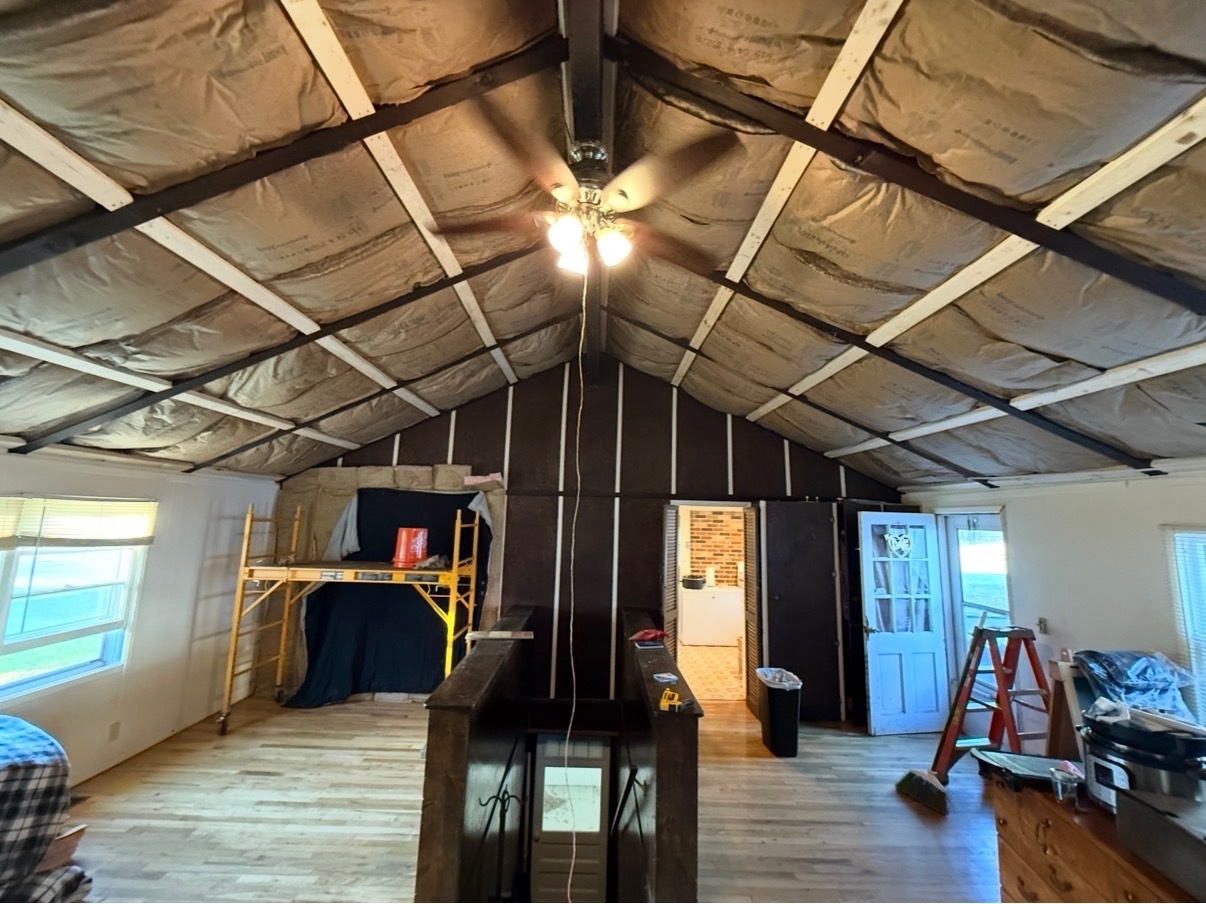
Cabin interior — vaulted ceiling framing and insulation prepped for board
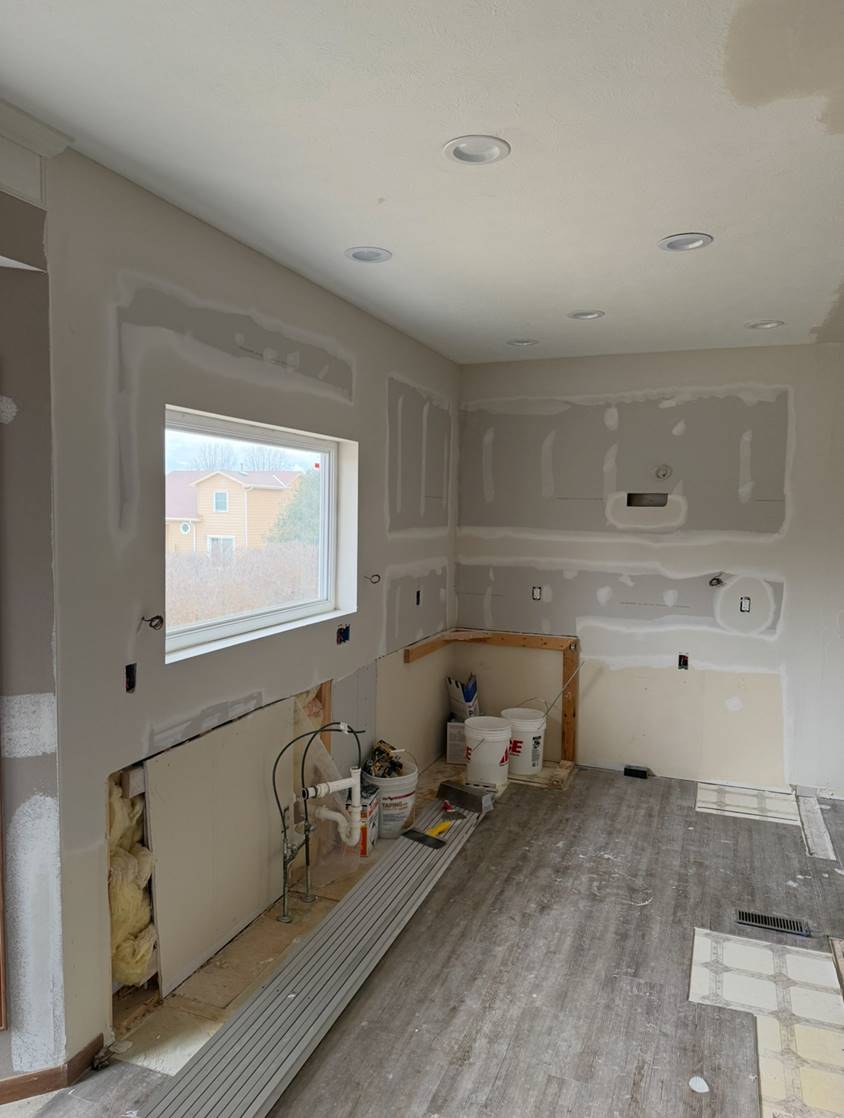
Kitchen mid-build — walls hung, taped, and ready for finish coats
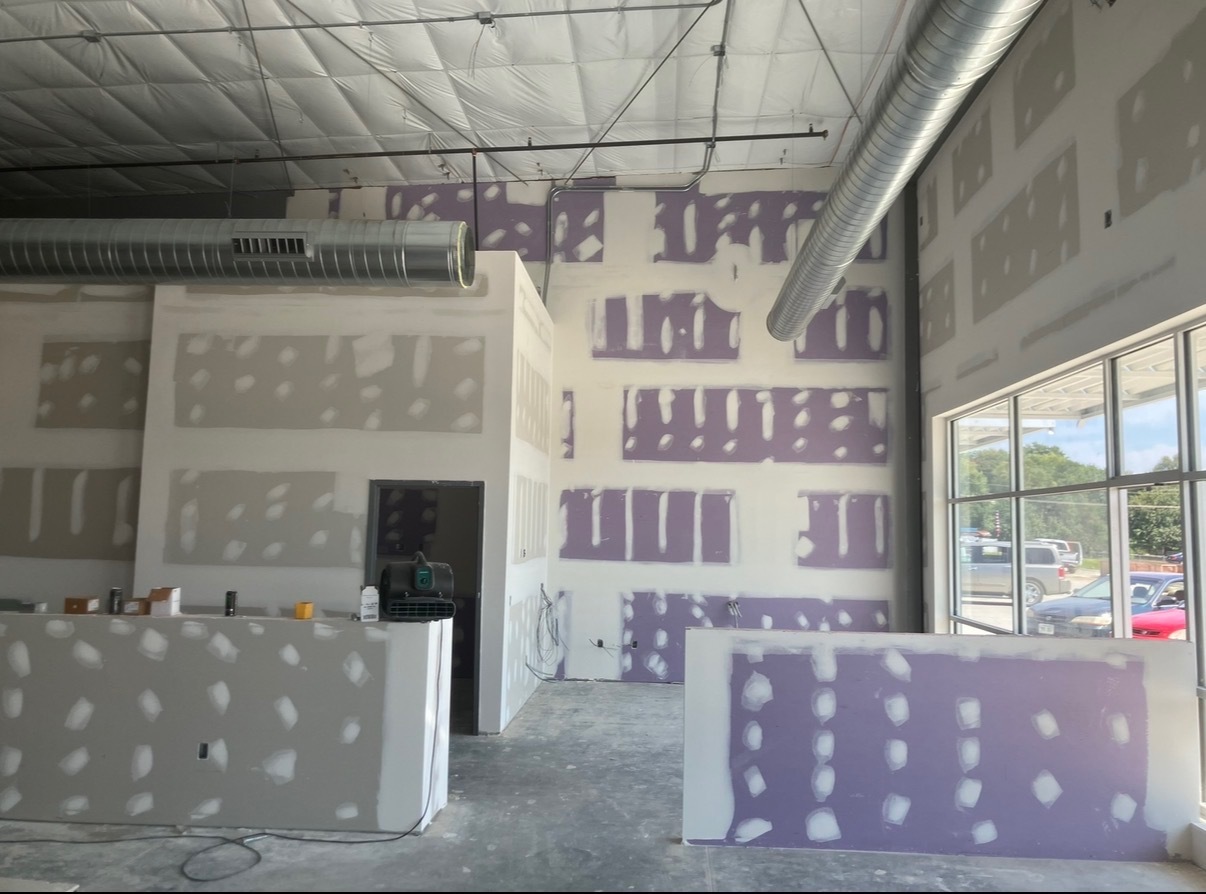
Commercial build-out with mold-resistant board hung and seam-coated

— Additions & Remodels

Additions & remodels.

Drywall work on remodels and additions, coordinated with the other trades and finished to match the existing space.
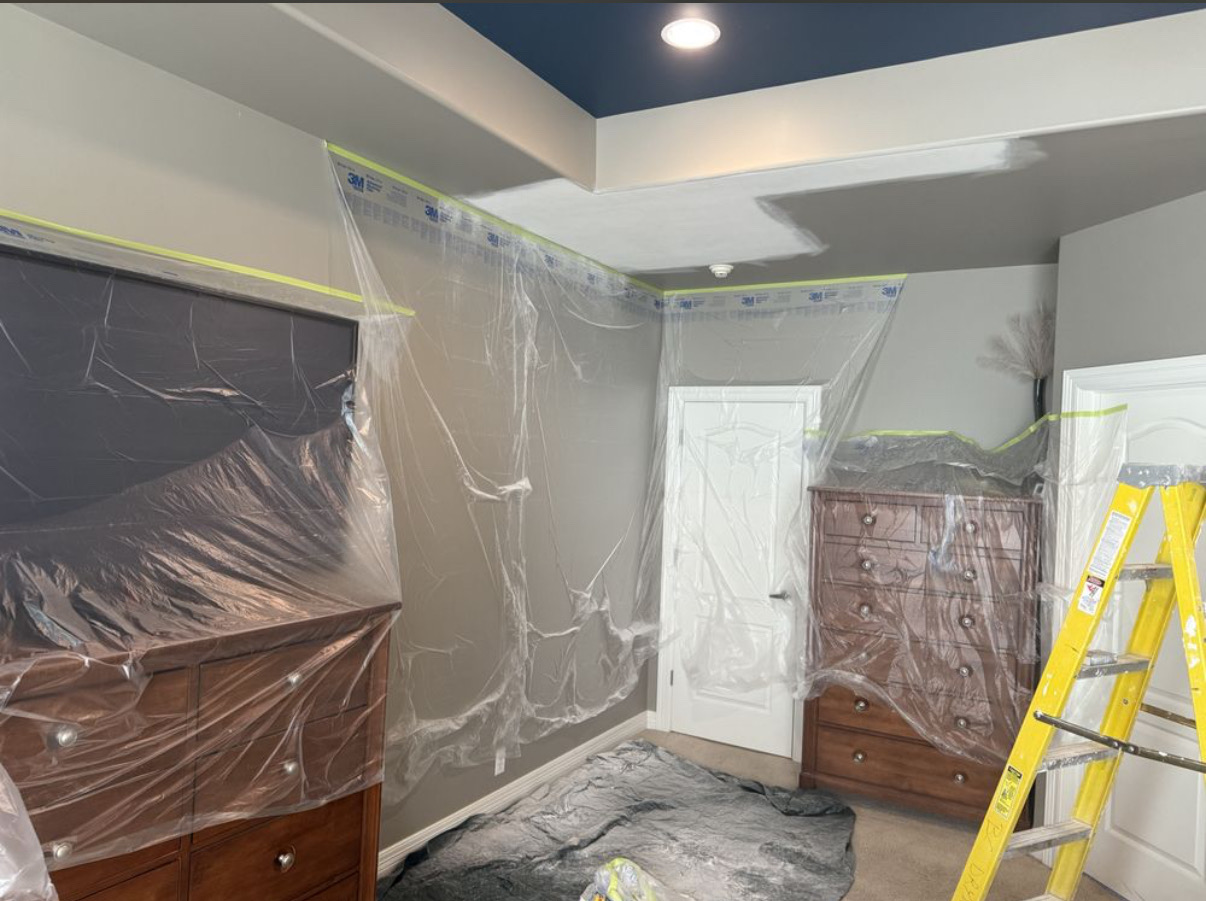
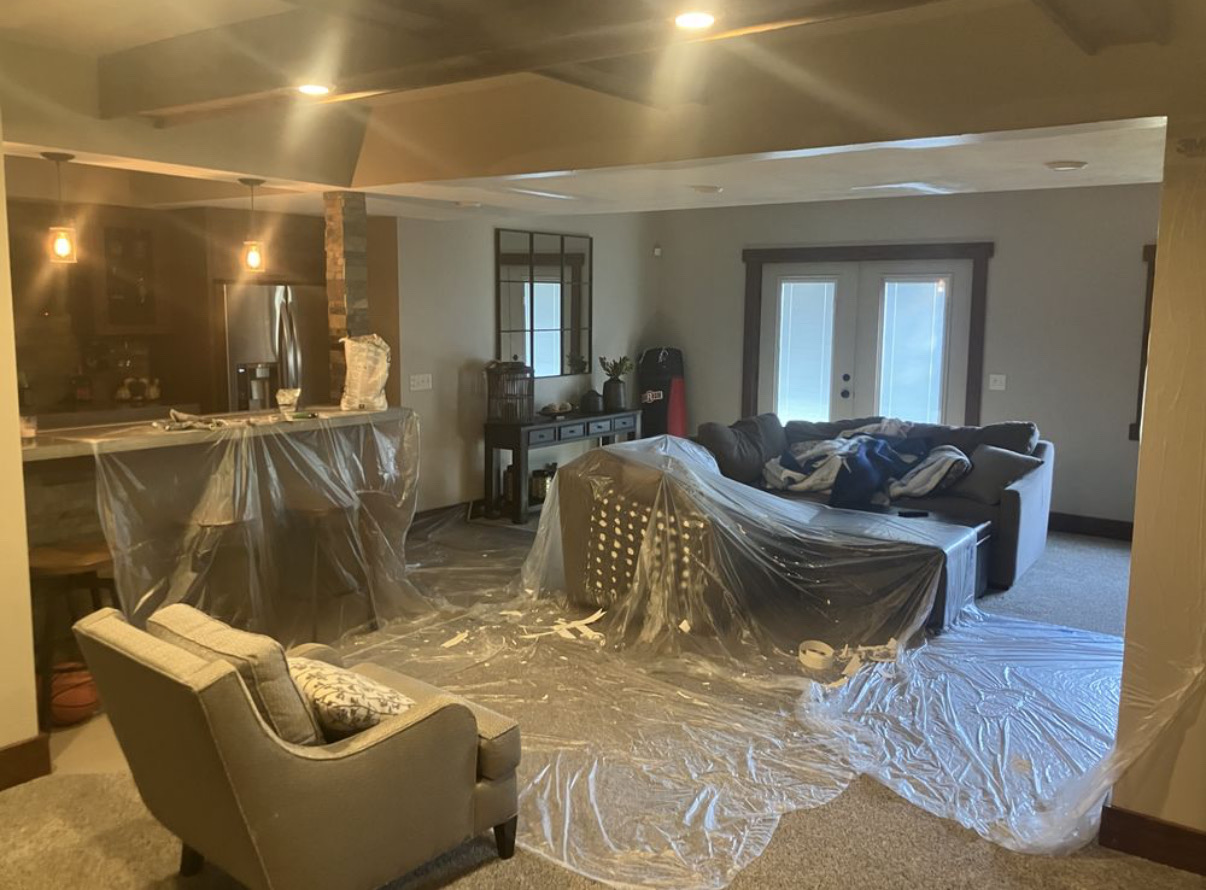
Bedroom fully masked off and prepped for ceiling and wall finish work
Cabin addition — opened up and ready for a fresh drywall ceiling
Living room masked and prepped for ceiling and wall work
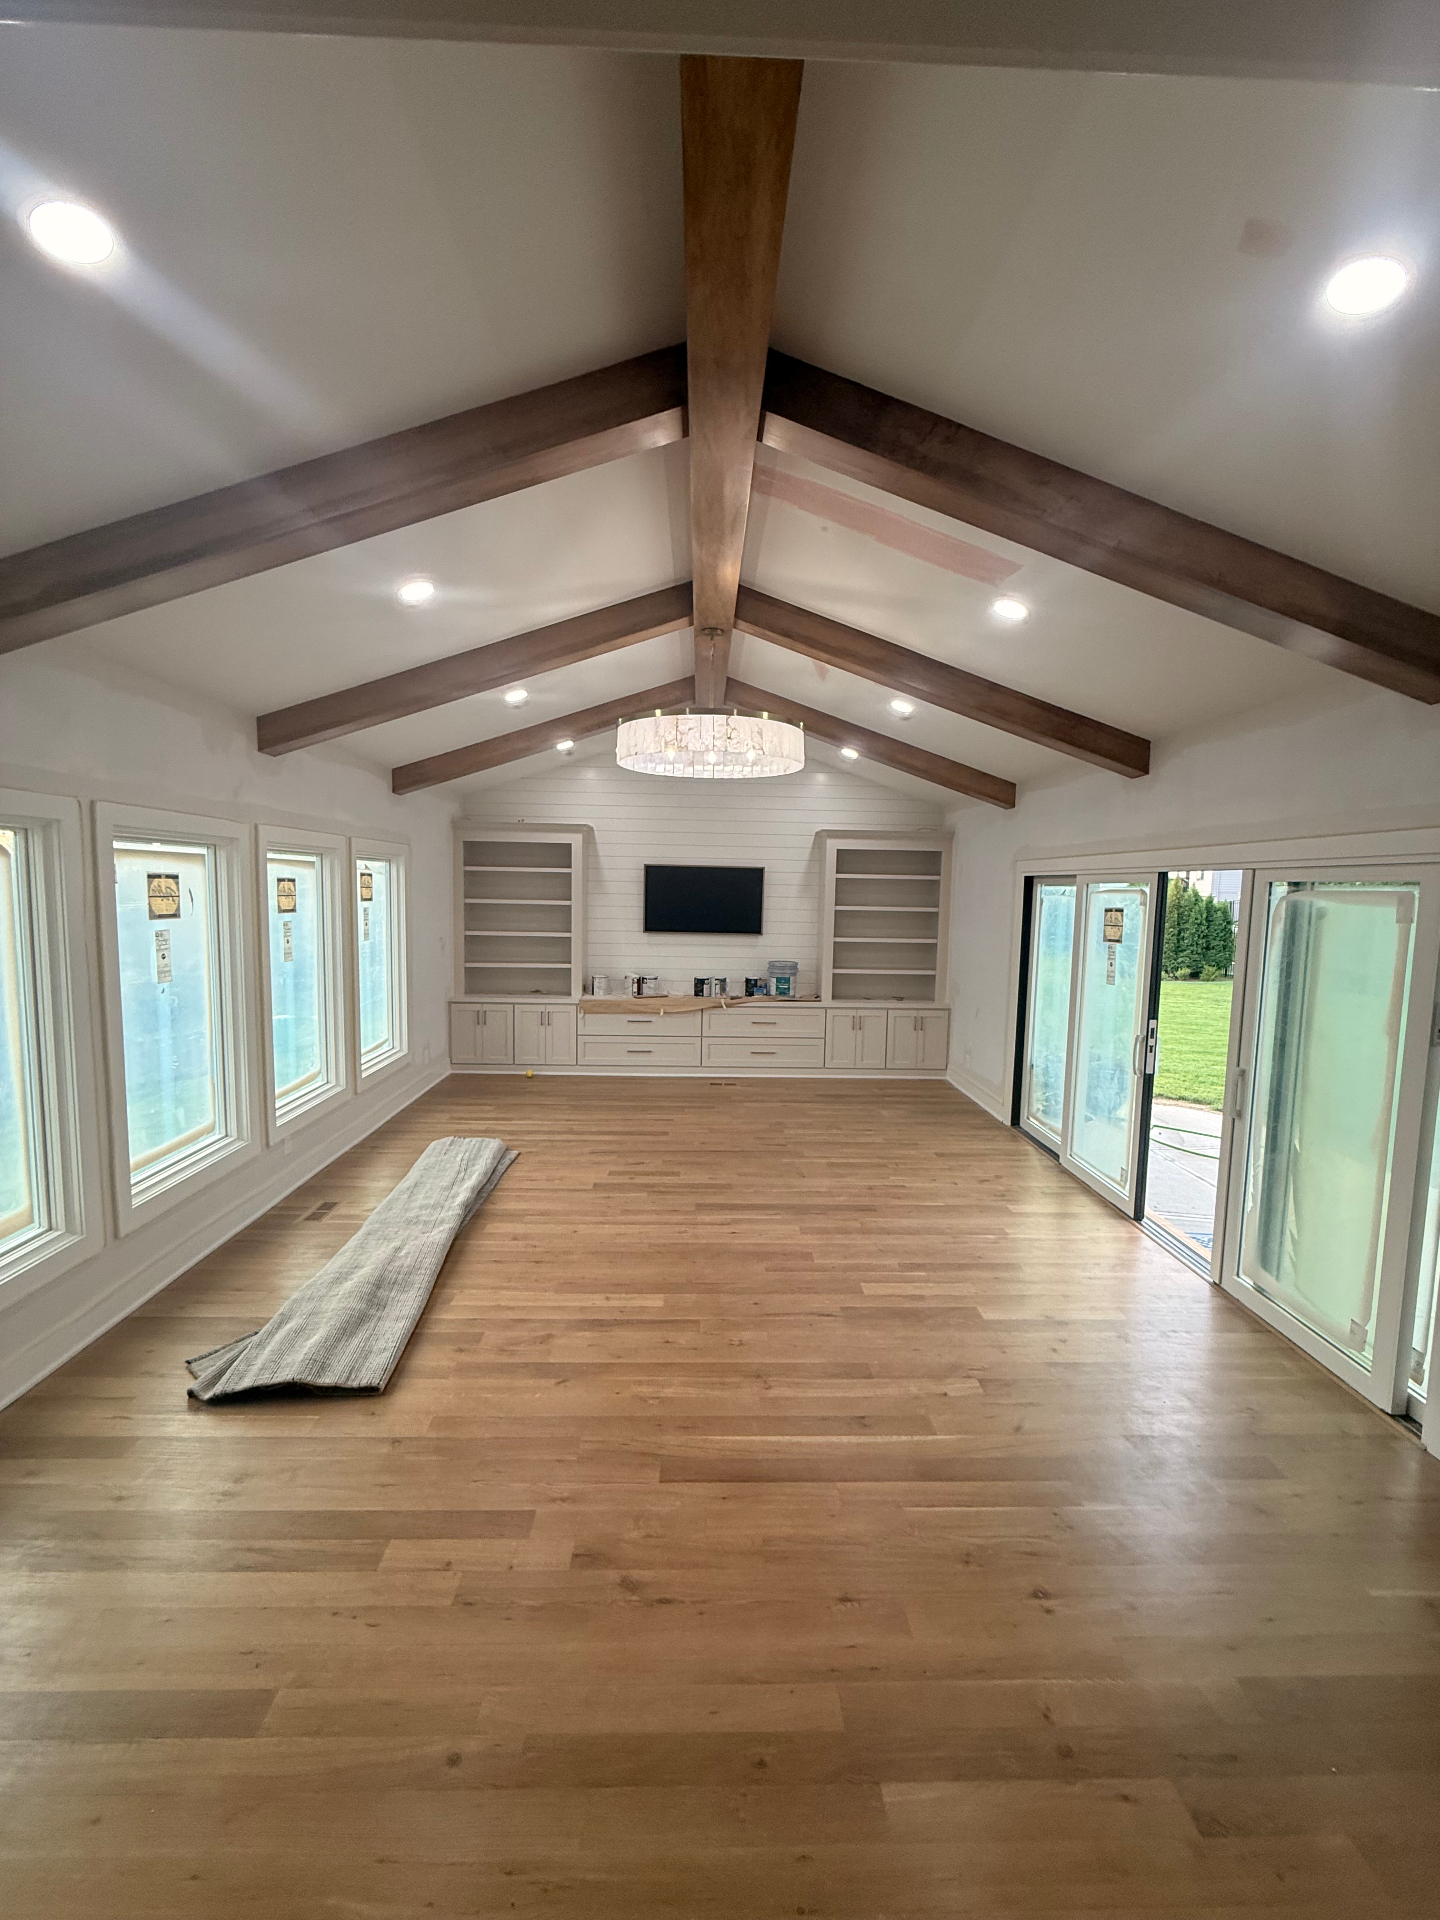
Built-in TV wall with a recessed drywall feature niche
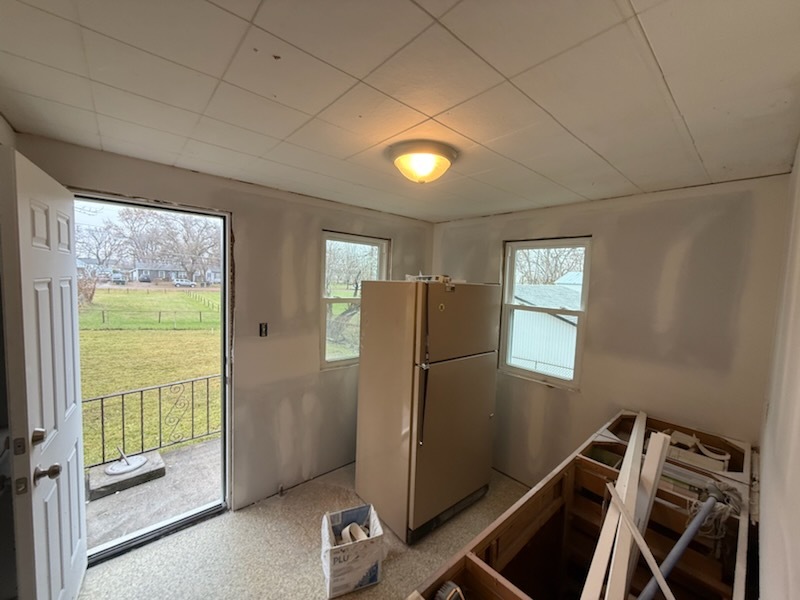
Small back-room remodel with new drywall around the kitchenette

— Texture & Ceilings

Texture & ceilings.

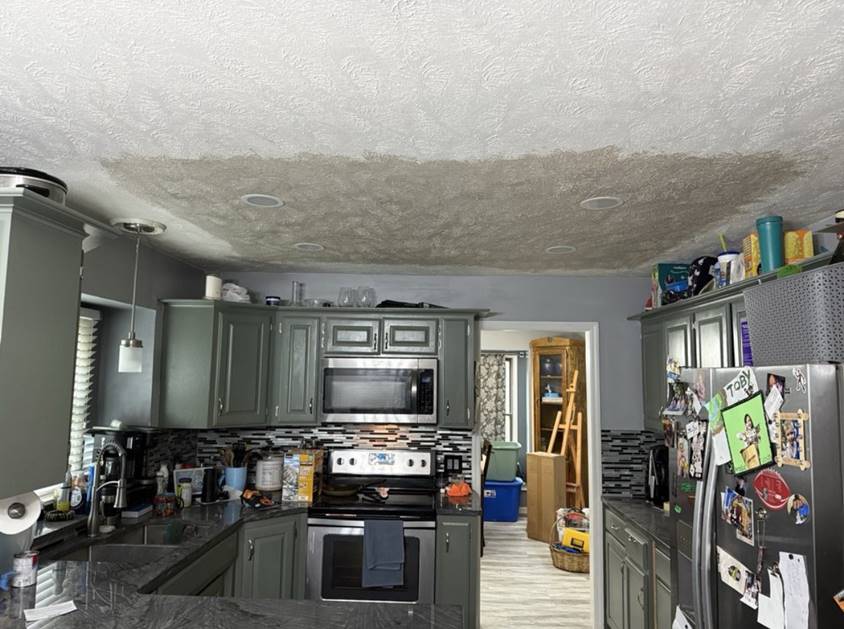
Knockdown, orange peel, and smooth-finish ceilings matched to the existing texture so repairs blend in.
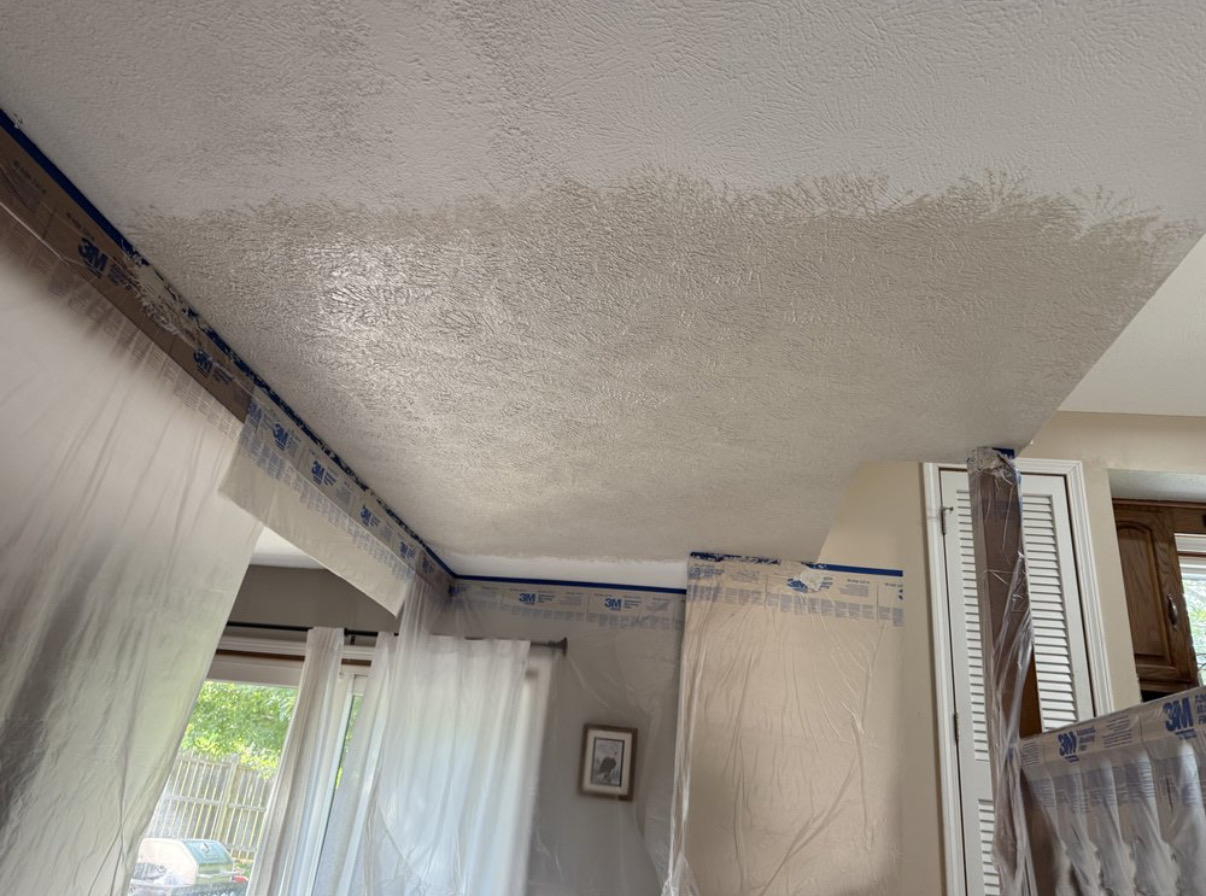
Freshly sprayed knockdown ceiling — masked off and drying
Kitchen ceiling re-textured to match the rest of the home
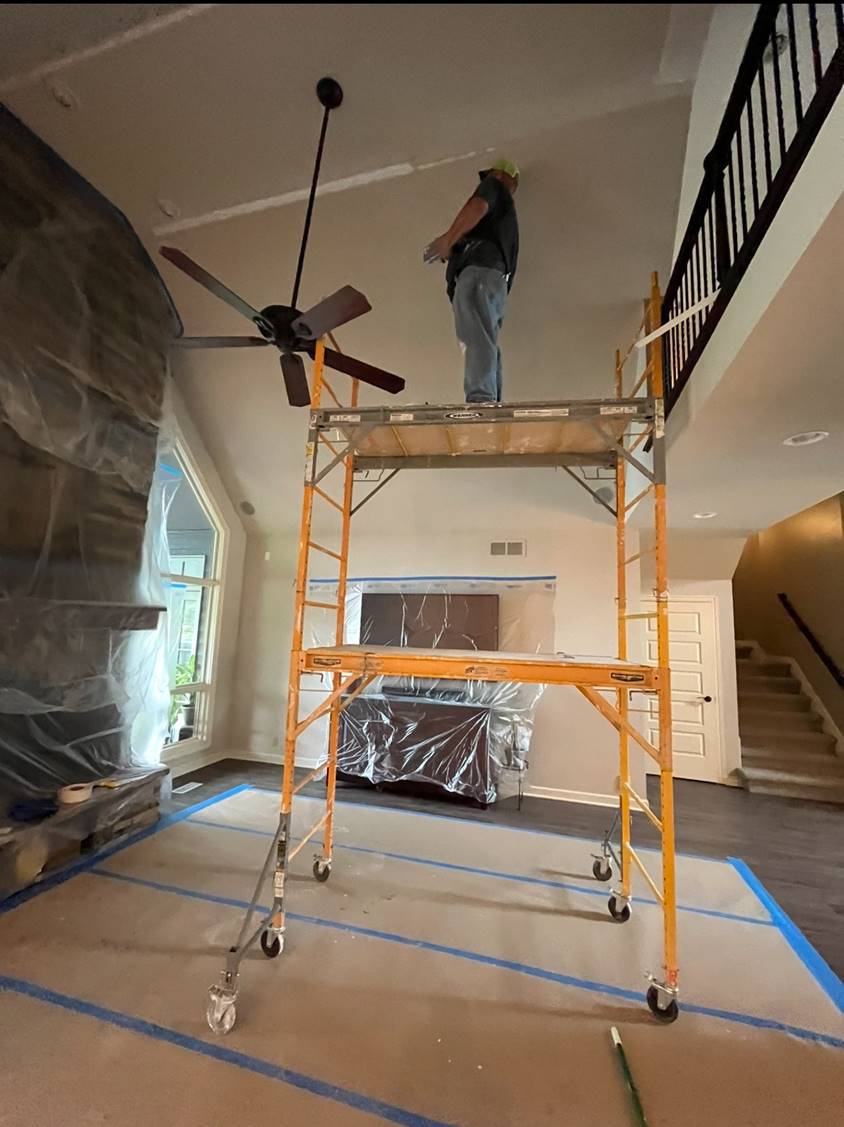
Finishing a vaulted living-room ceiling from a rolling scaffold
Vaulted bedroom ceiling — textured finish ready for paint
Ceiling patch feathered into existing knockdown texture
Tray ceiling prepped for fresh skim coat and paint

— Bathroom & Plaster

Bathrooms & plaster.

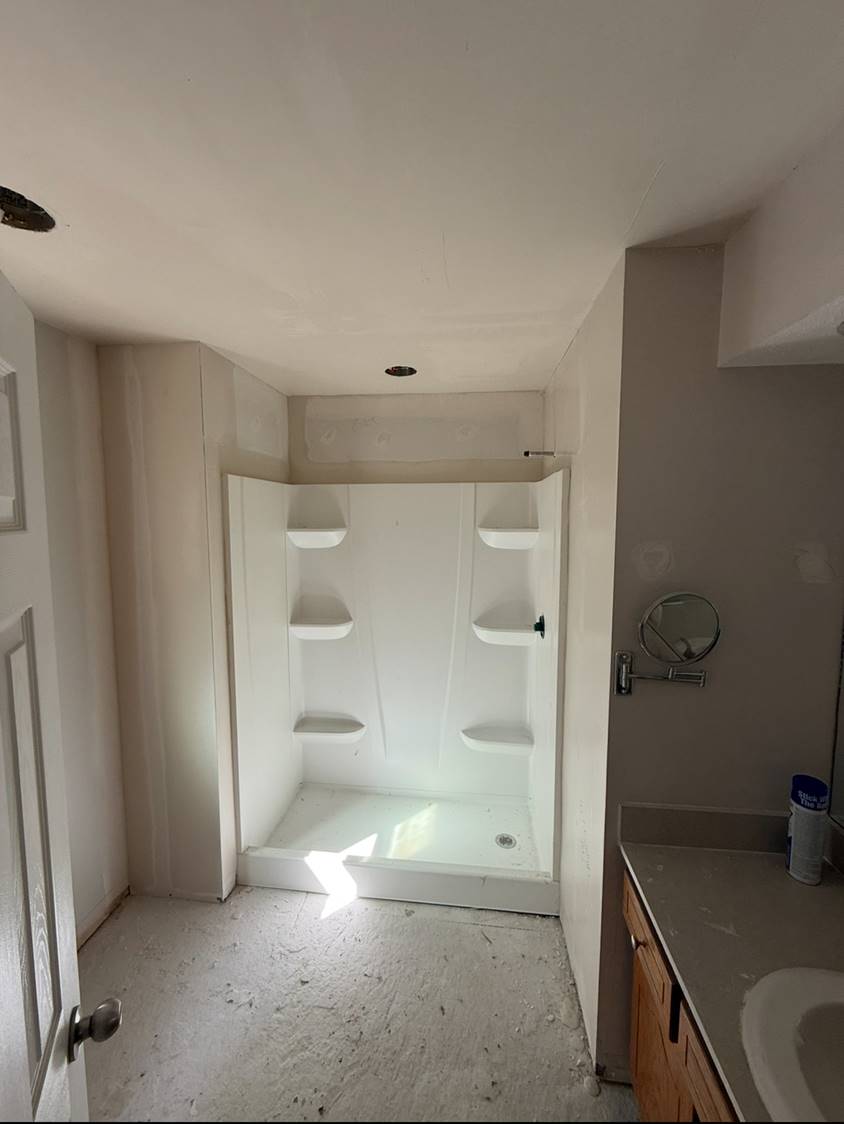
Tub and shower surrounds with the correct moisture-resistant substrate, plus skim coats and repairs on older plaster walls.
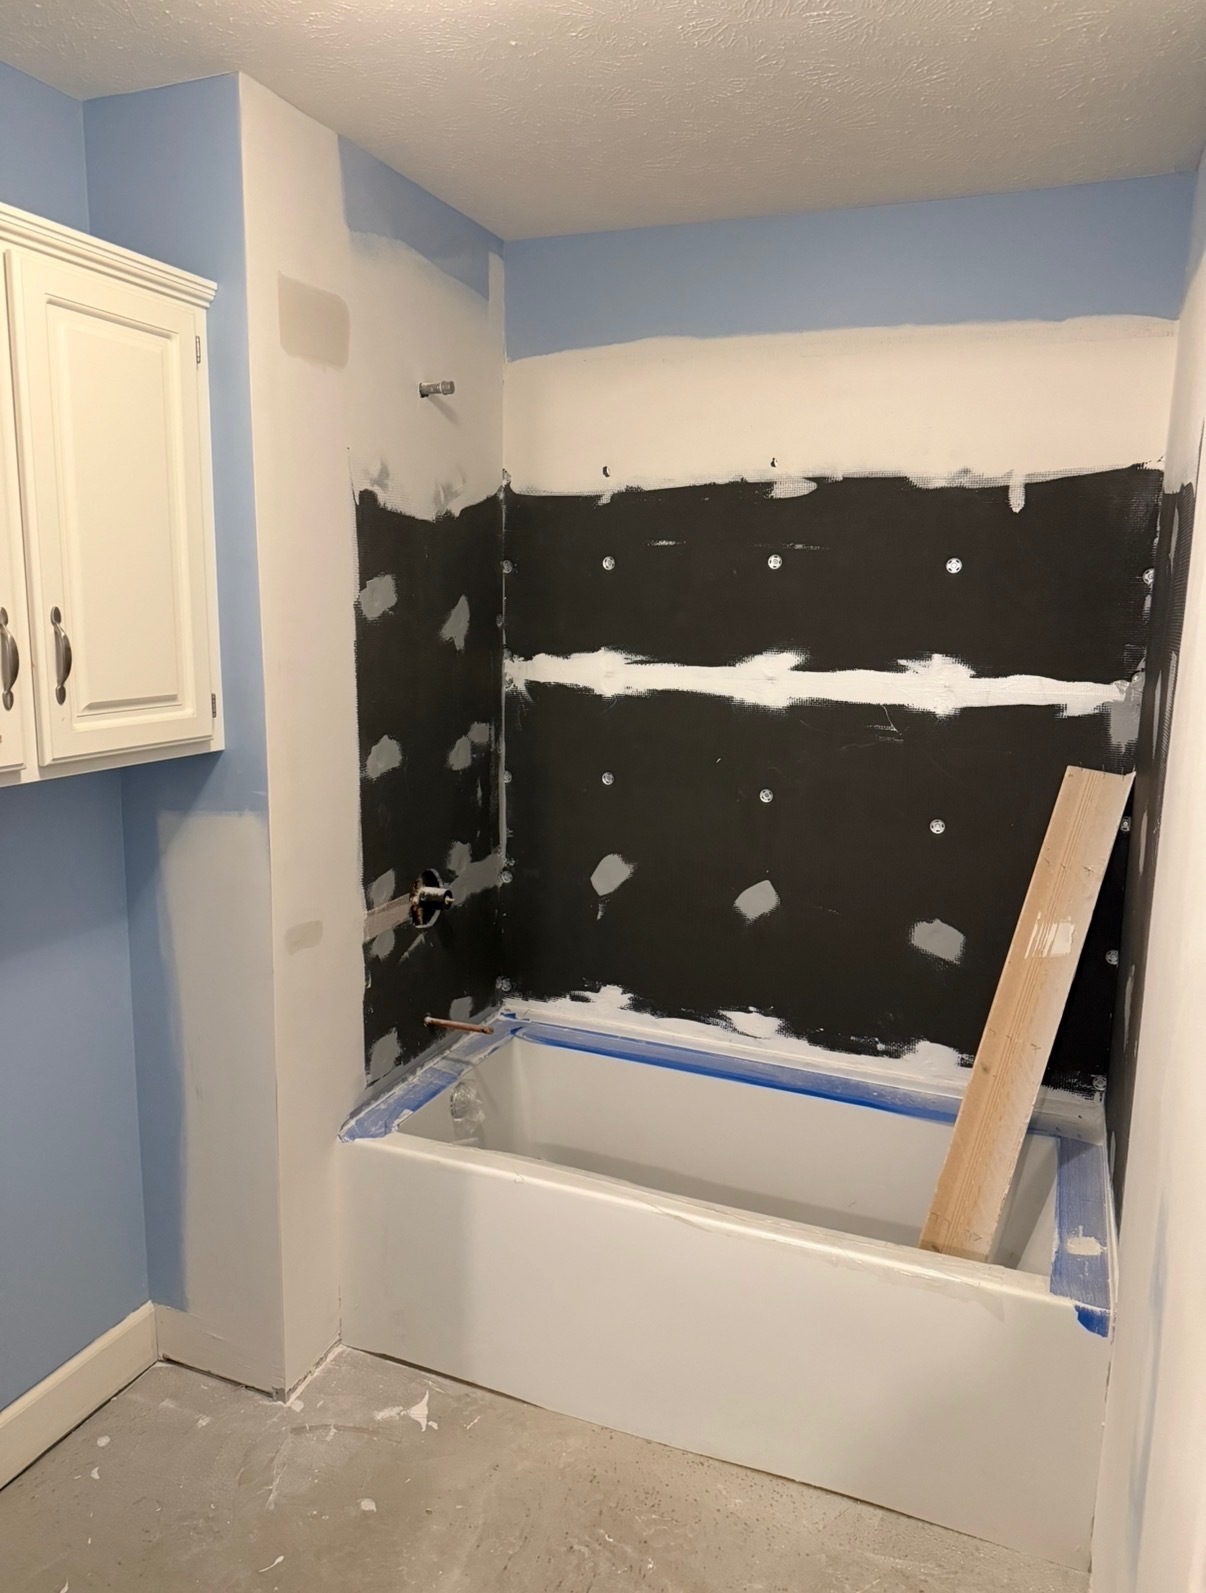
Tub surround built with cement board — taped and mudded for tile
Shower surround finished and ready for tile or paint
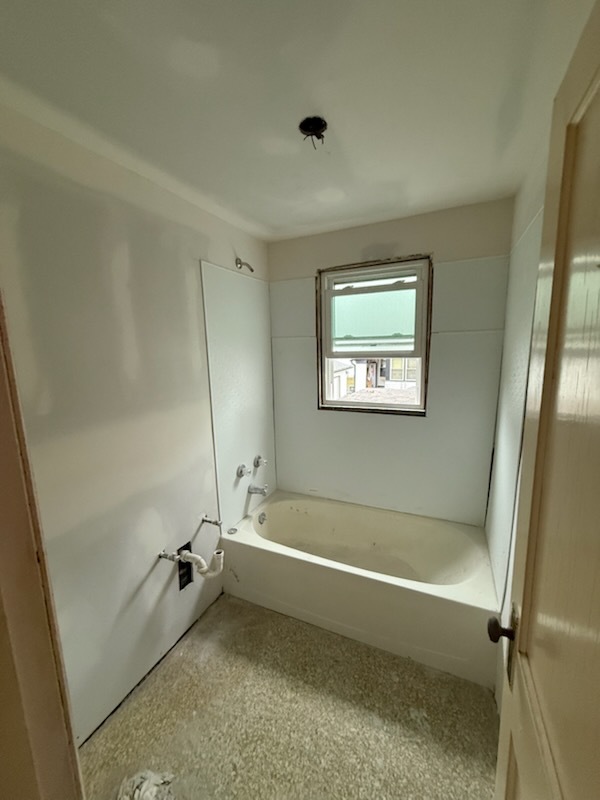
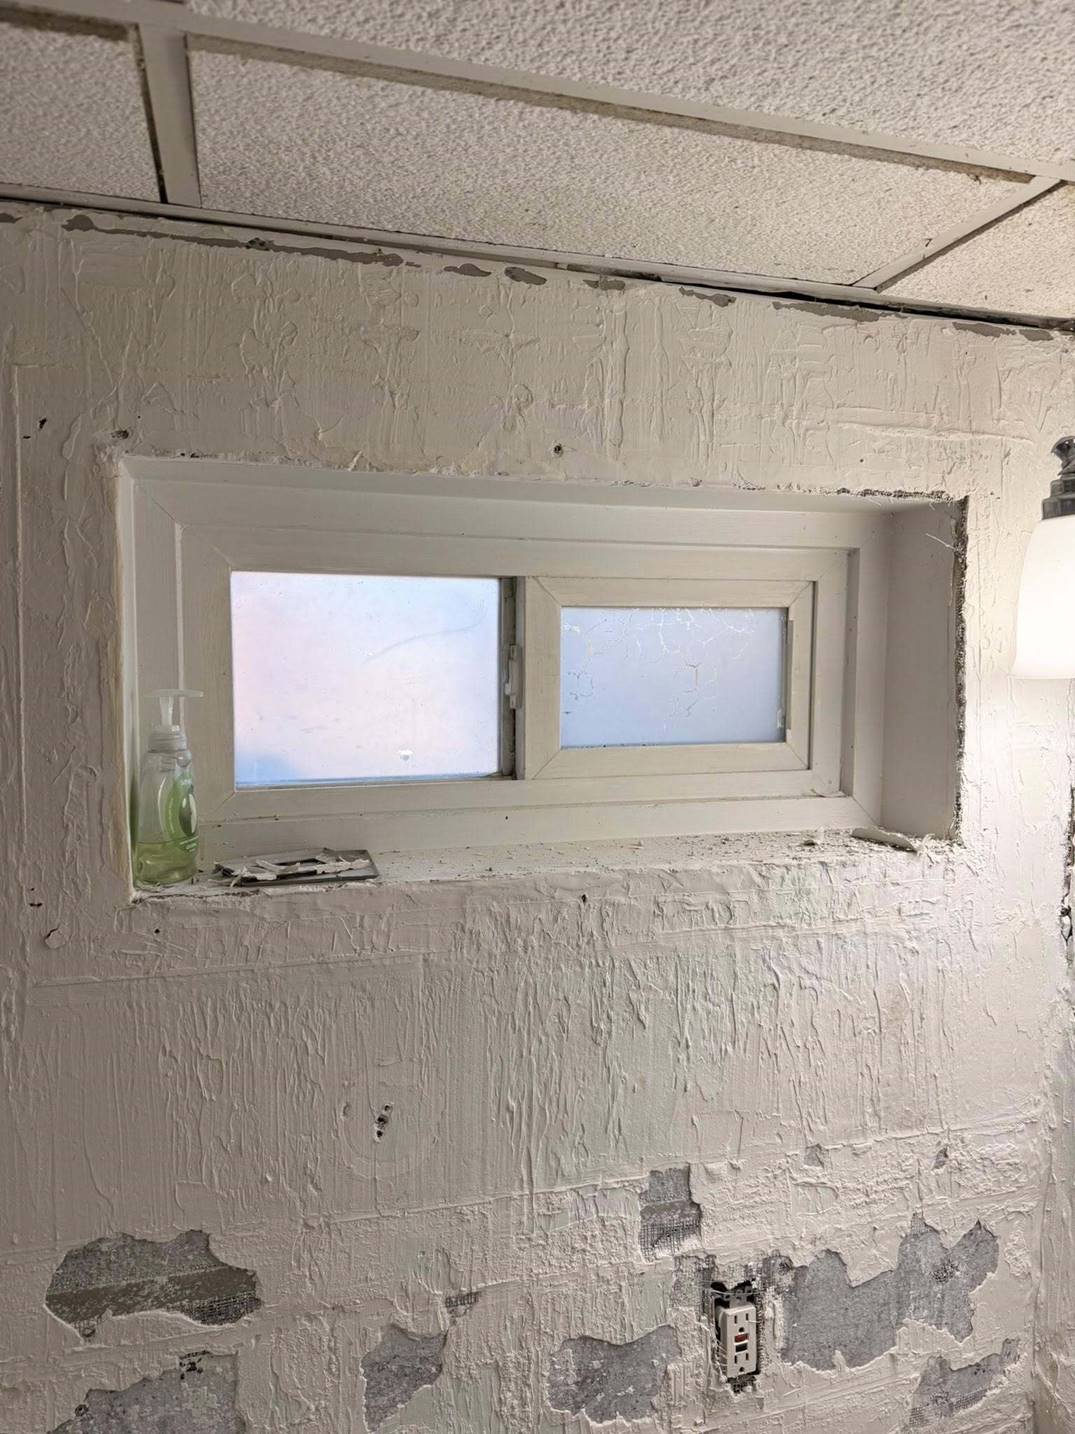
Compact bathroom finished smooth around tub and window
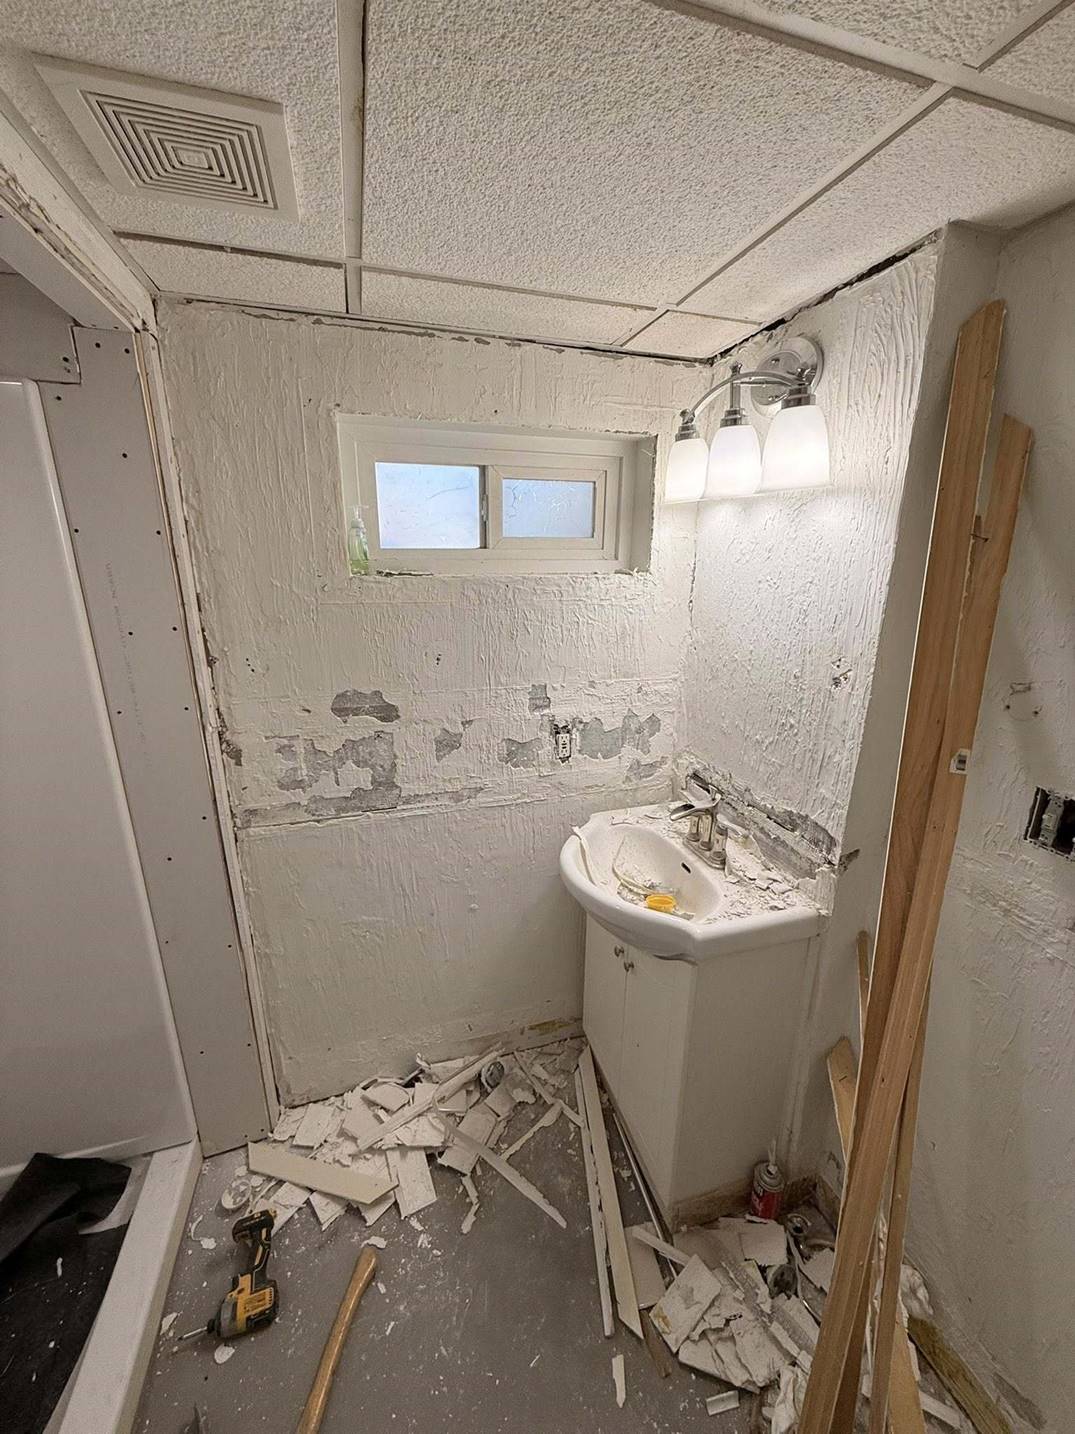
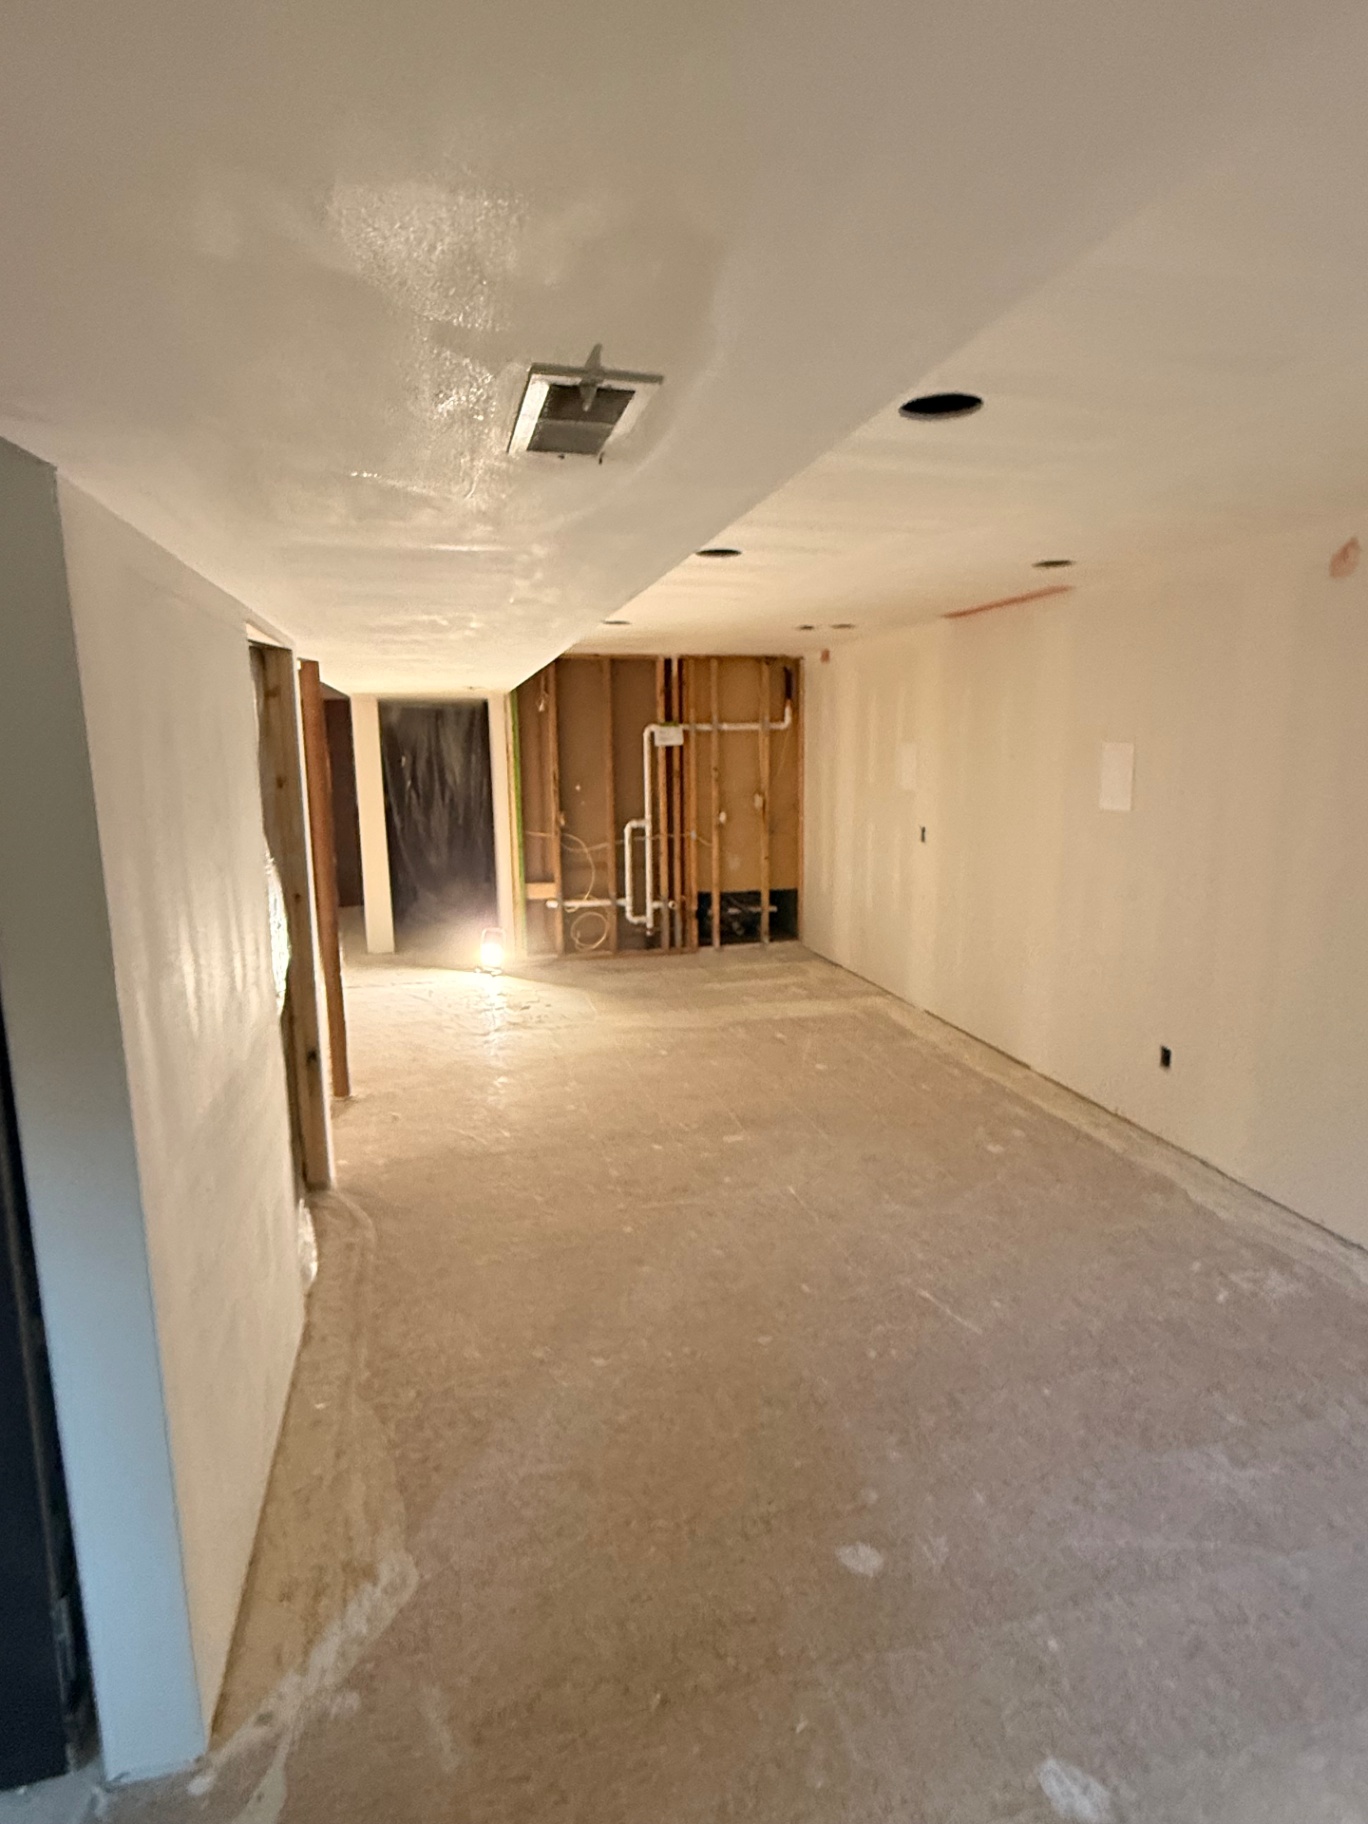
Basement bathroom mid-demo — old plaster coming down, new board ready to go up
Skim-coating an old plaster bathroom wall around the window

— Kitchens

Kitchen drywall.

Kitchen walls and ceilings hung, taped, textured, and finished — built to hold up to lighting that shows every flaw.
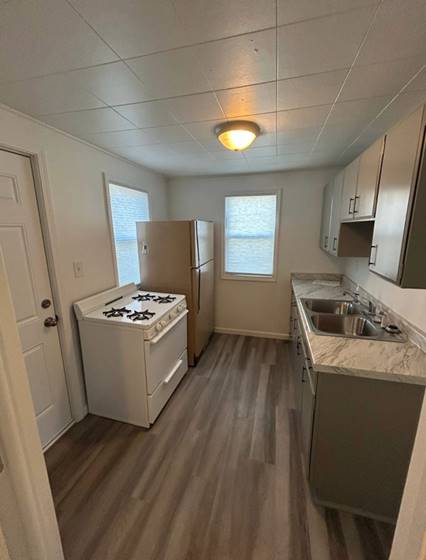
Kitchen walls hung and taped, recessed lighting in place
Kitchen ceiling textured and finished to match
Finished kitchen — clean ceiling, smooth walls
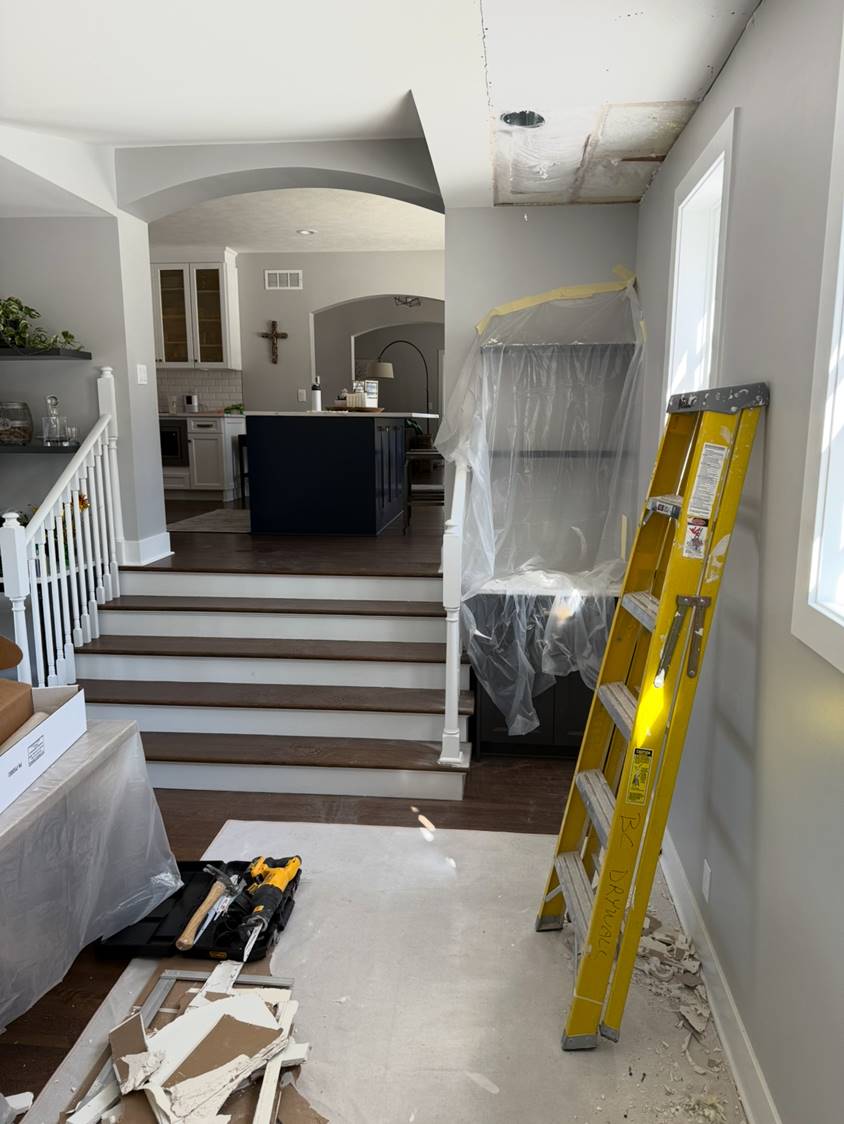
Open-concept kitchen ceiling repair, in progress

— Finished Work

Finished work.

Completed rooms ready for primer and paint — flat walls, clean ceilings, and consistent texture throughout.
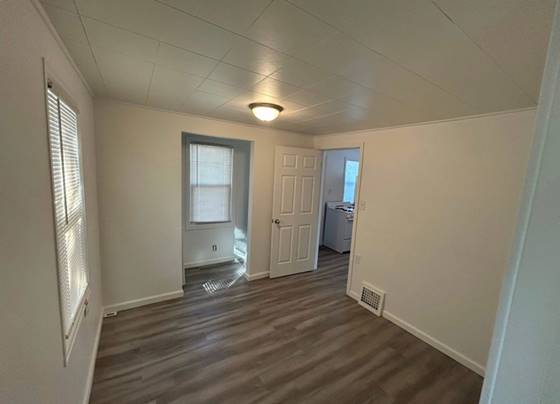
Small room finished smooth — clean walls, ceiling, and trim line
Bathroom finished, paint-ready around the tub
Finished shower surround ready for the next trade
Re-textured kitchen ceiling with even, consistent finish
Move-in-ready kitchen with finished drywall and ceiling
Final patch sanded flat and ready for primer

— Popcorn Ceiling Patch & Repair

Popcorn ceiling patch & repair.

Cracks, water marks, and old fan or fixture cutouts patched into existing popcorn (acoustic) texture so repairs blend into the original ceiling.
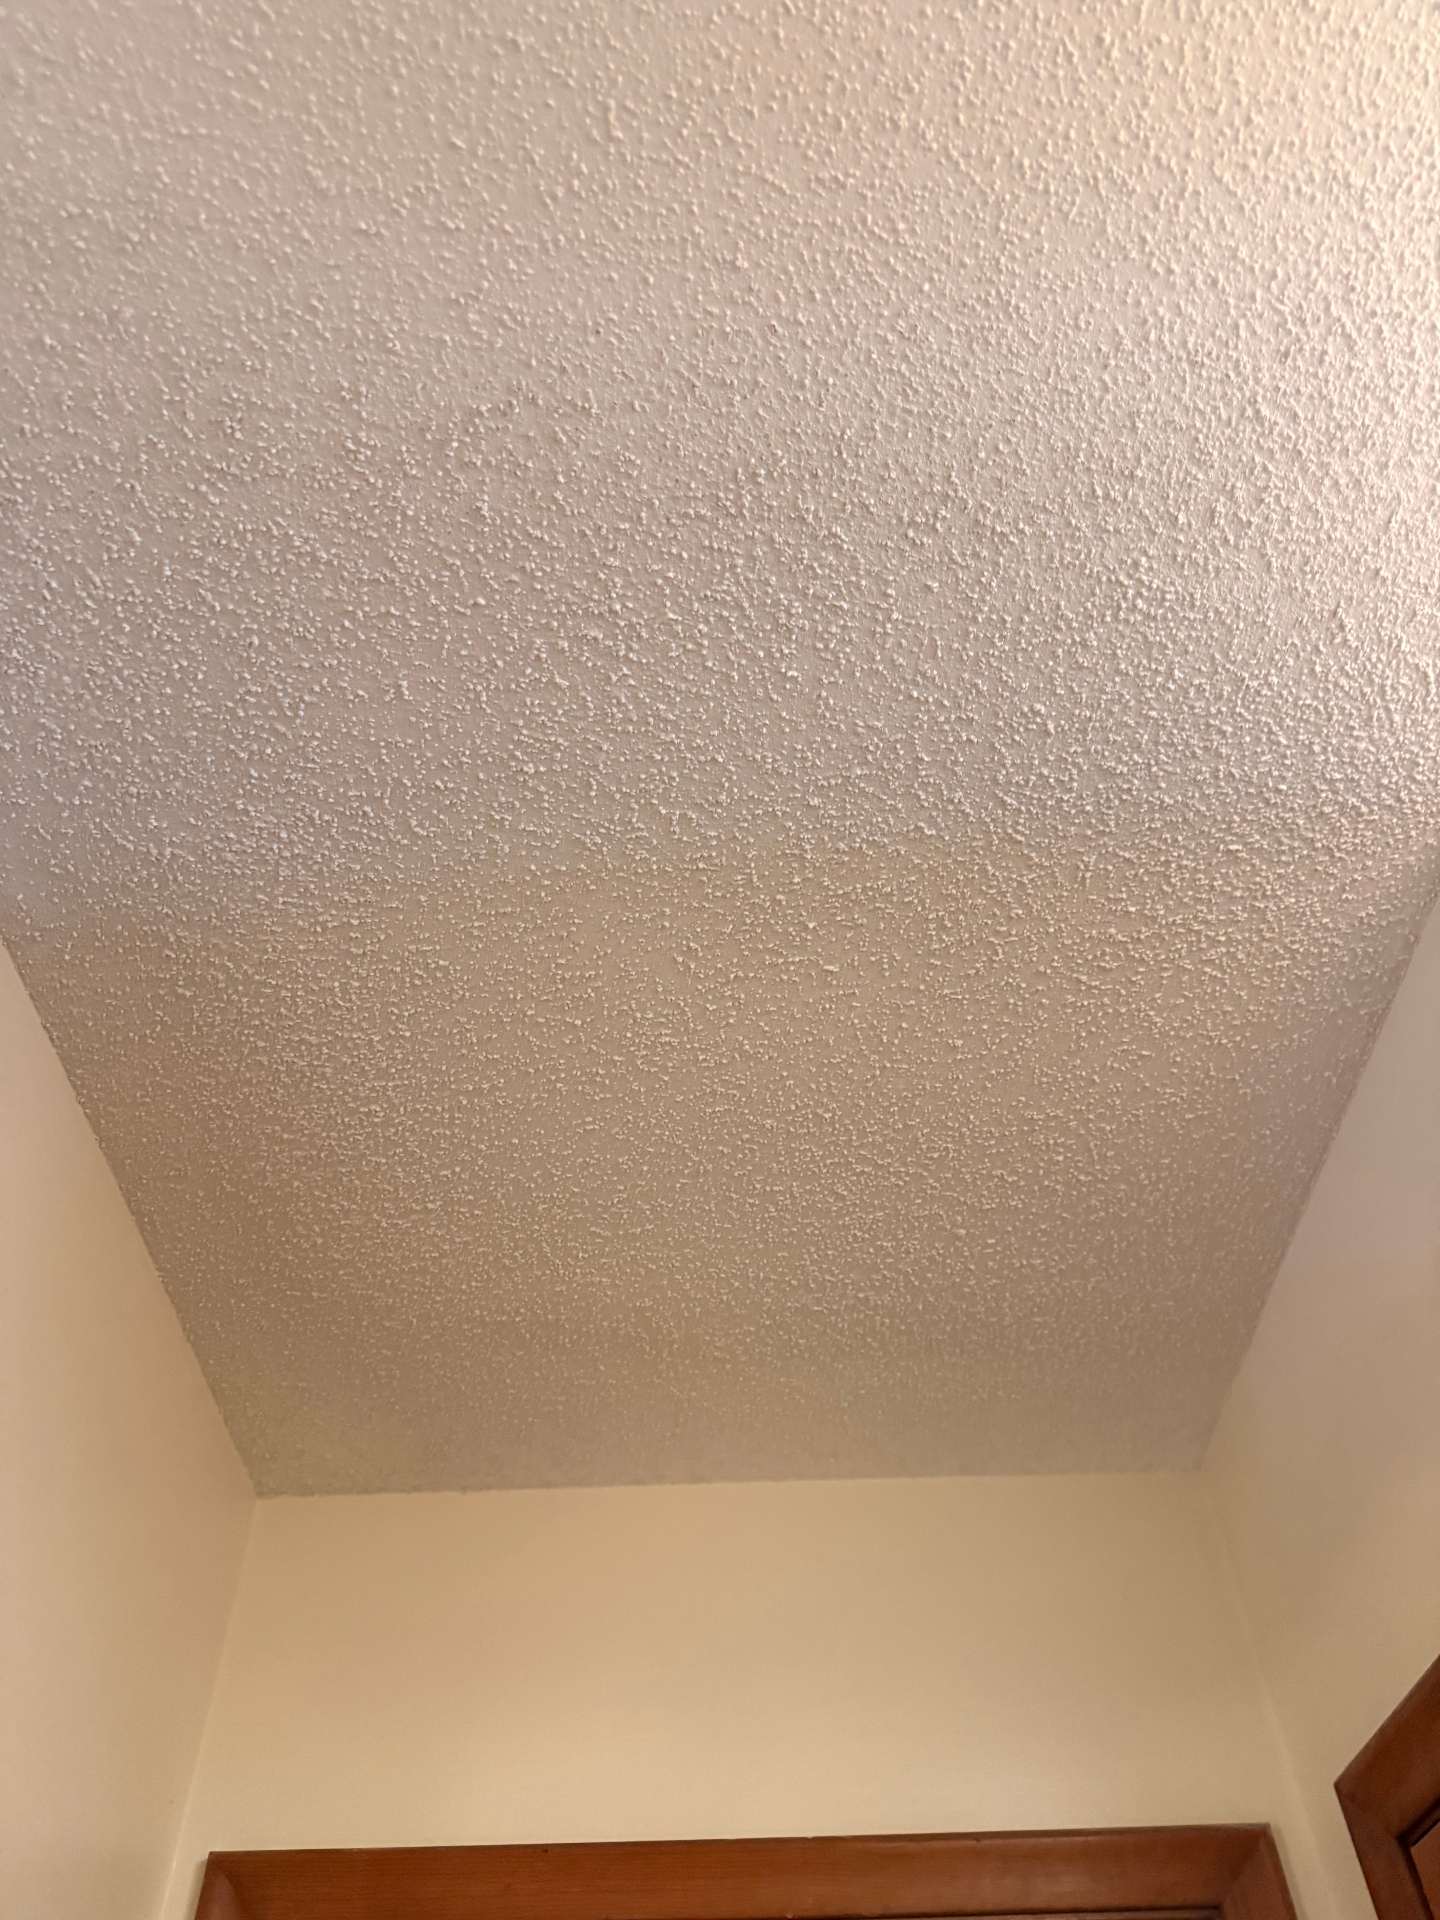
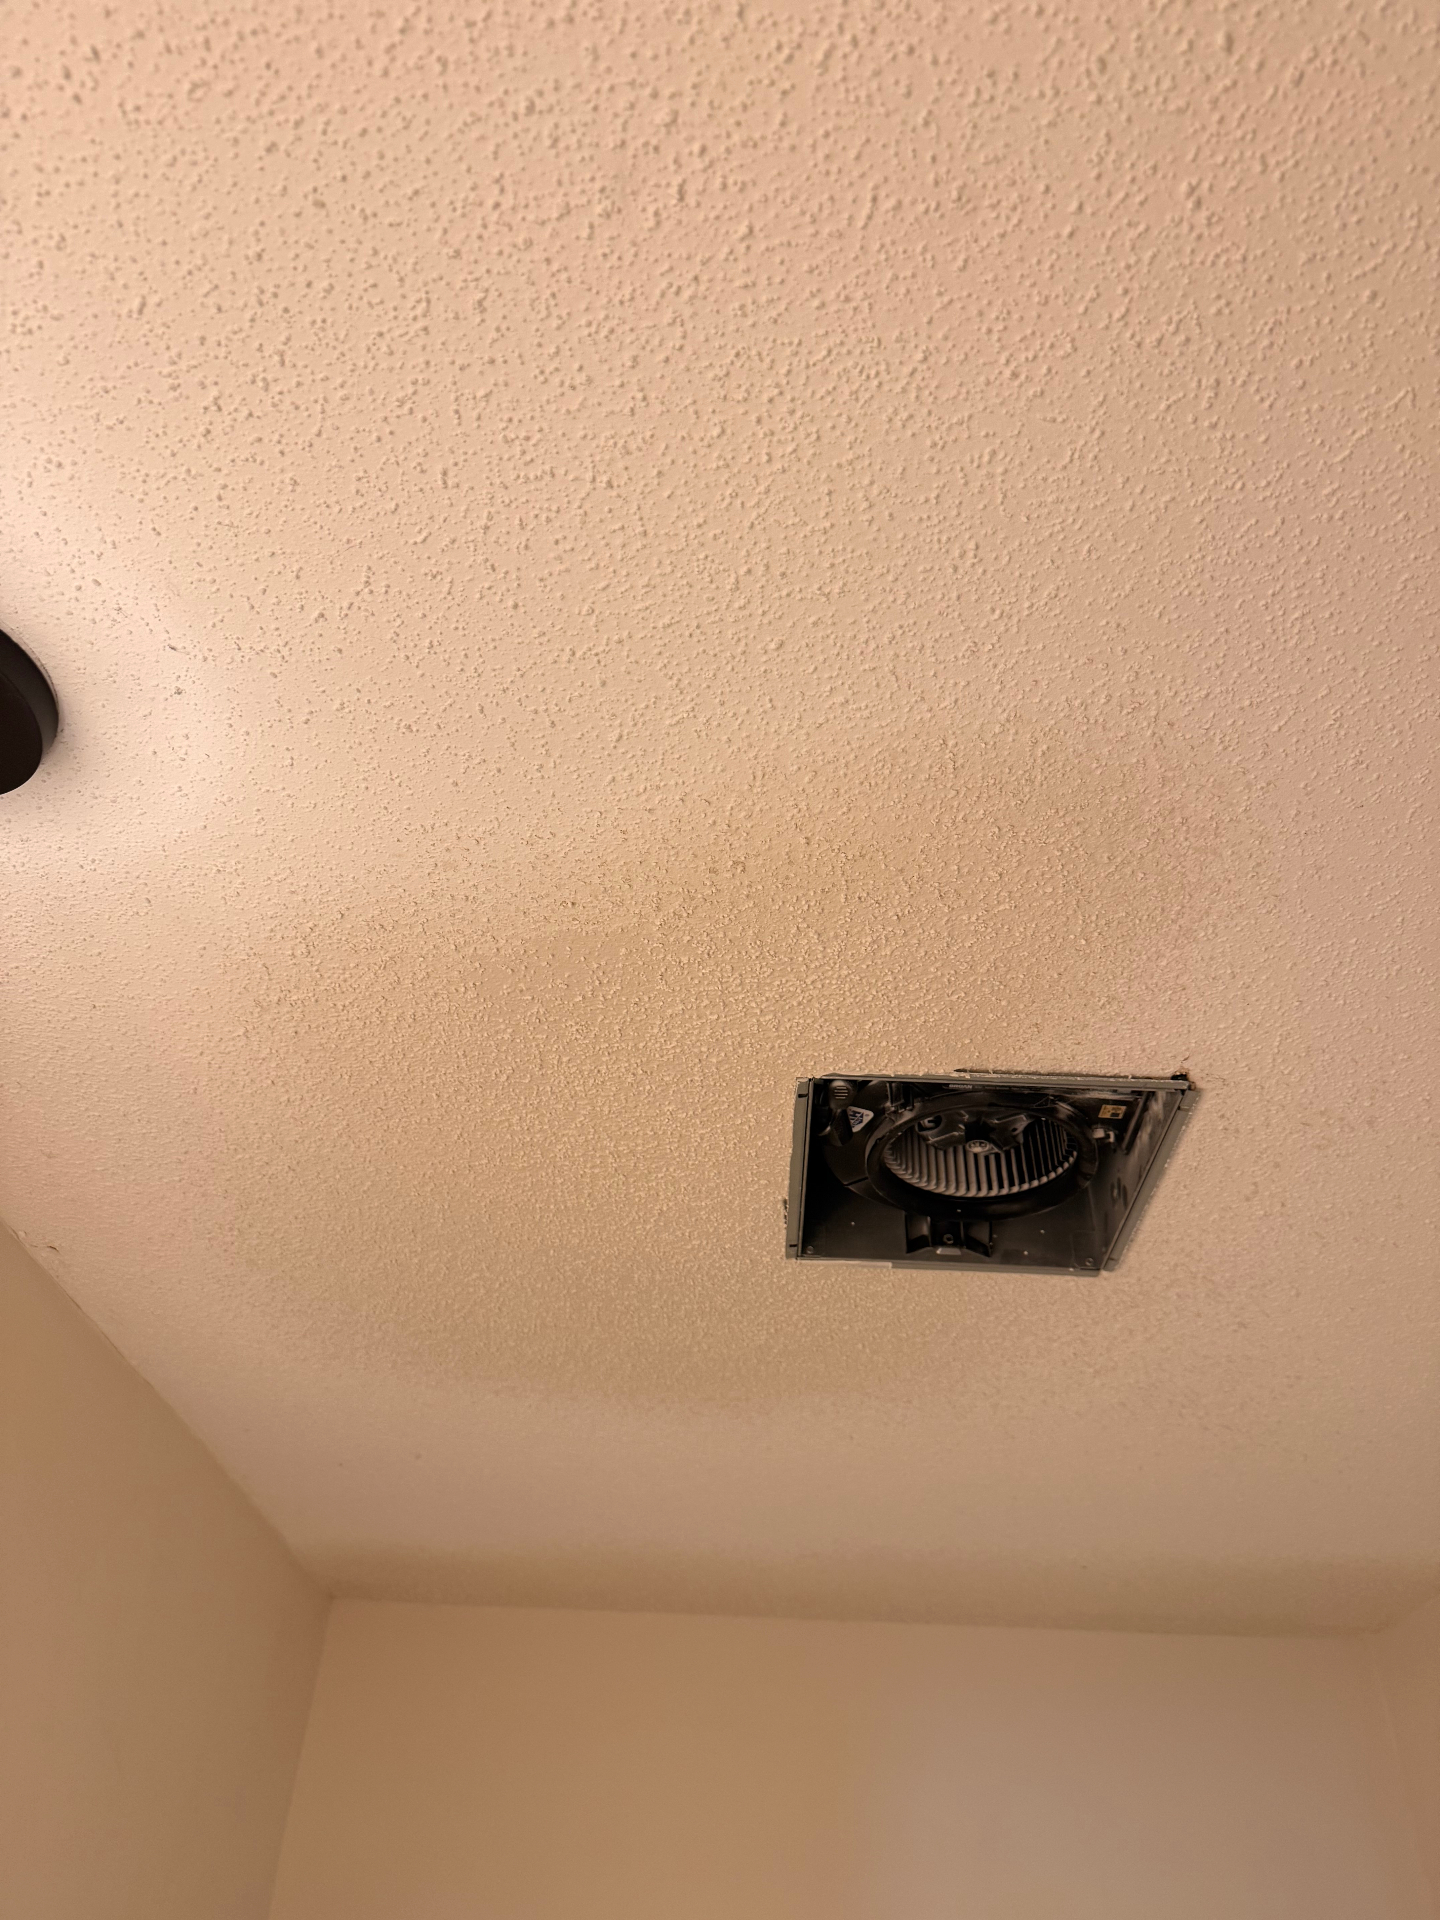
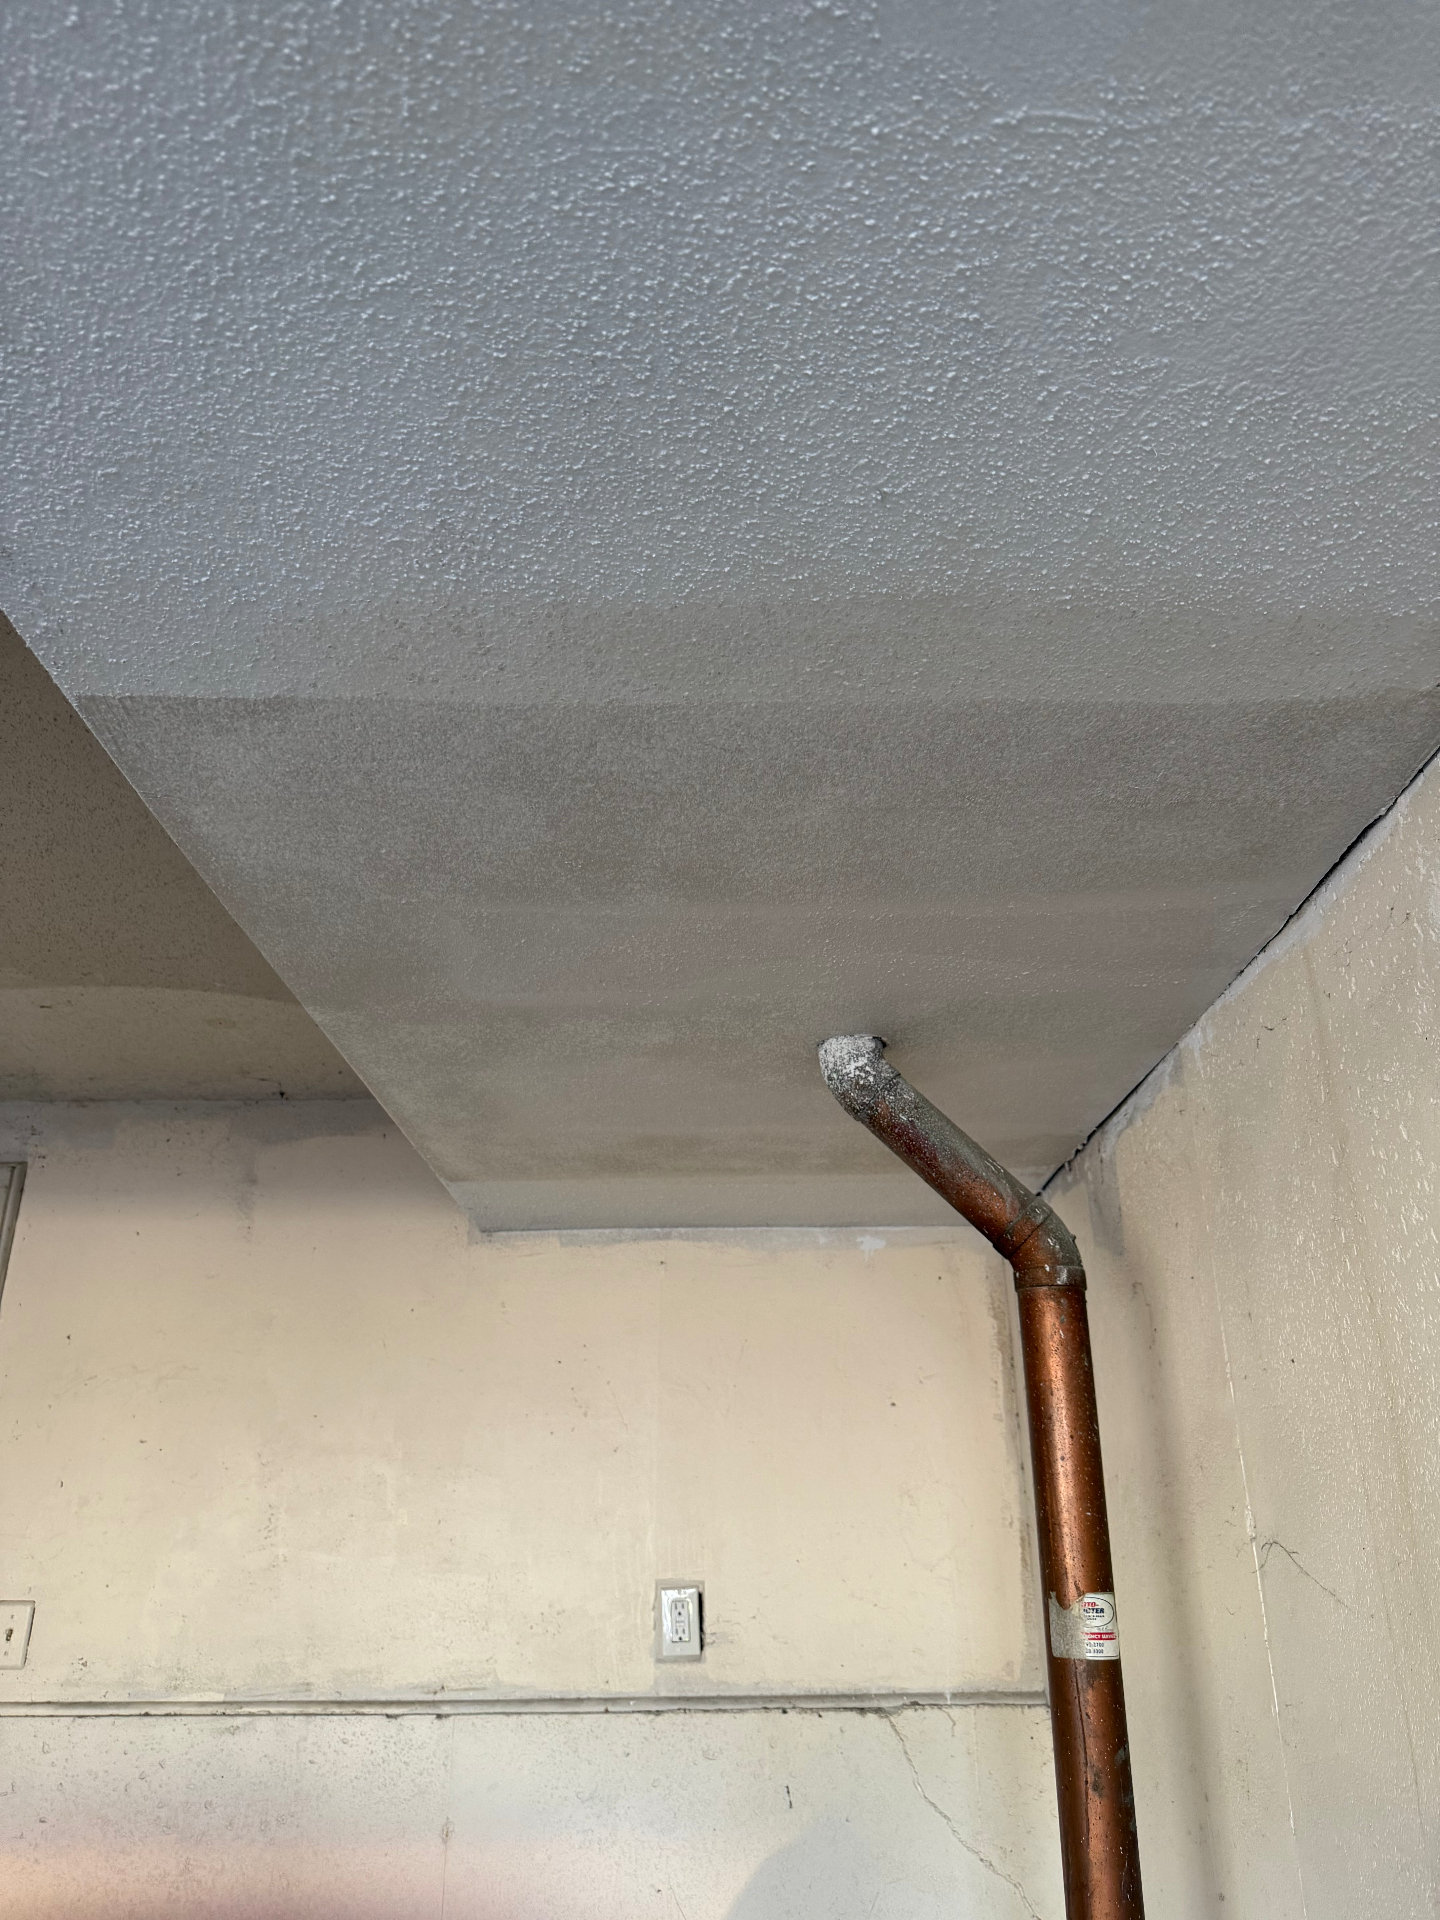
Stairwell popcorn ceiling re-textured and blended to match the original finish
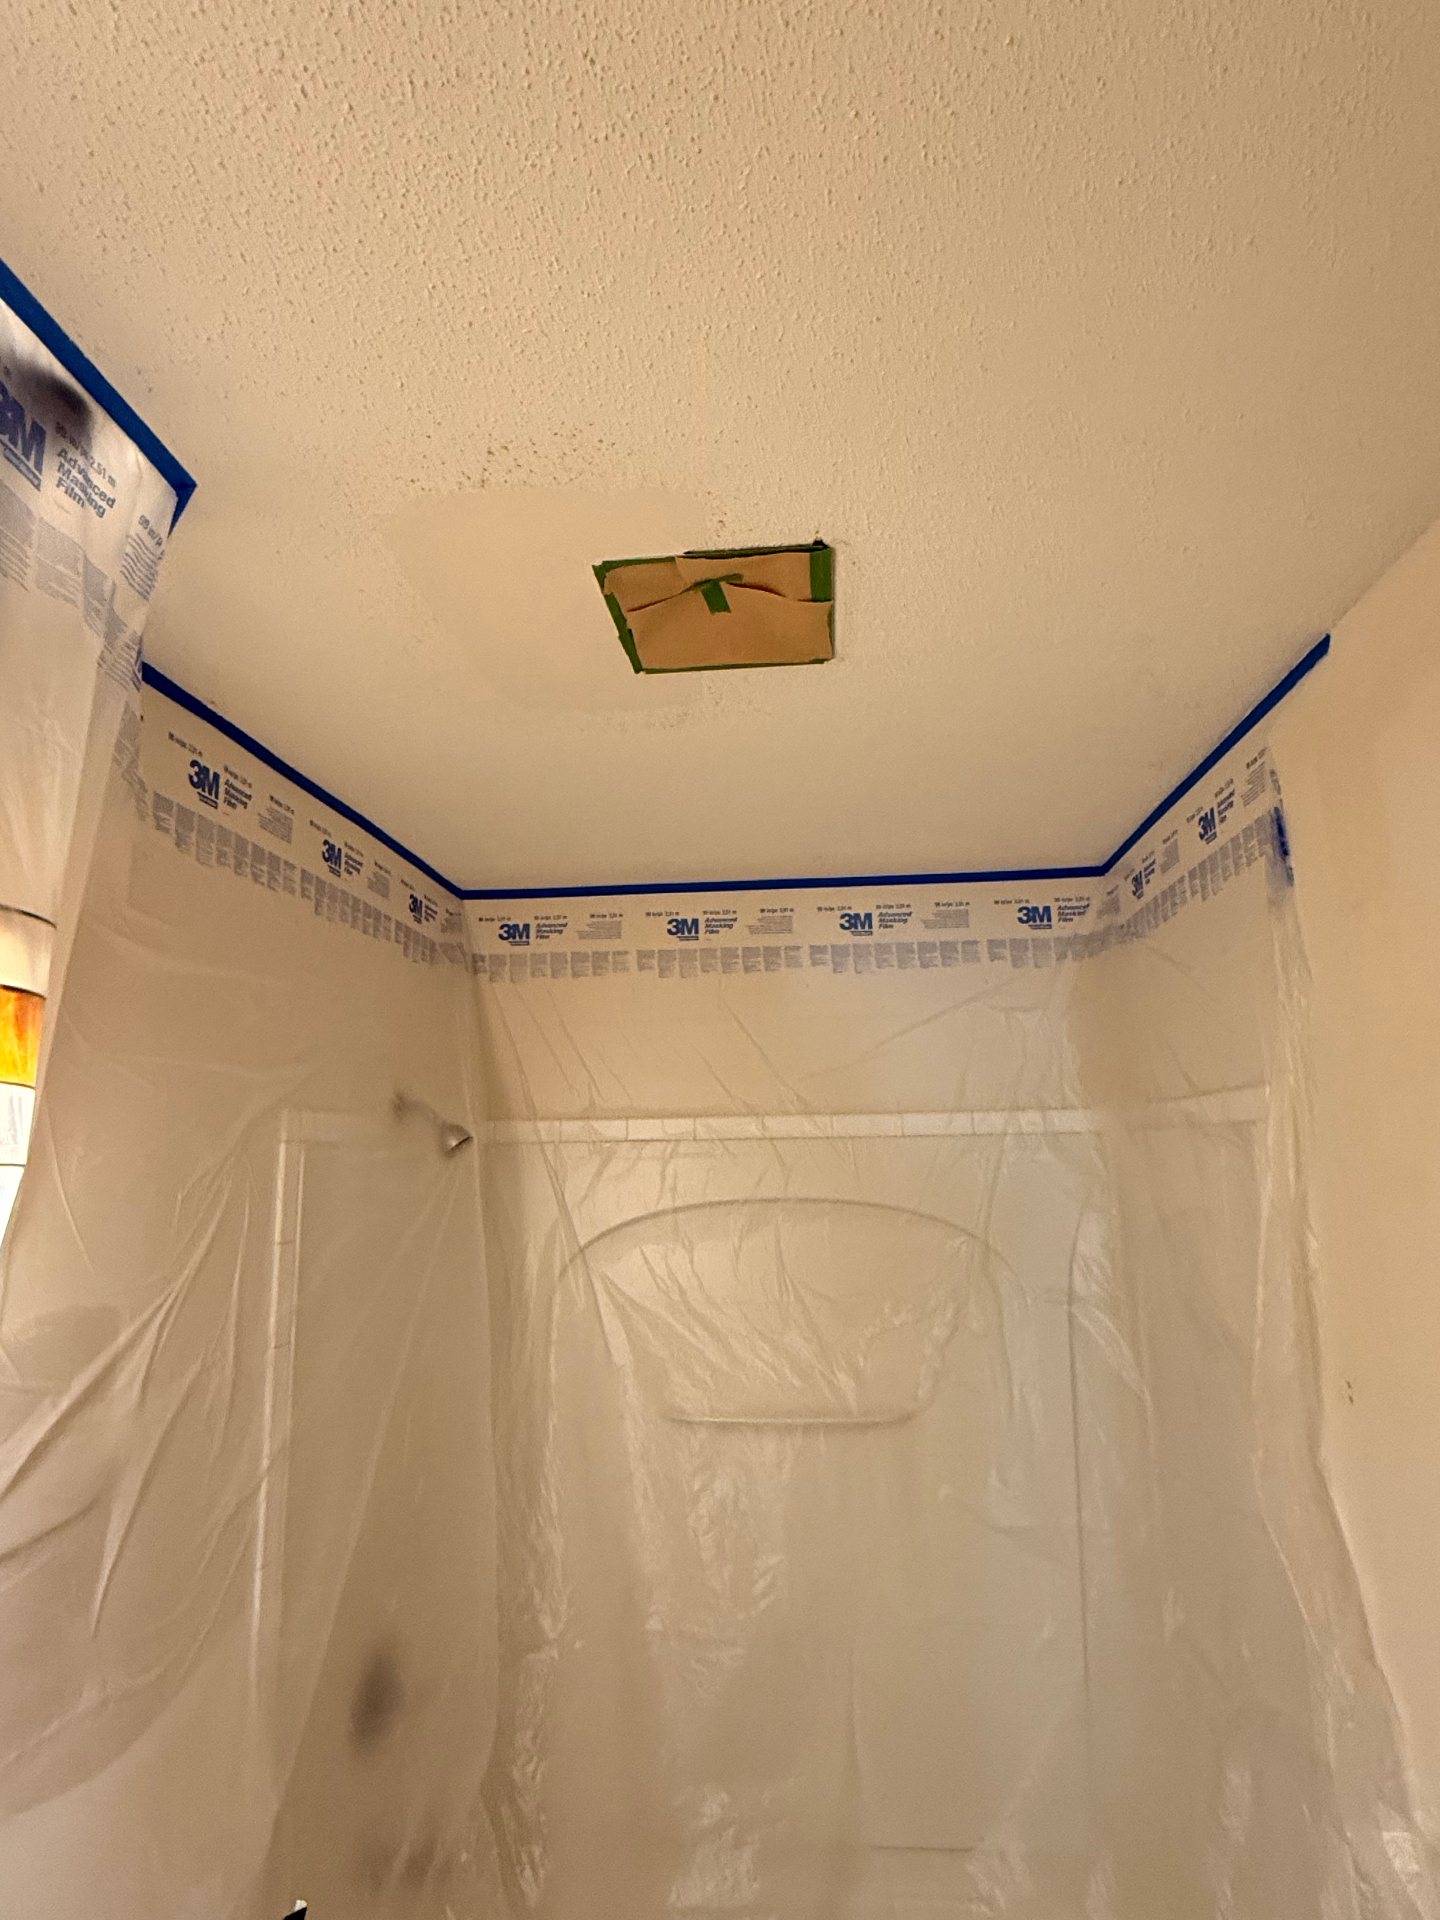
Bathroom popcorn ceiling patched around an old exhaust fan opening
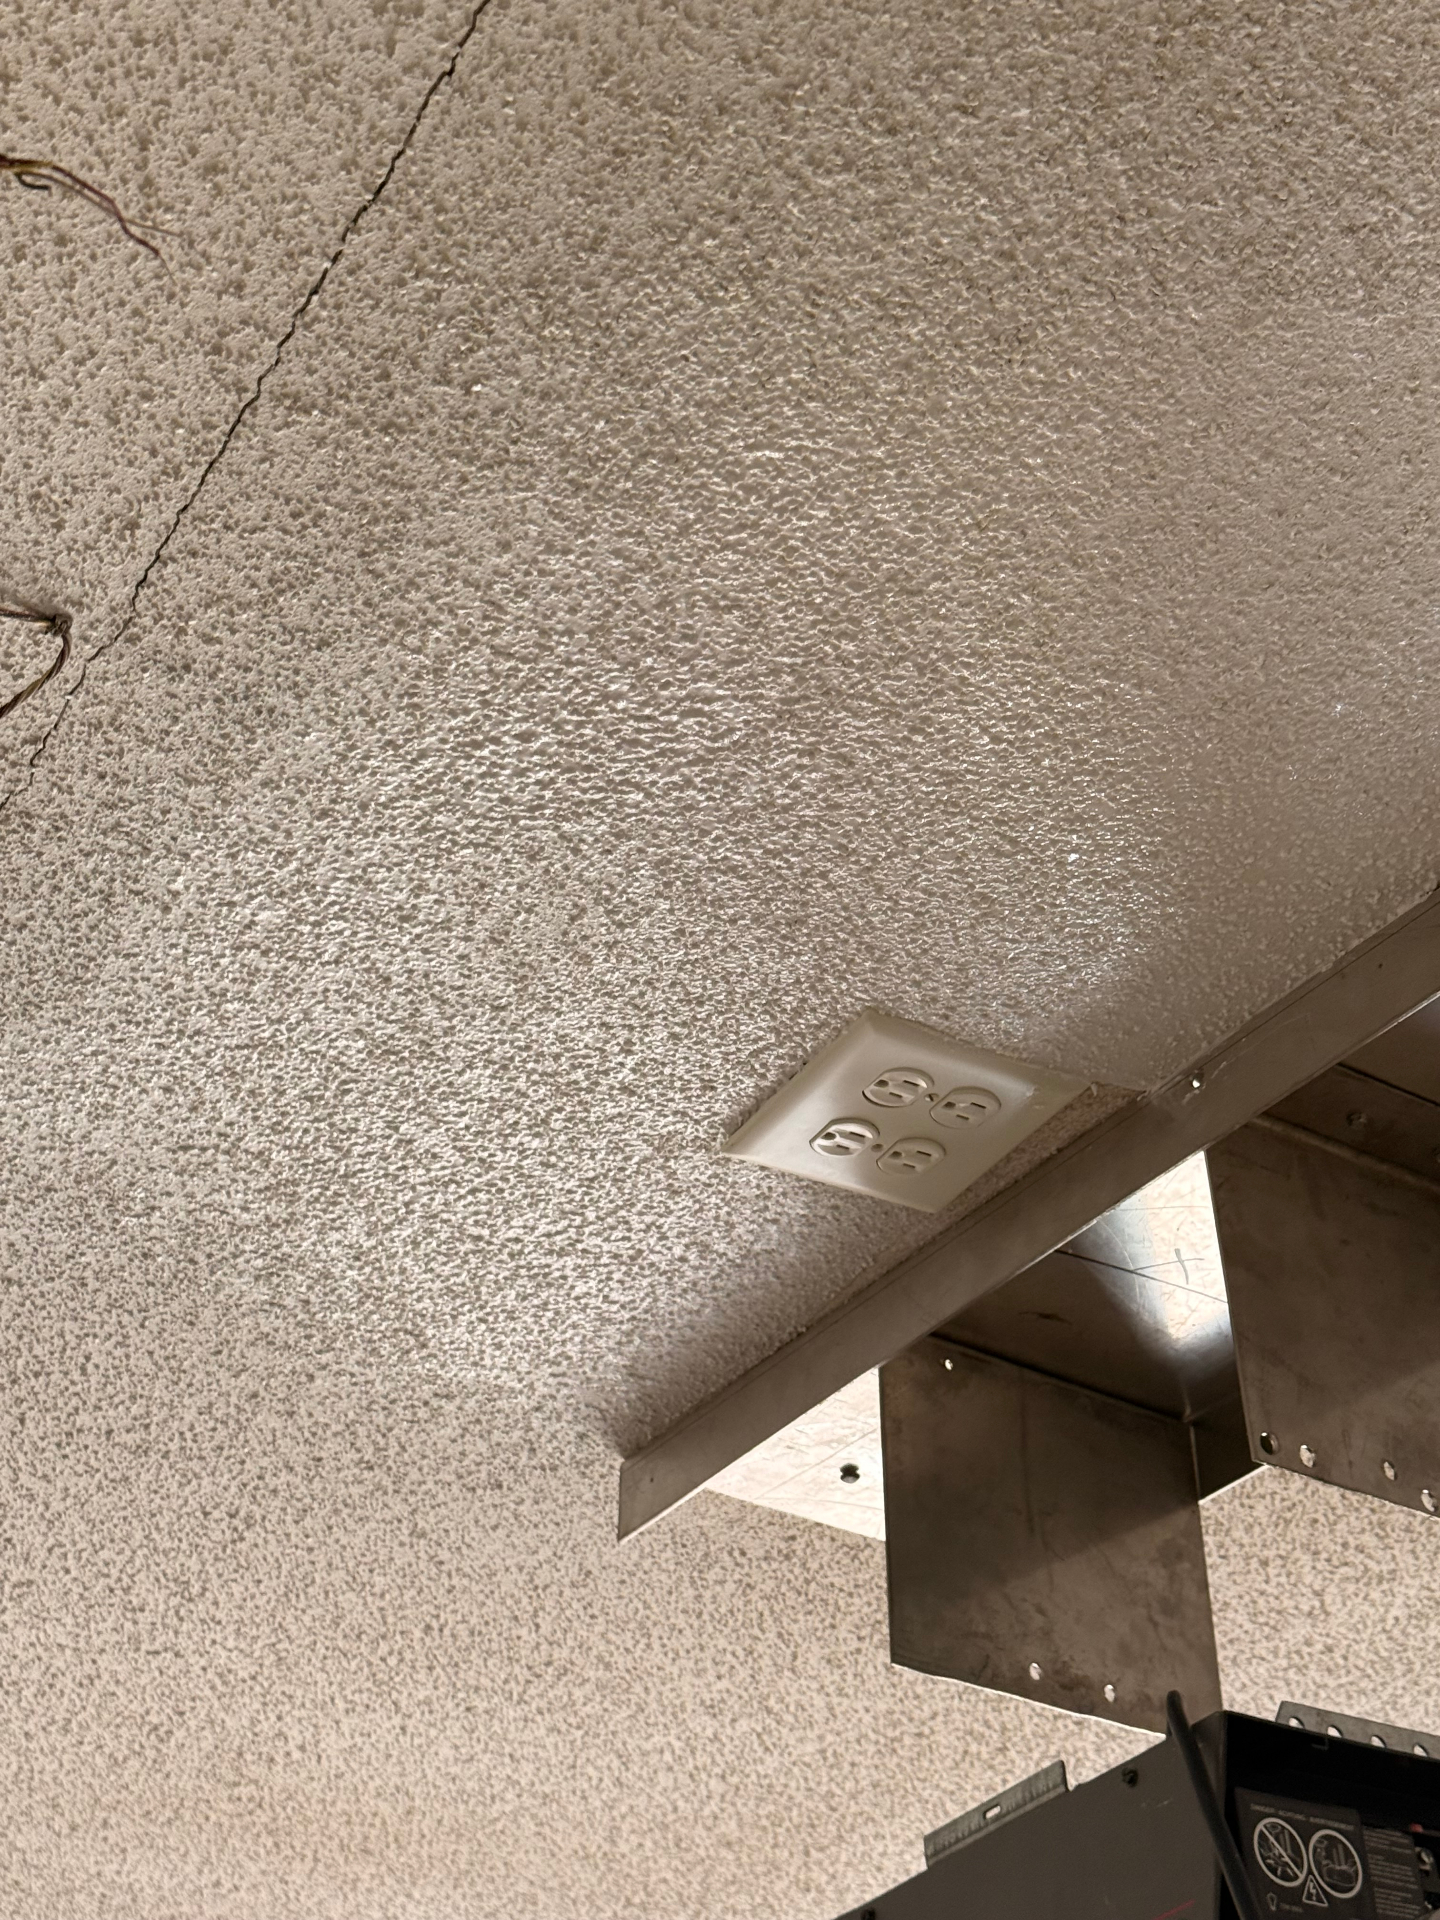
Textured ceiling repaired around an electrical box in a utility area
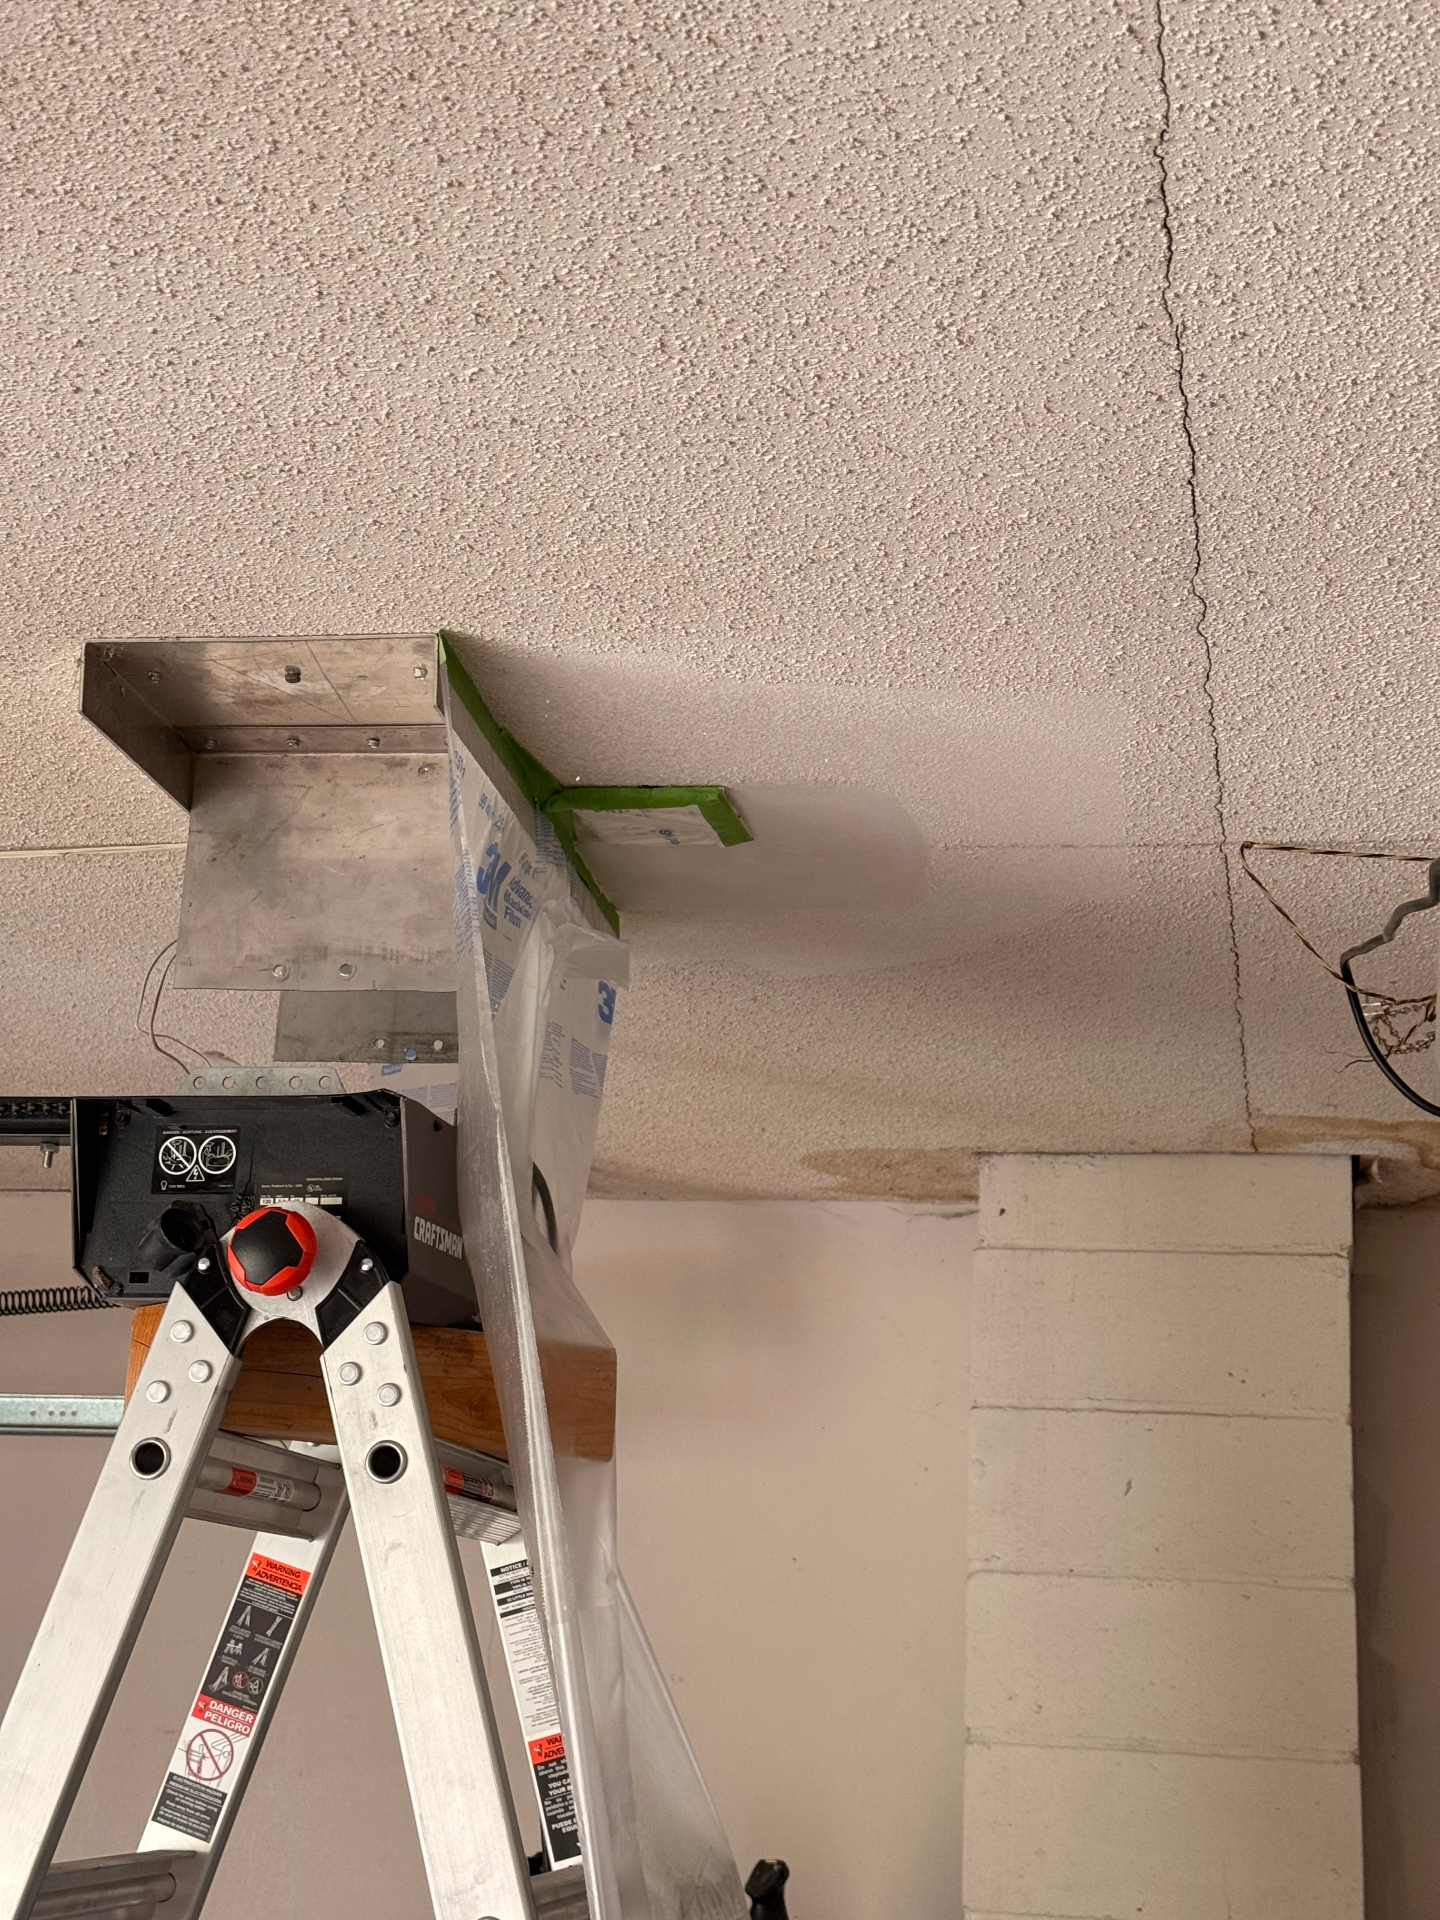
Garage popcorn ceiling — long settlement crack feathered out and re-textured
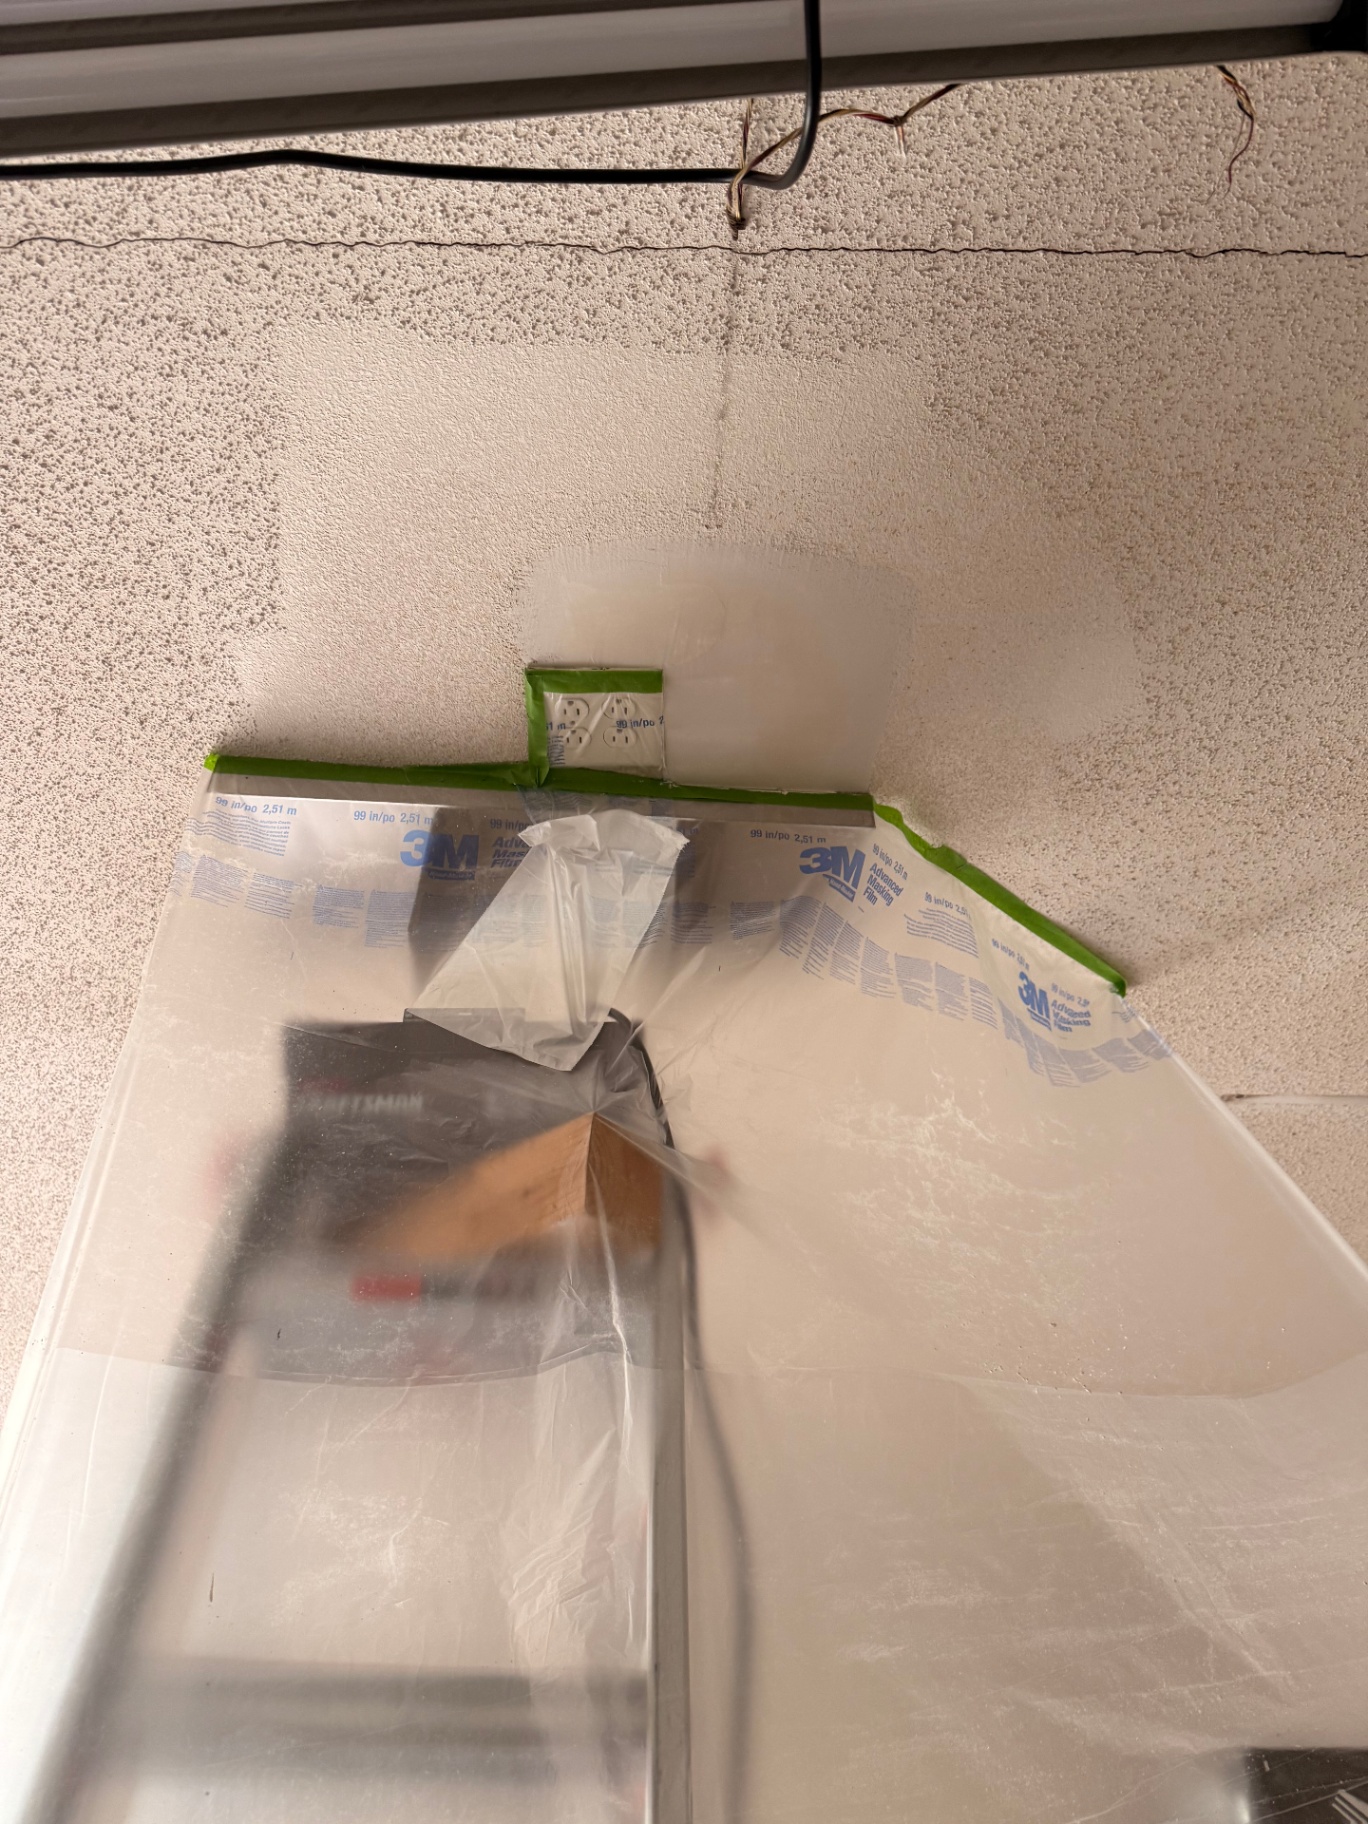
Popcorn ceiling masked off and prepped before patching around junction boxes
Bathroom popcorn ceiling patch sprayed, masked, and ready to blend into the existing texture

— Addition: Drywall Install to Paint Ready

Addition — from drywall install to paint ready.

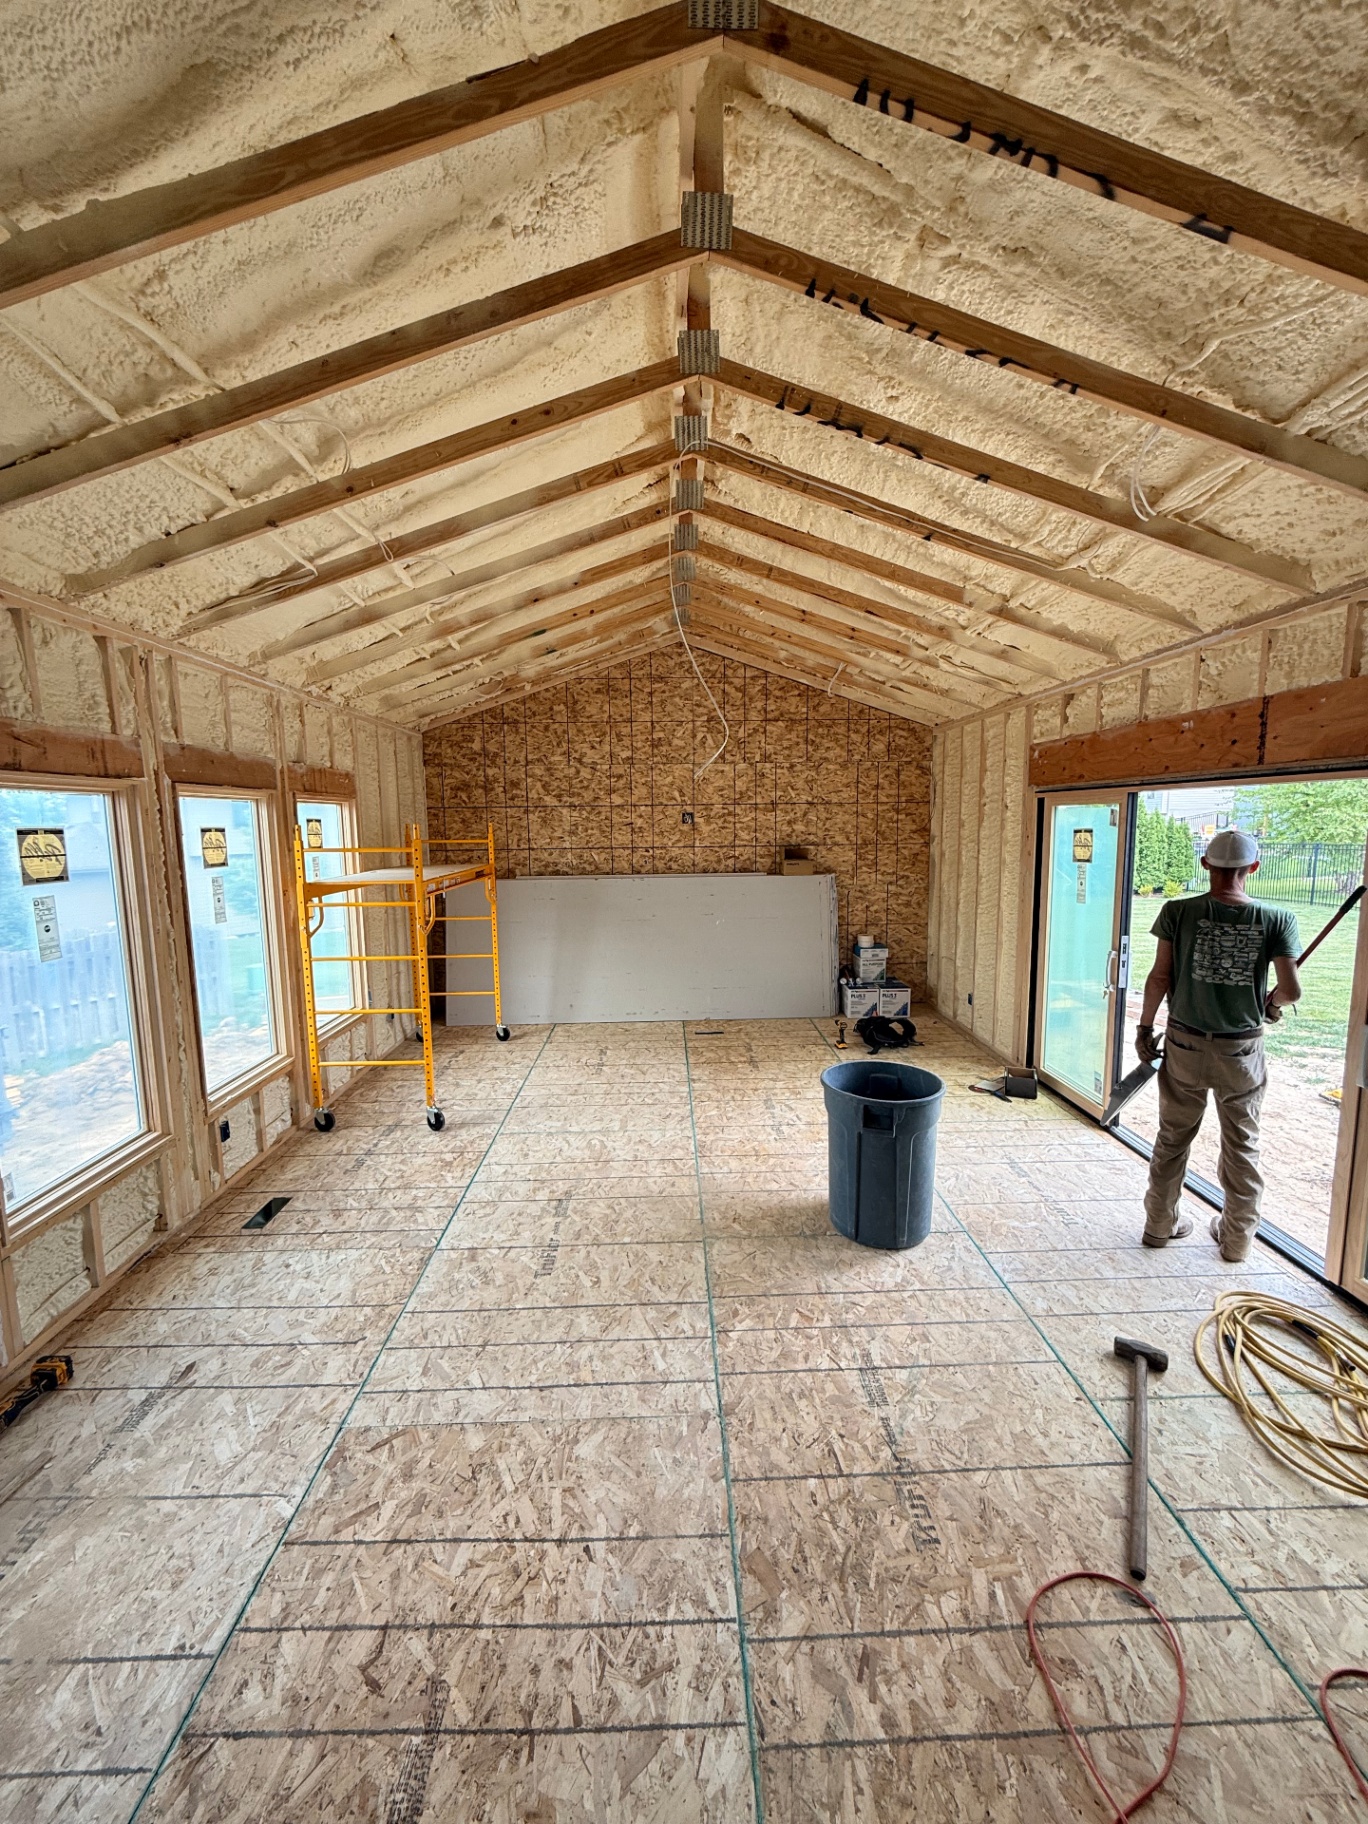
Full sequence on a vaulted room addition — bare framing and spray-foam insulation, board hung on walls and vaulted ceiling, then taped, mudded, and sanded to a smooth paint-ready finish.
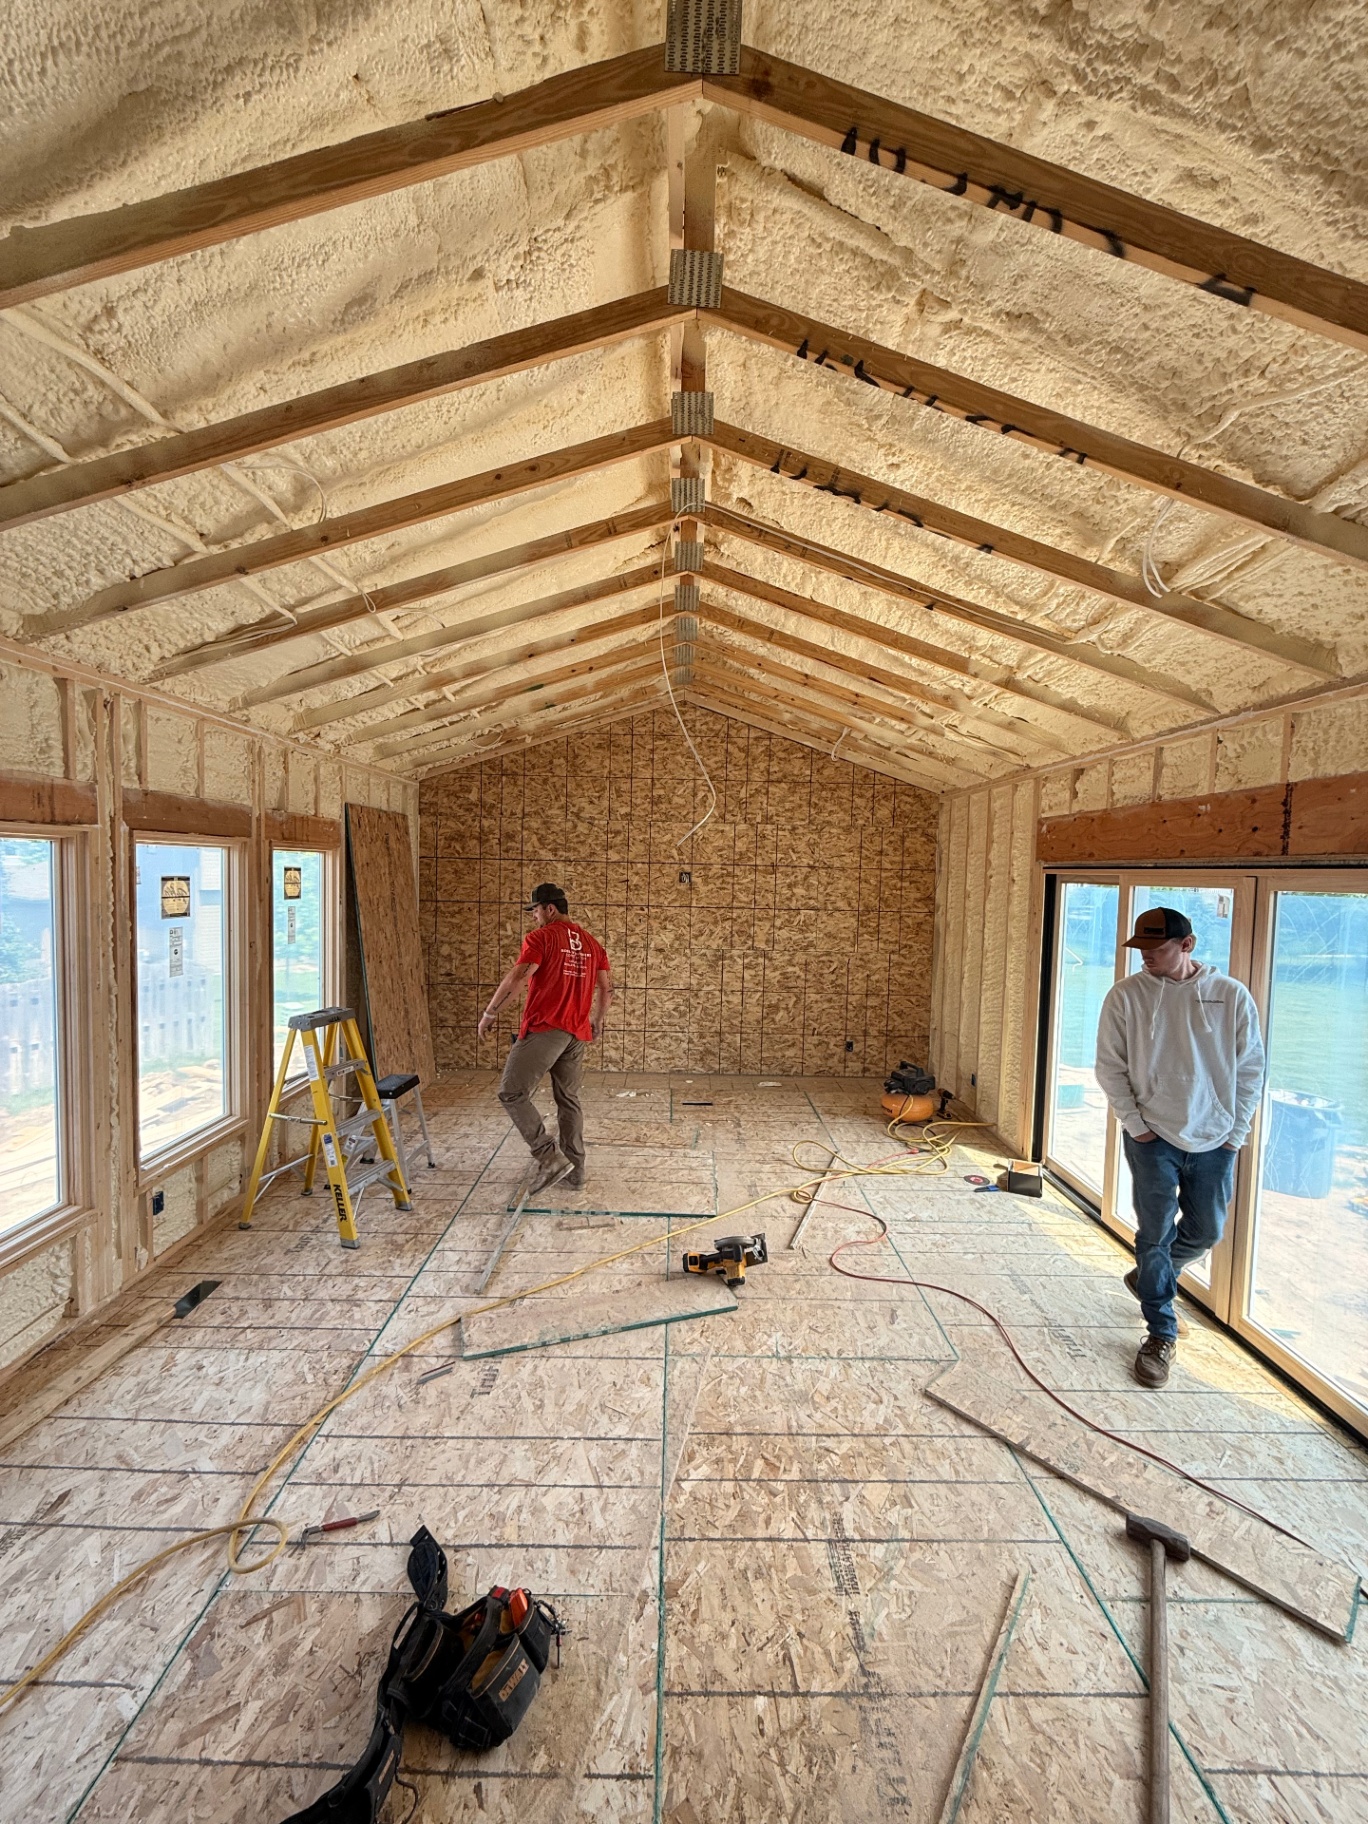
Bare framing with spray-foam insulation in place — crew laying out the vaulted addition before drywall
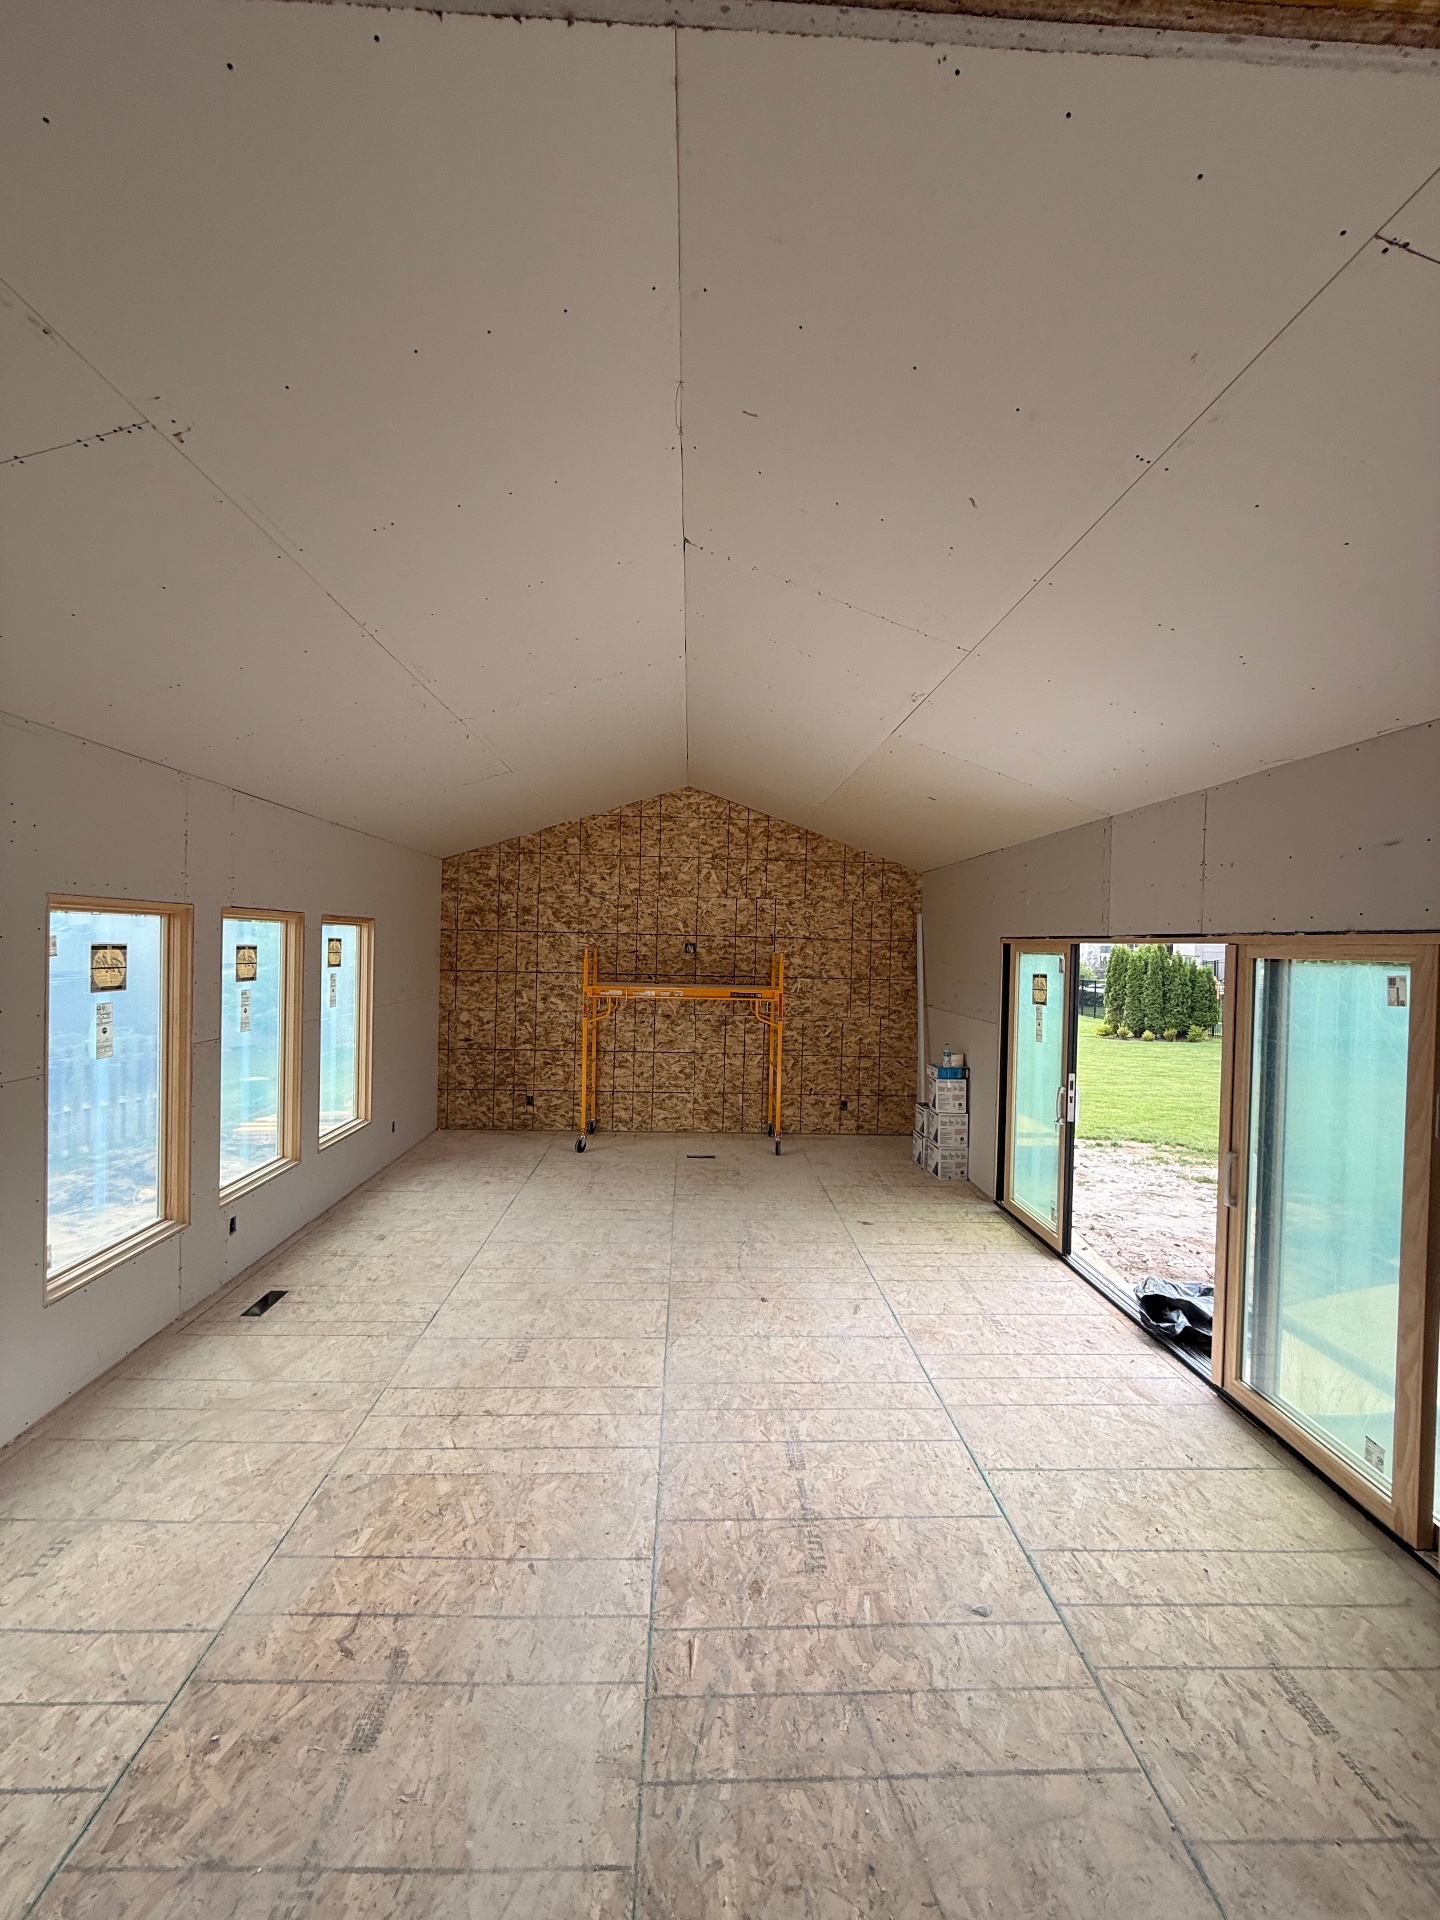
Insulated vaulted addition prepped and staged — board on site, scaffold set, ready to start hanging
Walls and vaulted ceiling fully hung with drywall — seams ready for tape and mud
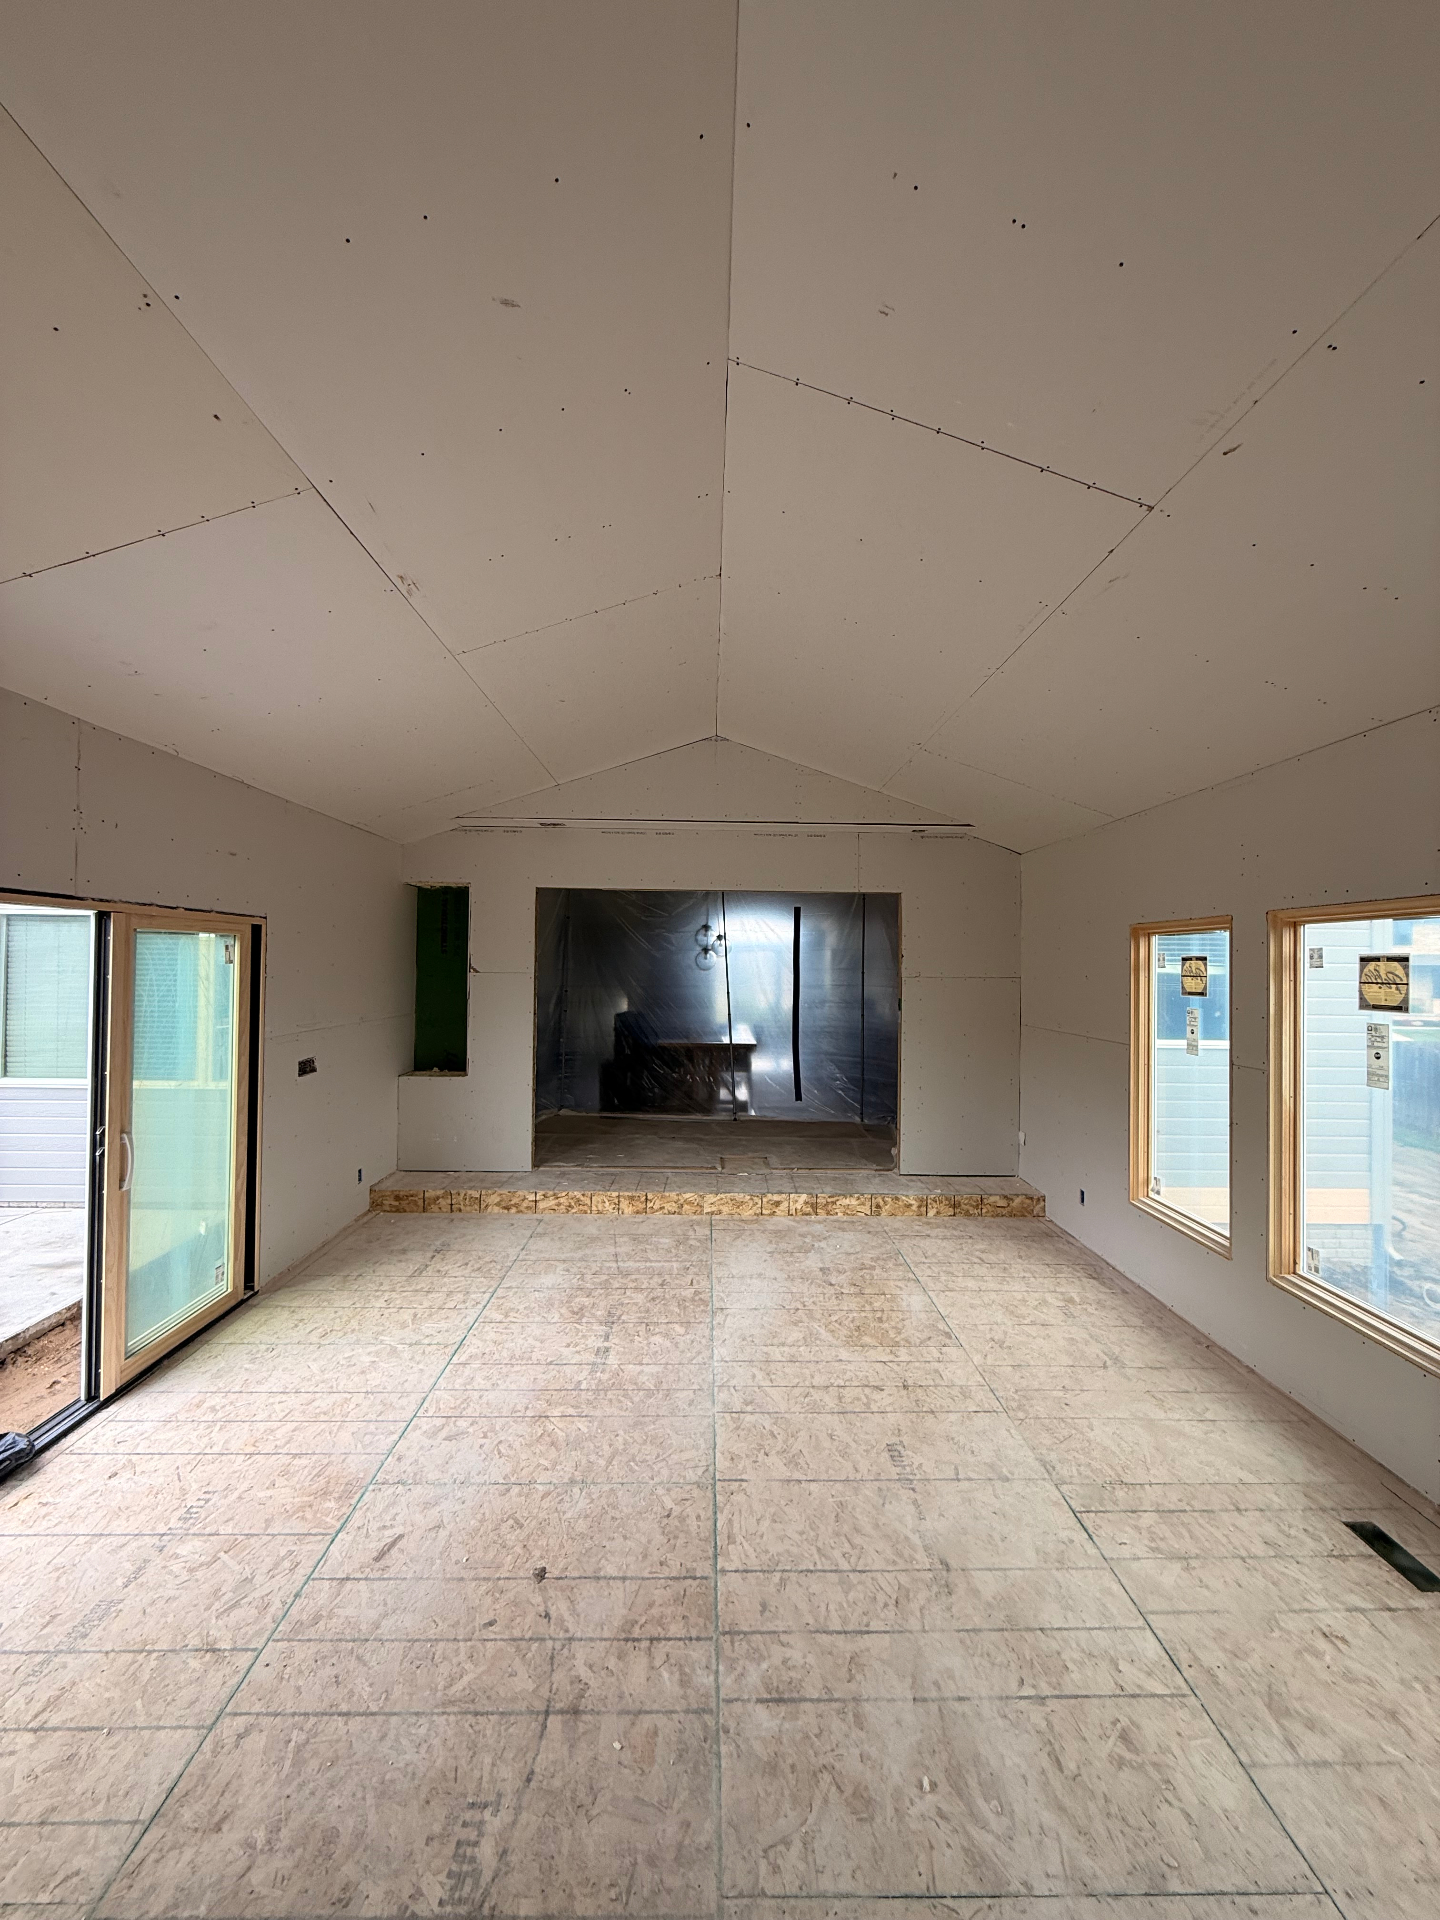
Drywall hung around the fireplace opening and step-up — clean transitions ready for finishing
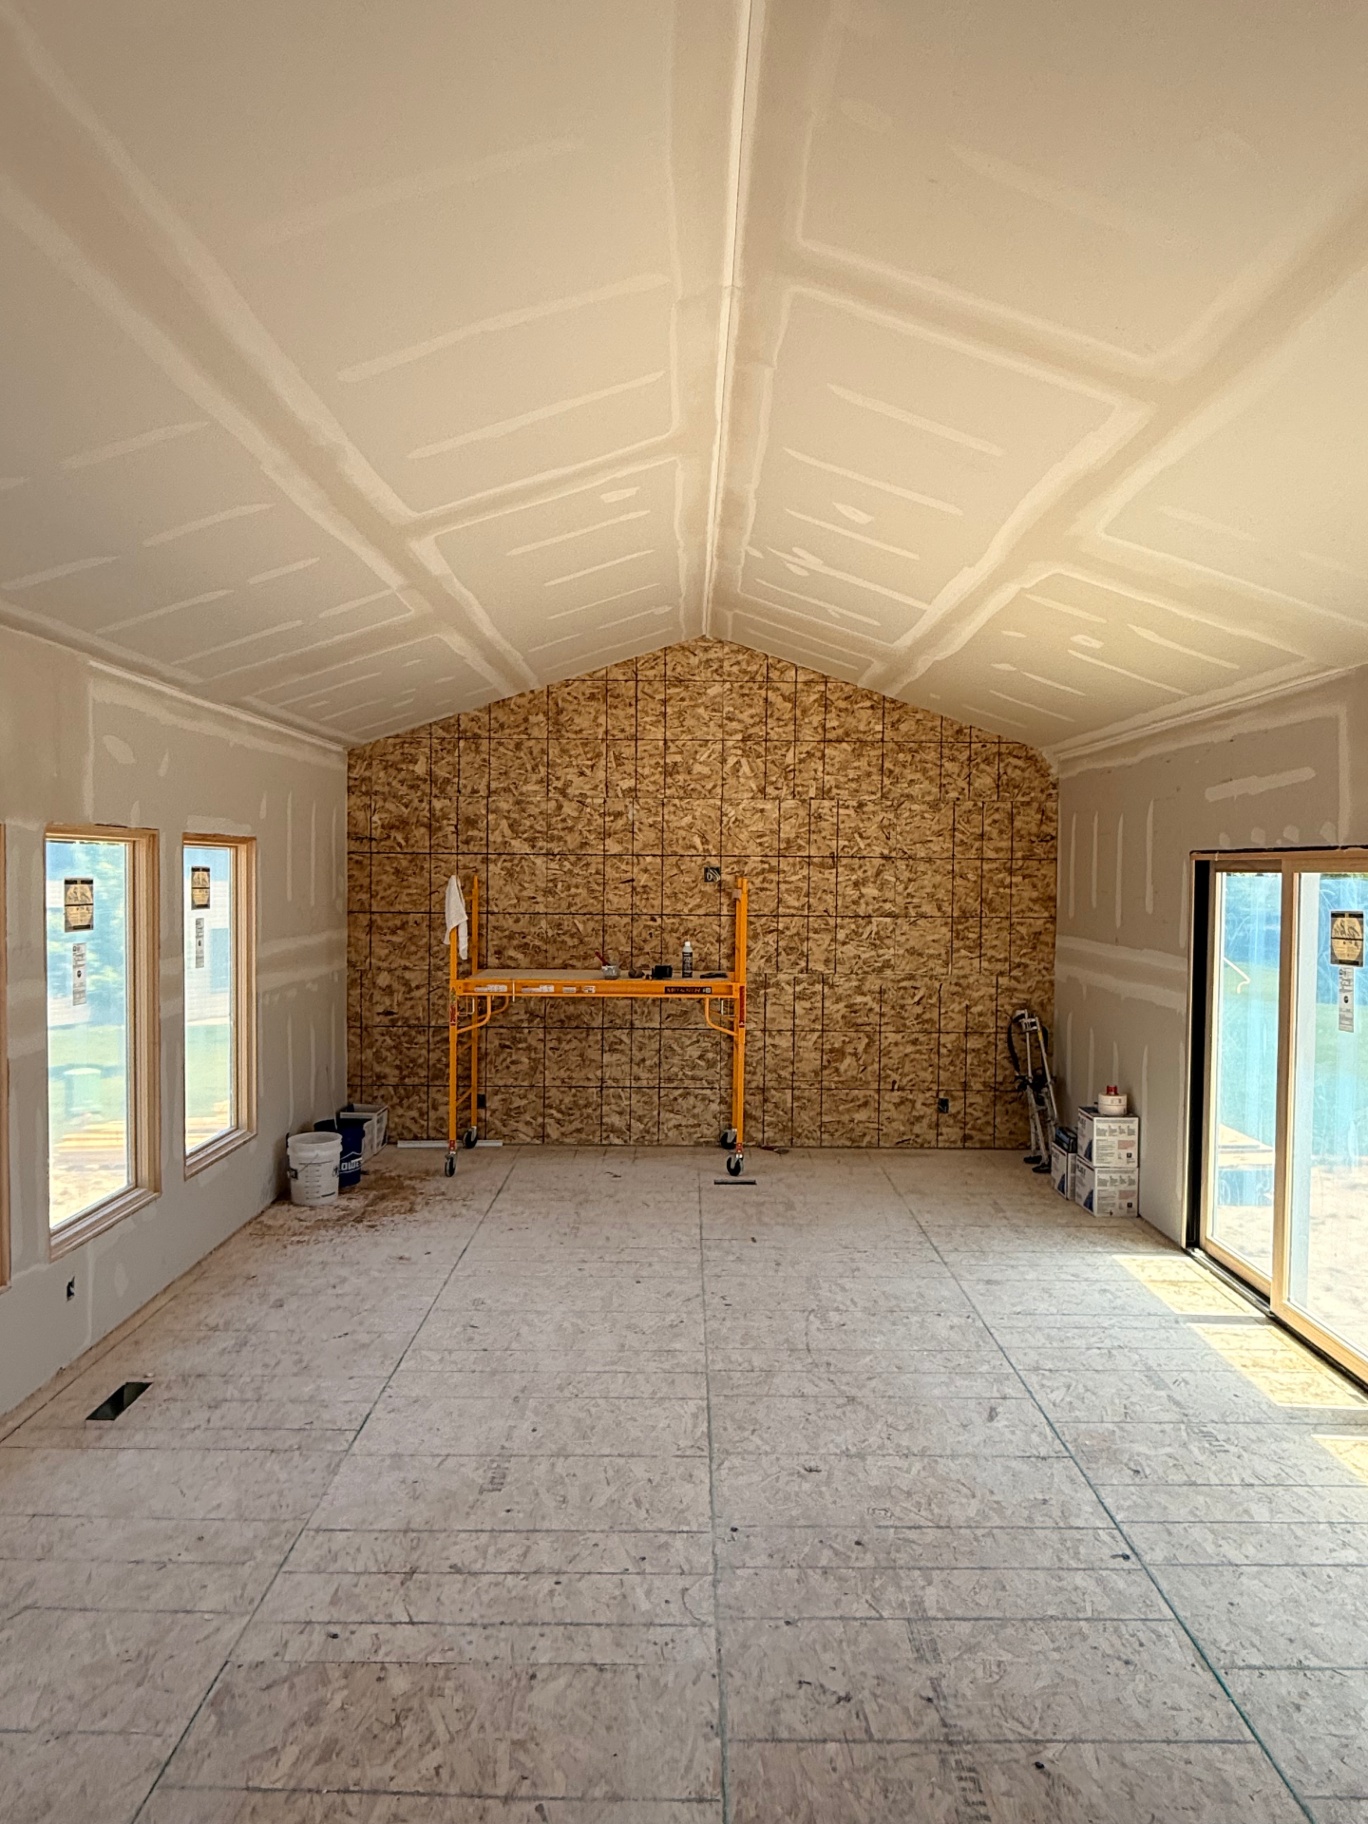
Vaulted ceiling and walls taped, mudded, and sanded — smooth and paint-ready

— Small Addition: Start to Finish

Small addition — start to finish.

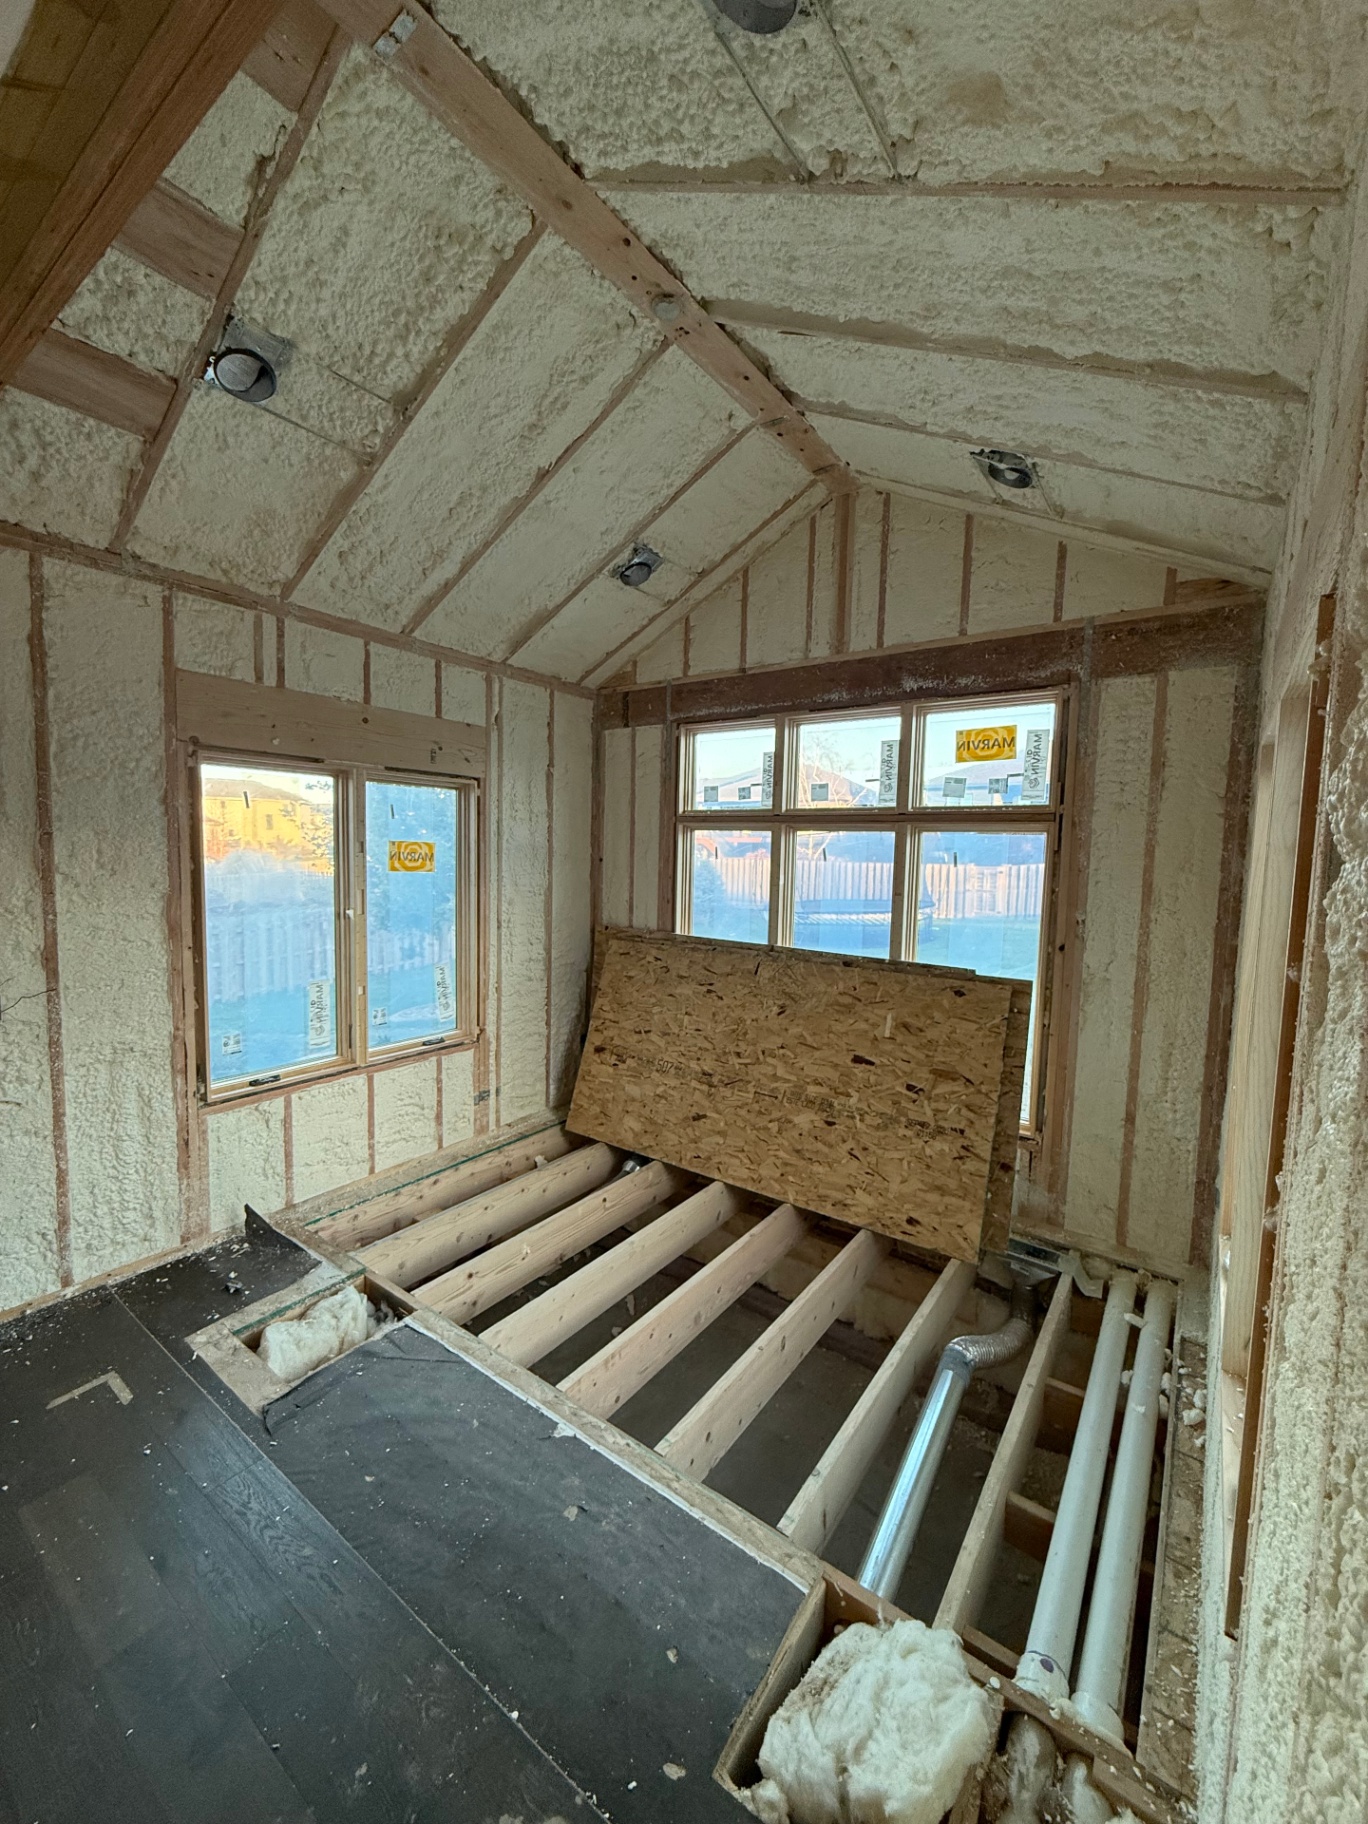
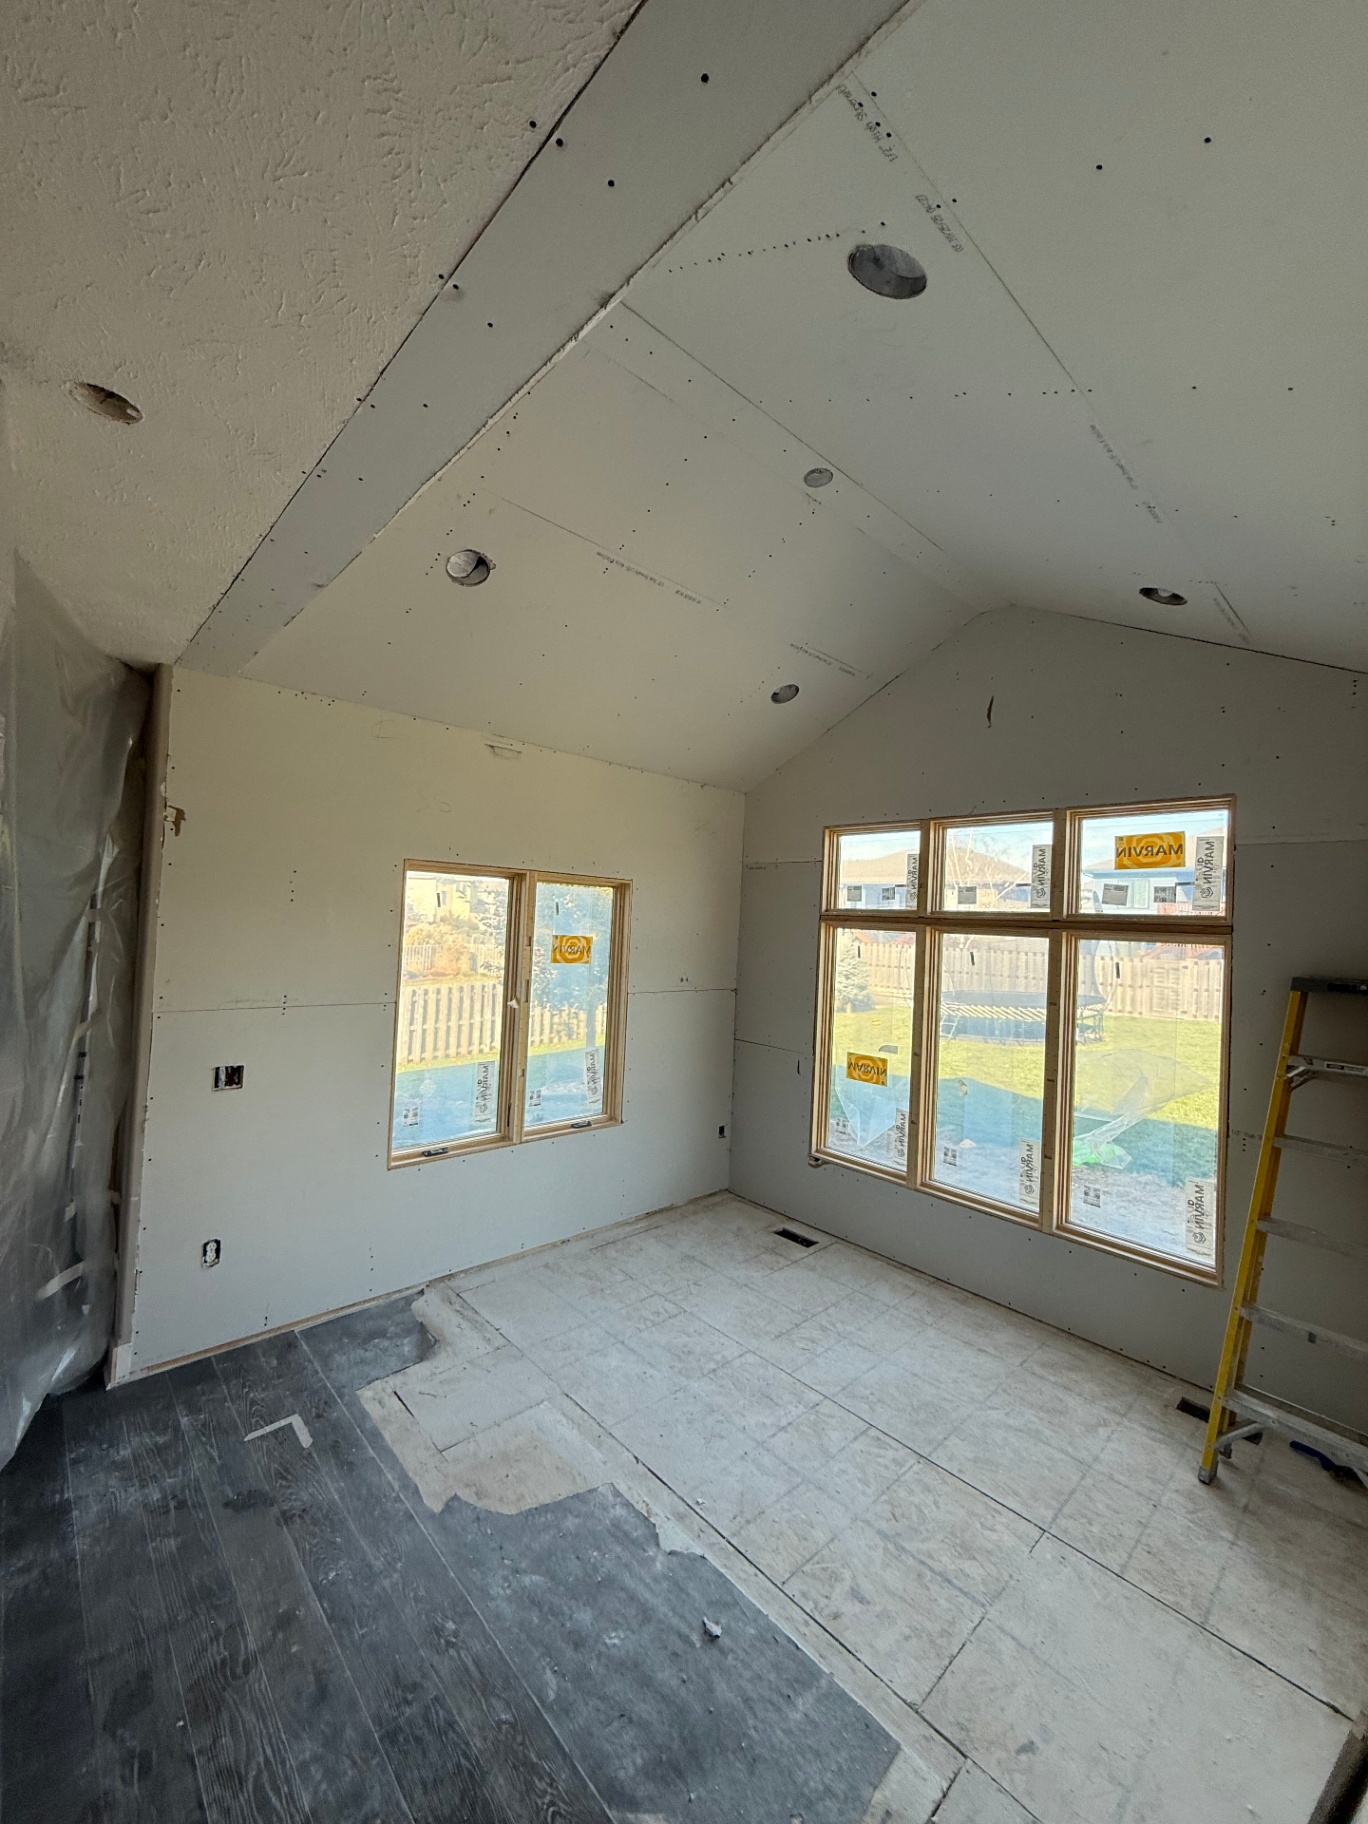
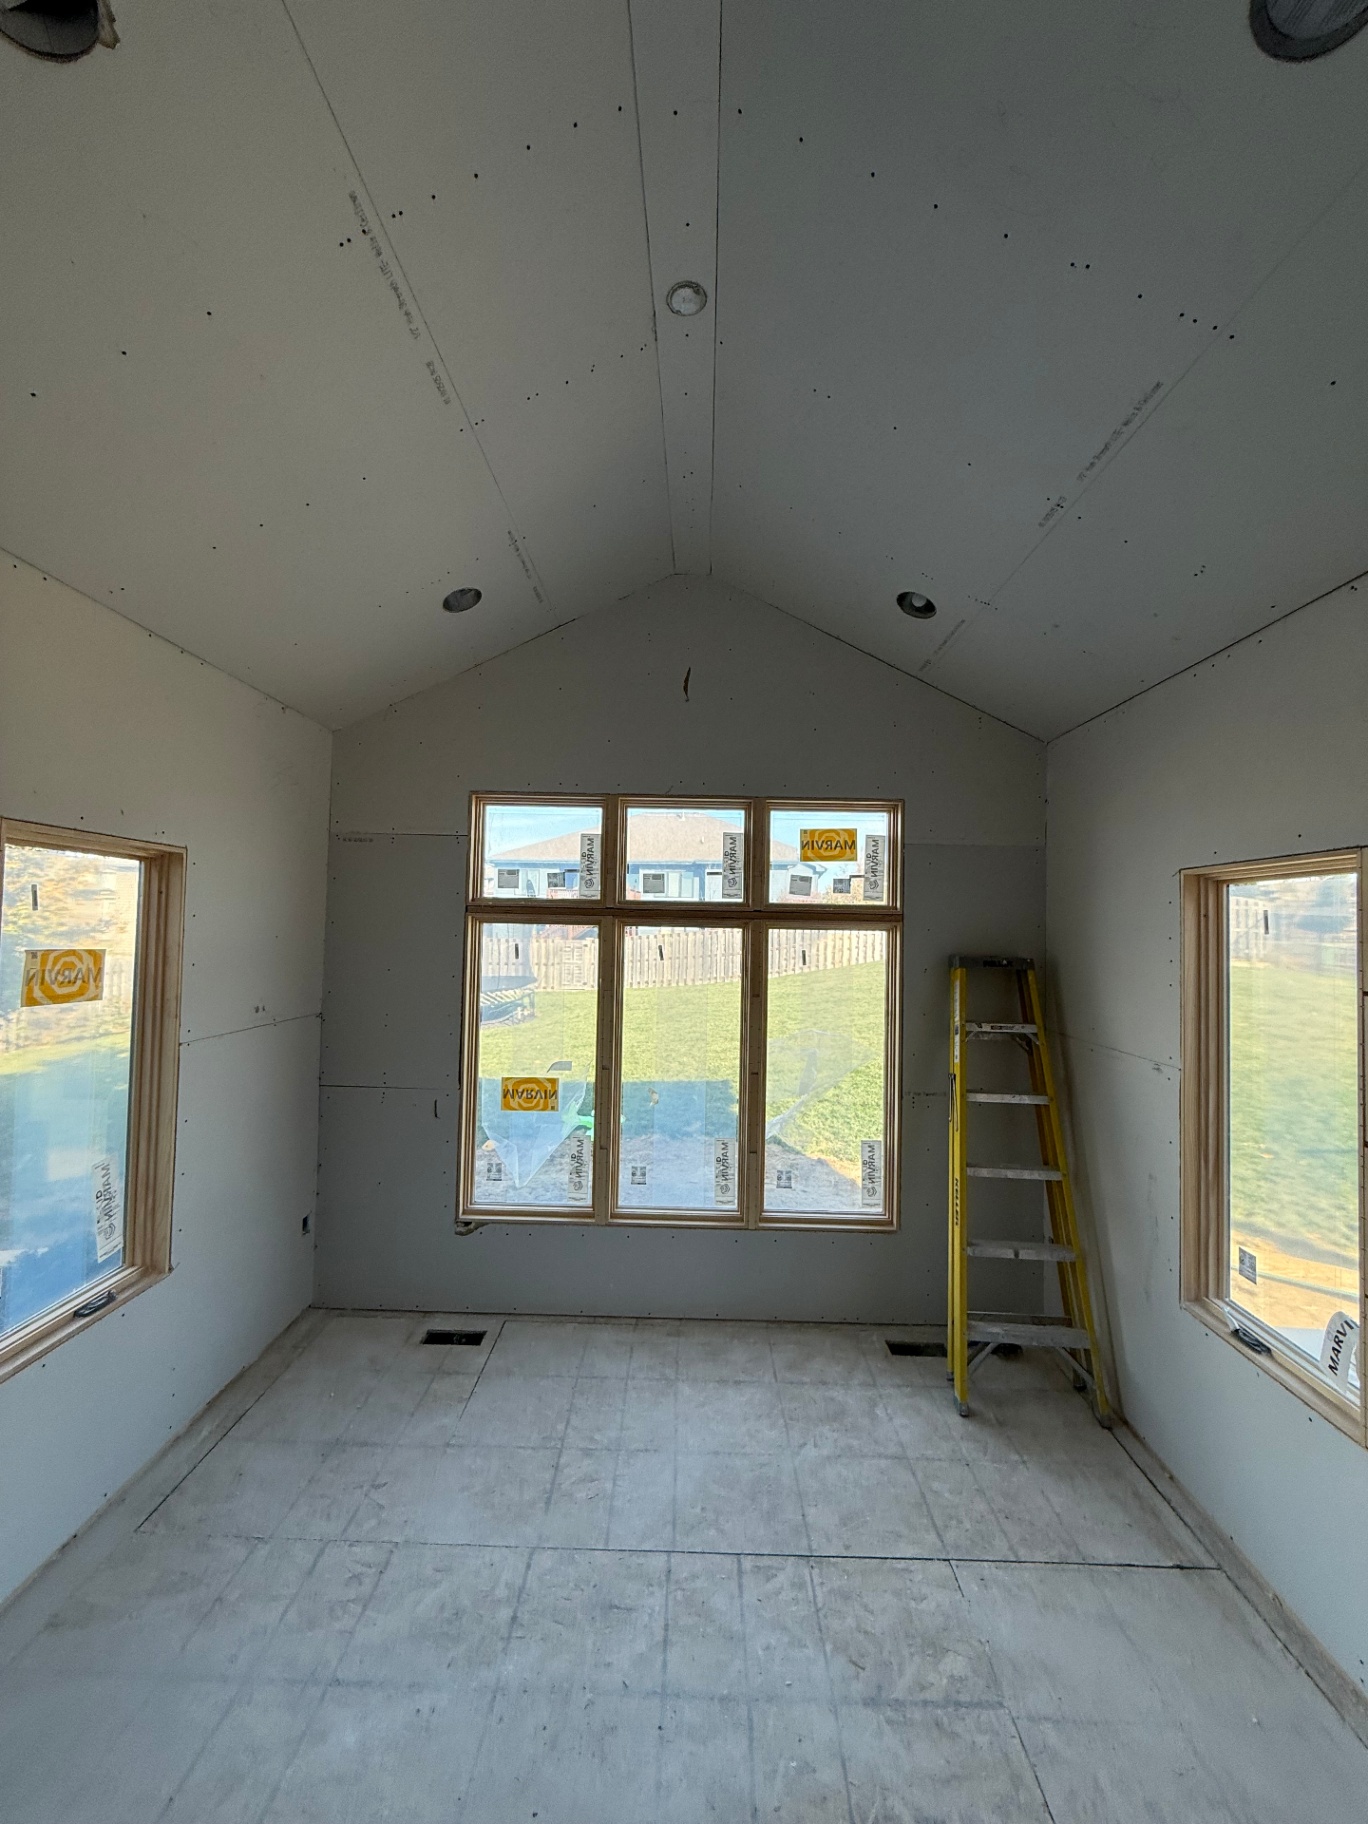
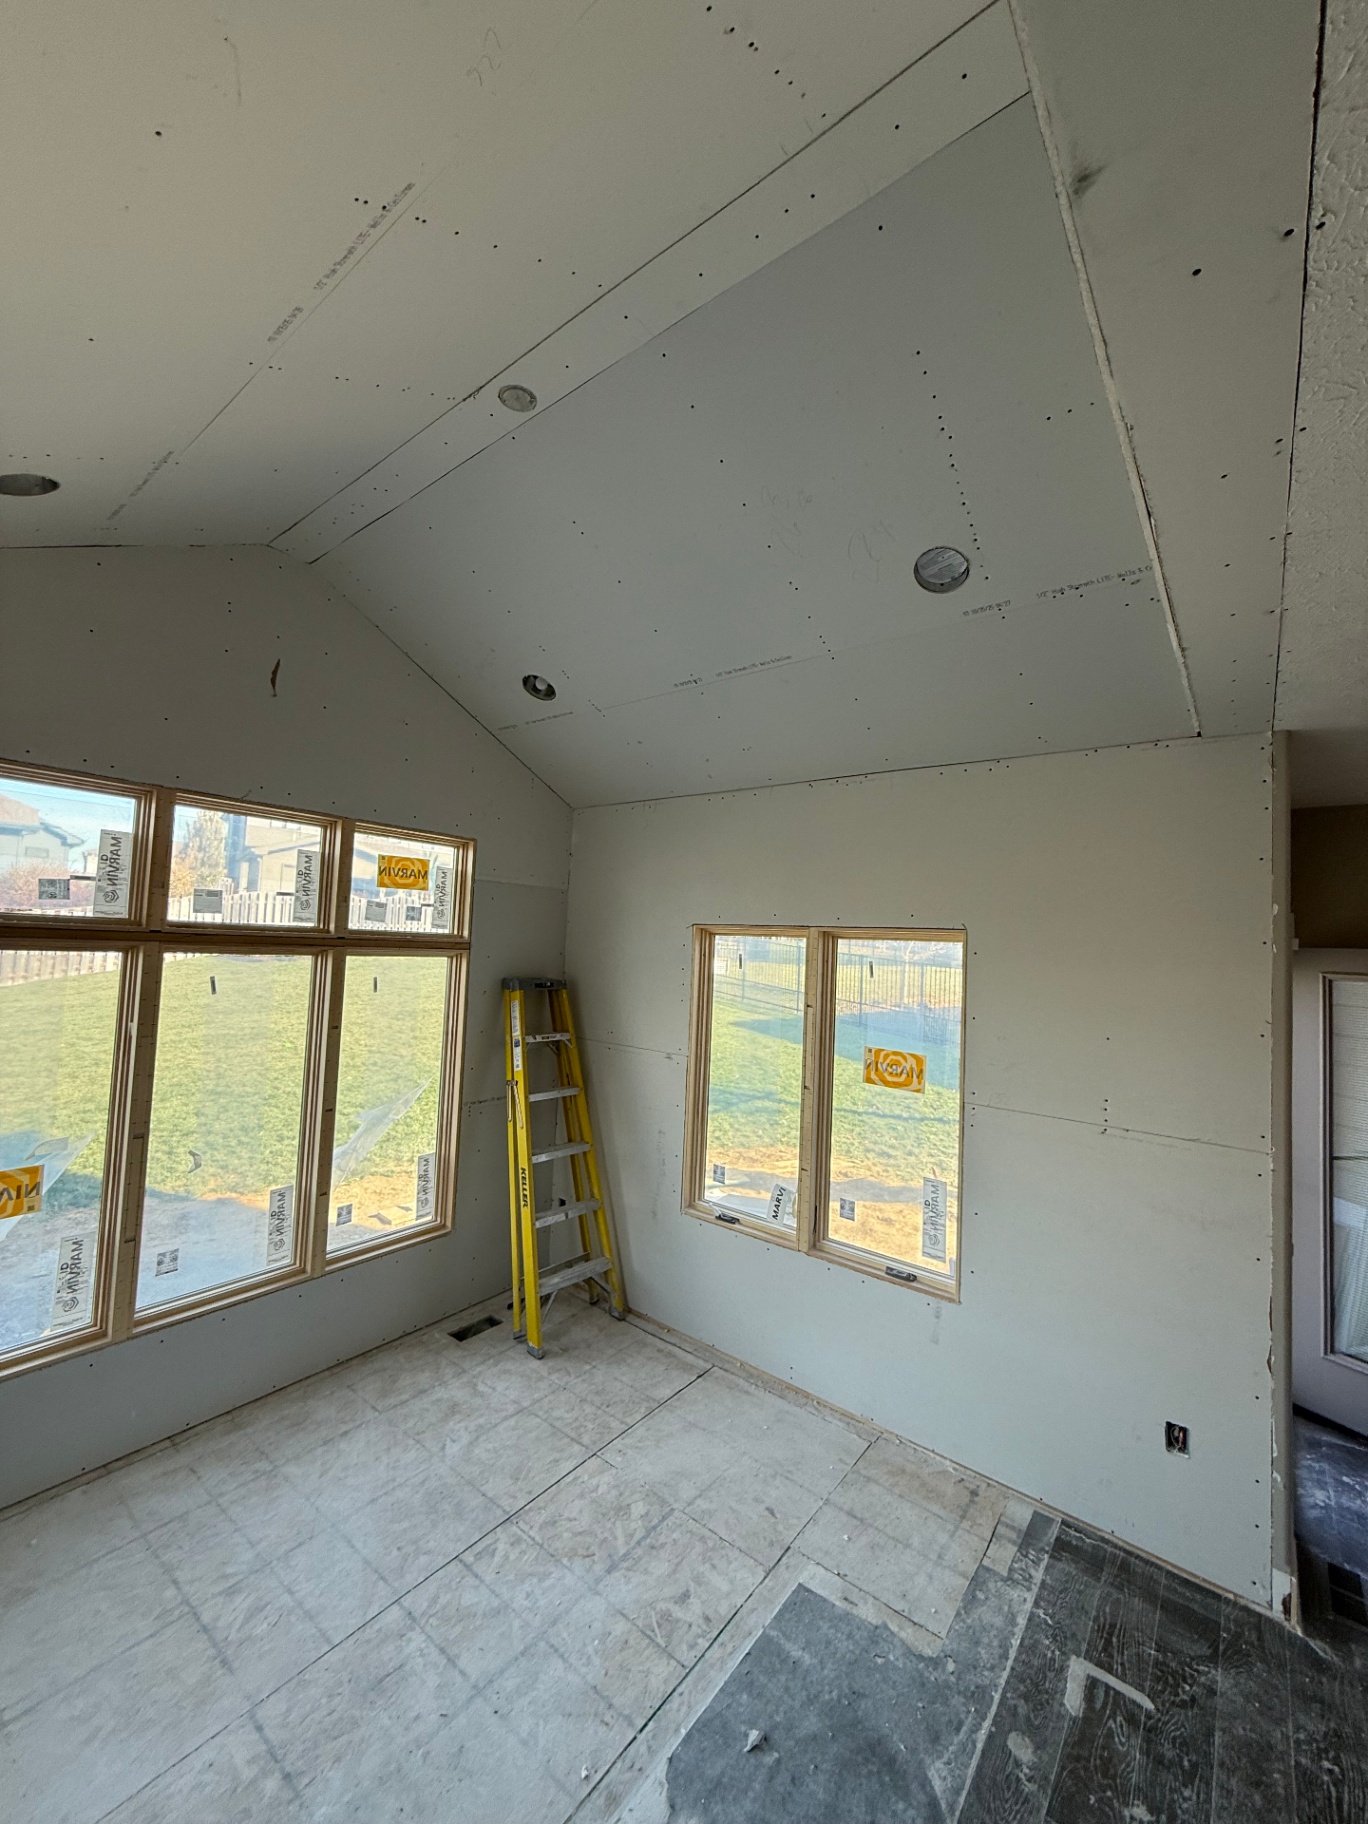
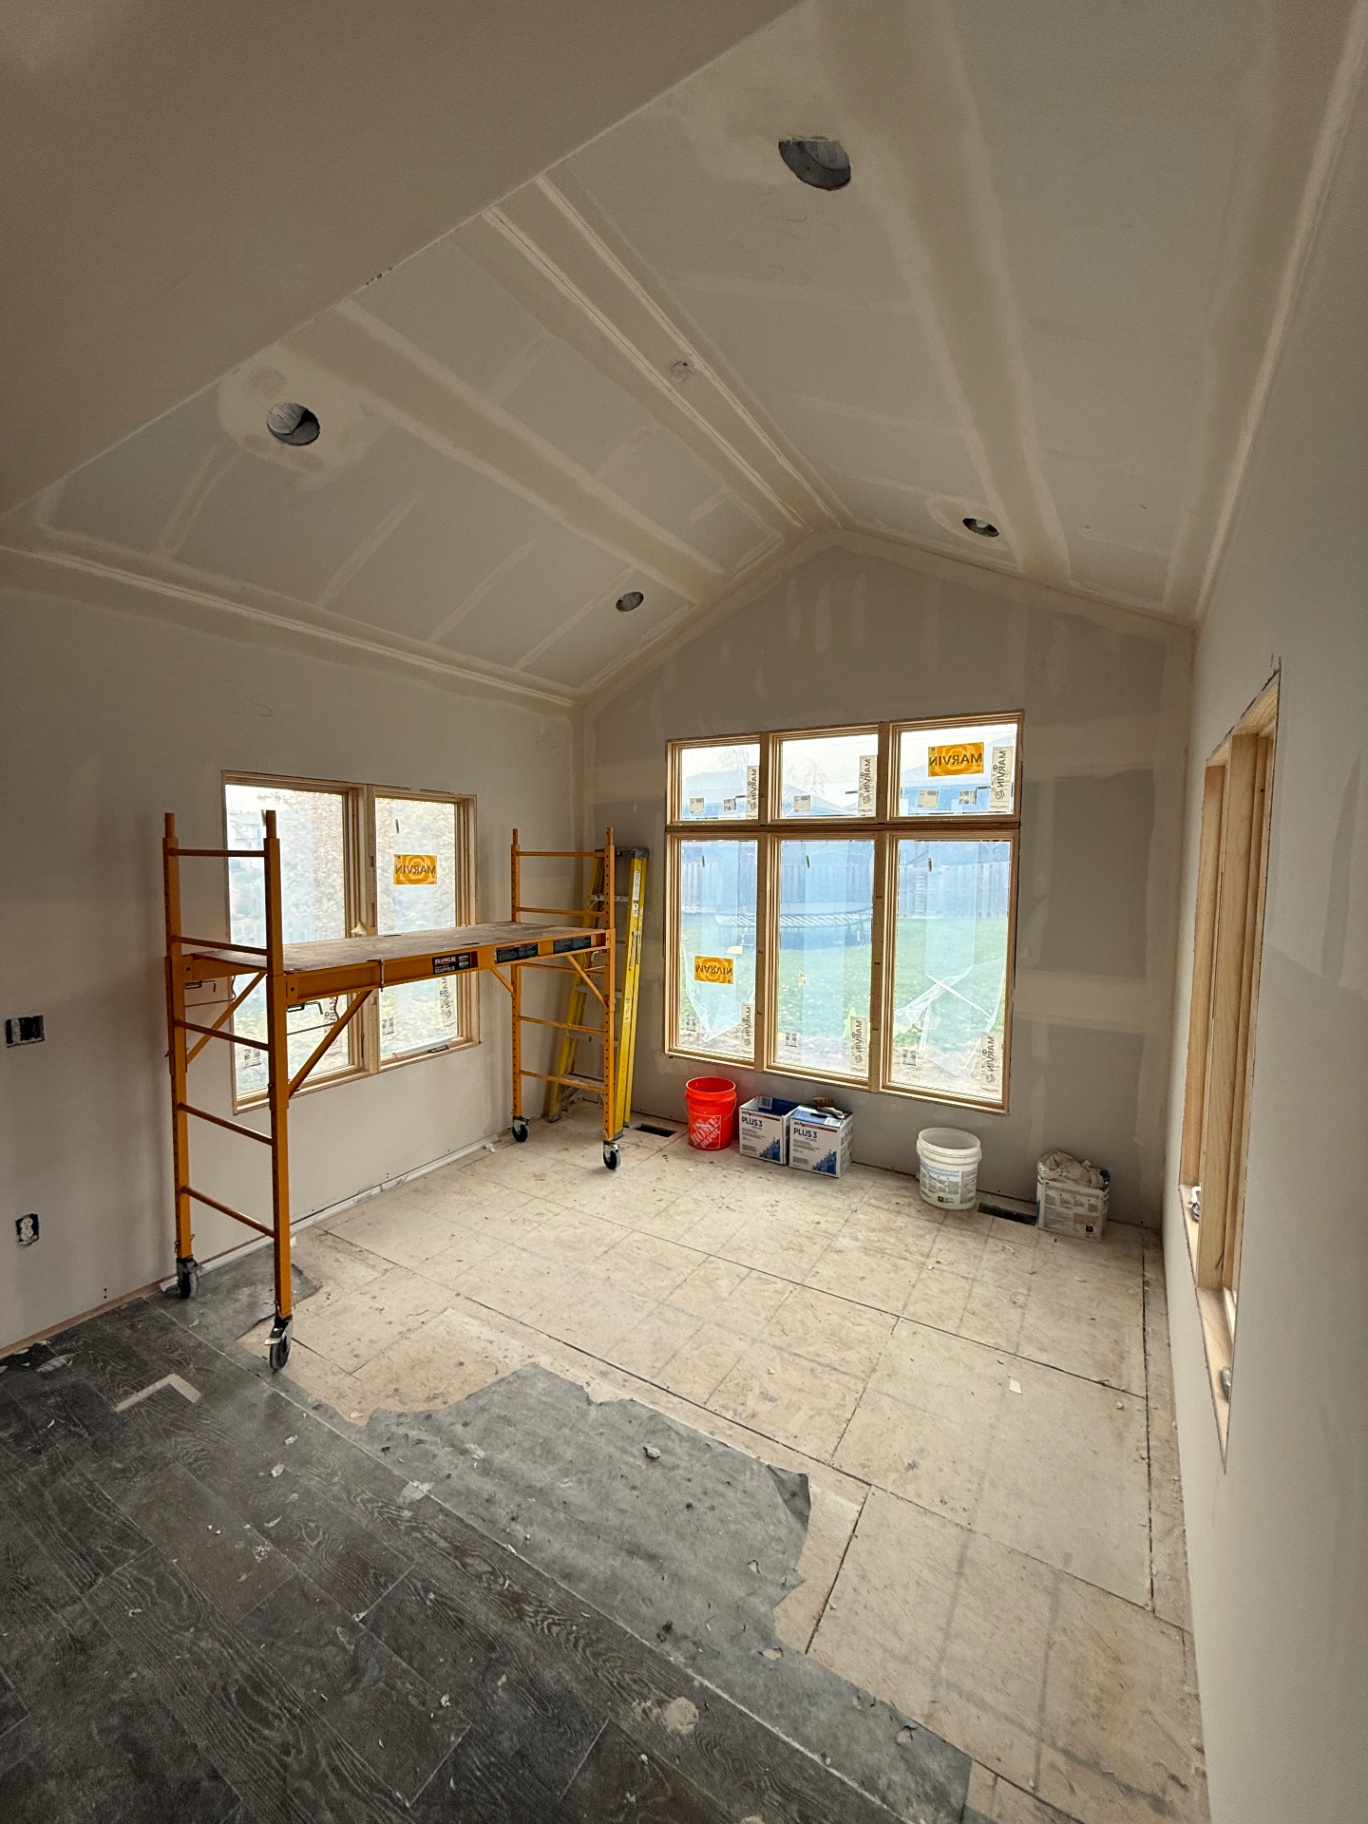
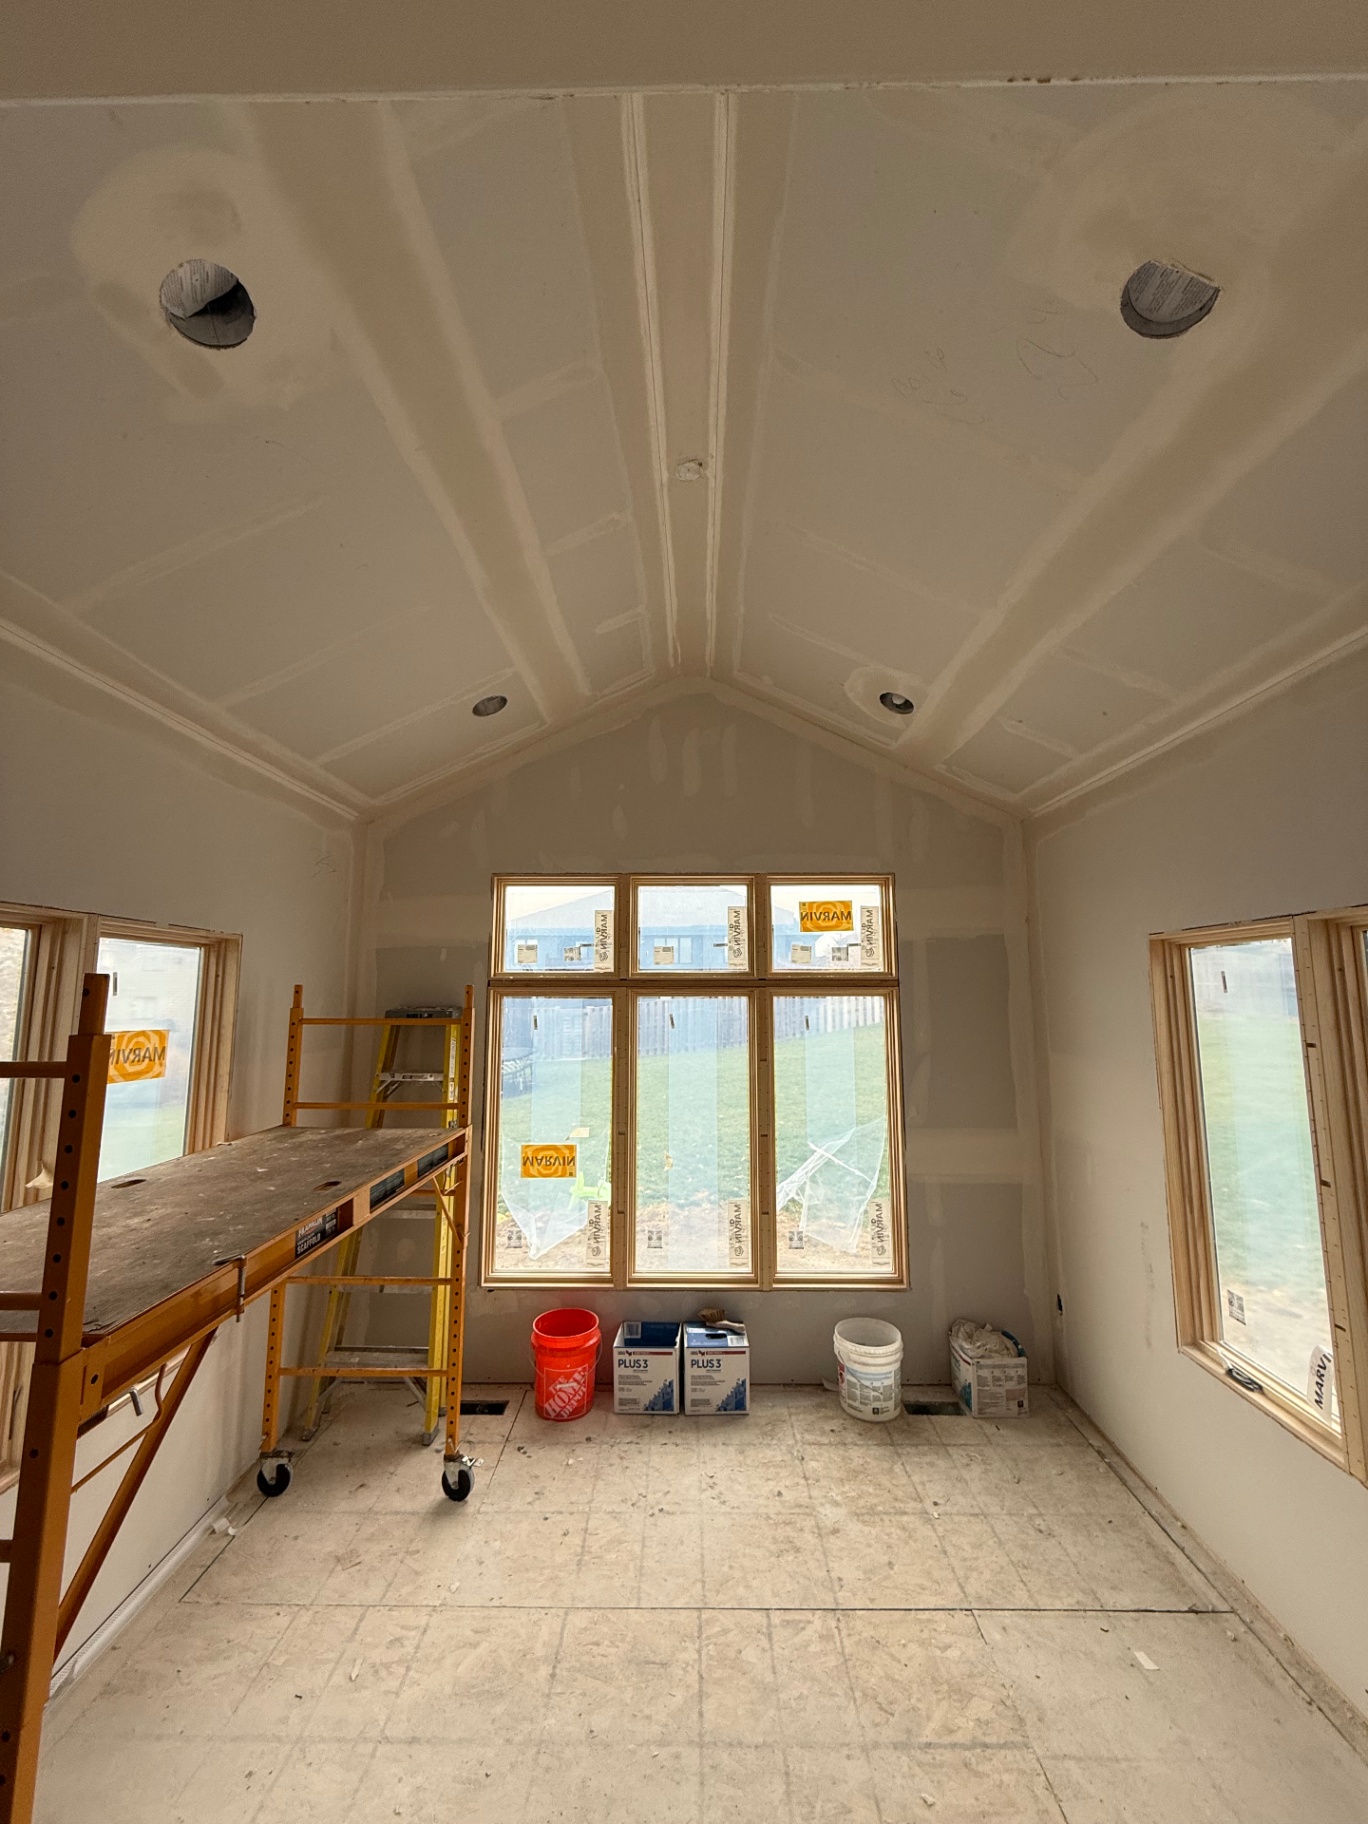
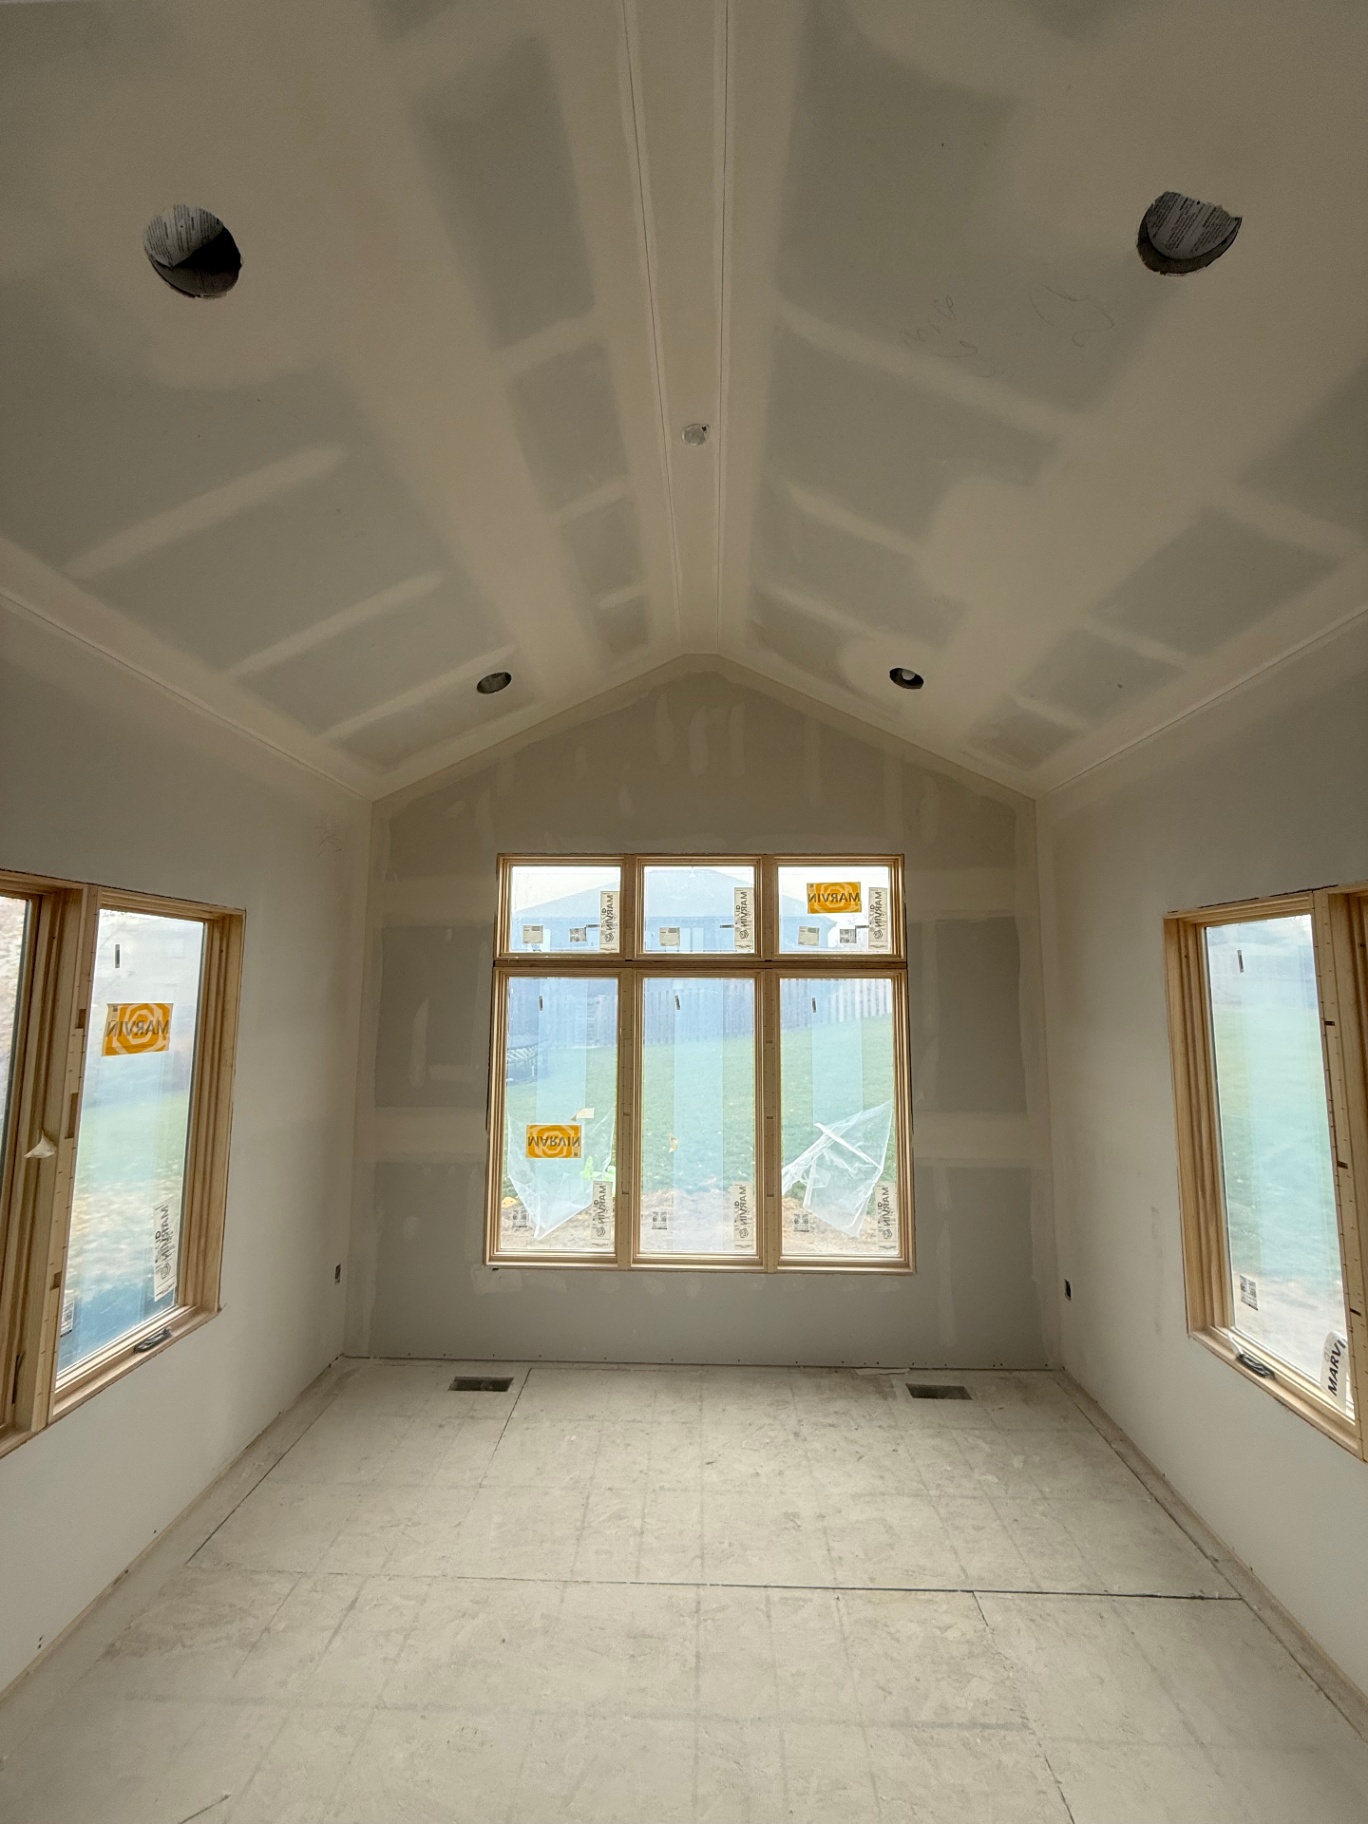
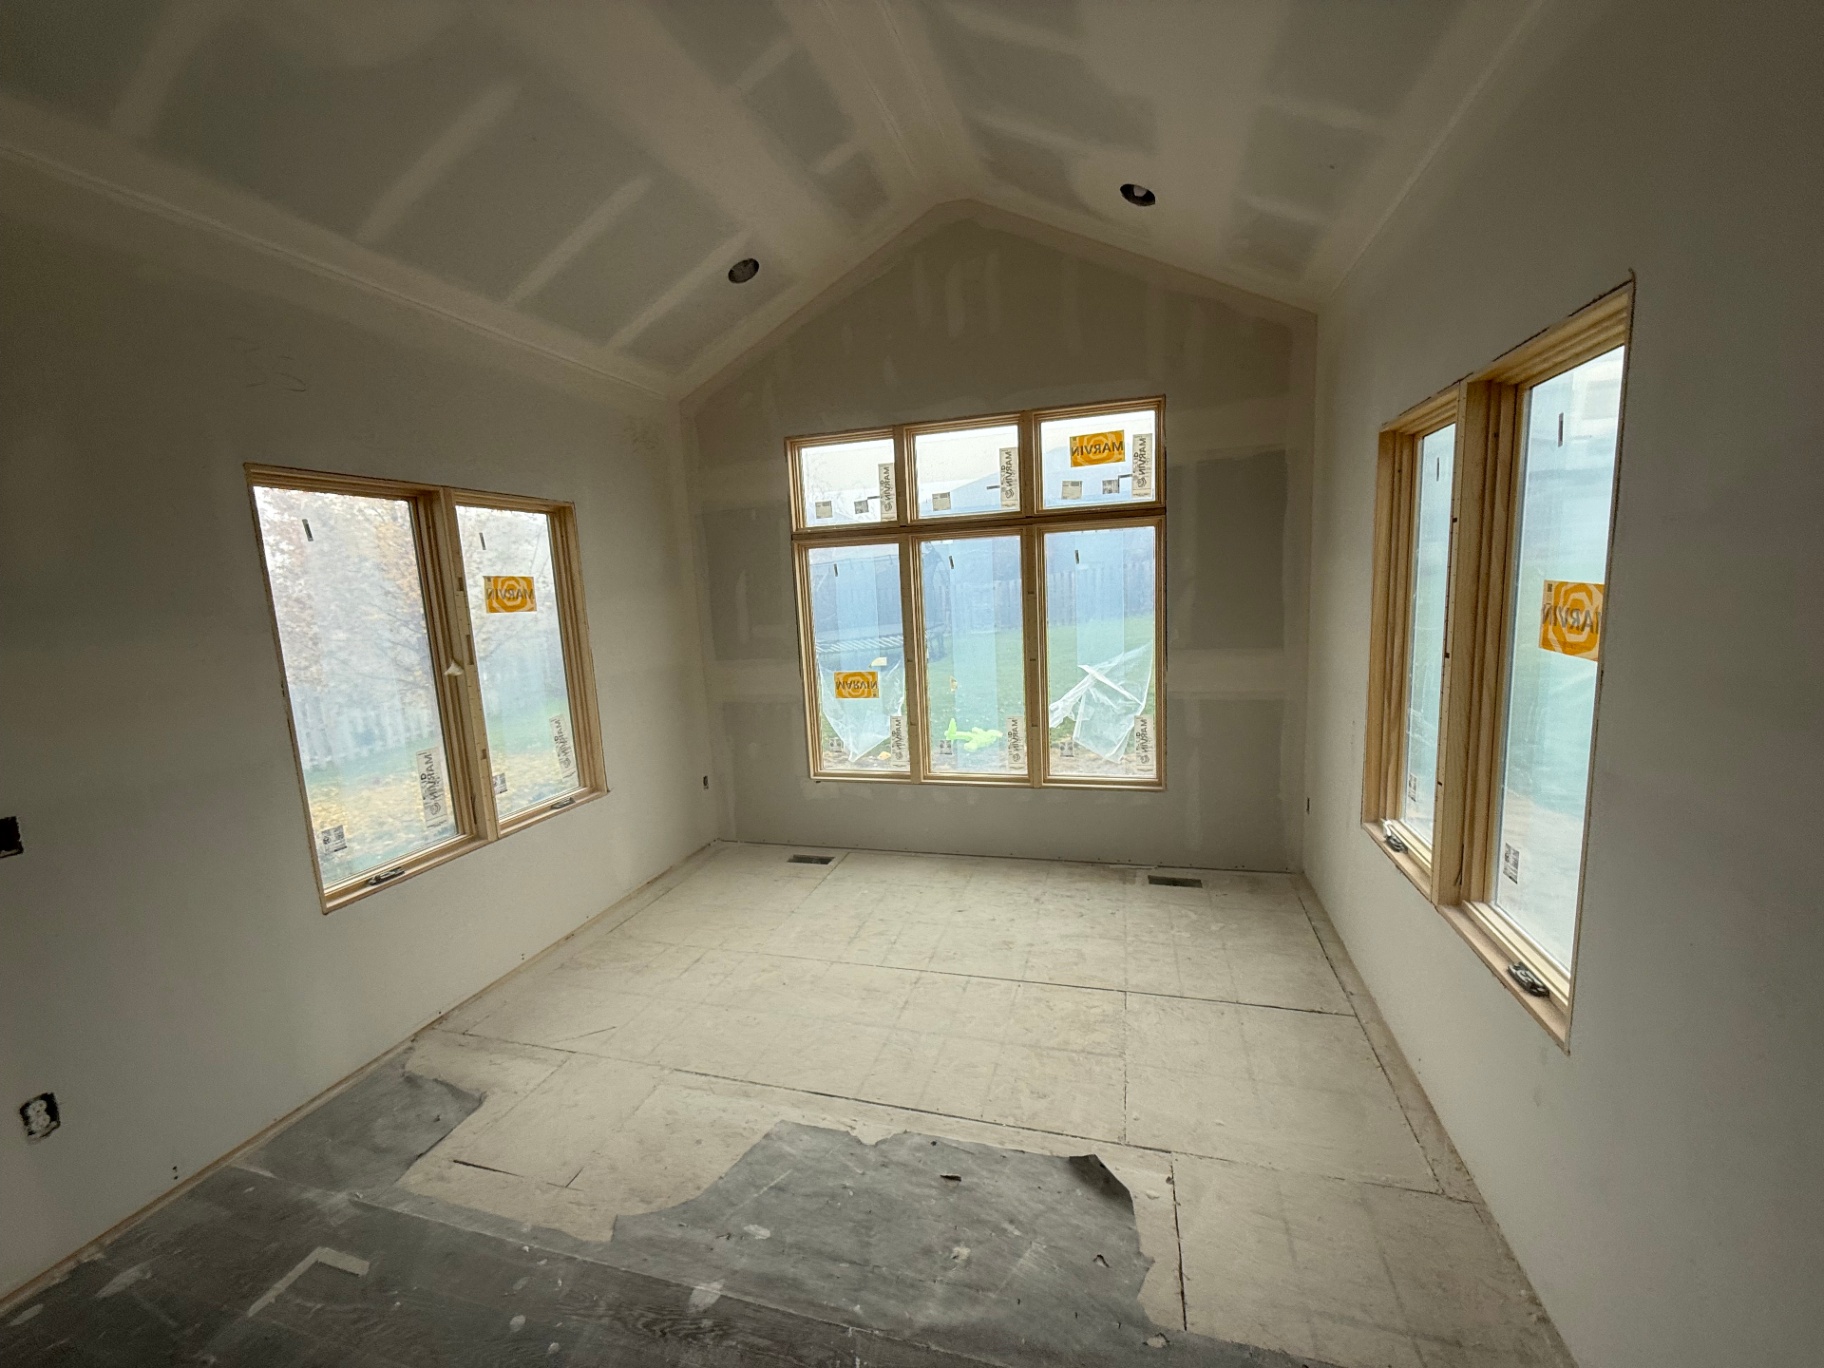
A vaulted bump-out addition taken from open framing and spray foam through hung board, taped seams, and a smooth paint-ready finish on walls and vaulted ceiling.
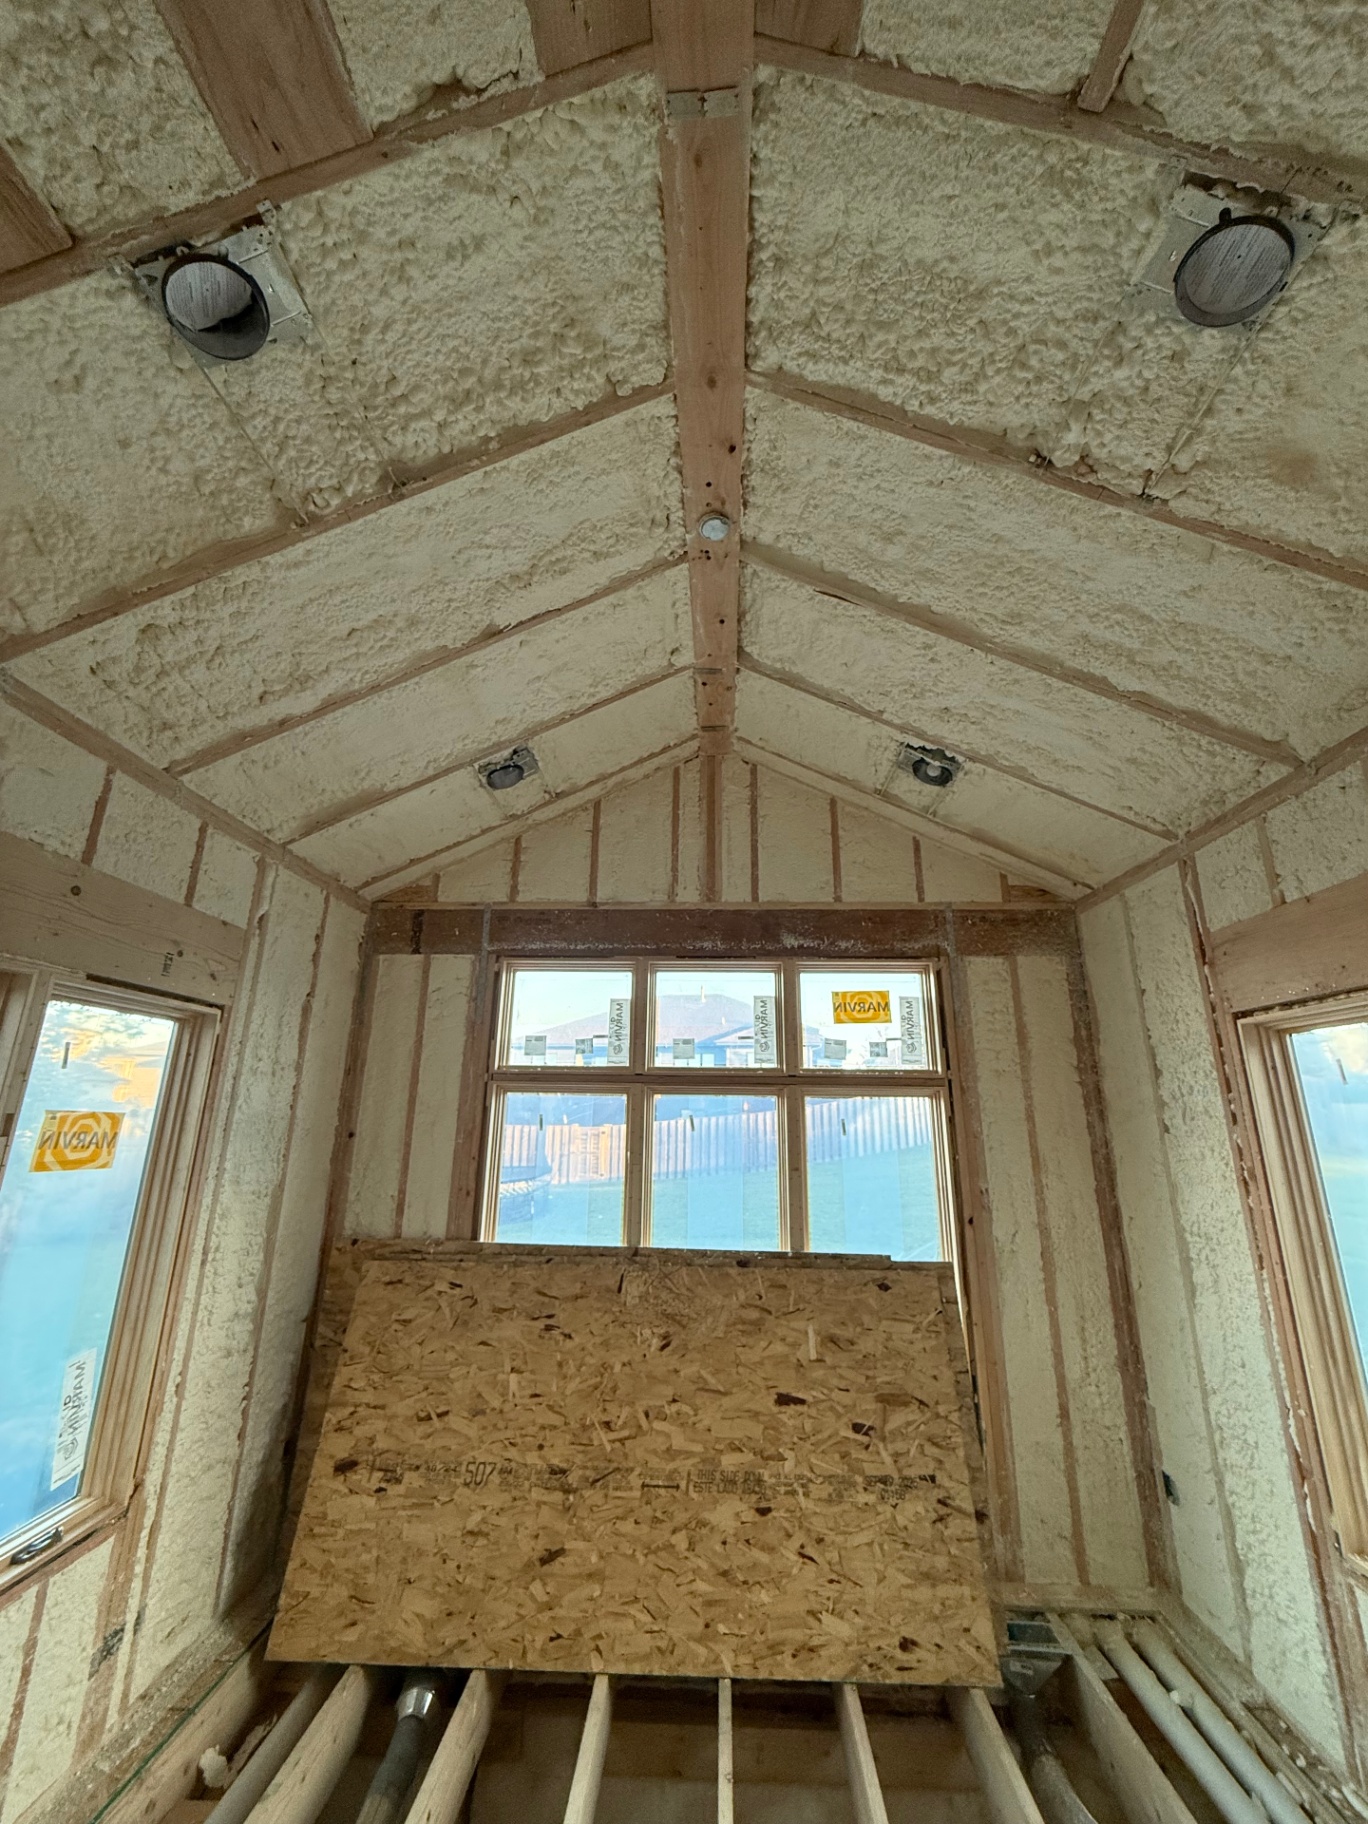
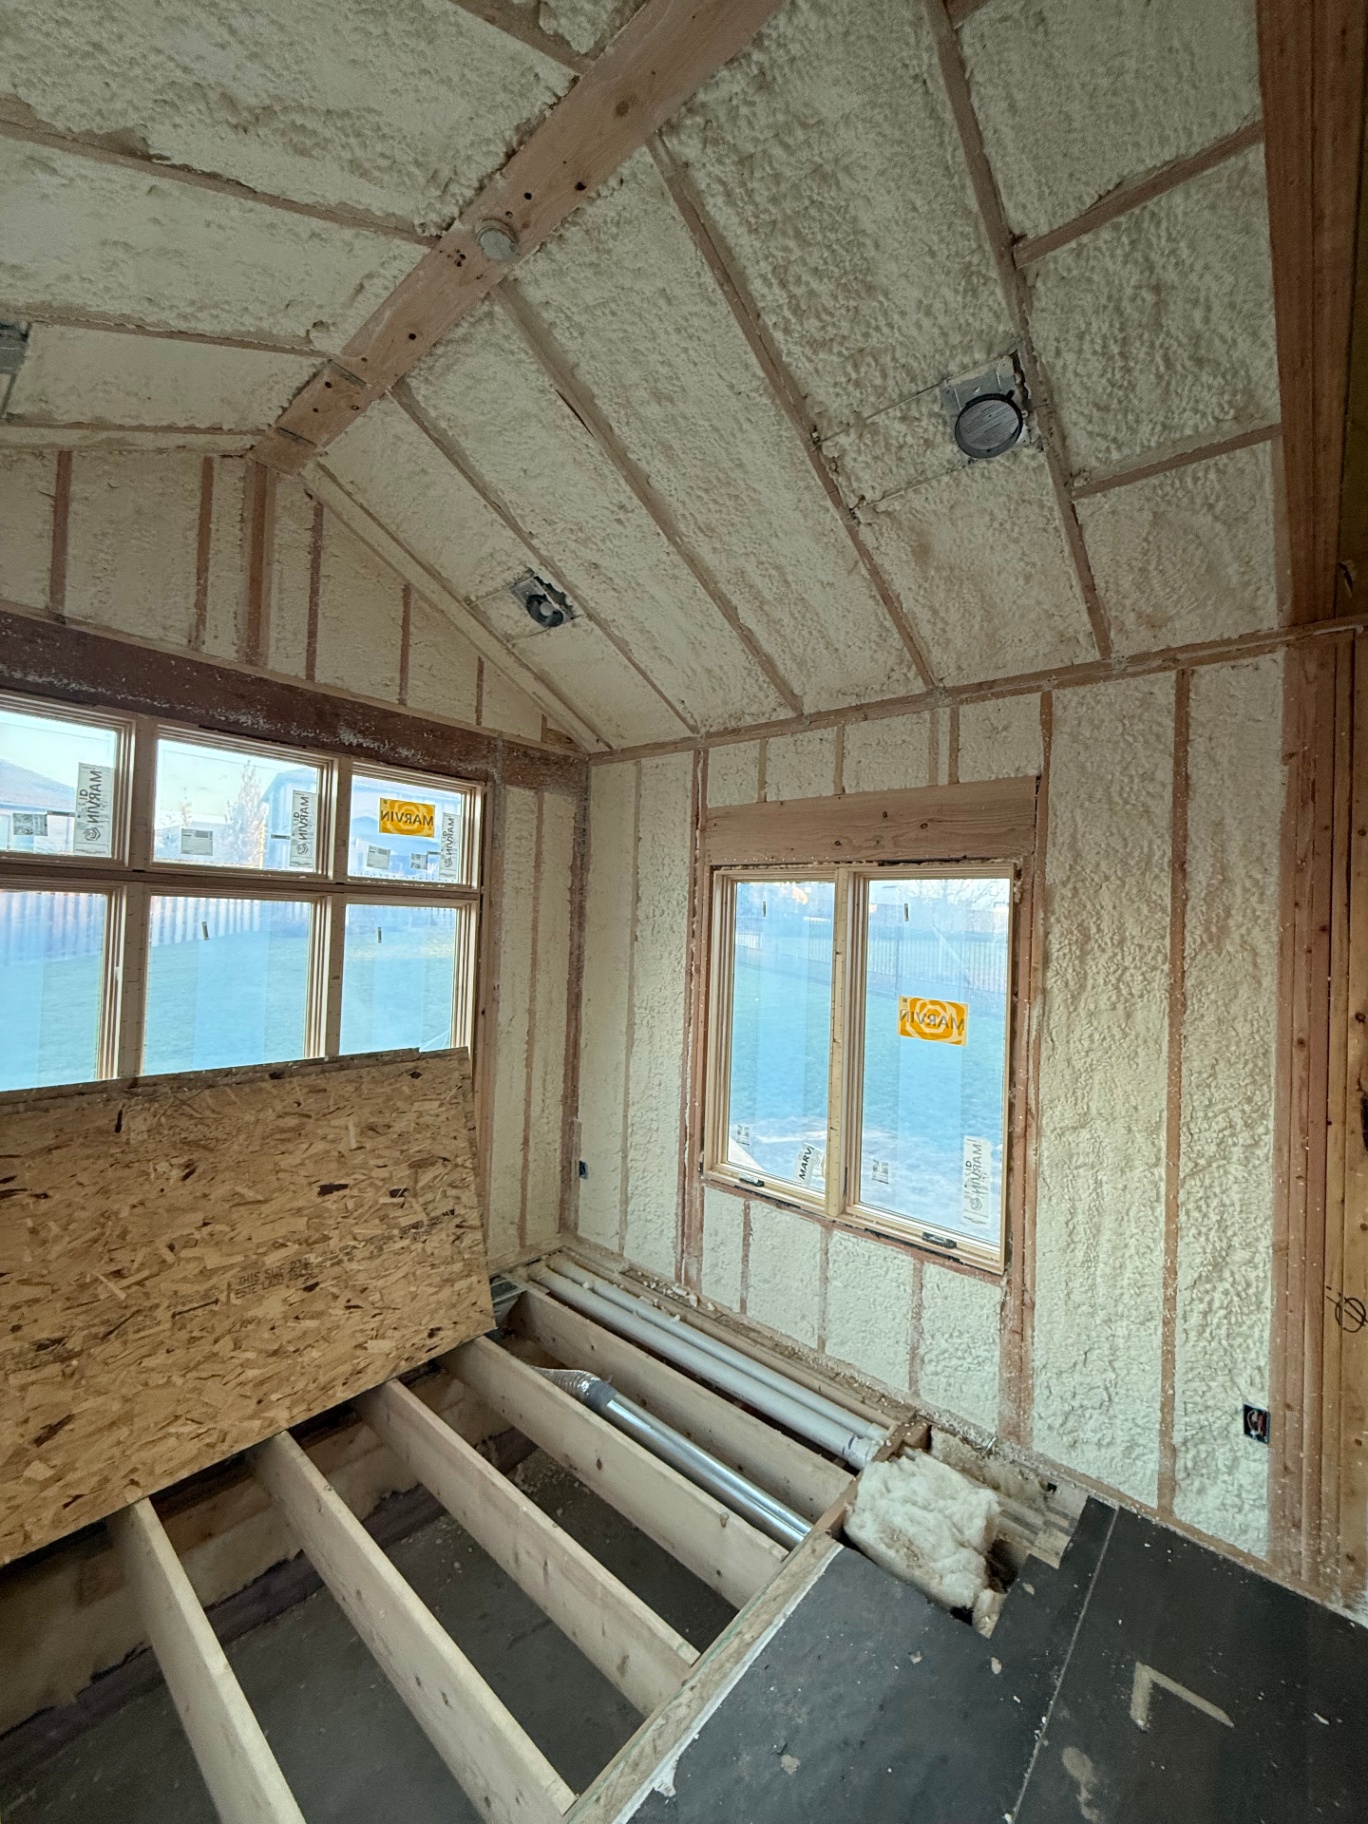
Spray-foam insulation packed between studs and rafters on the vaulted gable end before drywall
Side wall and vaulted ceiling fully insulated with closed-cell foam, ready for board
Subfloor and joists exposed with insulated walls and ceiling prepped ahead of decking and drywall
Drywall hung on the vaulted ceiling and walls — seams laid out for tape and mud
Gable-end wall and ceiling boarded around the picture window, ready for finishing
Hung walls and vaulted ceiling viewed across the room — clean transitions at every angle
Vaulted ceiling and walls taped, mudded, and sanded — finish coats floated across every seam
Gable wall and ceiling fully coated and sanded smooth, paint-ready
Finished addition — vaulted ceiling and walls sanded smooth with crisp corners around the windows
Wide view of the finished addition — paint-ready walls, vaulted ceiling, and recessed cans set

— Basement Bedroom: Start to Finish

Basement bedroom — start to finish.

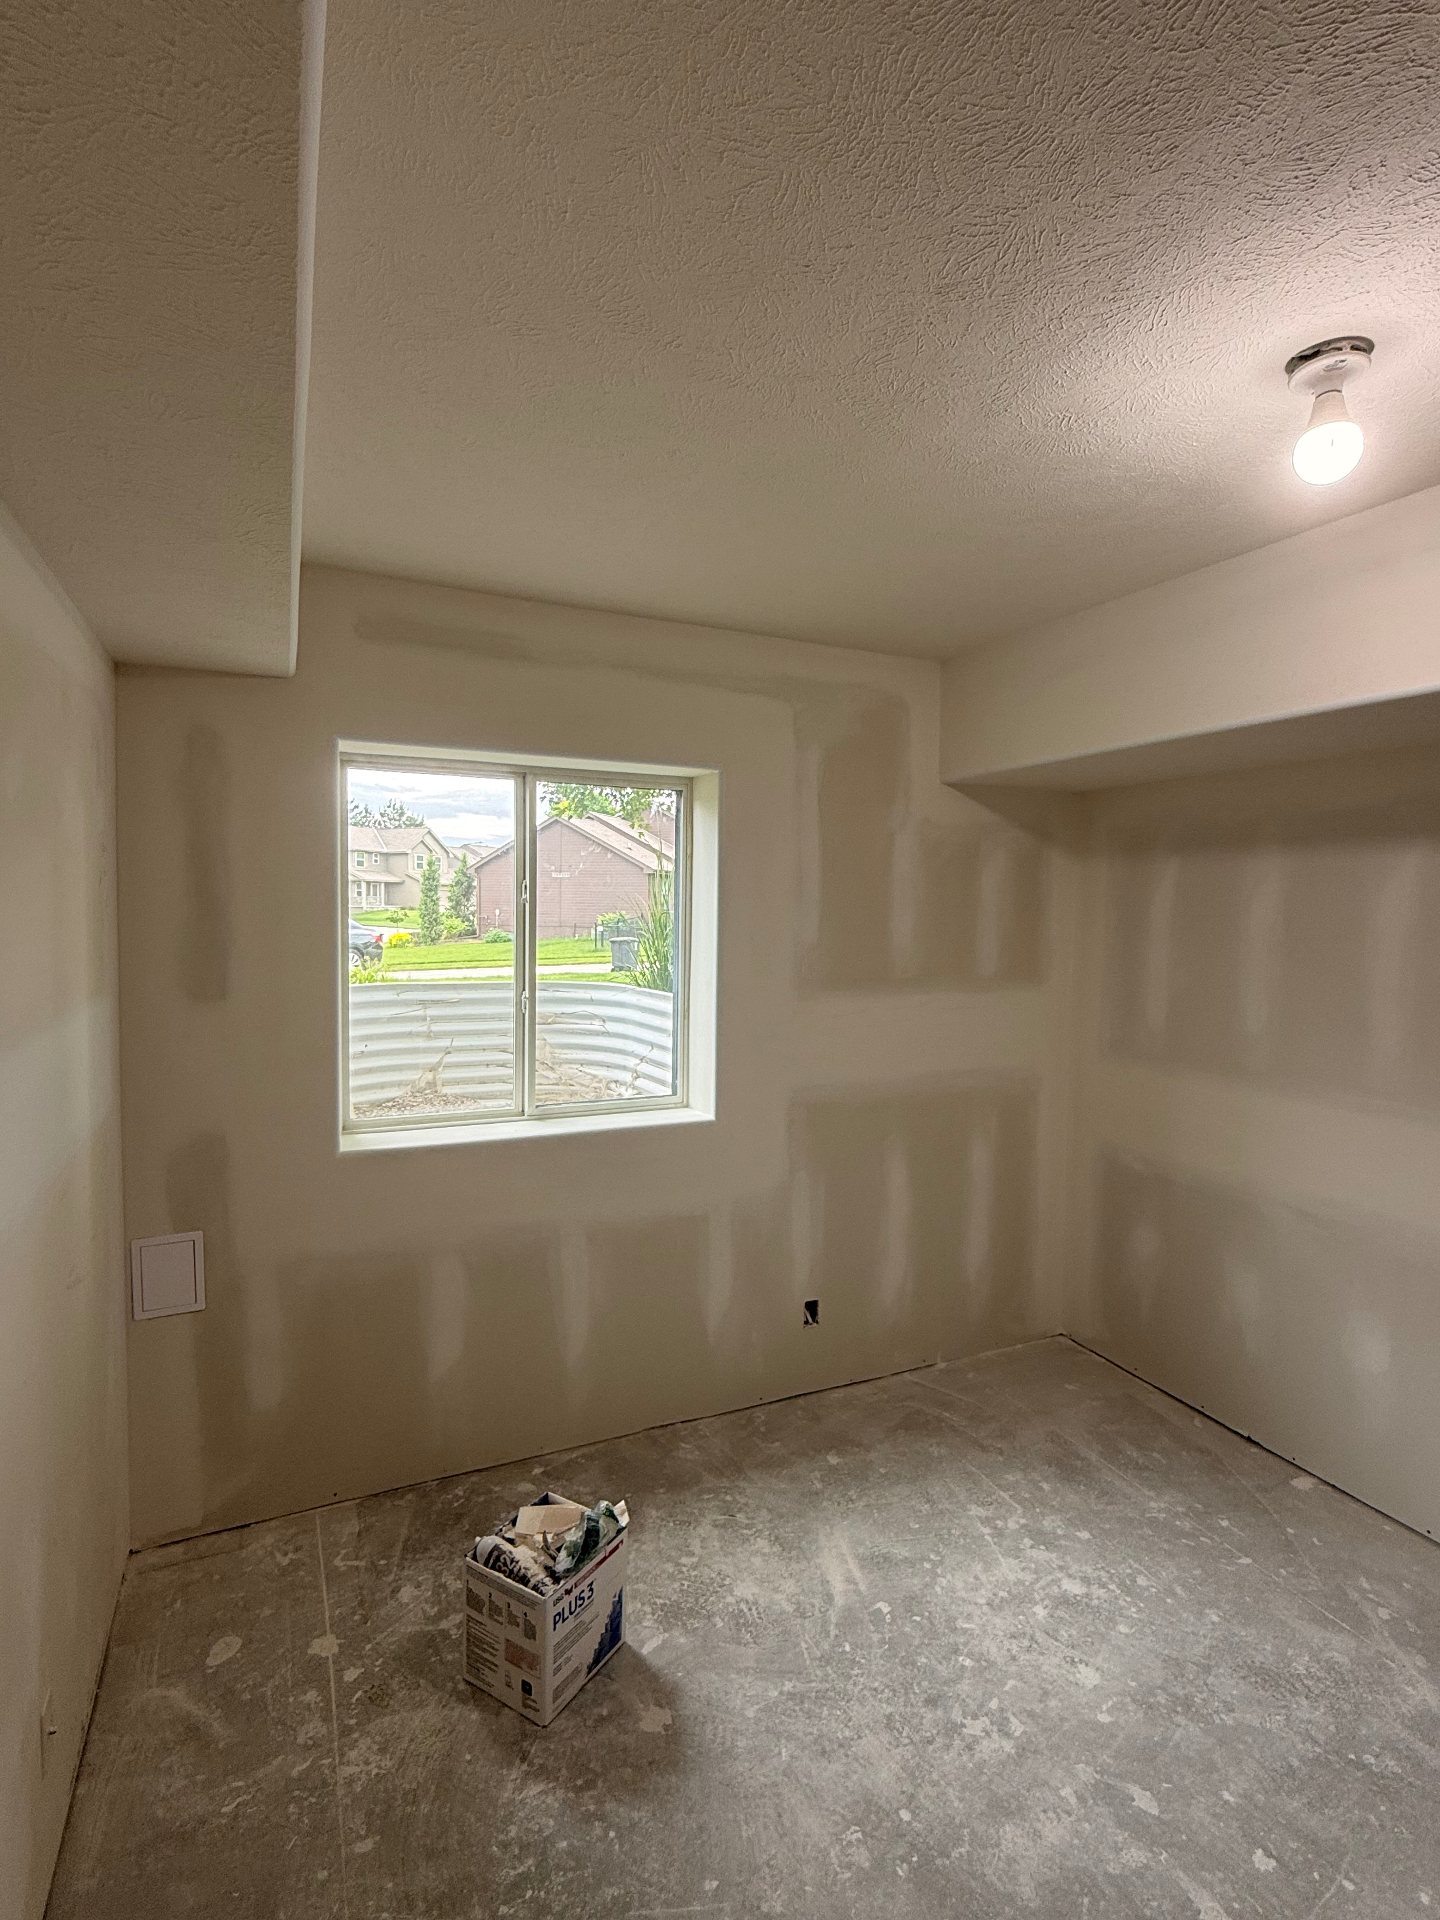
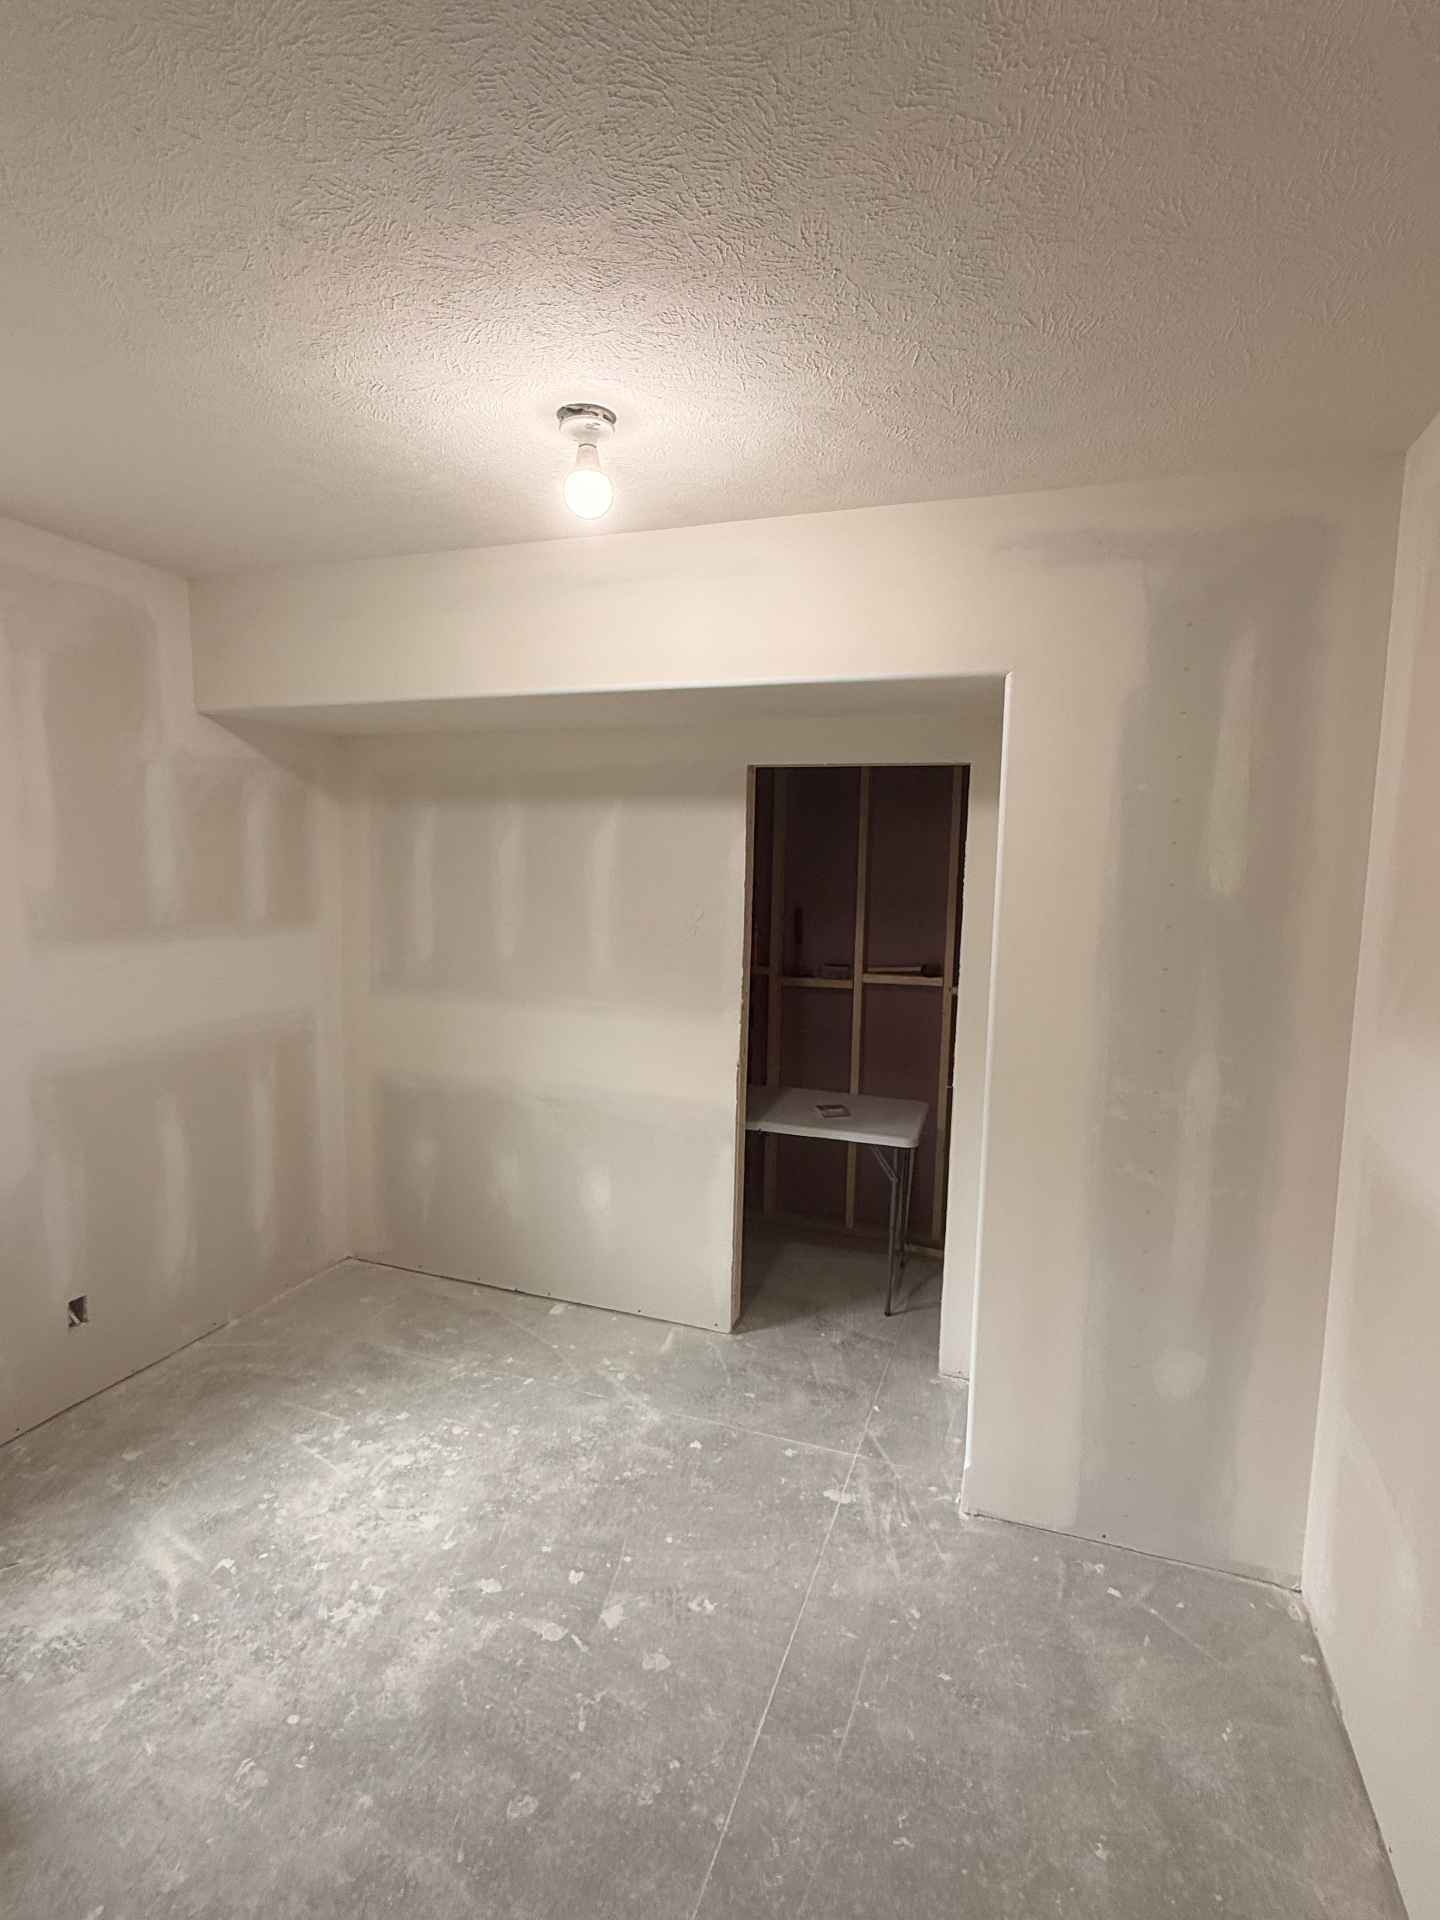
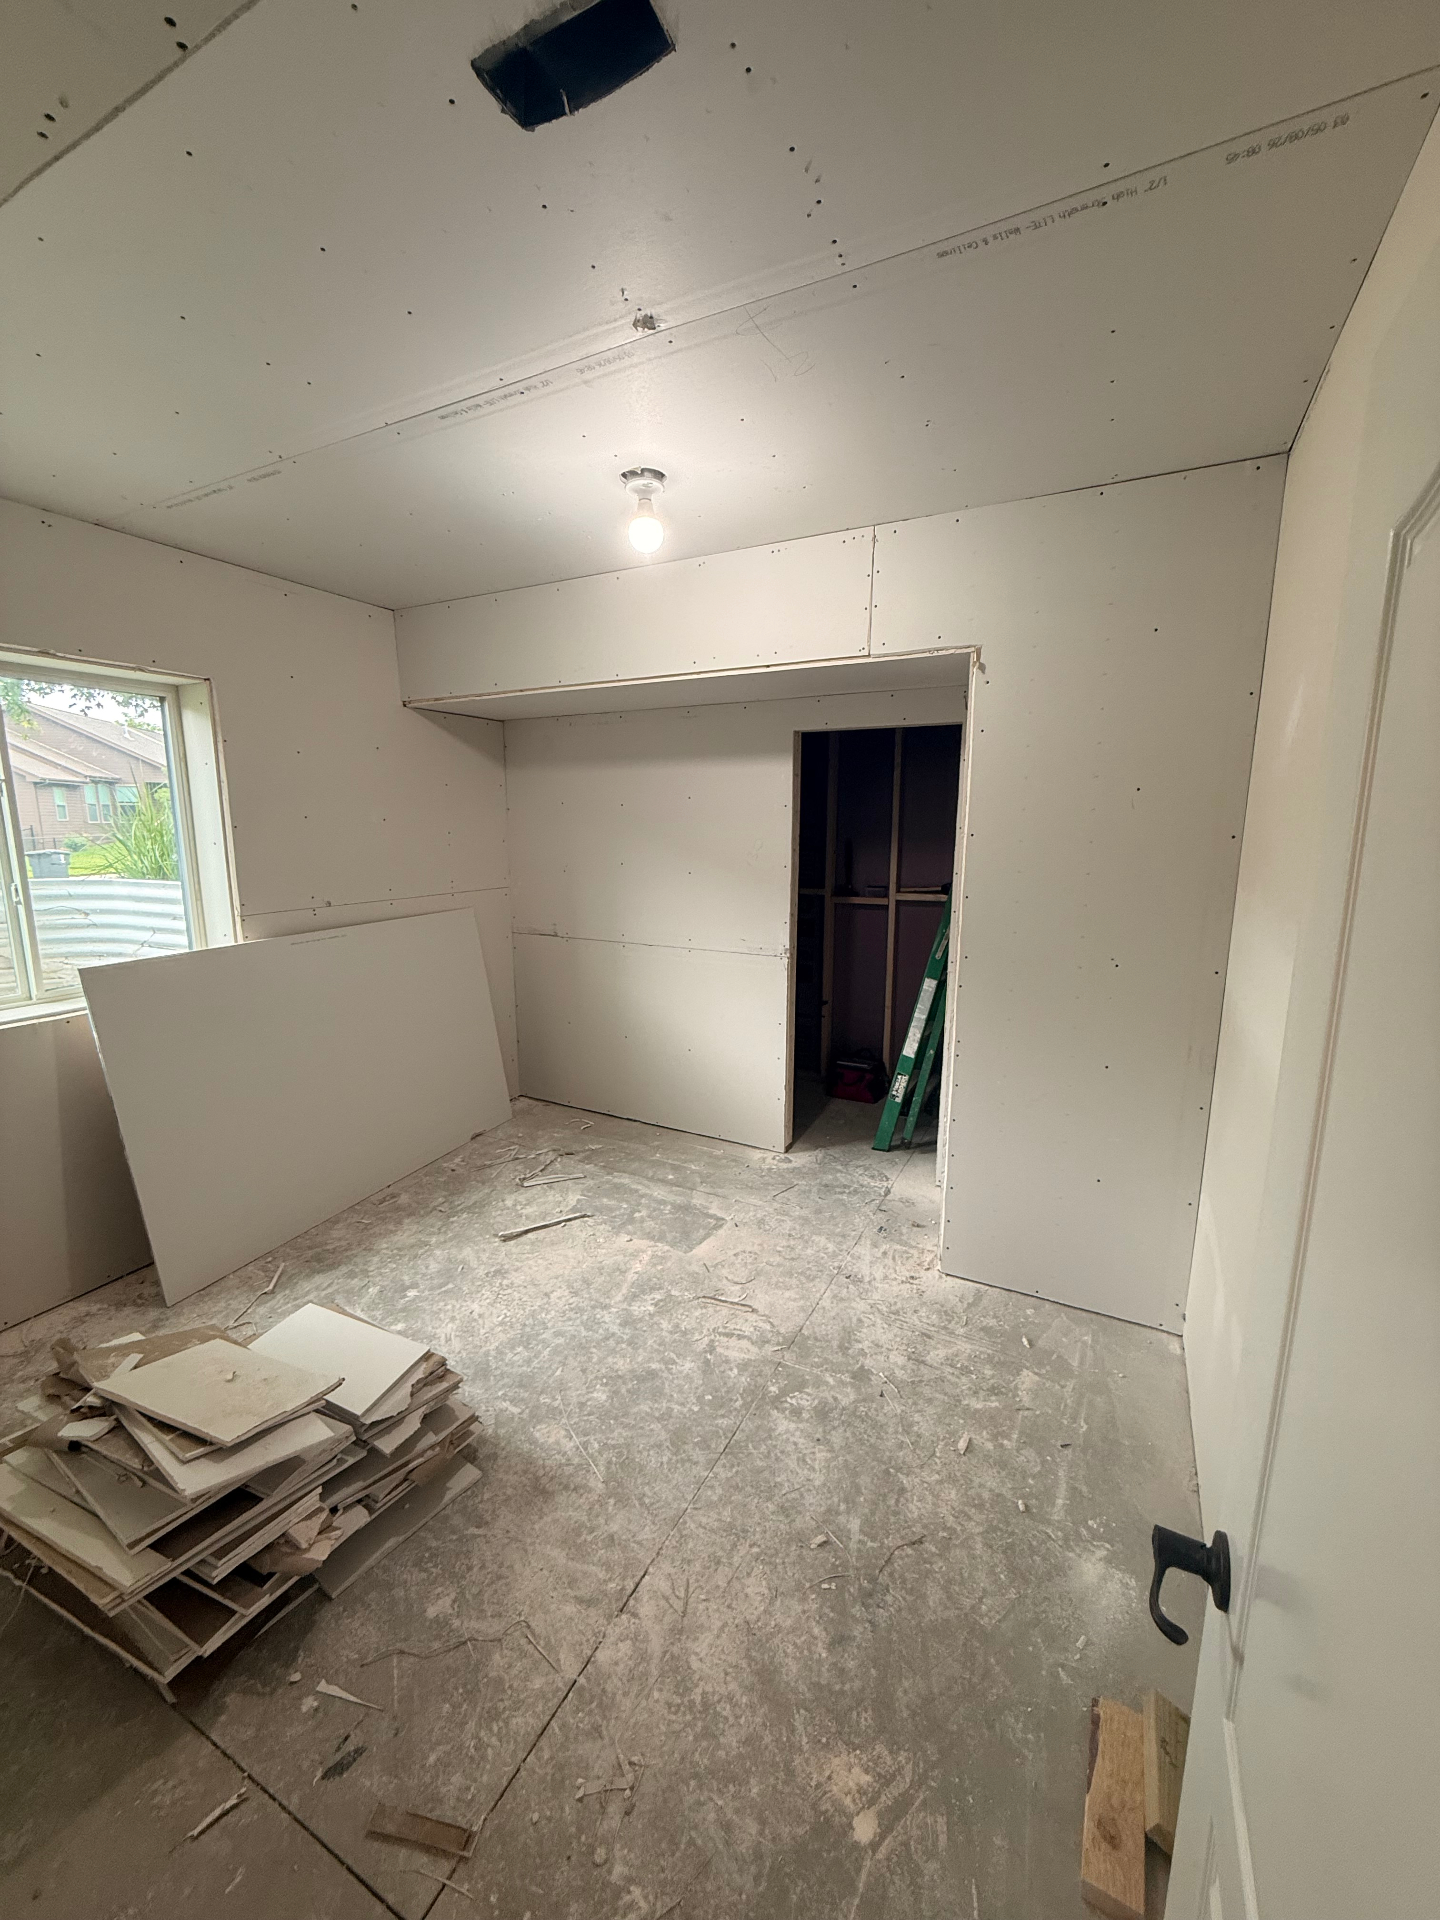
A full basement bedroom sequence — open framing, board hung, seams taped and coated, then sanded down to a clean paint-ready finish with finished walls and ceiling texture.
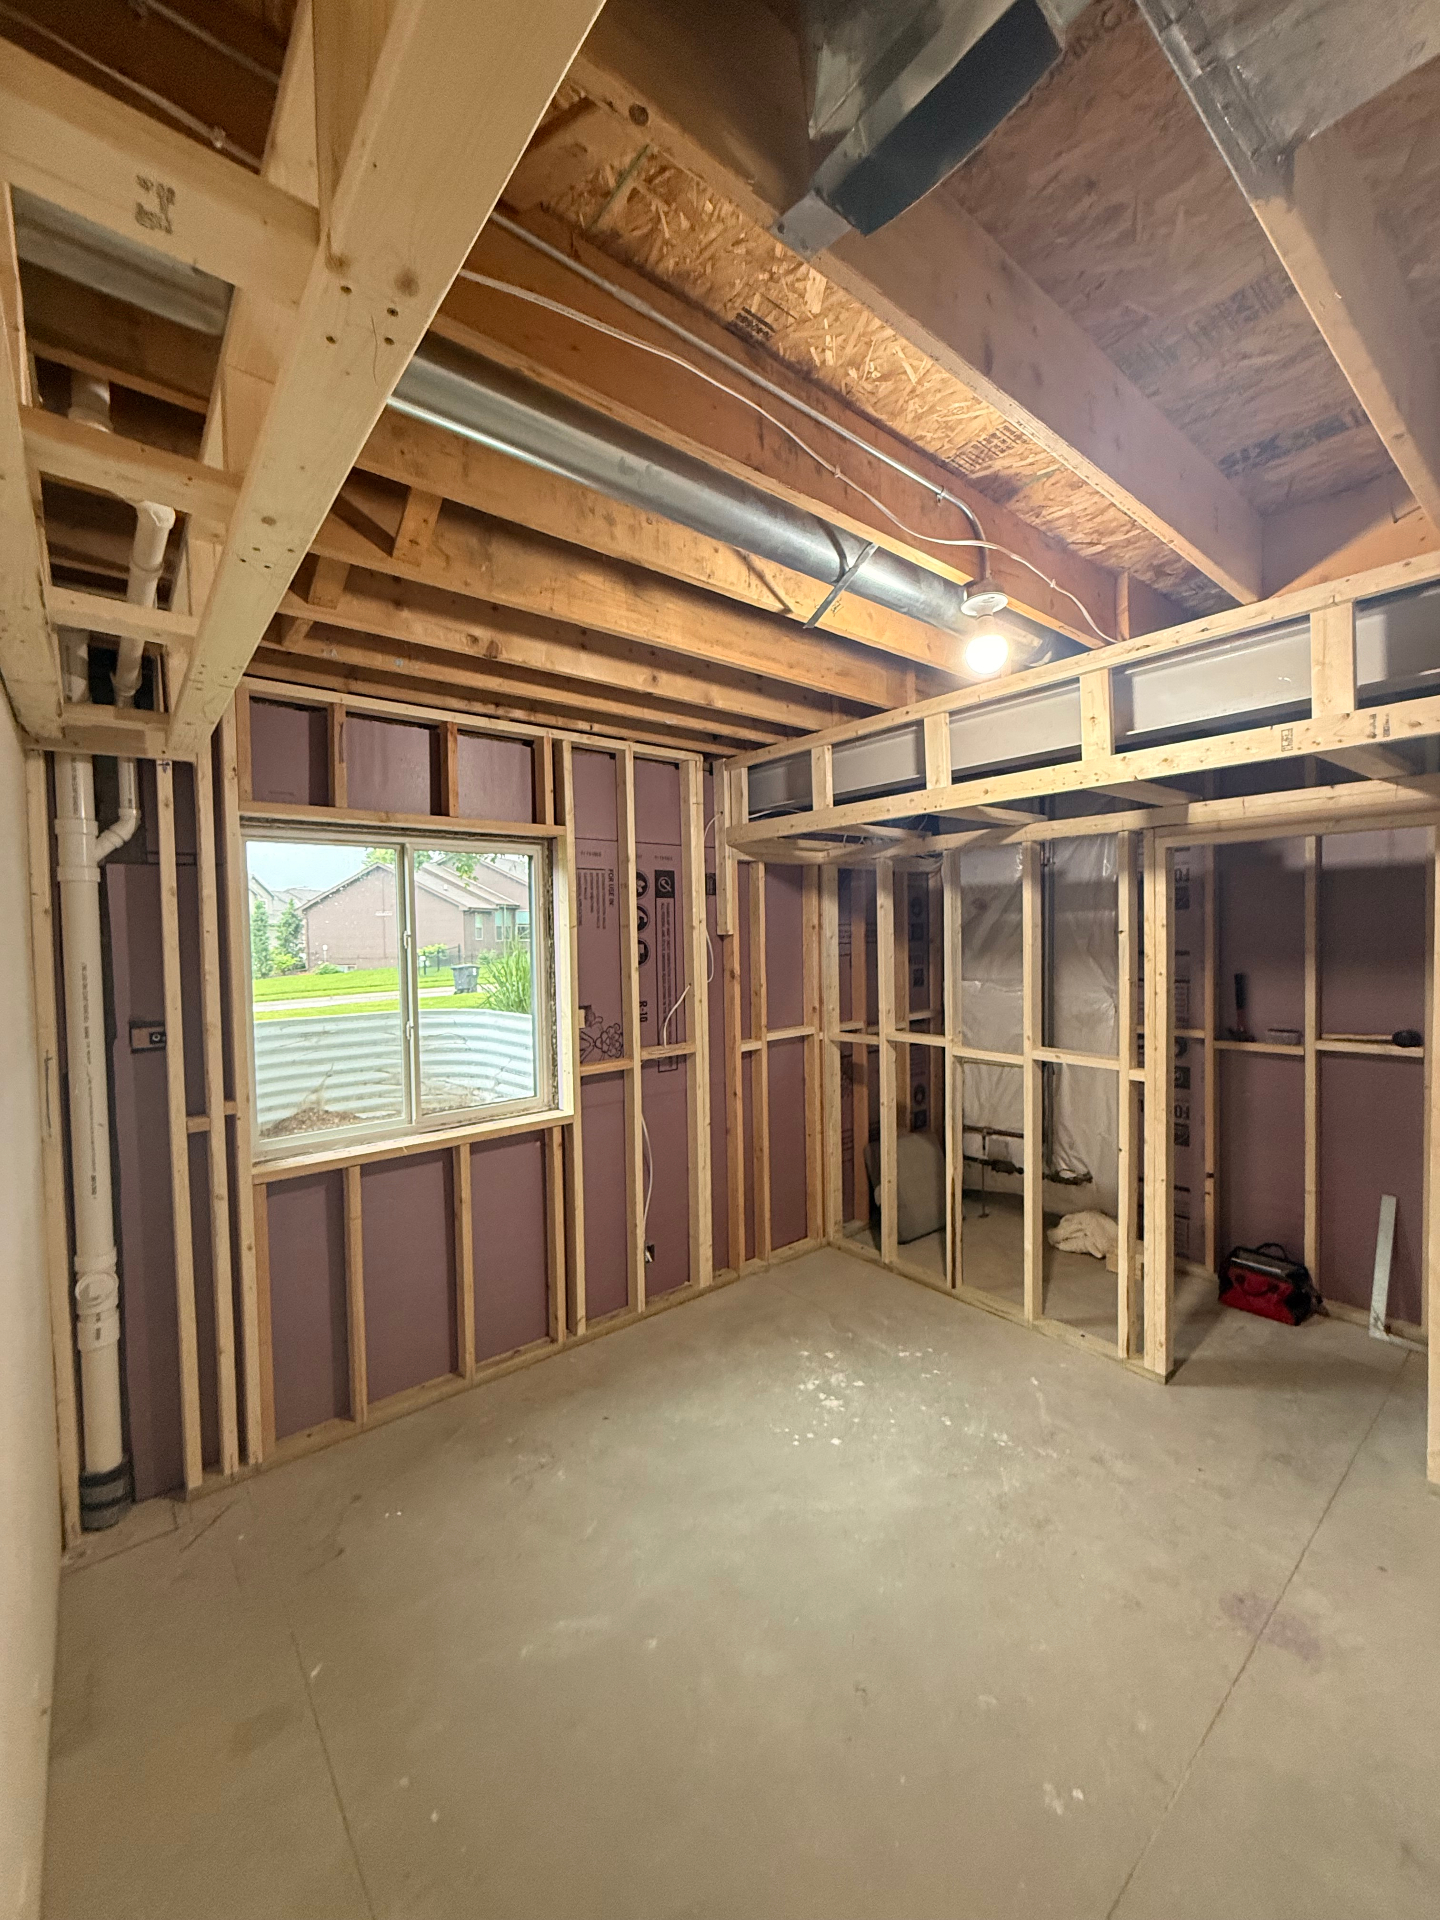
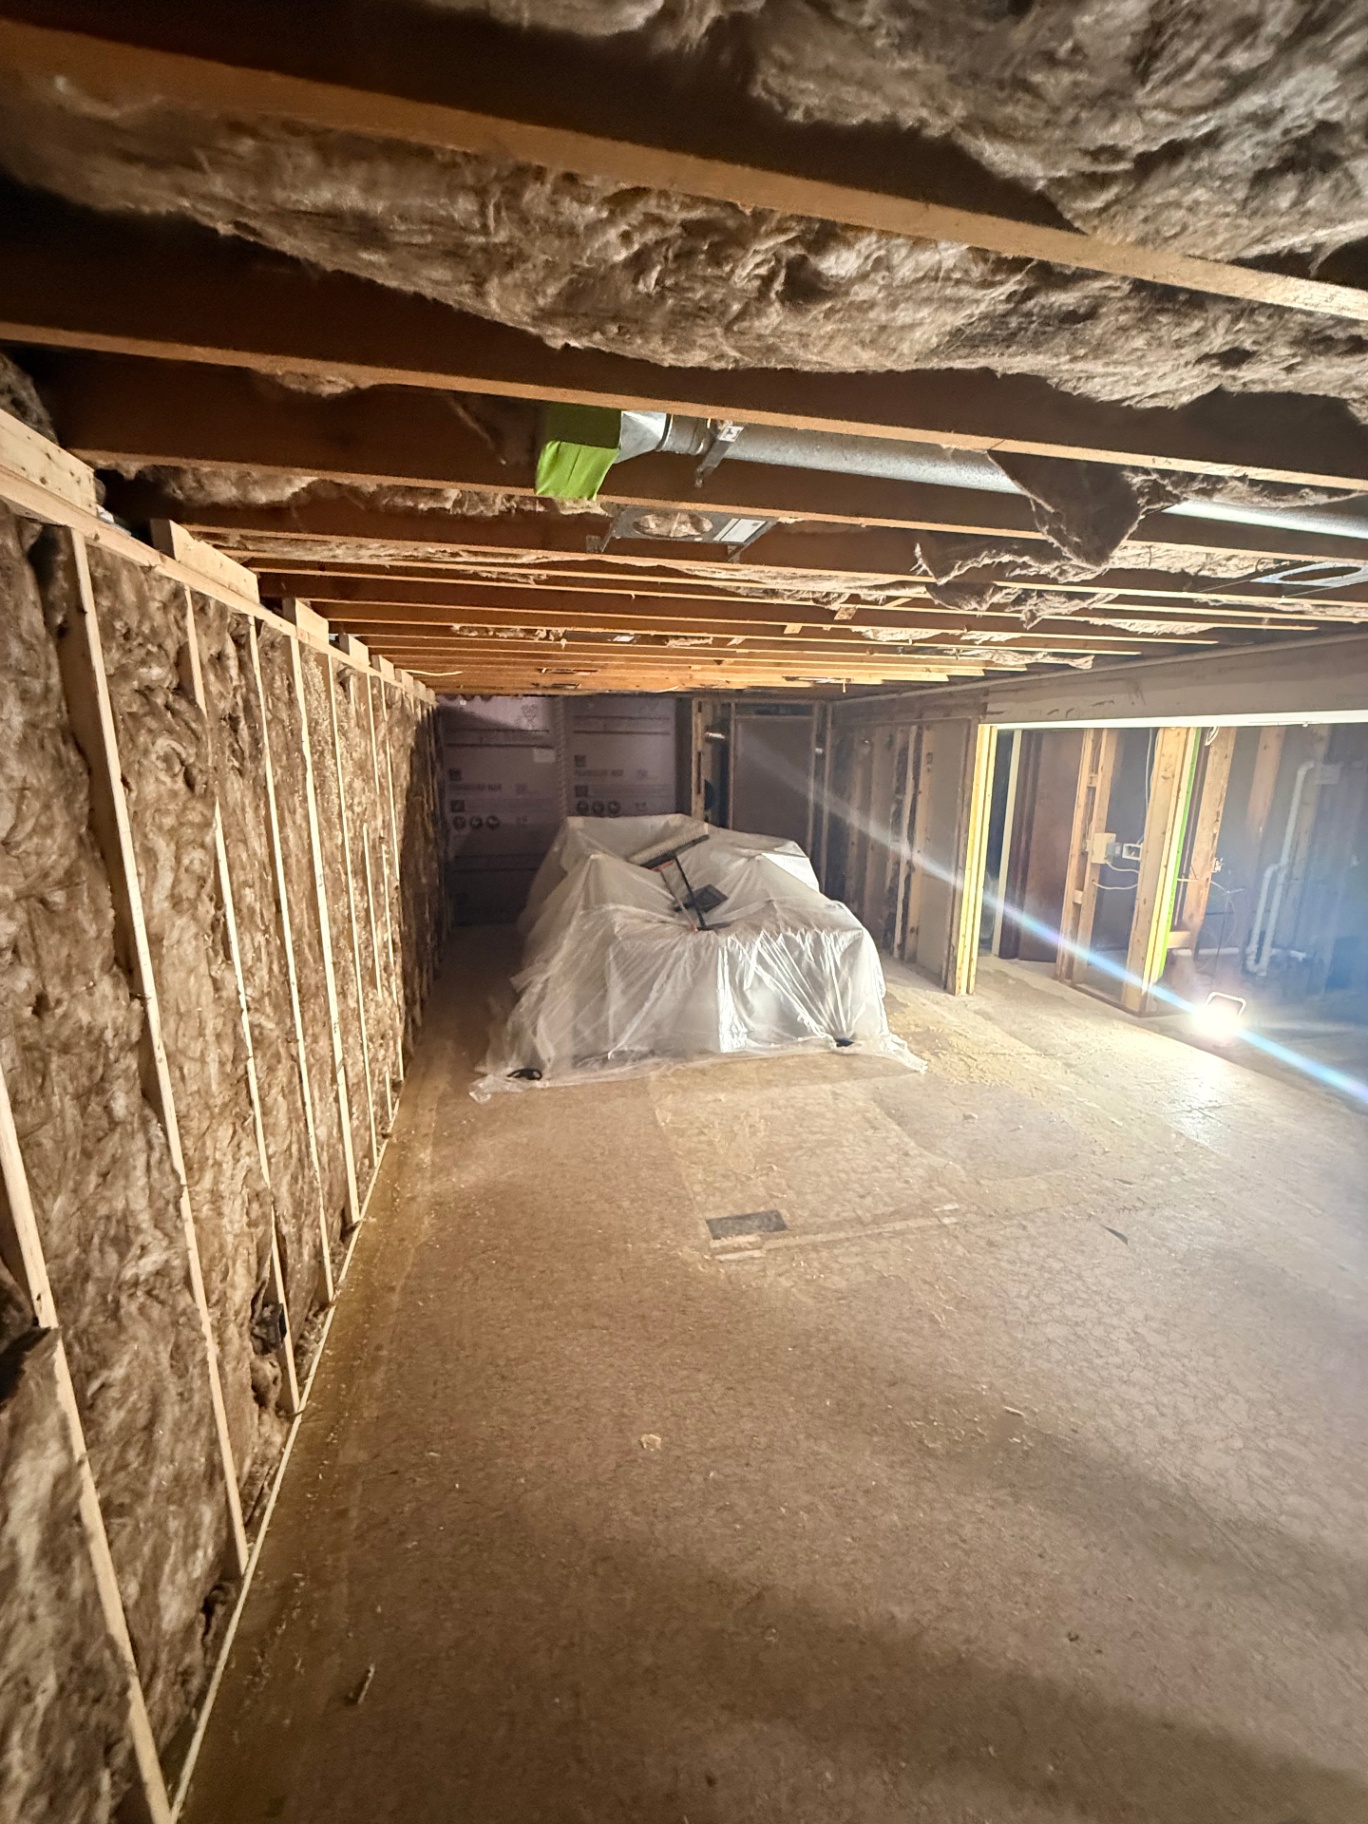
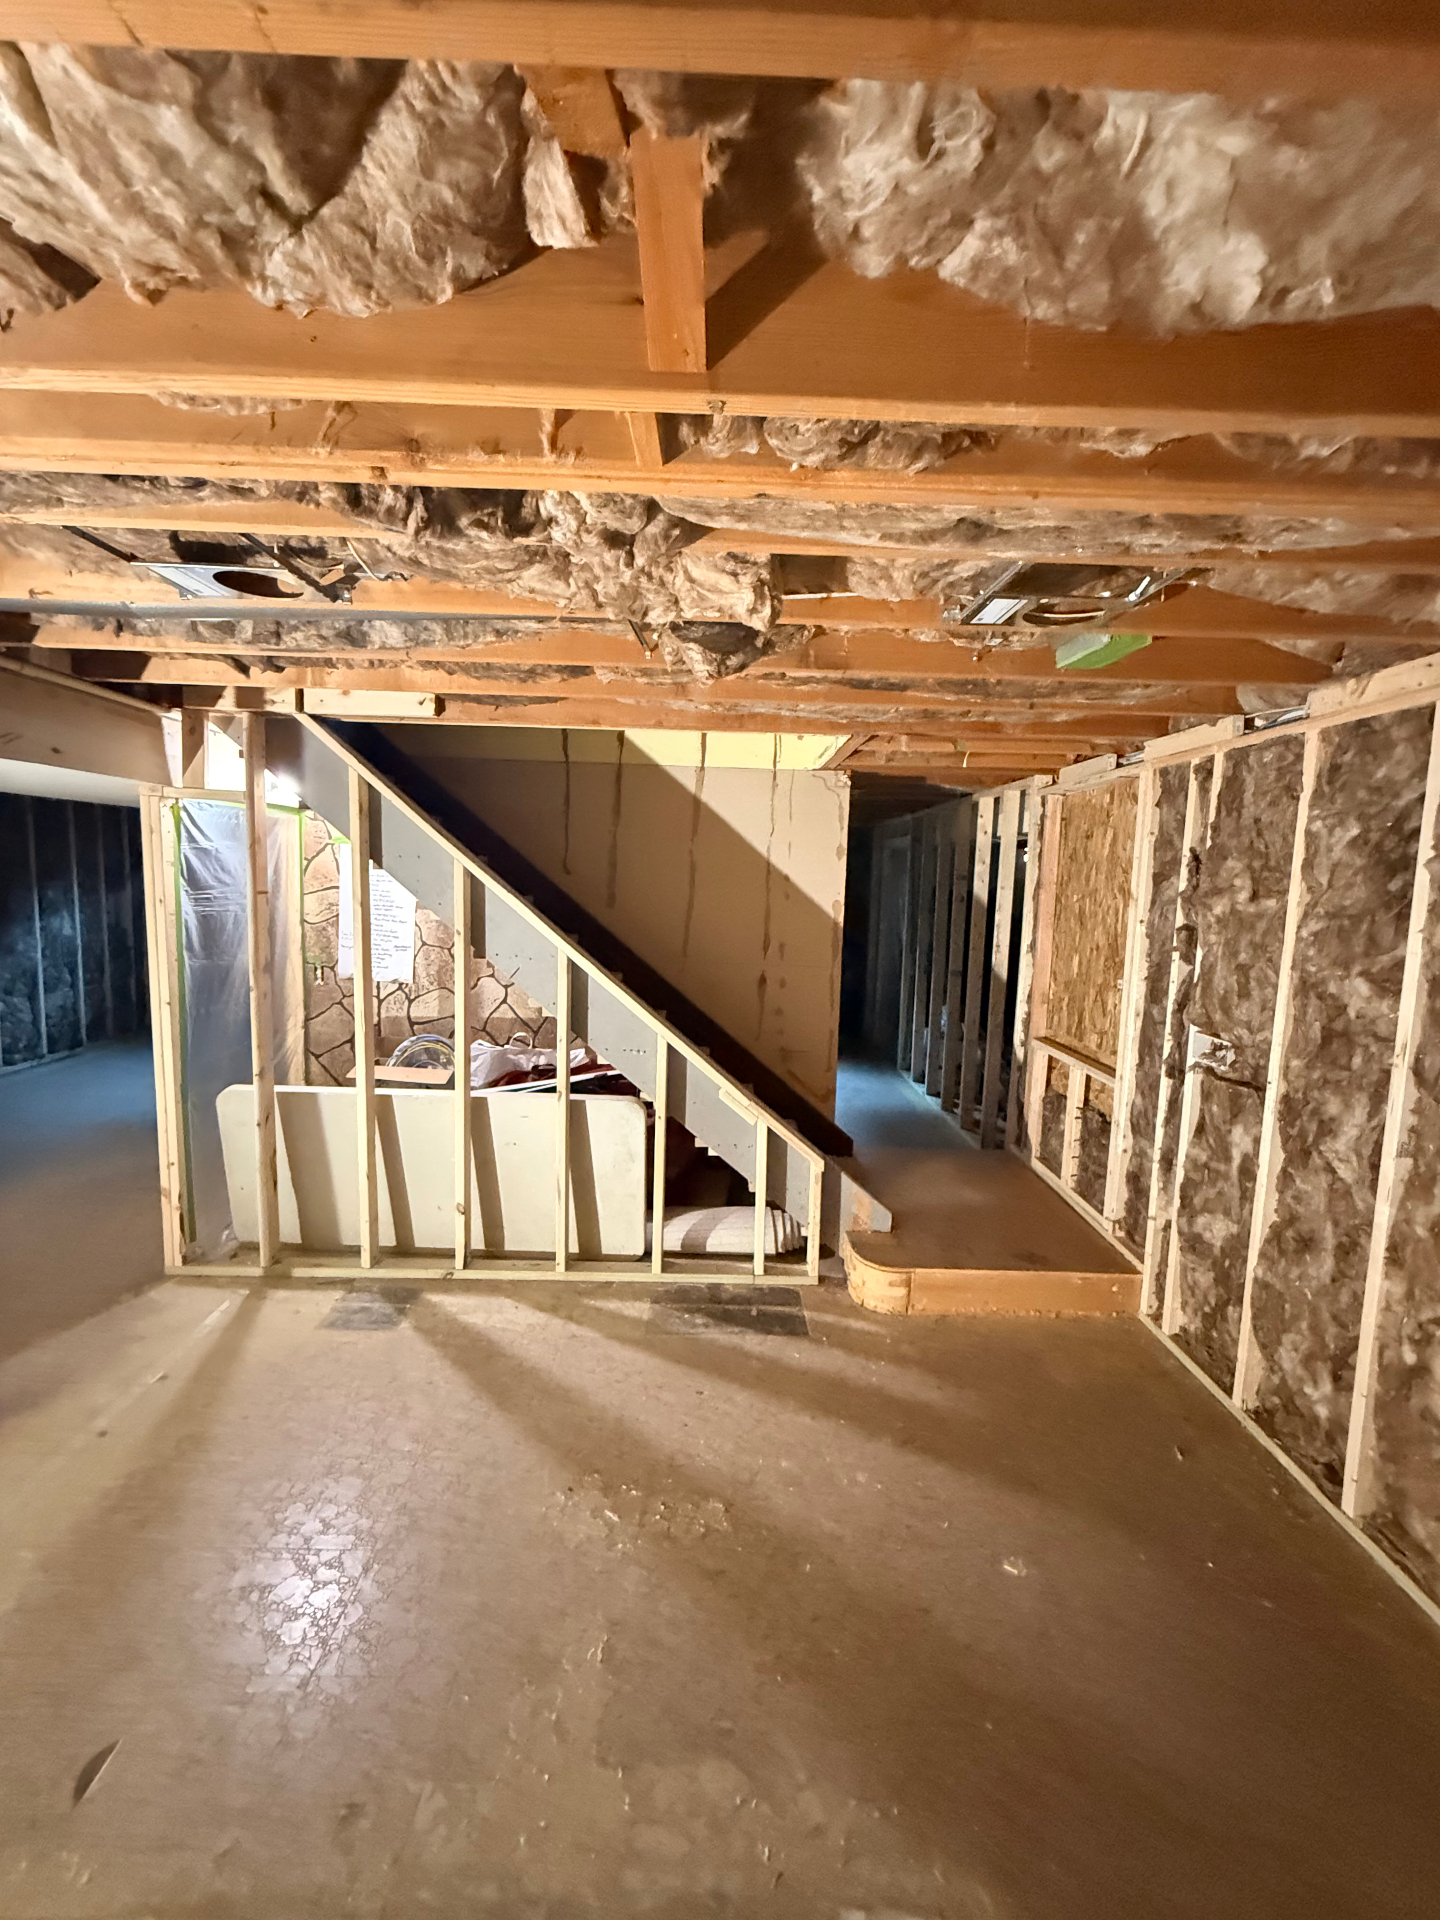
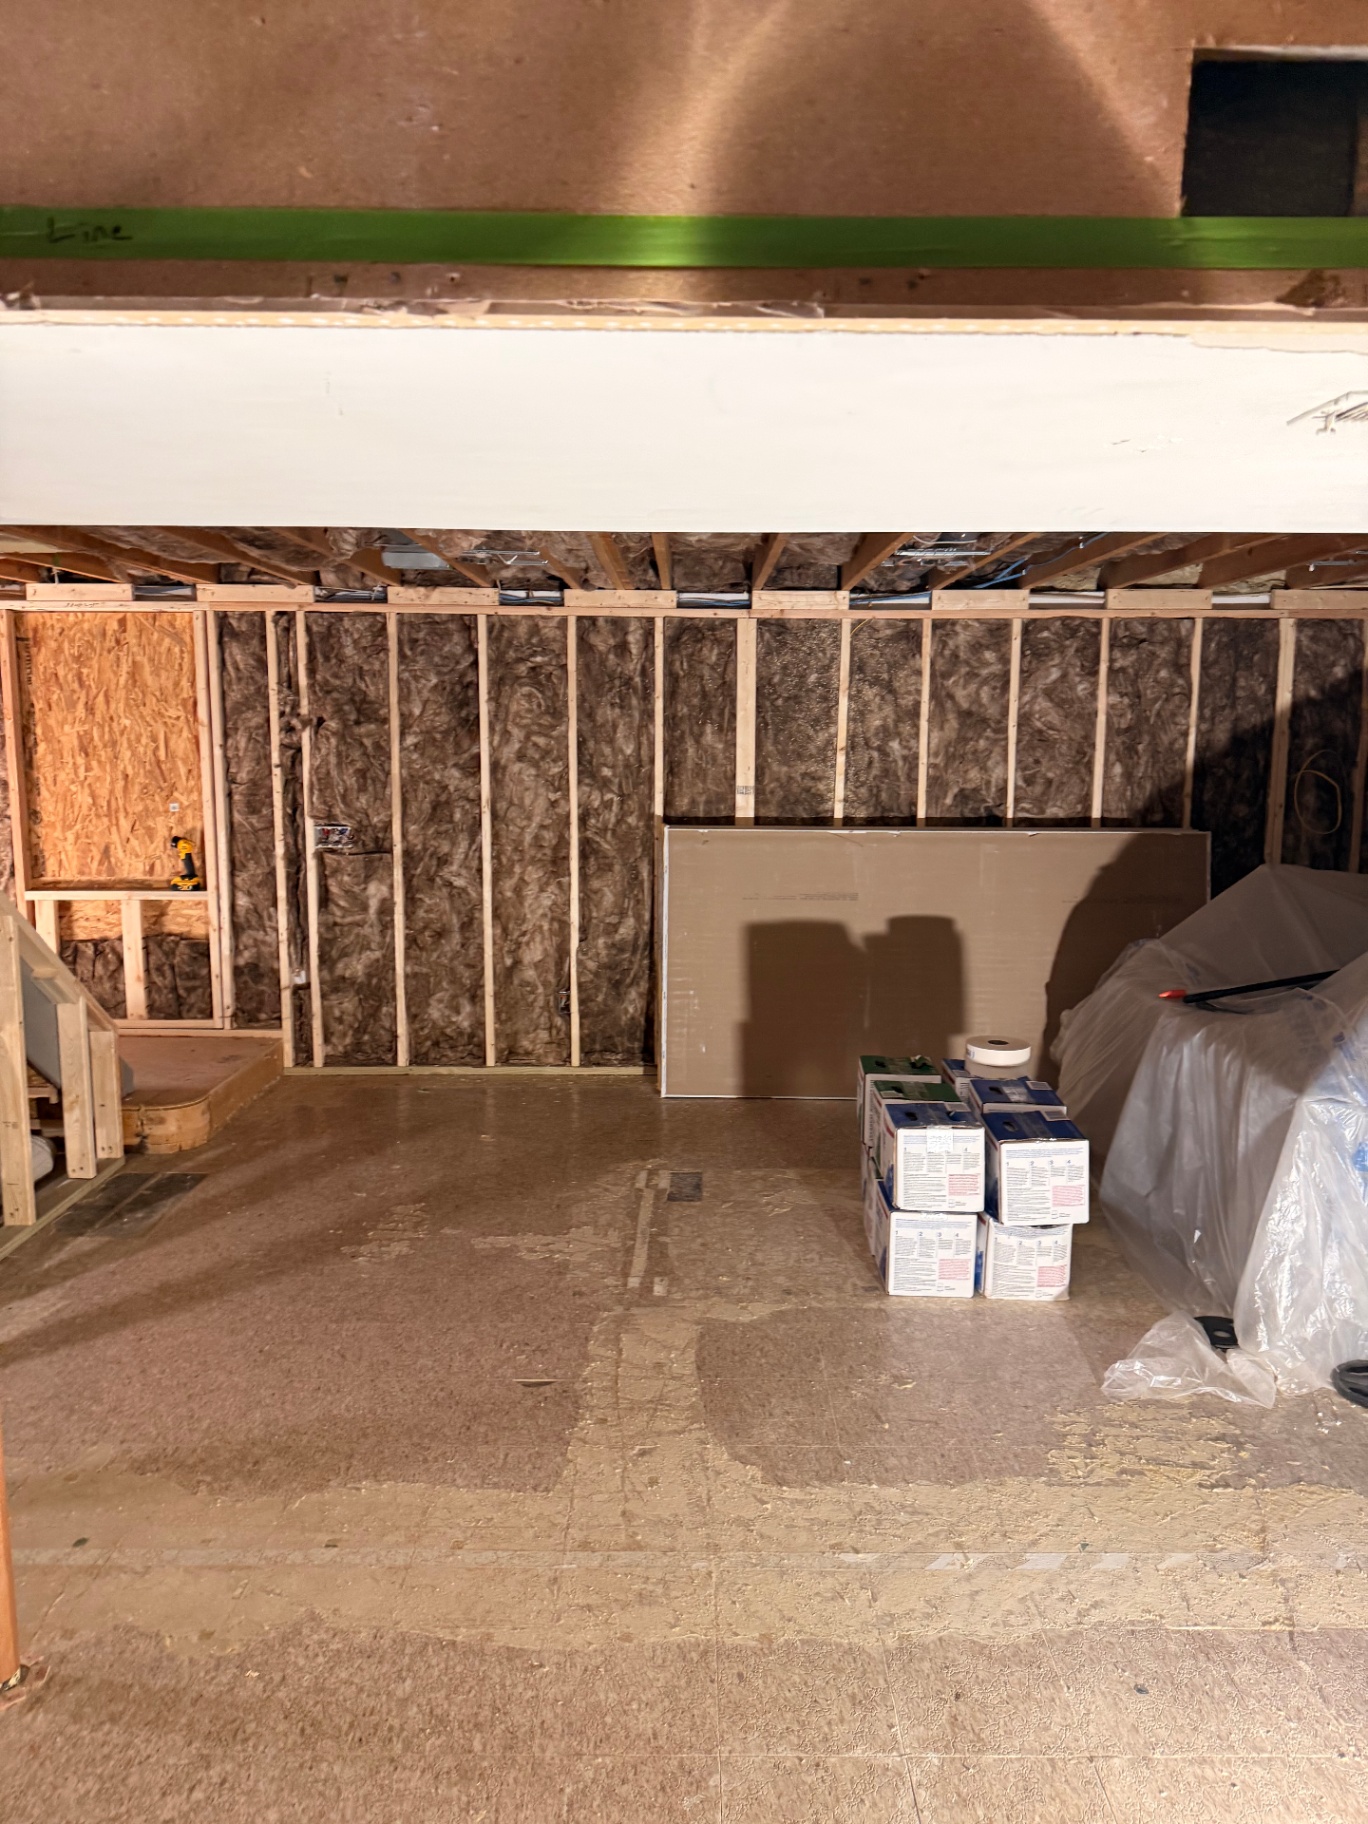
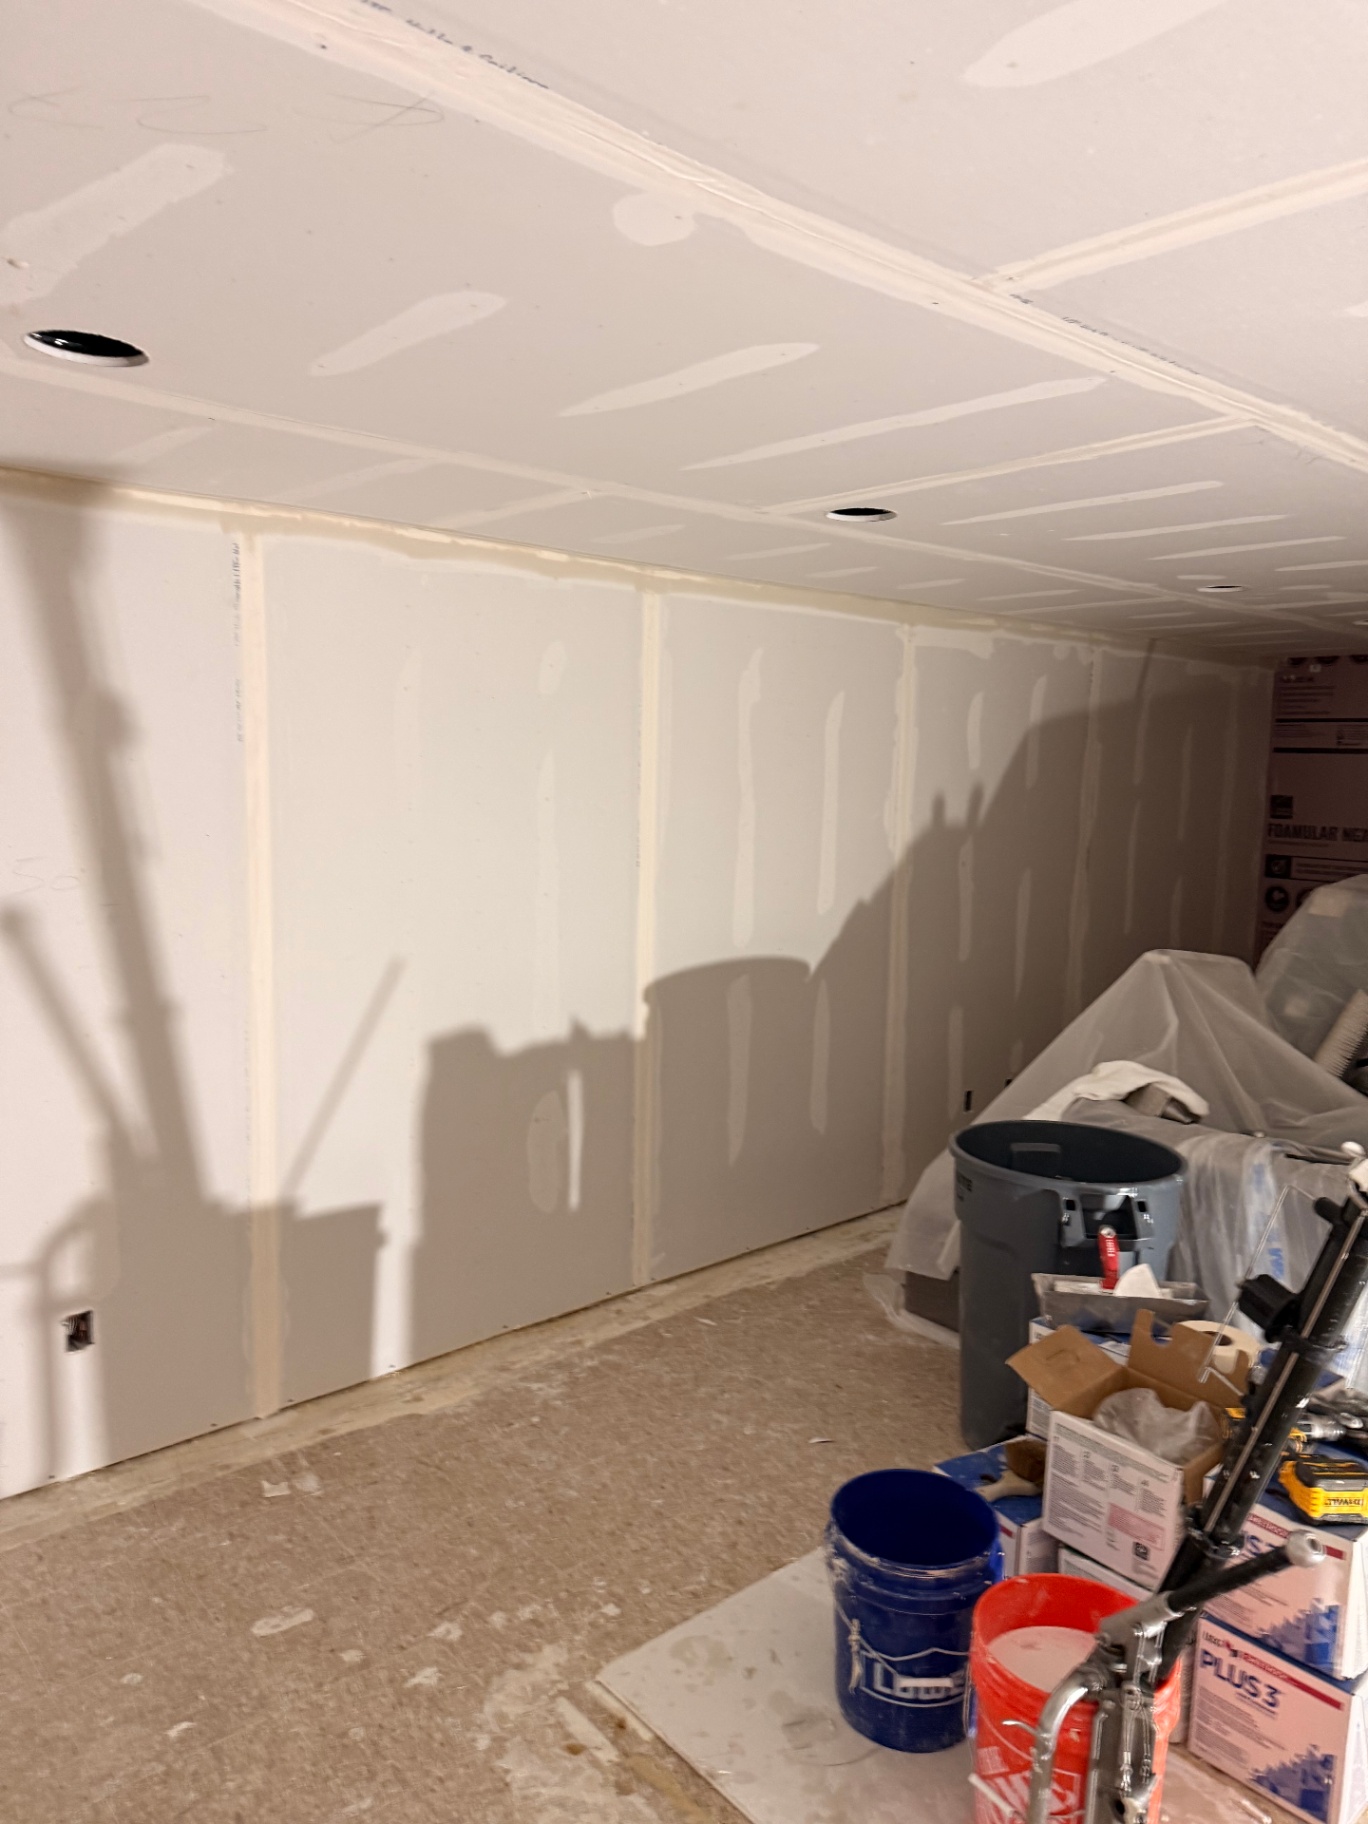
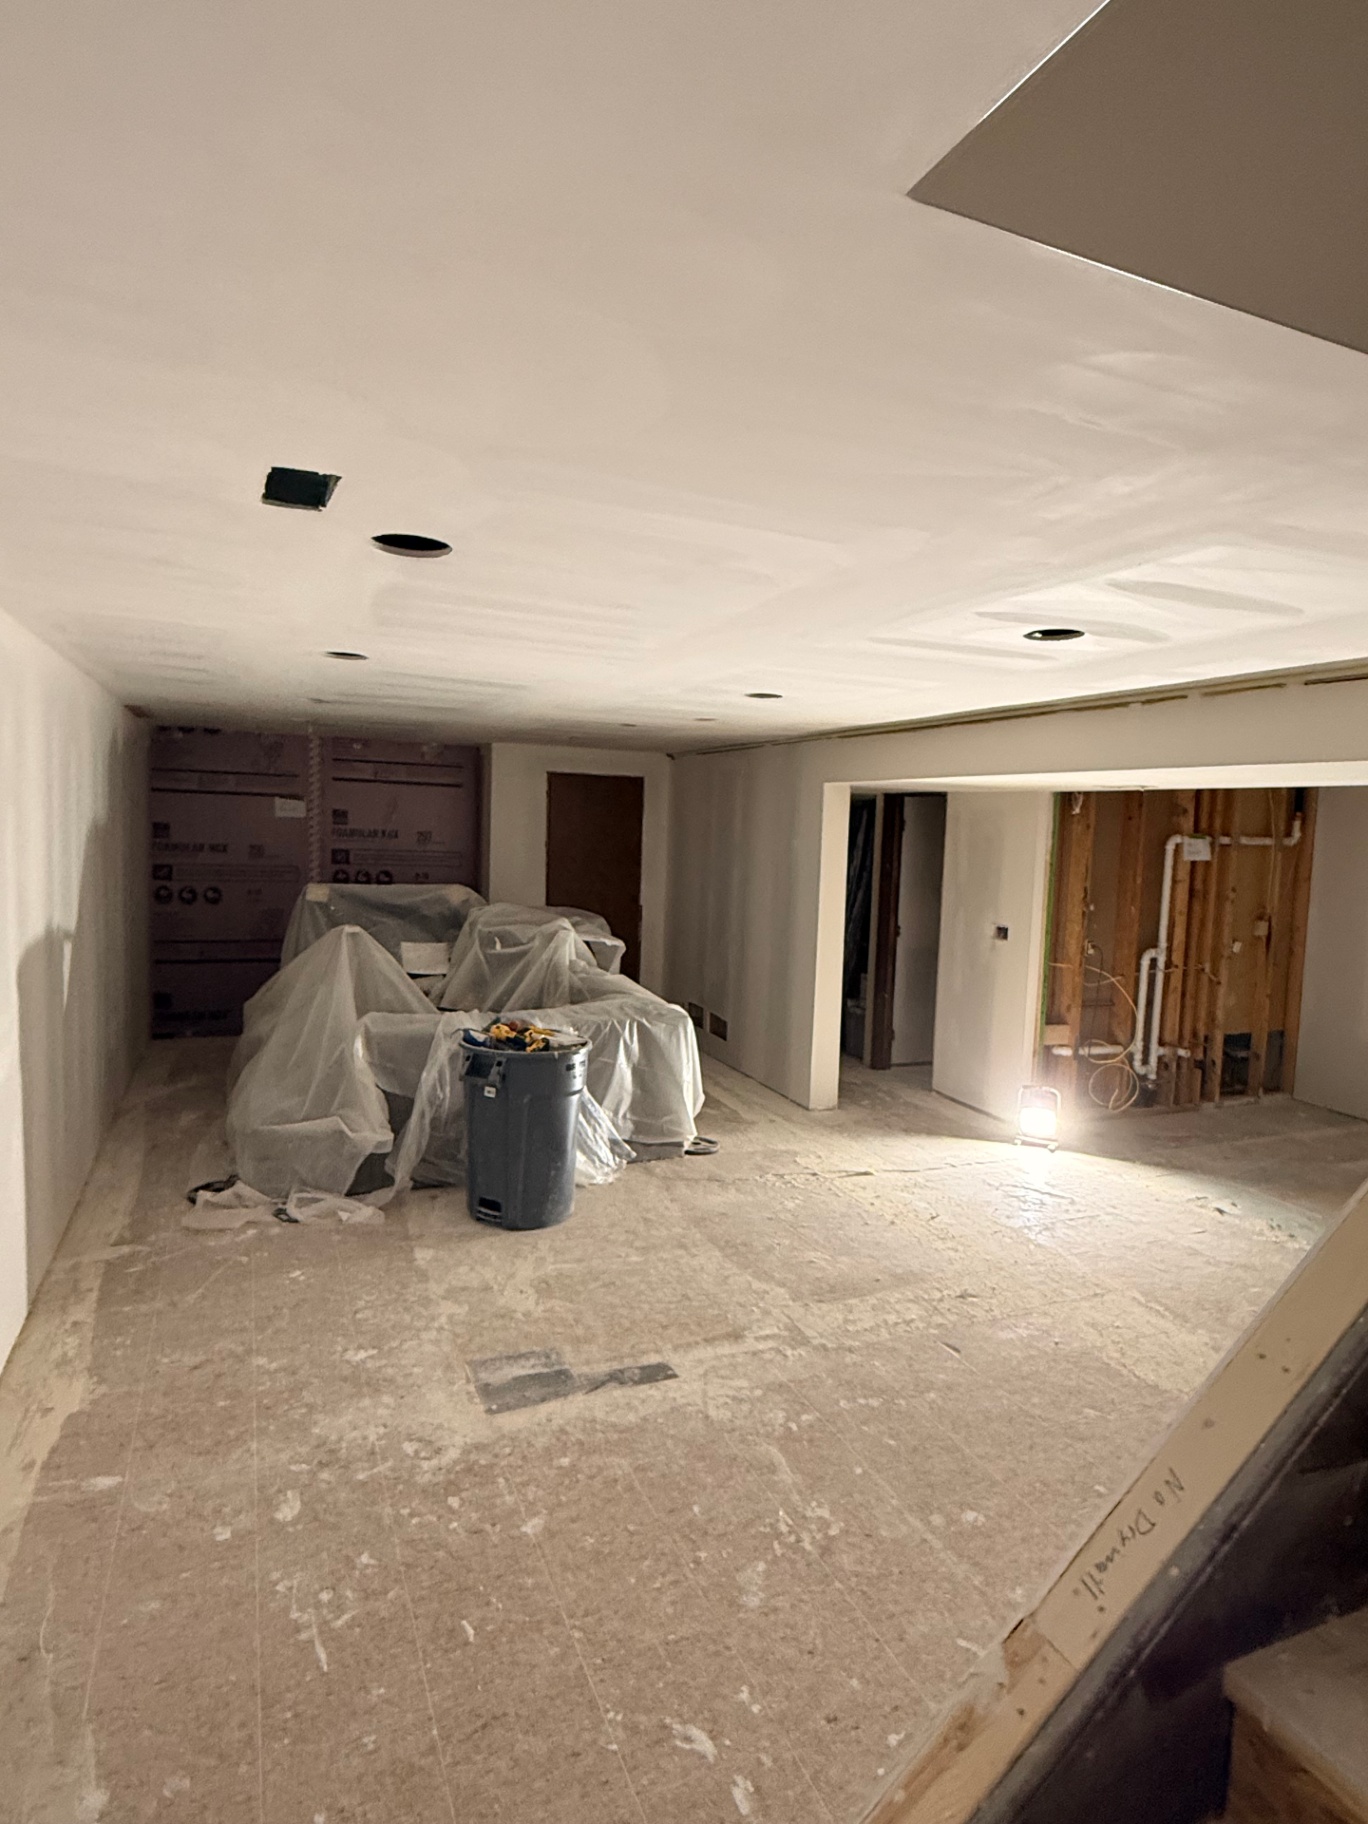
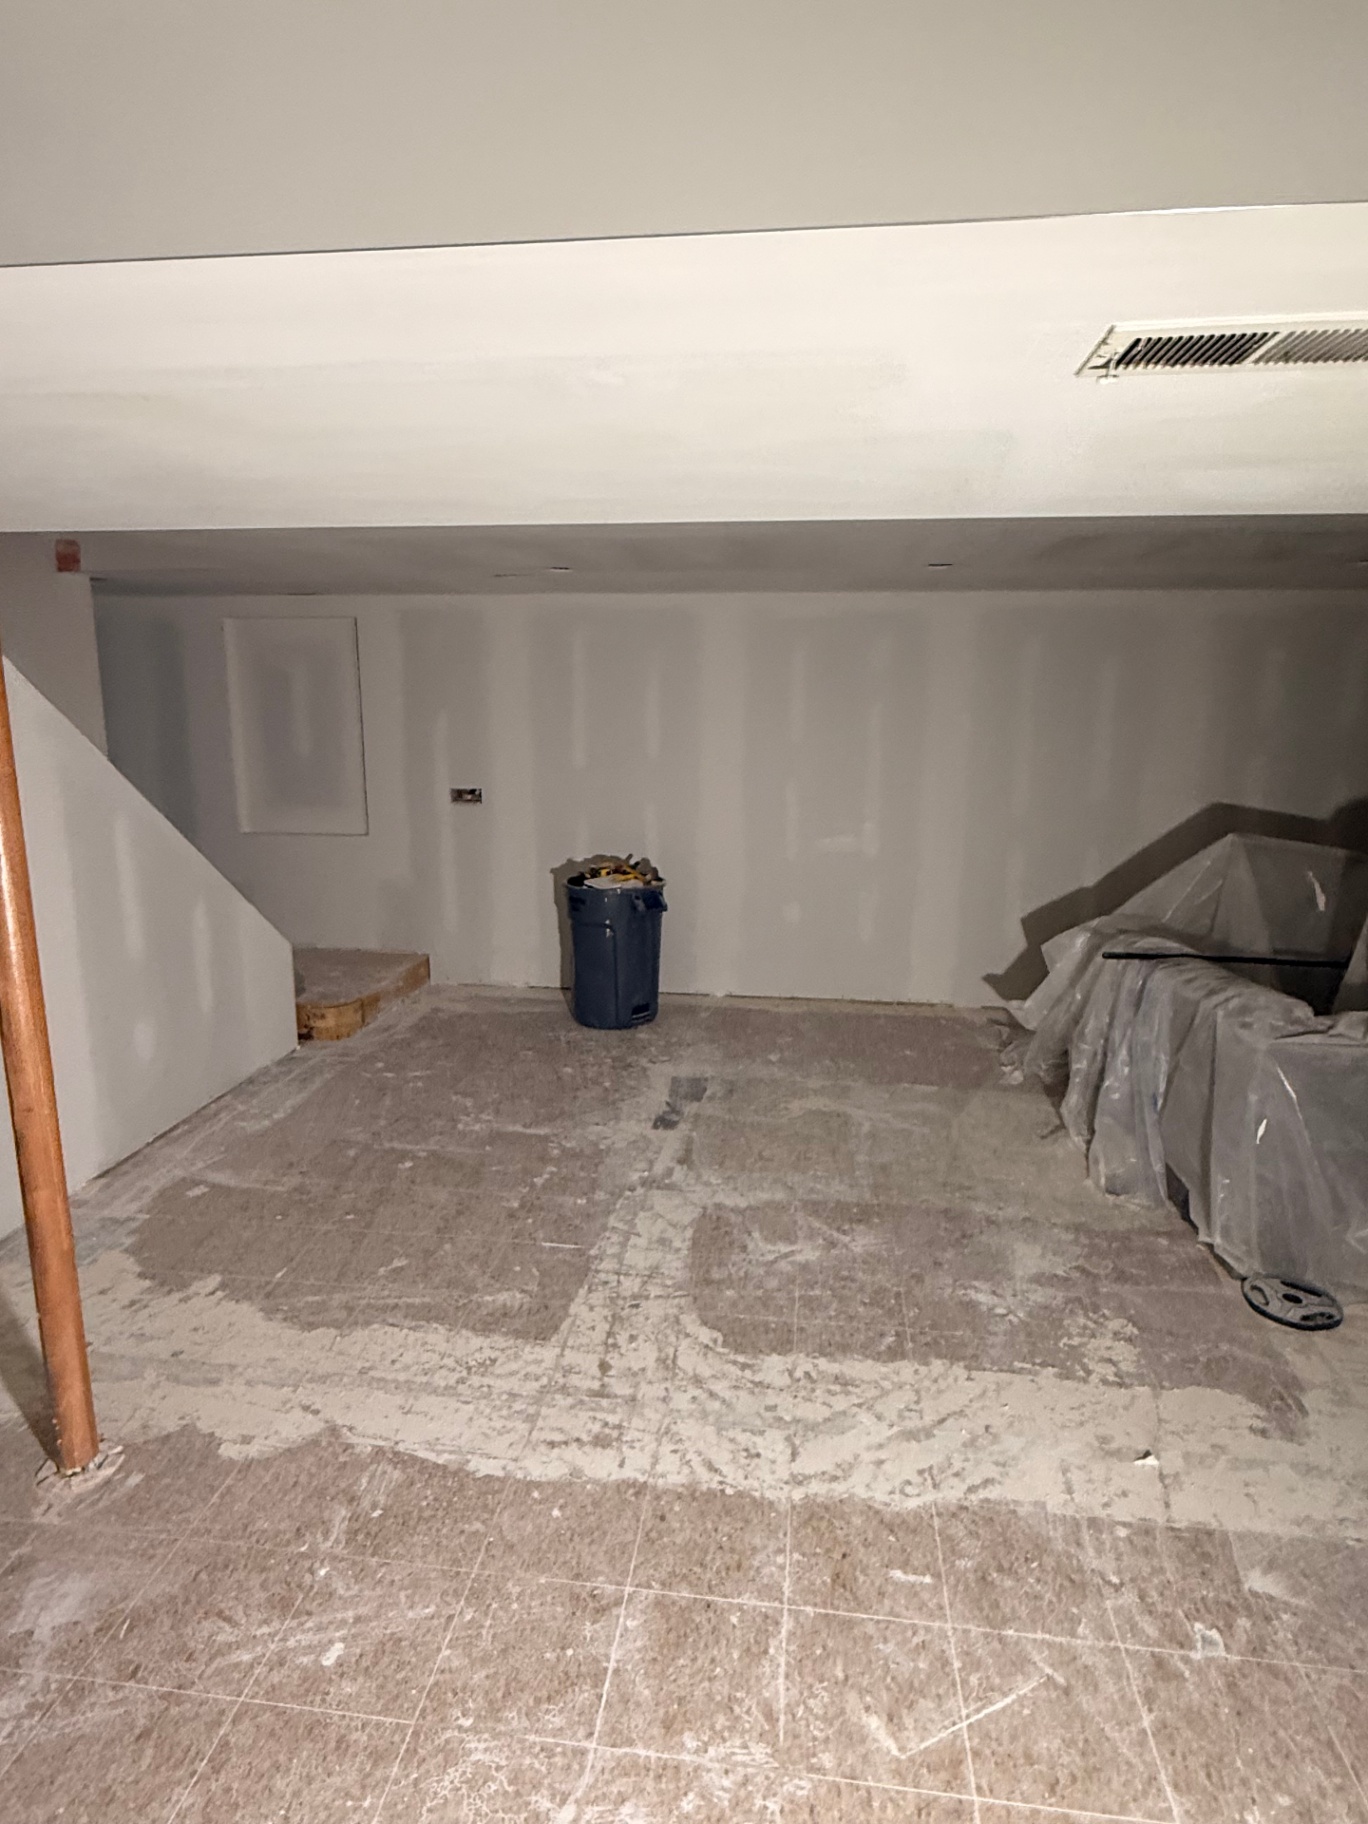
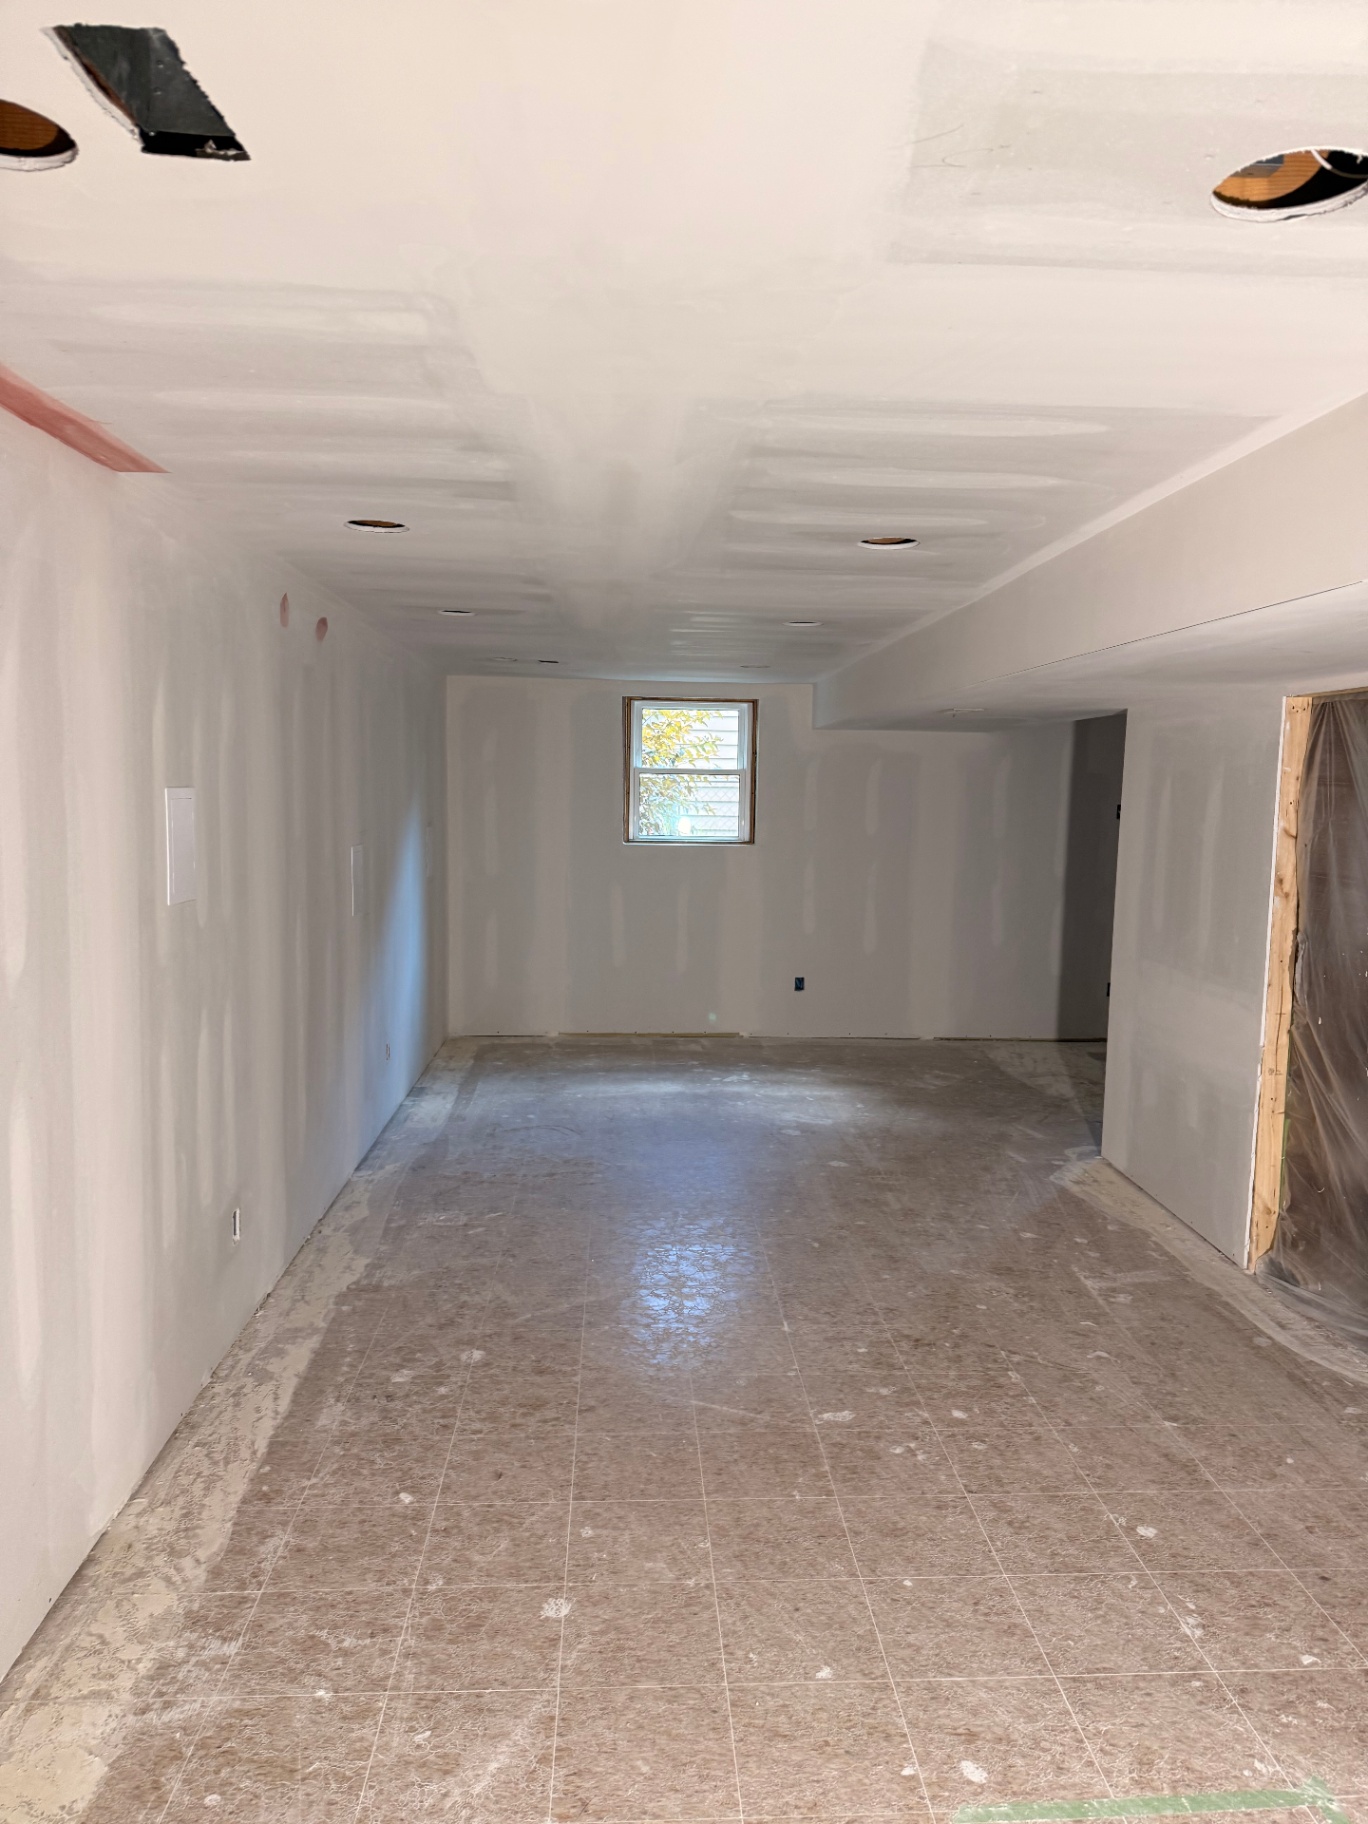
Basement bedroom framed in with soffits and utility runs exposed before drywall installation
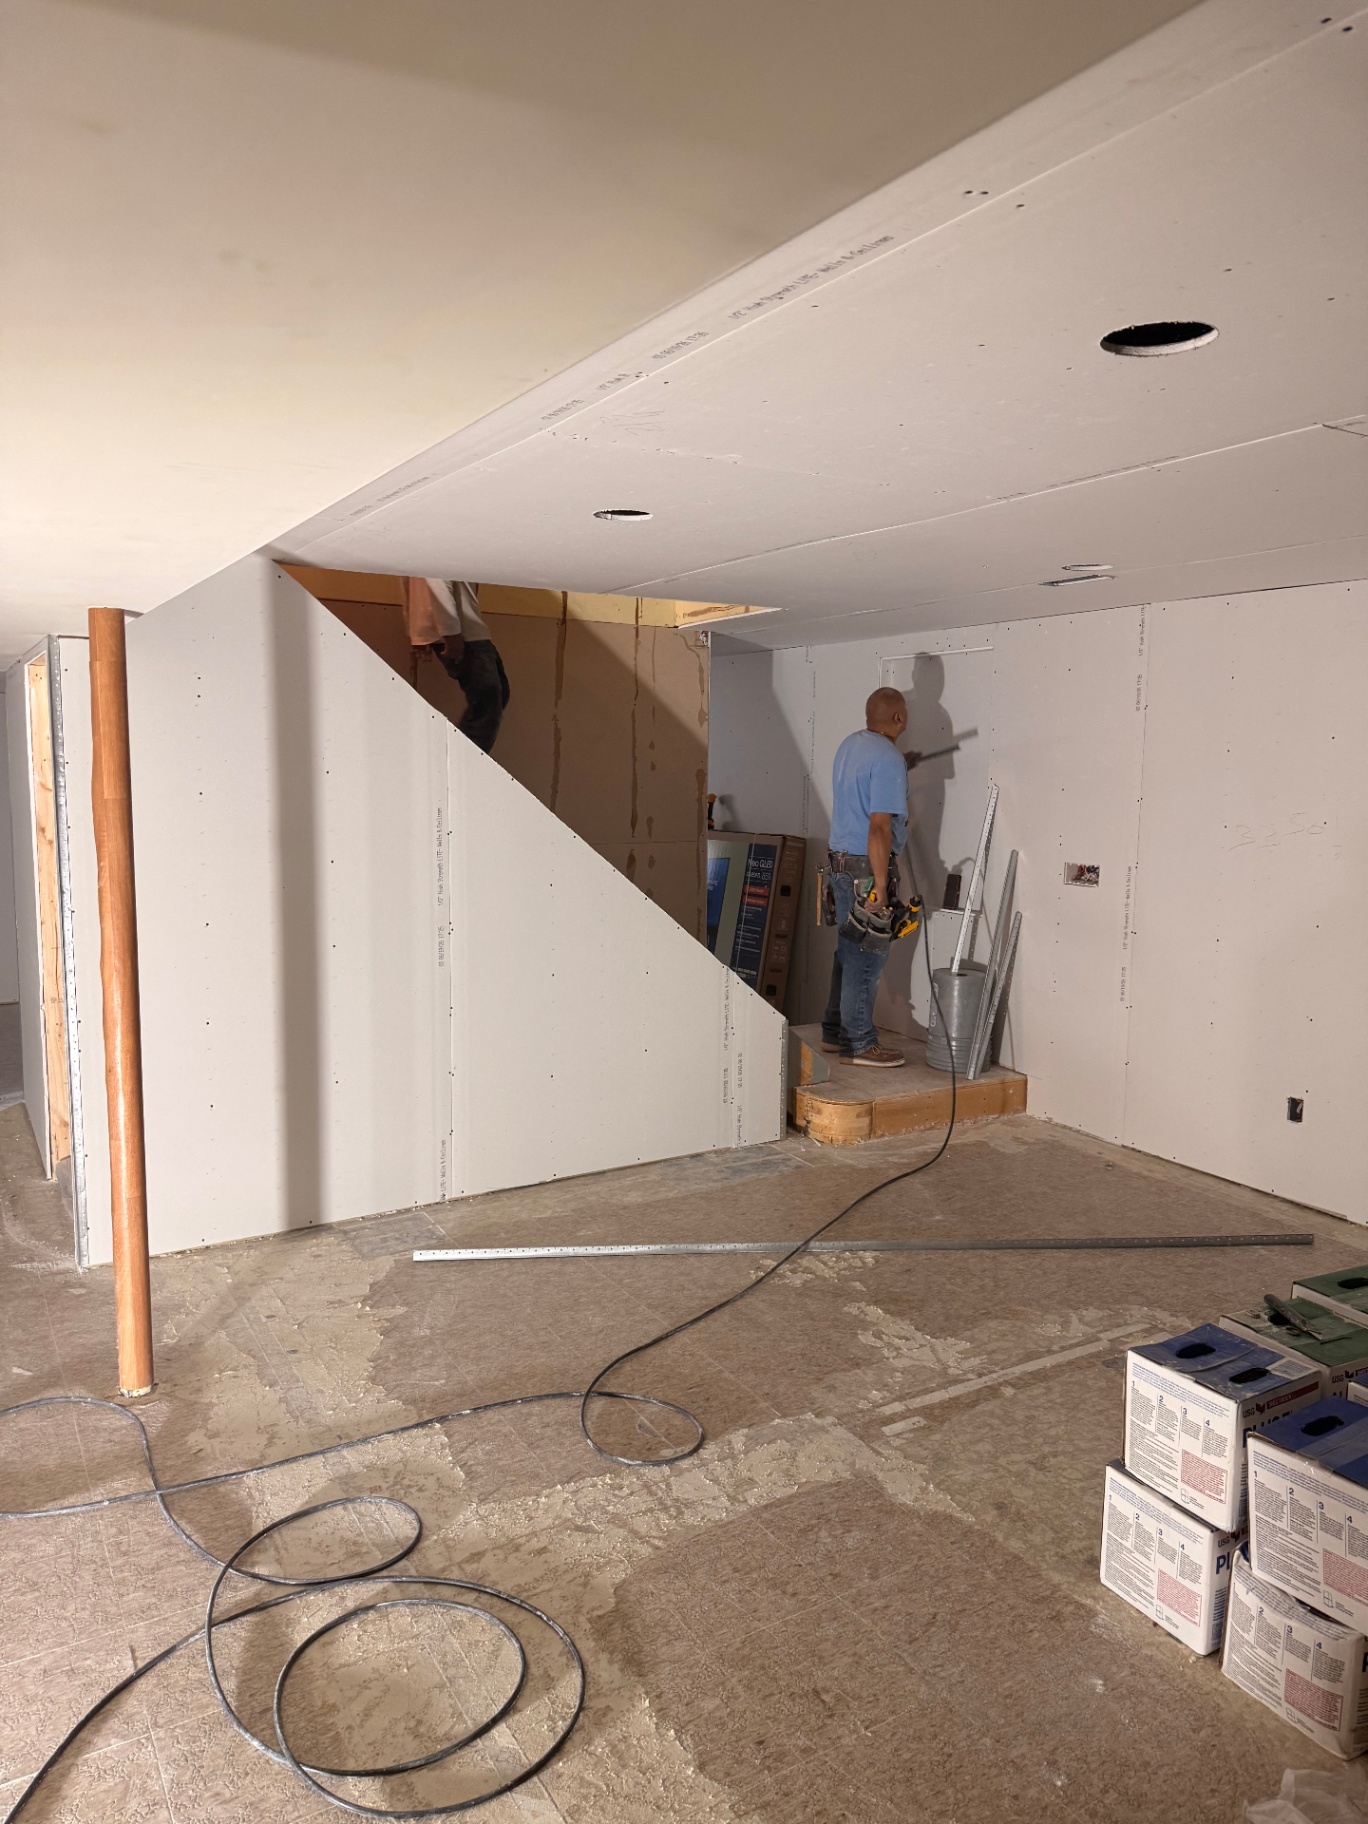
Ceiling and walls fully boarded — room laid out and ready for tape, mud, and corner work
First finish stage with taped joints, inside corners, and boxed-out soffits taking shape
Wider finish coats floated across seams and ceiling details ahead of sanding
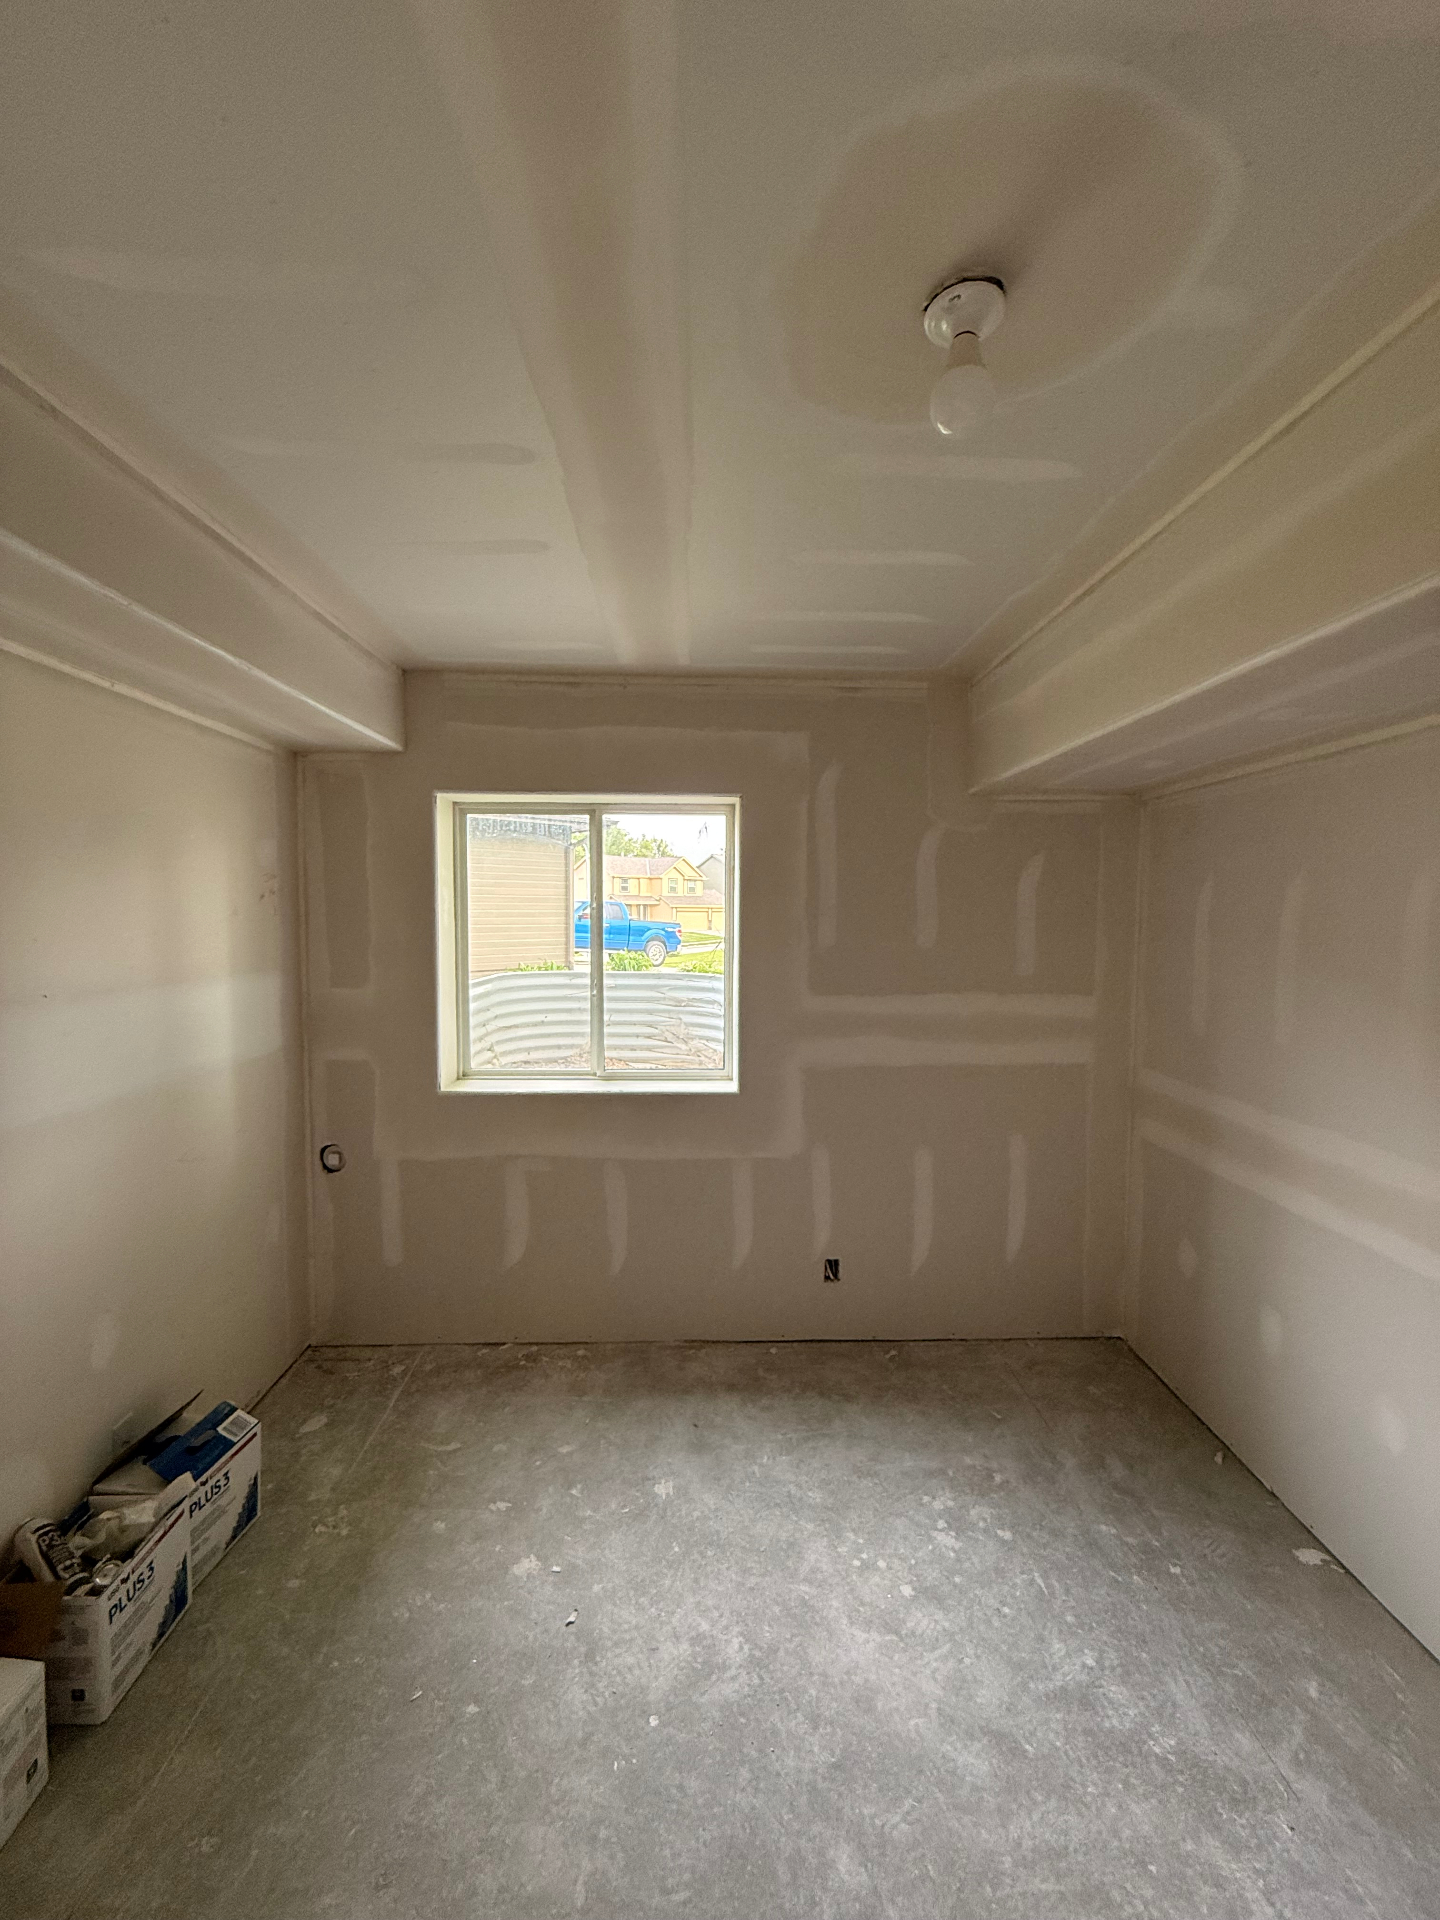
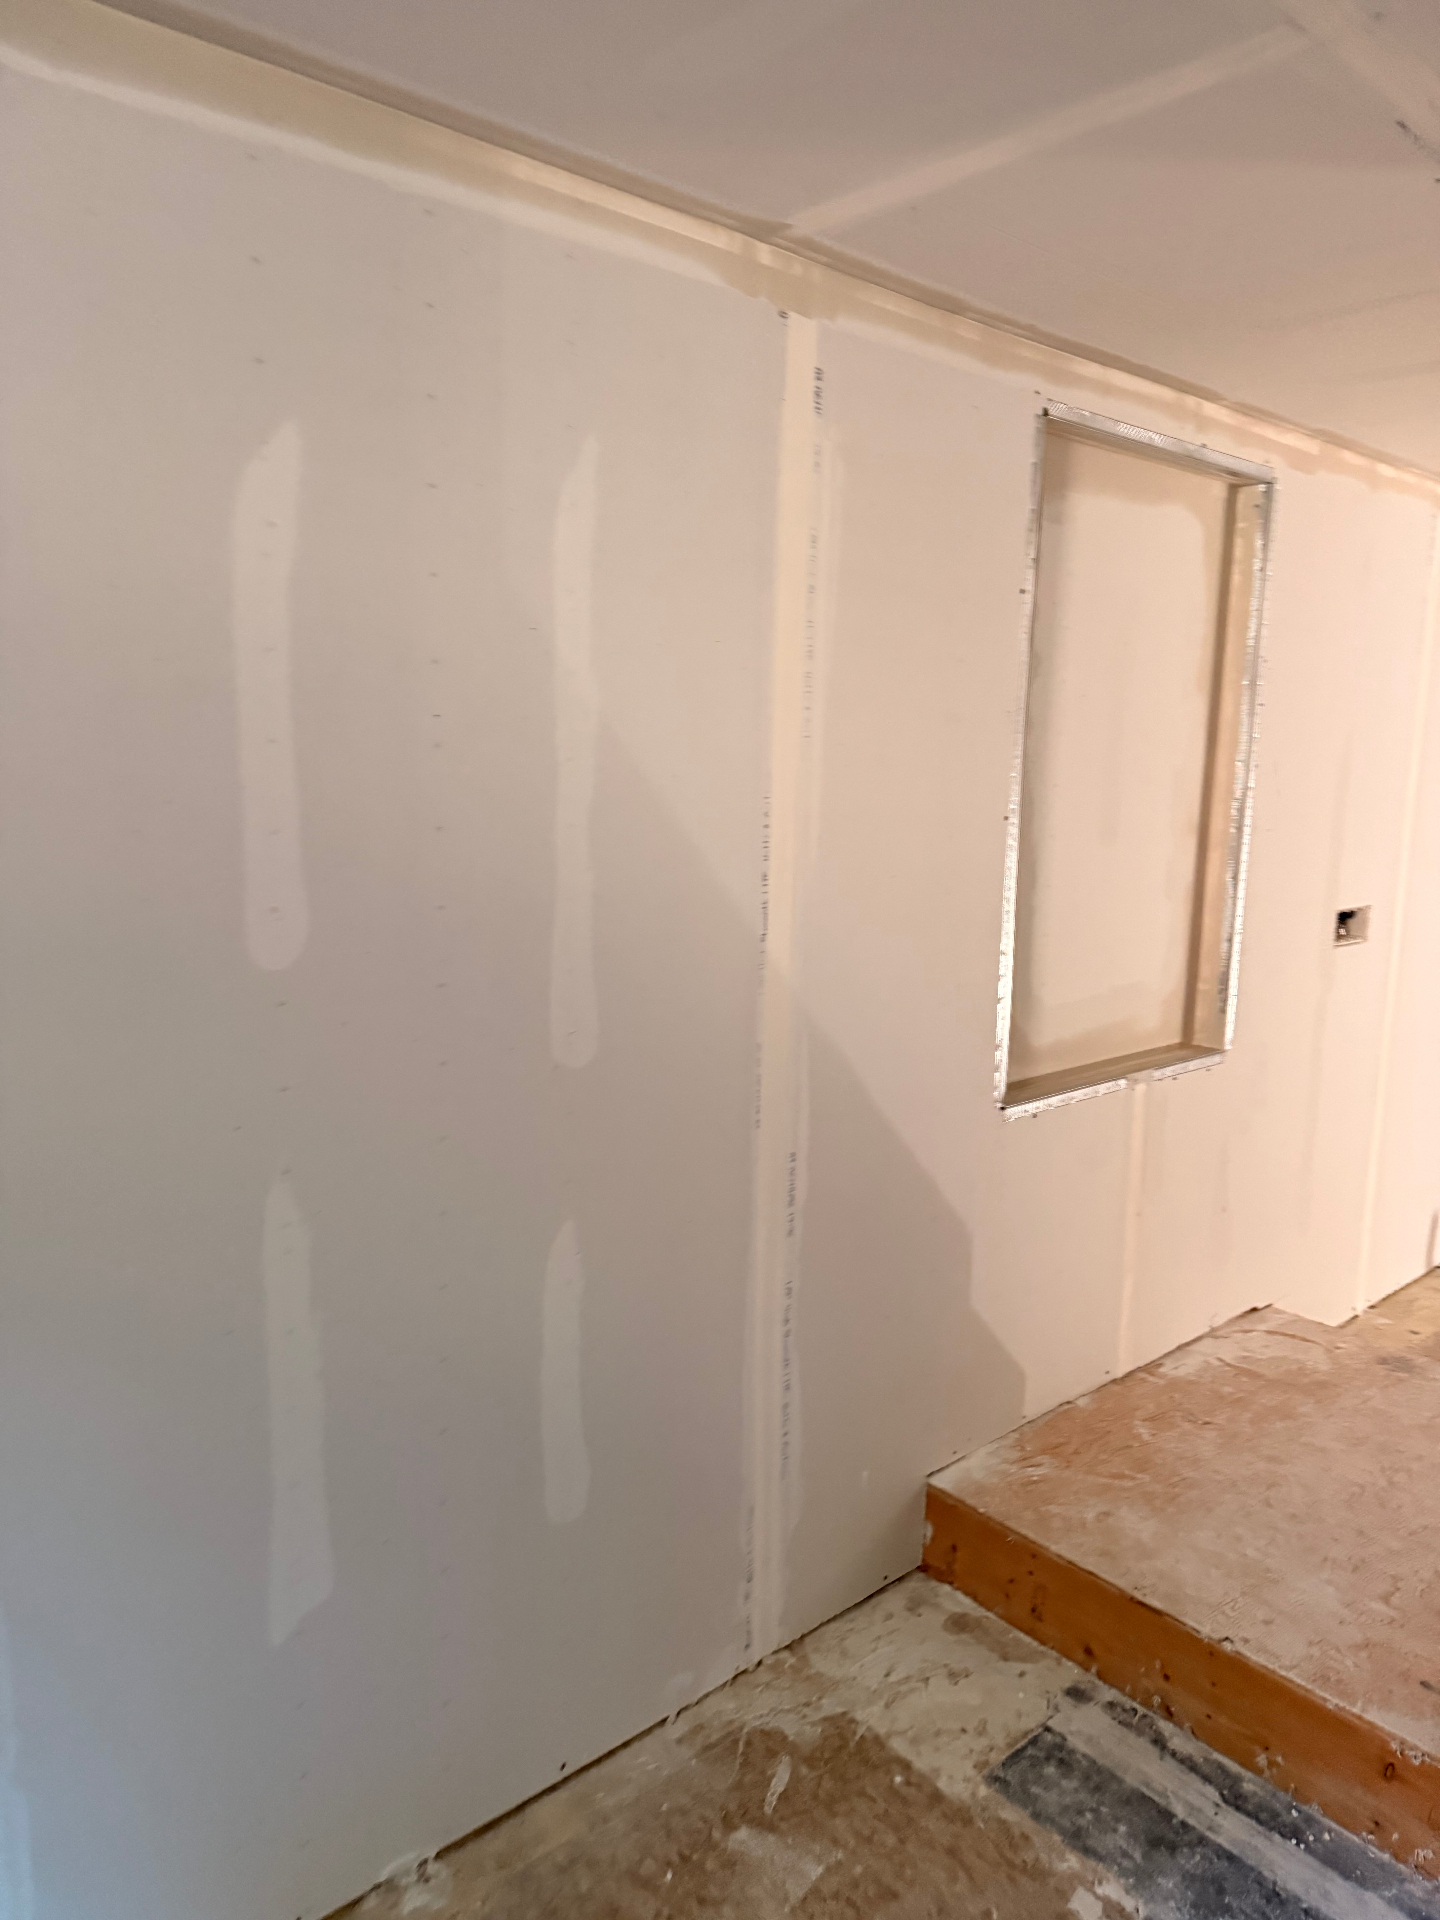
Basement bedroom finished paint-ready with textured ceiling and smooth walls around the window
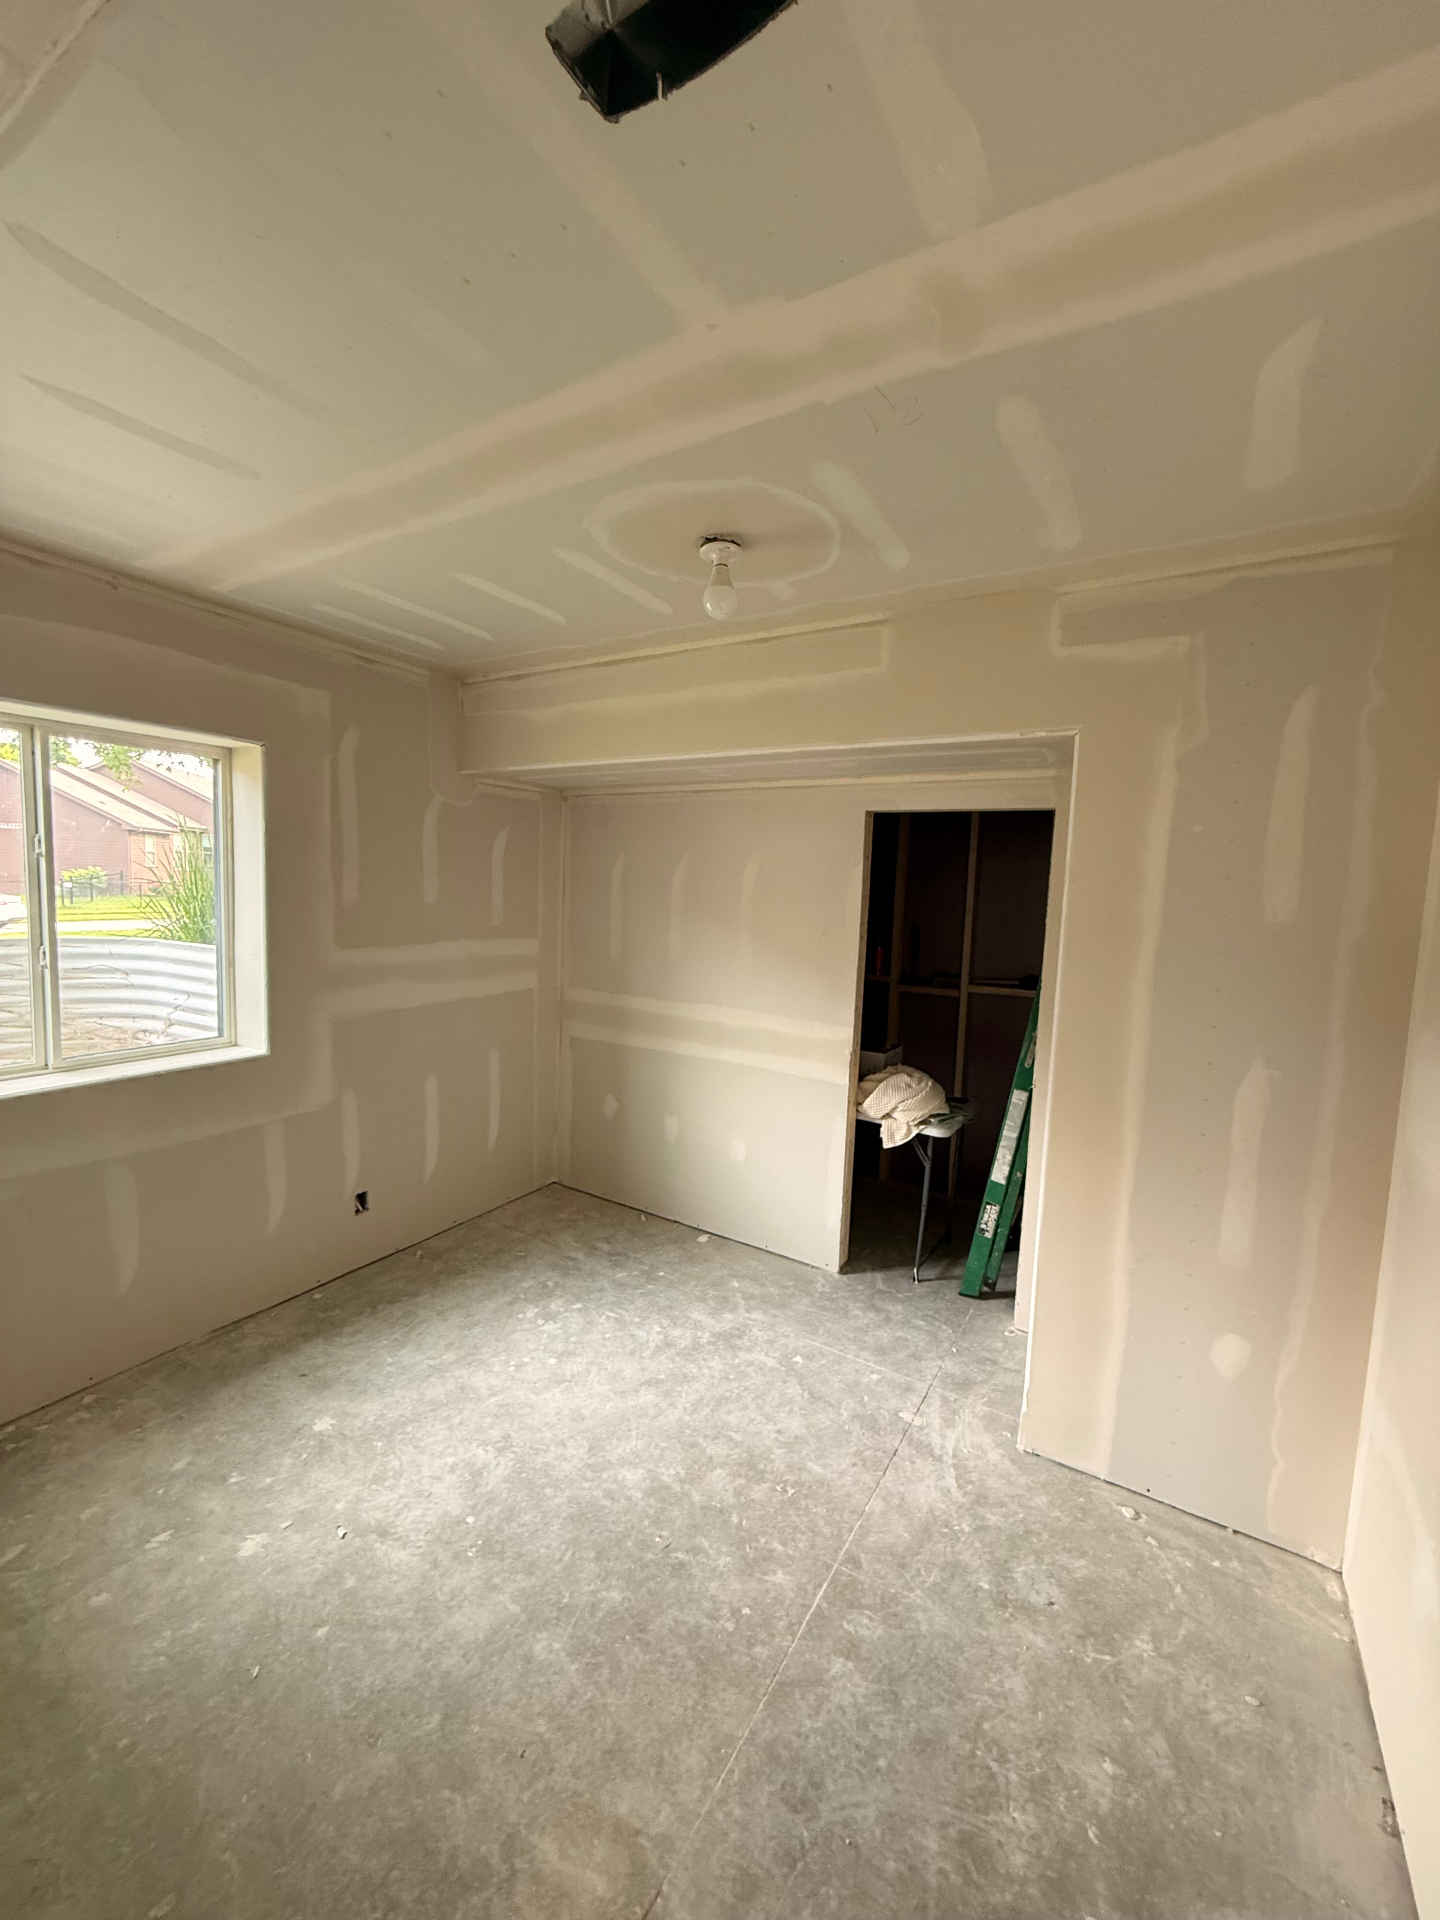
Finished angle from the closet side showing the completed ceiling texture and clean wall finish

— Bathroom Remodel: With Moisture Board

Bathroom remodel — with moisture board.

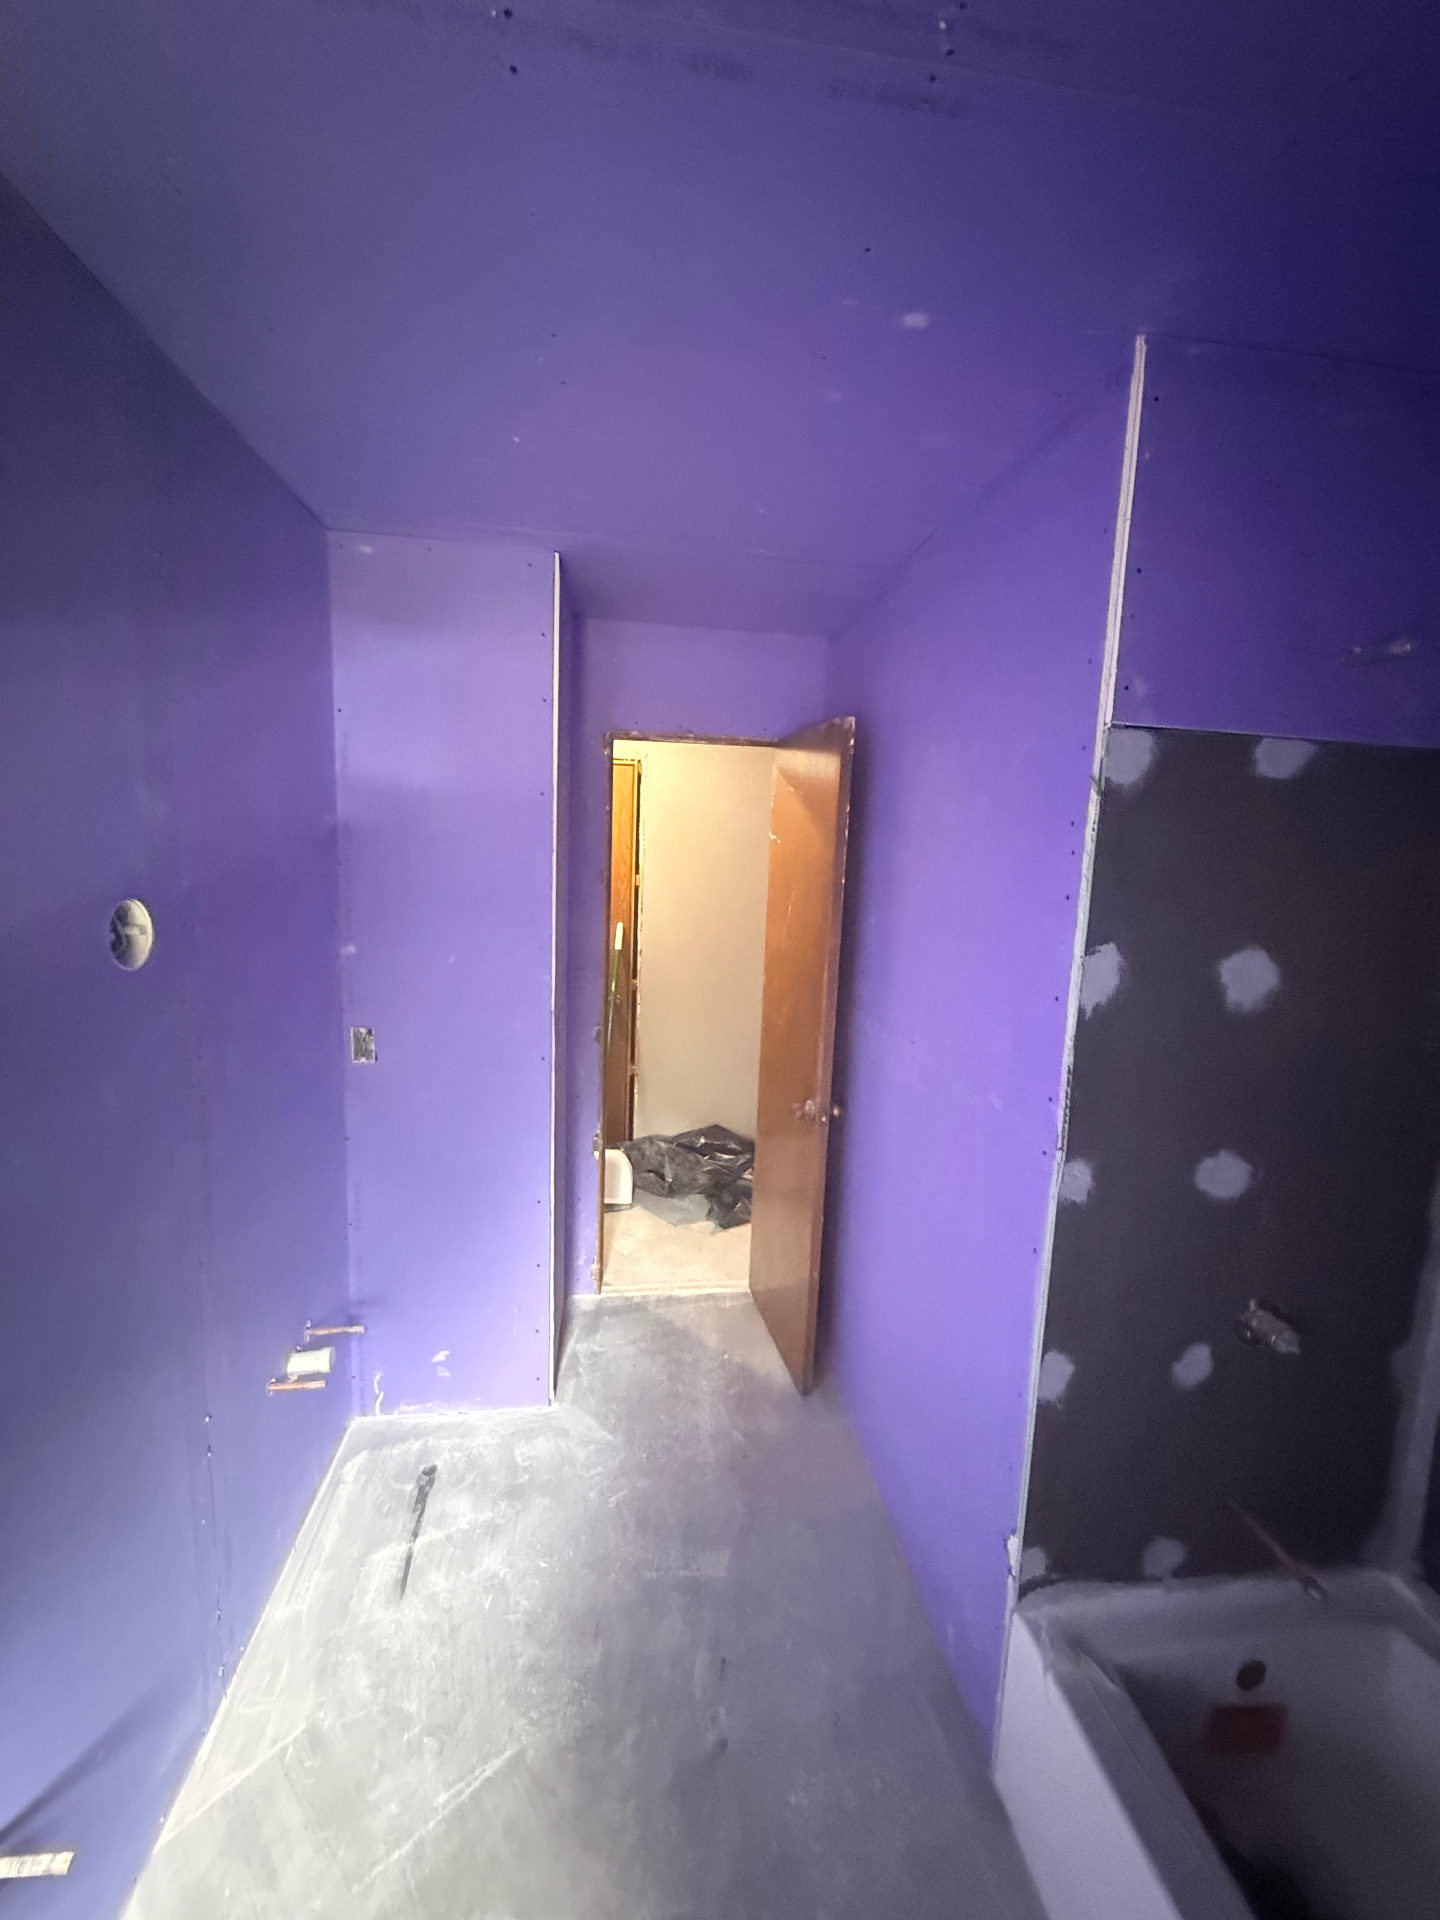
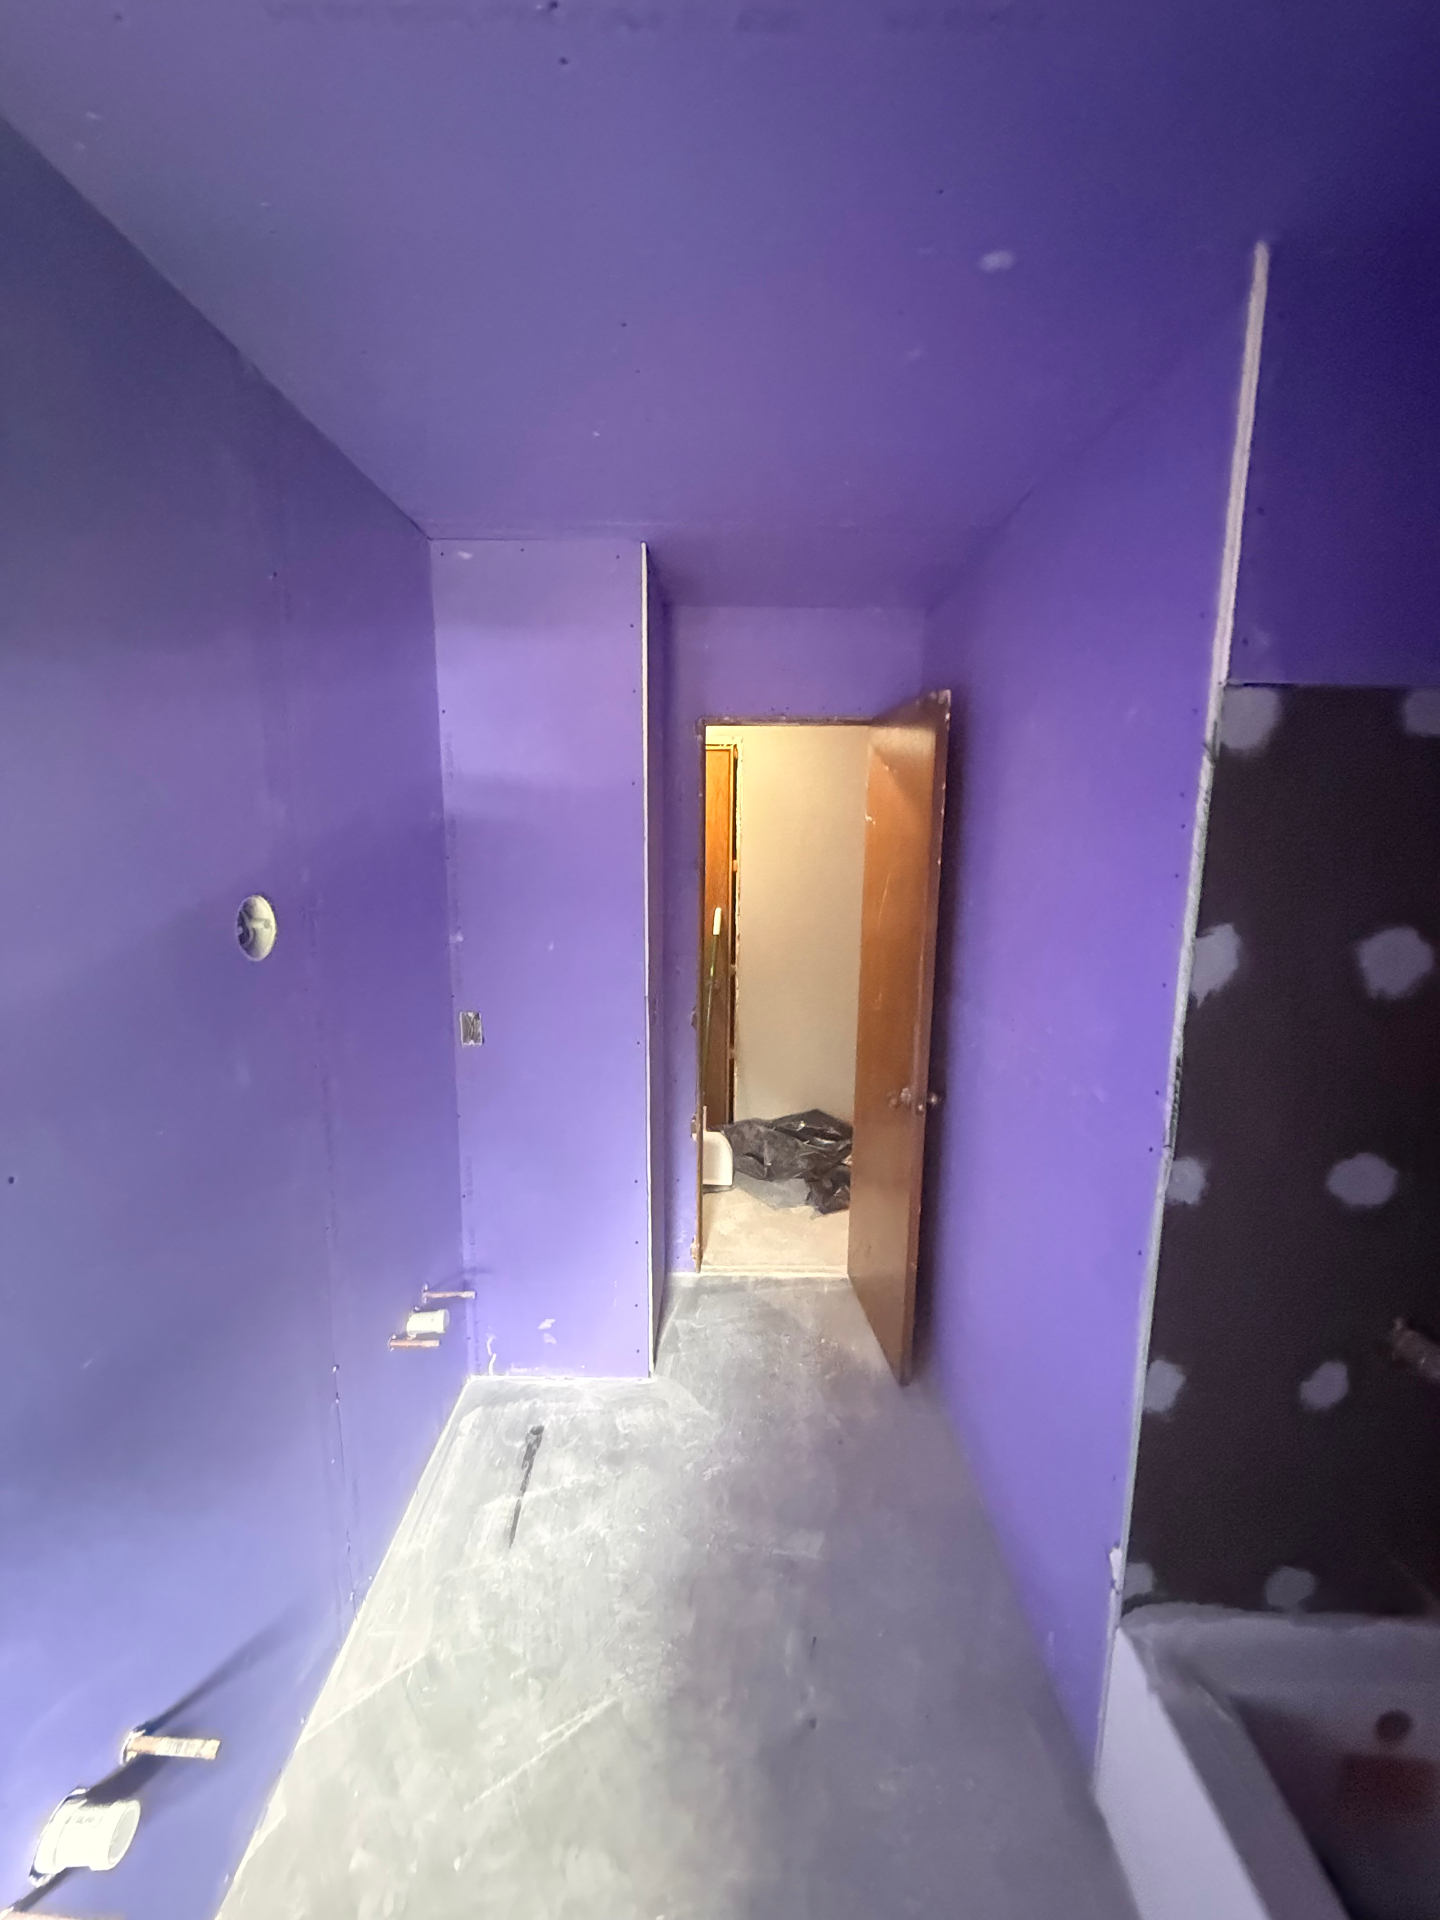
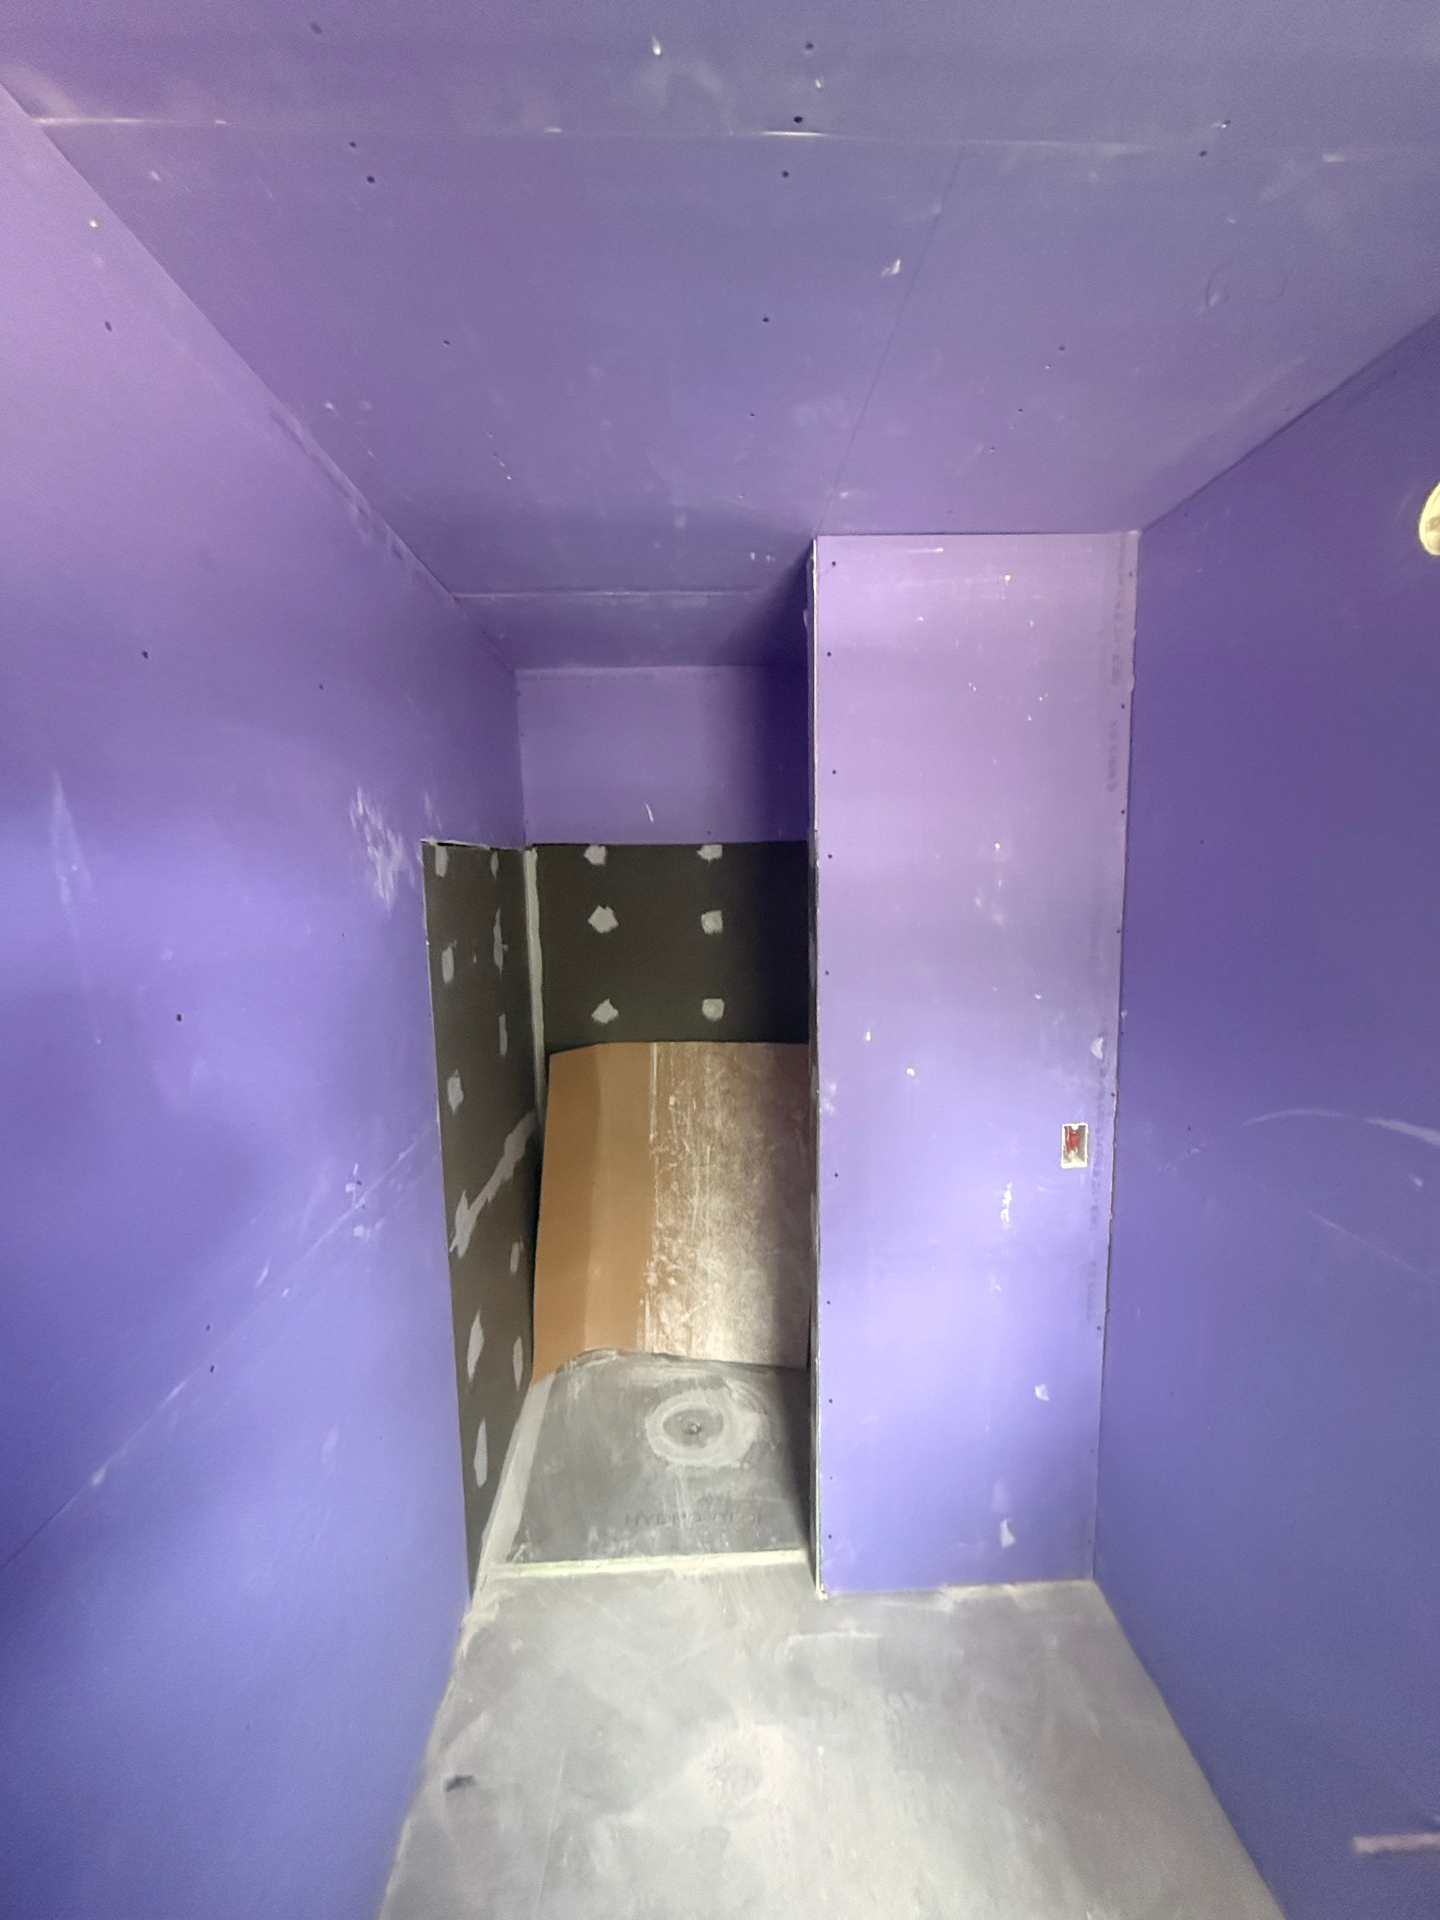
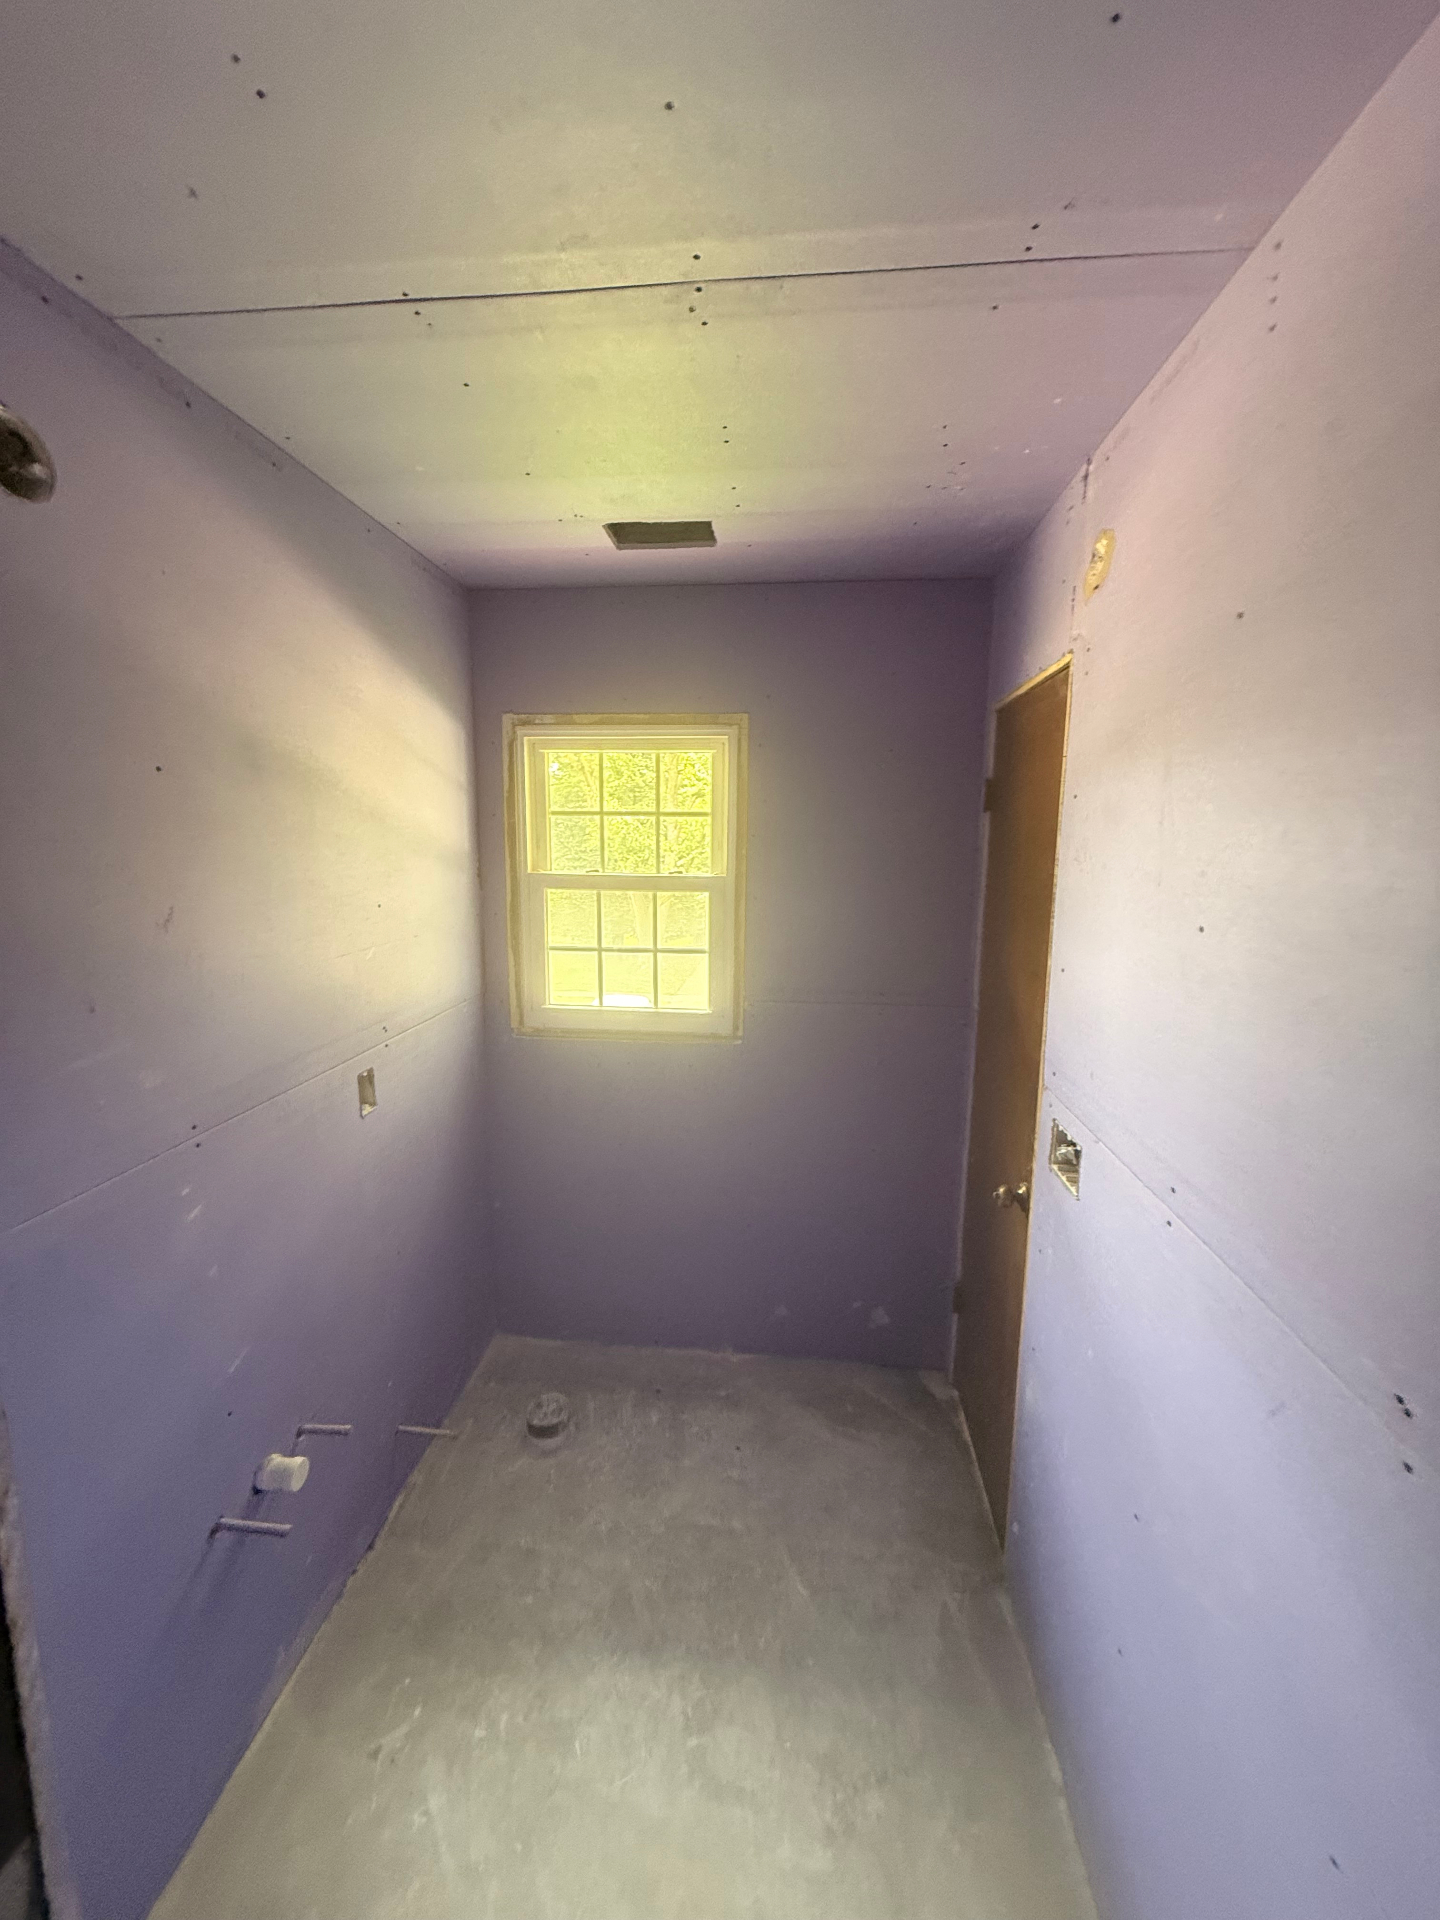
A full bathroom remodel sequence showing the room opened to framing, shower substrate installed, then purple moisture-resistant board hung throughout the bath around the tub, window, ceiling, and plumbing walls.

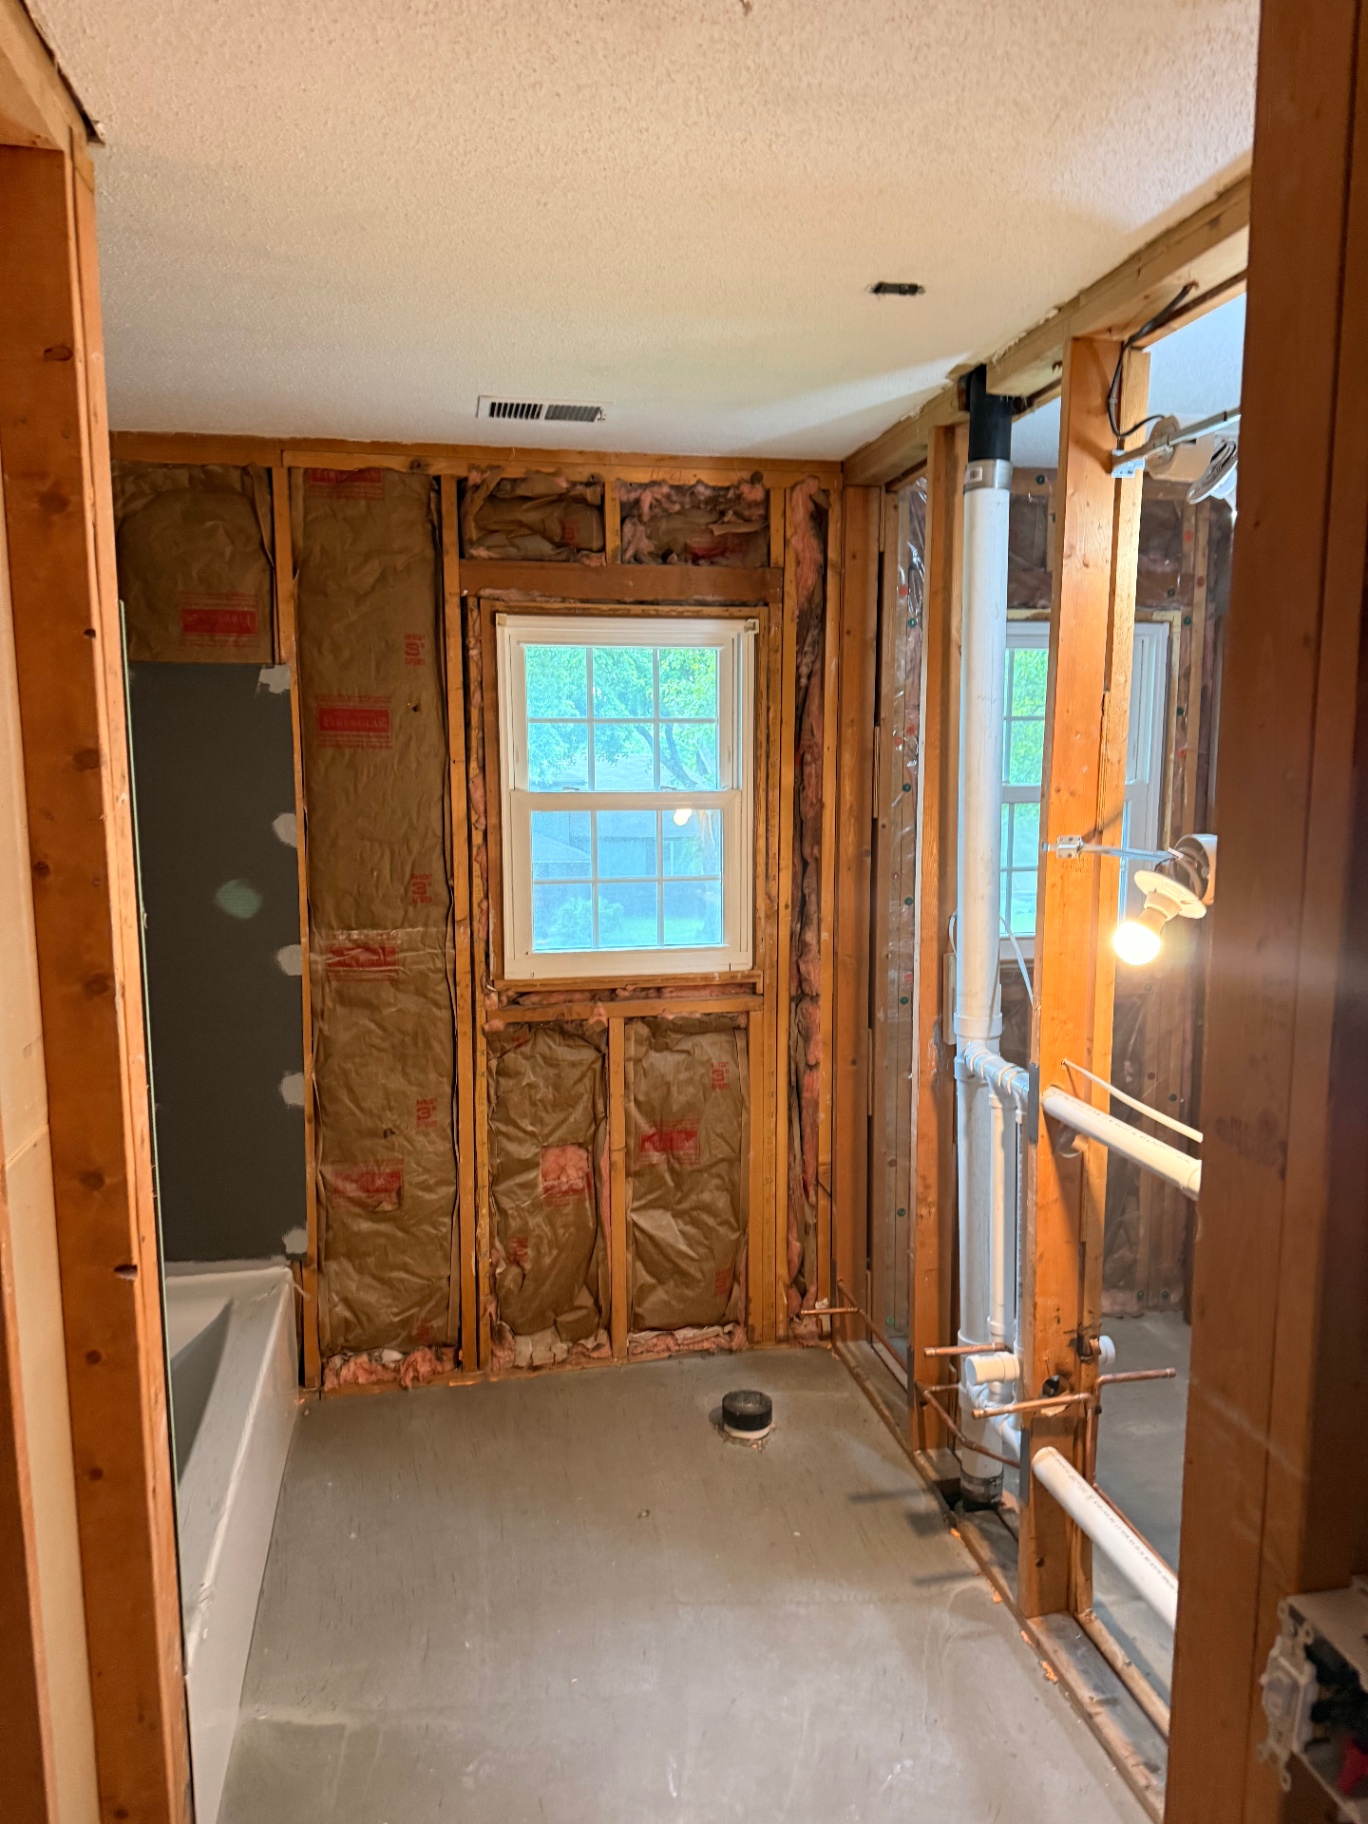
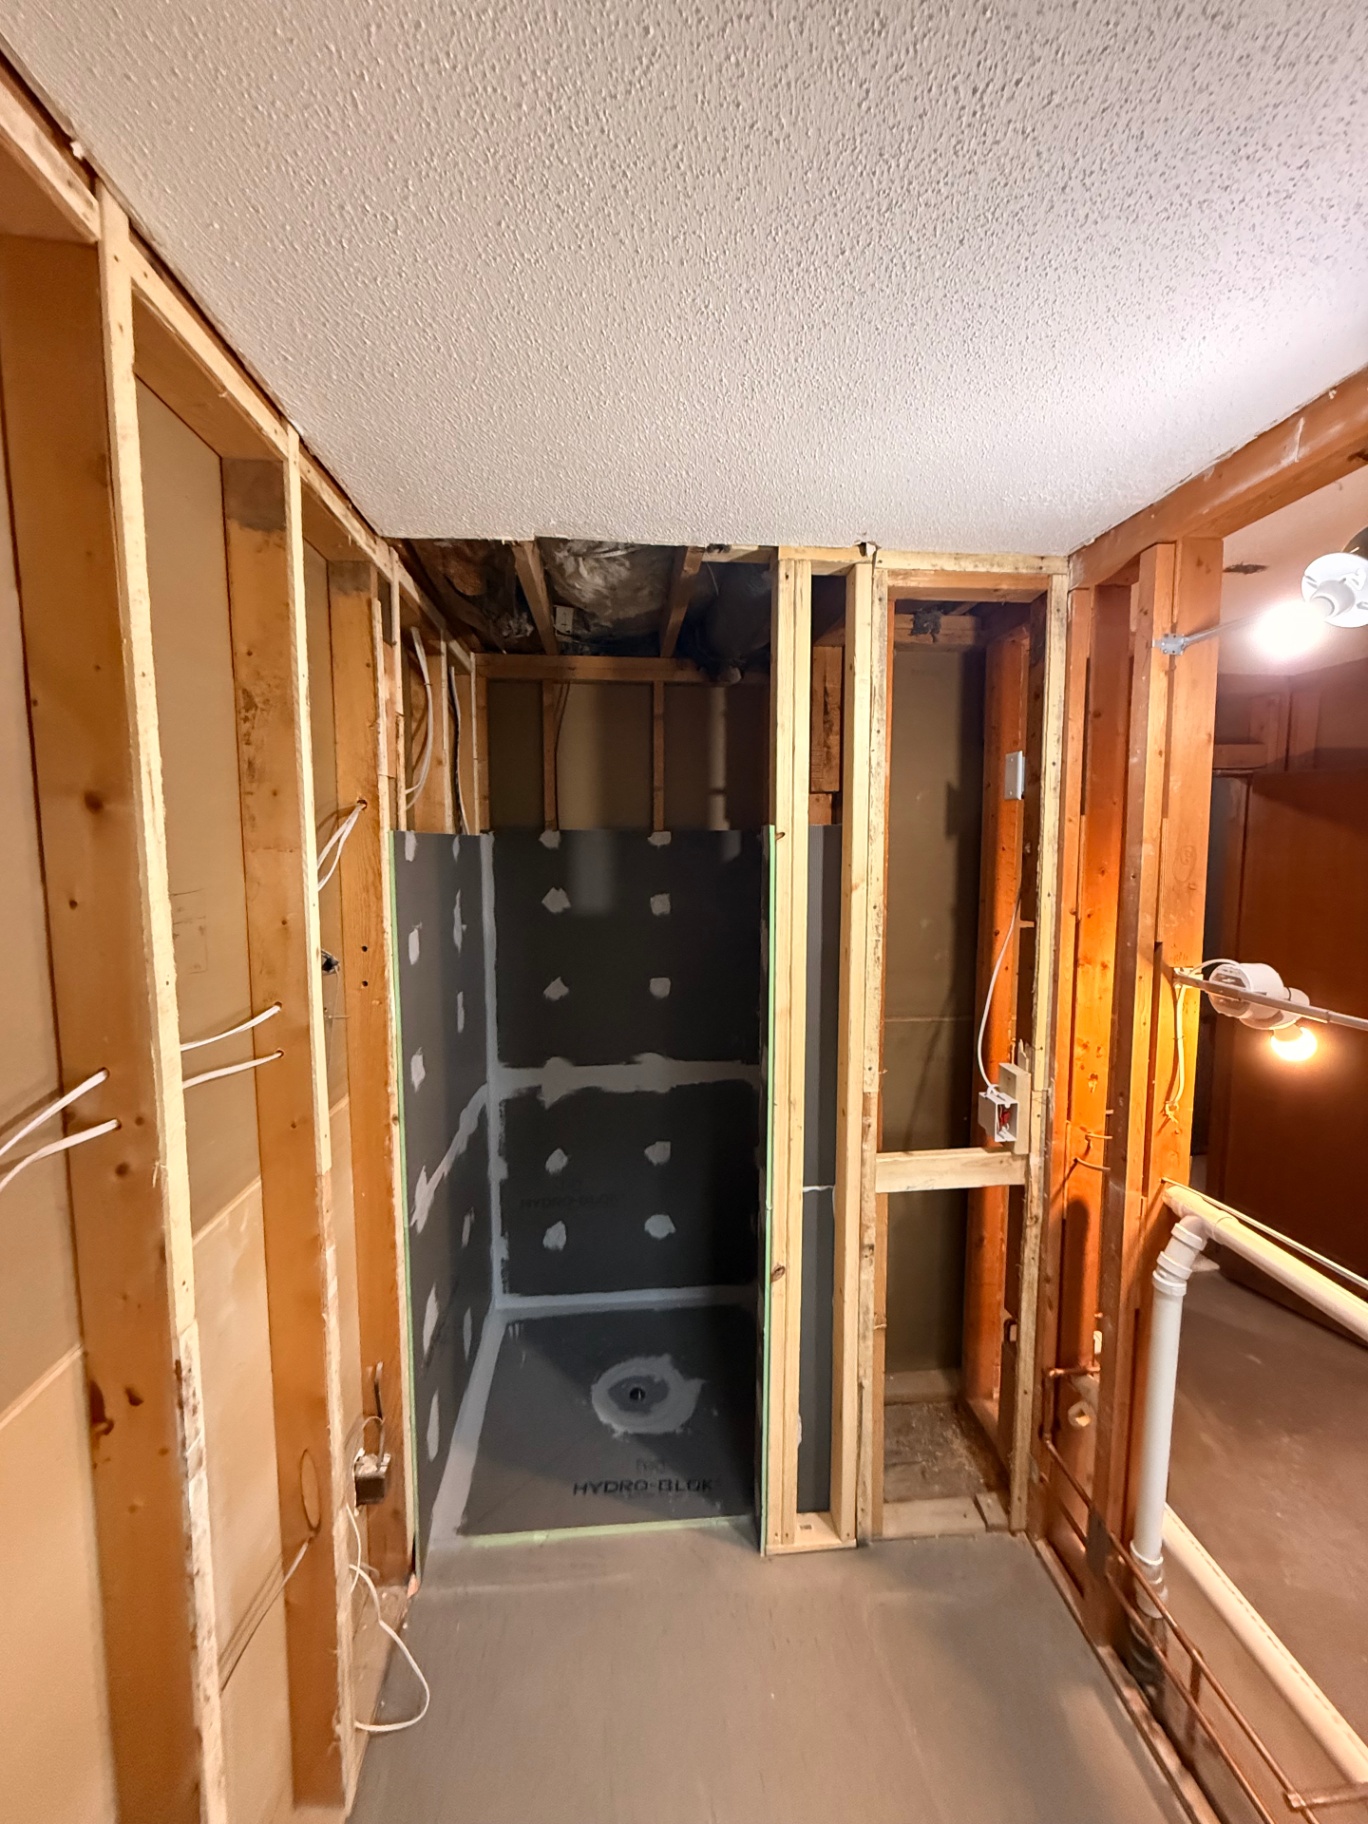
Bathroom opened to framing with plumbing exposed and the shower area prepped for new moisture-resistant wall systems
Purple moisture-resistant board installed through the main bathroom run with the shower/tub area boxed out and ready for finishing
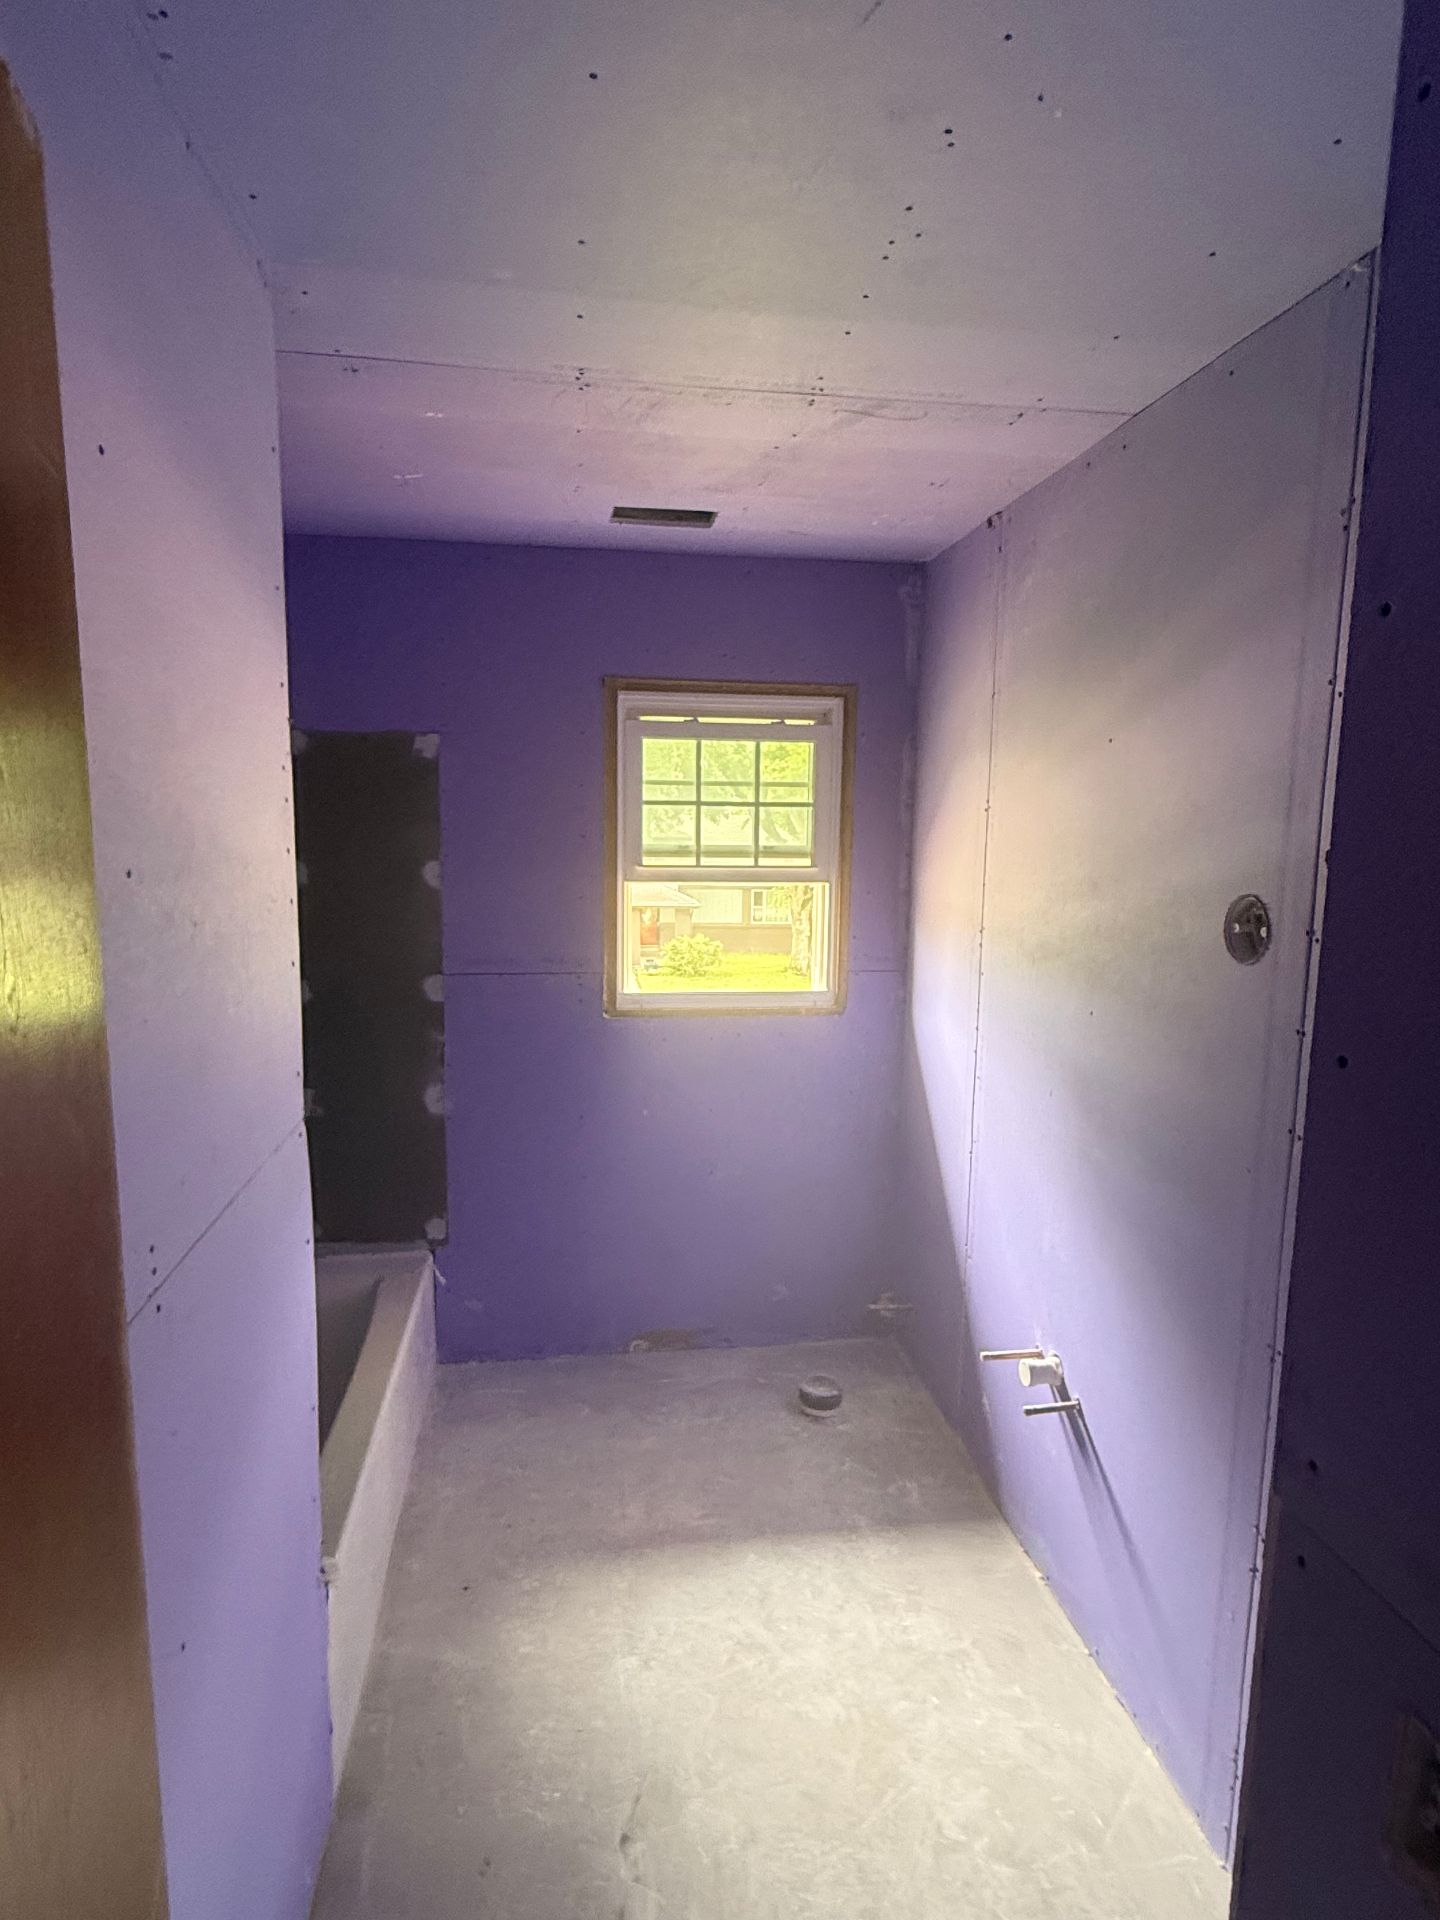
Wide view toward the window showing moisture board installed on walls and ceiling with shower valve rough-in in place
Reverse angle from the bath toward the doorway showing full moisture-board coverage and shower surround transition
Tighter angle on the doorway side showing clean board layout and moisture-resistant coverage around the shower entry
Long view down the bath with purple board on both sides and cement board set in the shower area
Window-end view with moisture board hung tight to the opening and ceiling panels set across the full bathroom span

— Plaster Repair at One House

Plaster repair at one house.

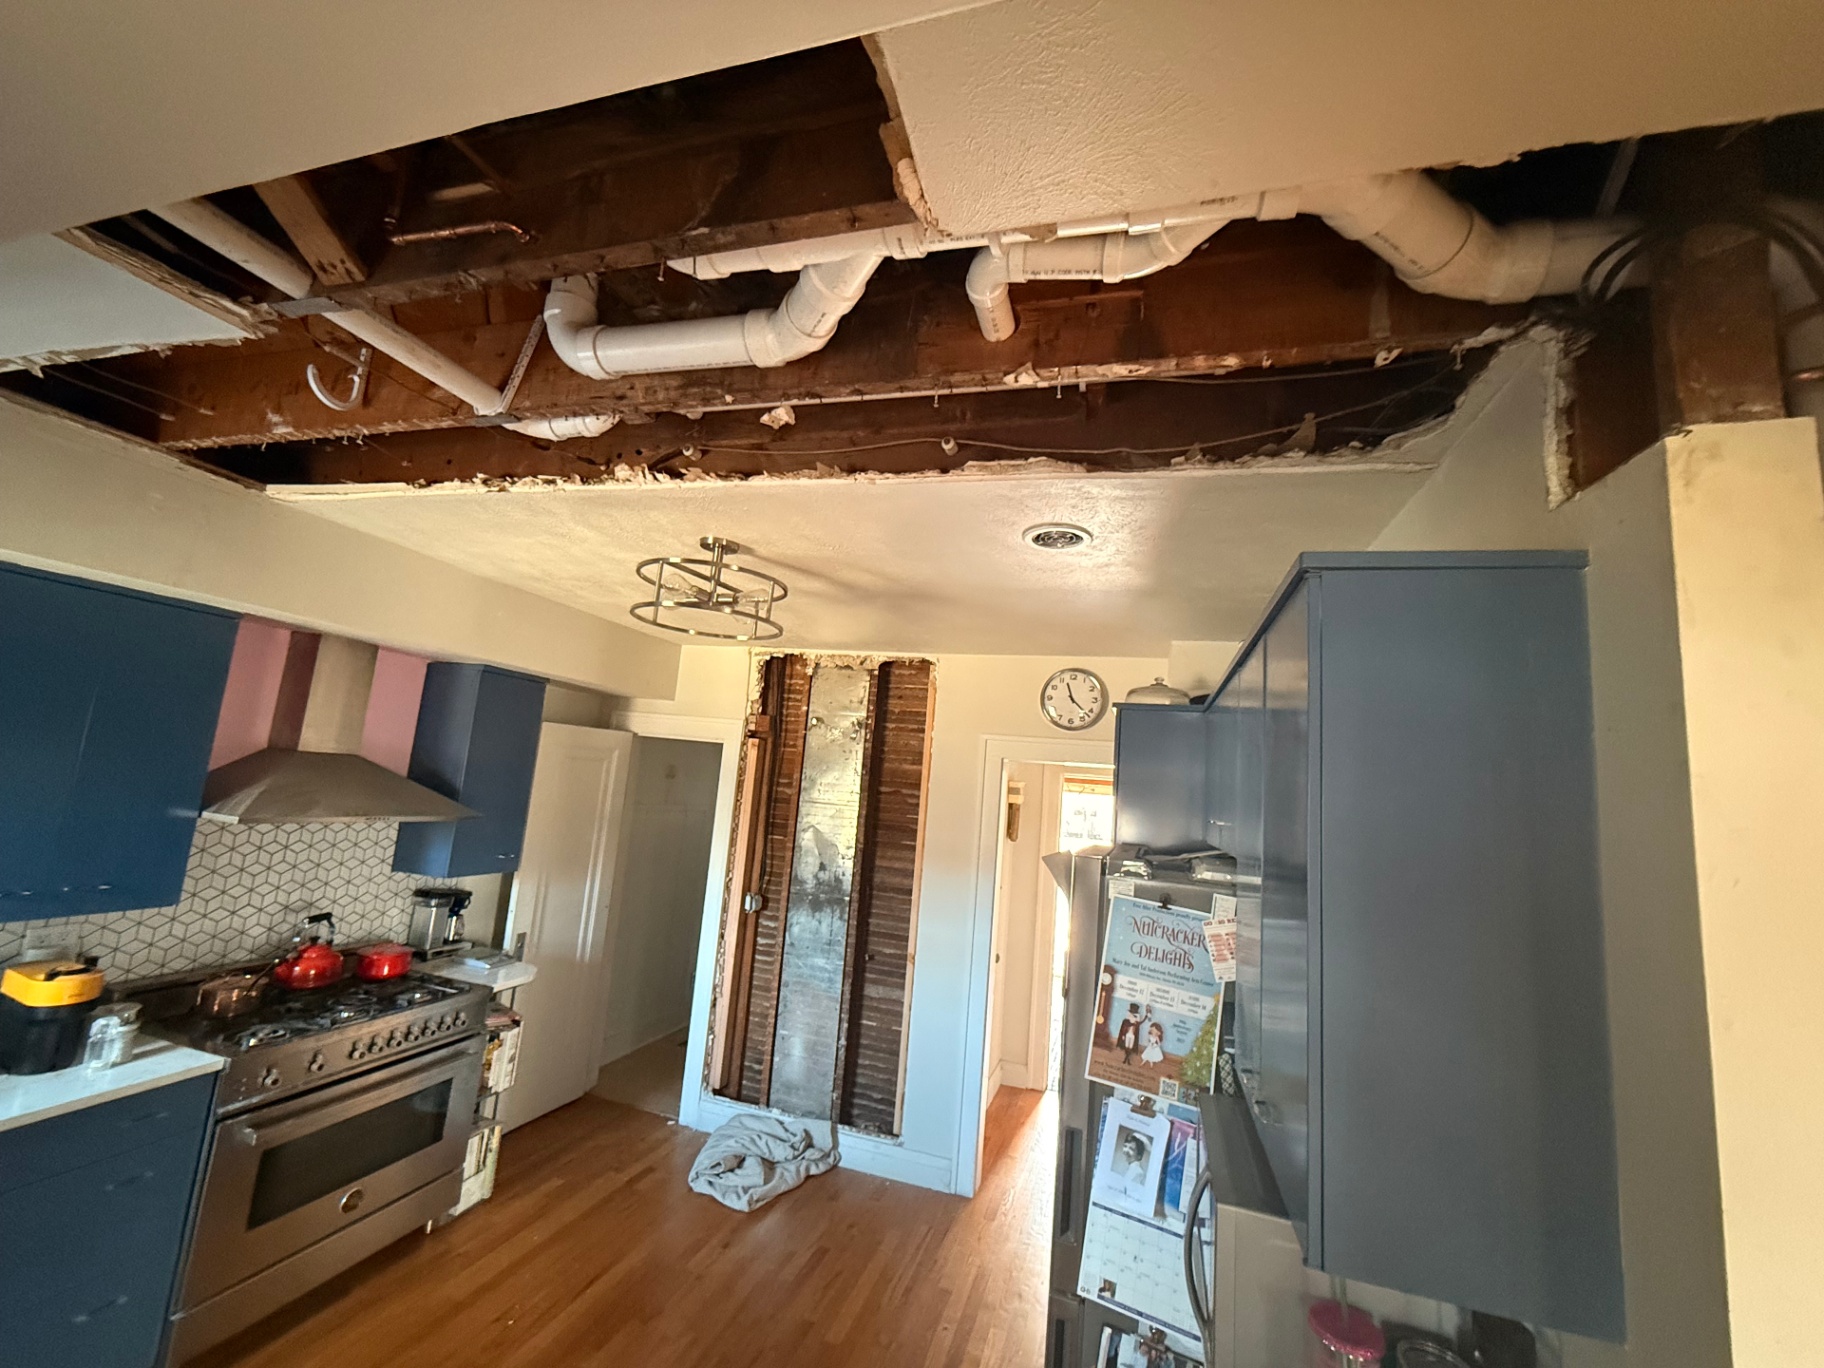
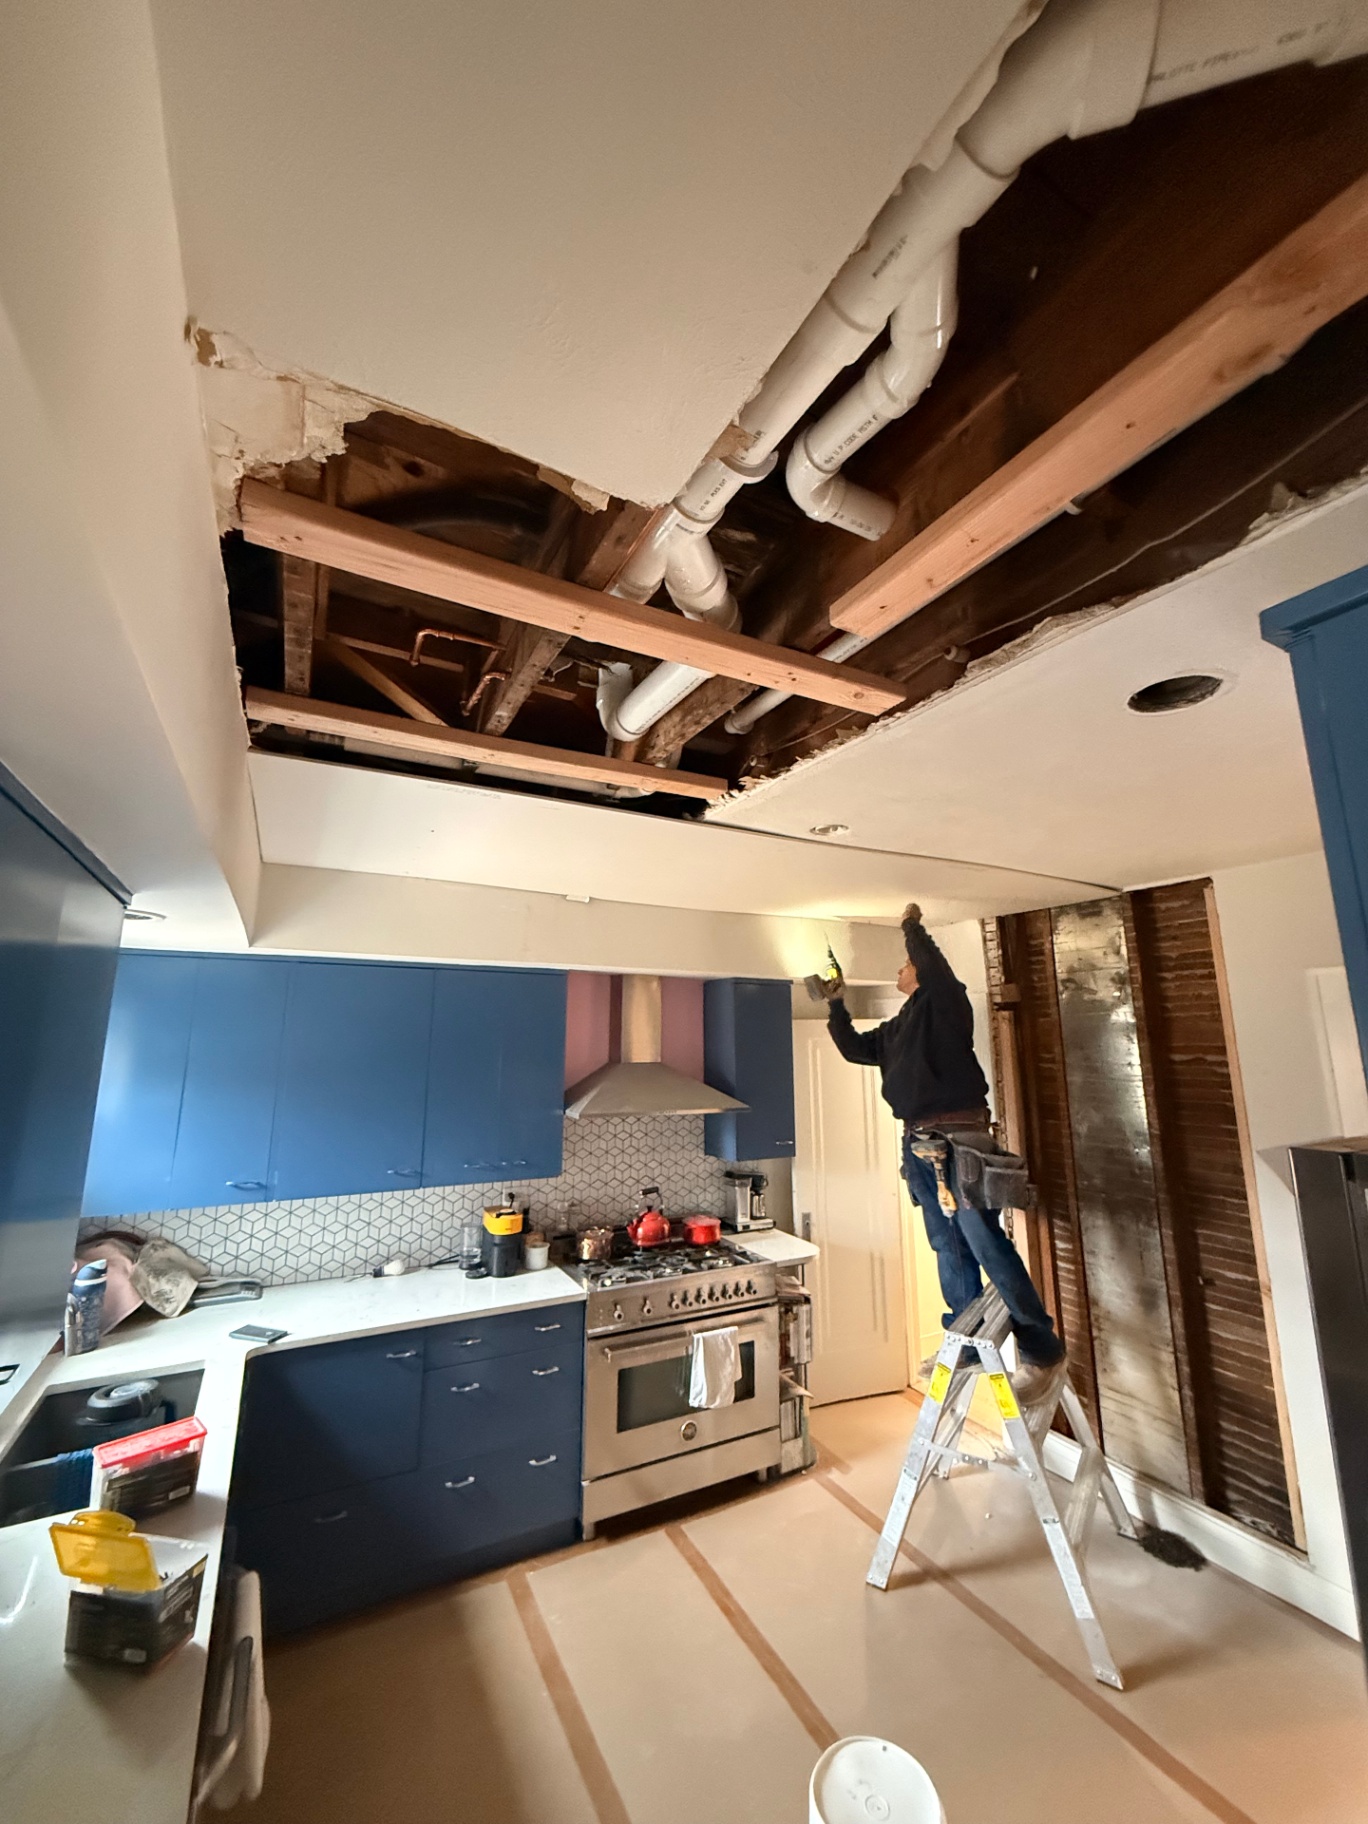
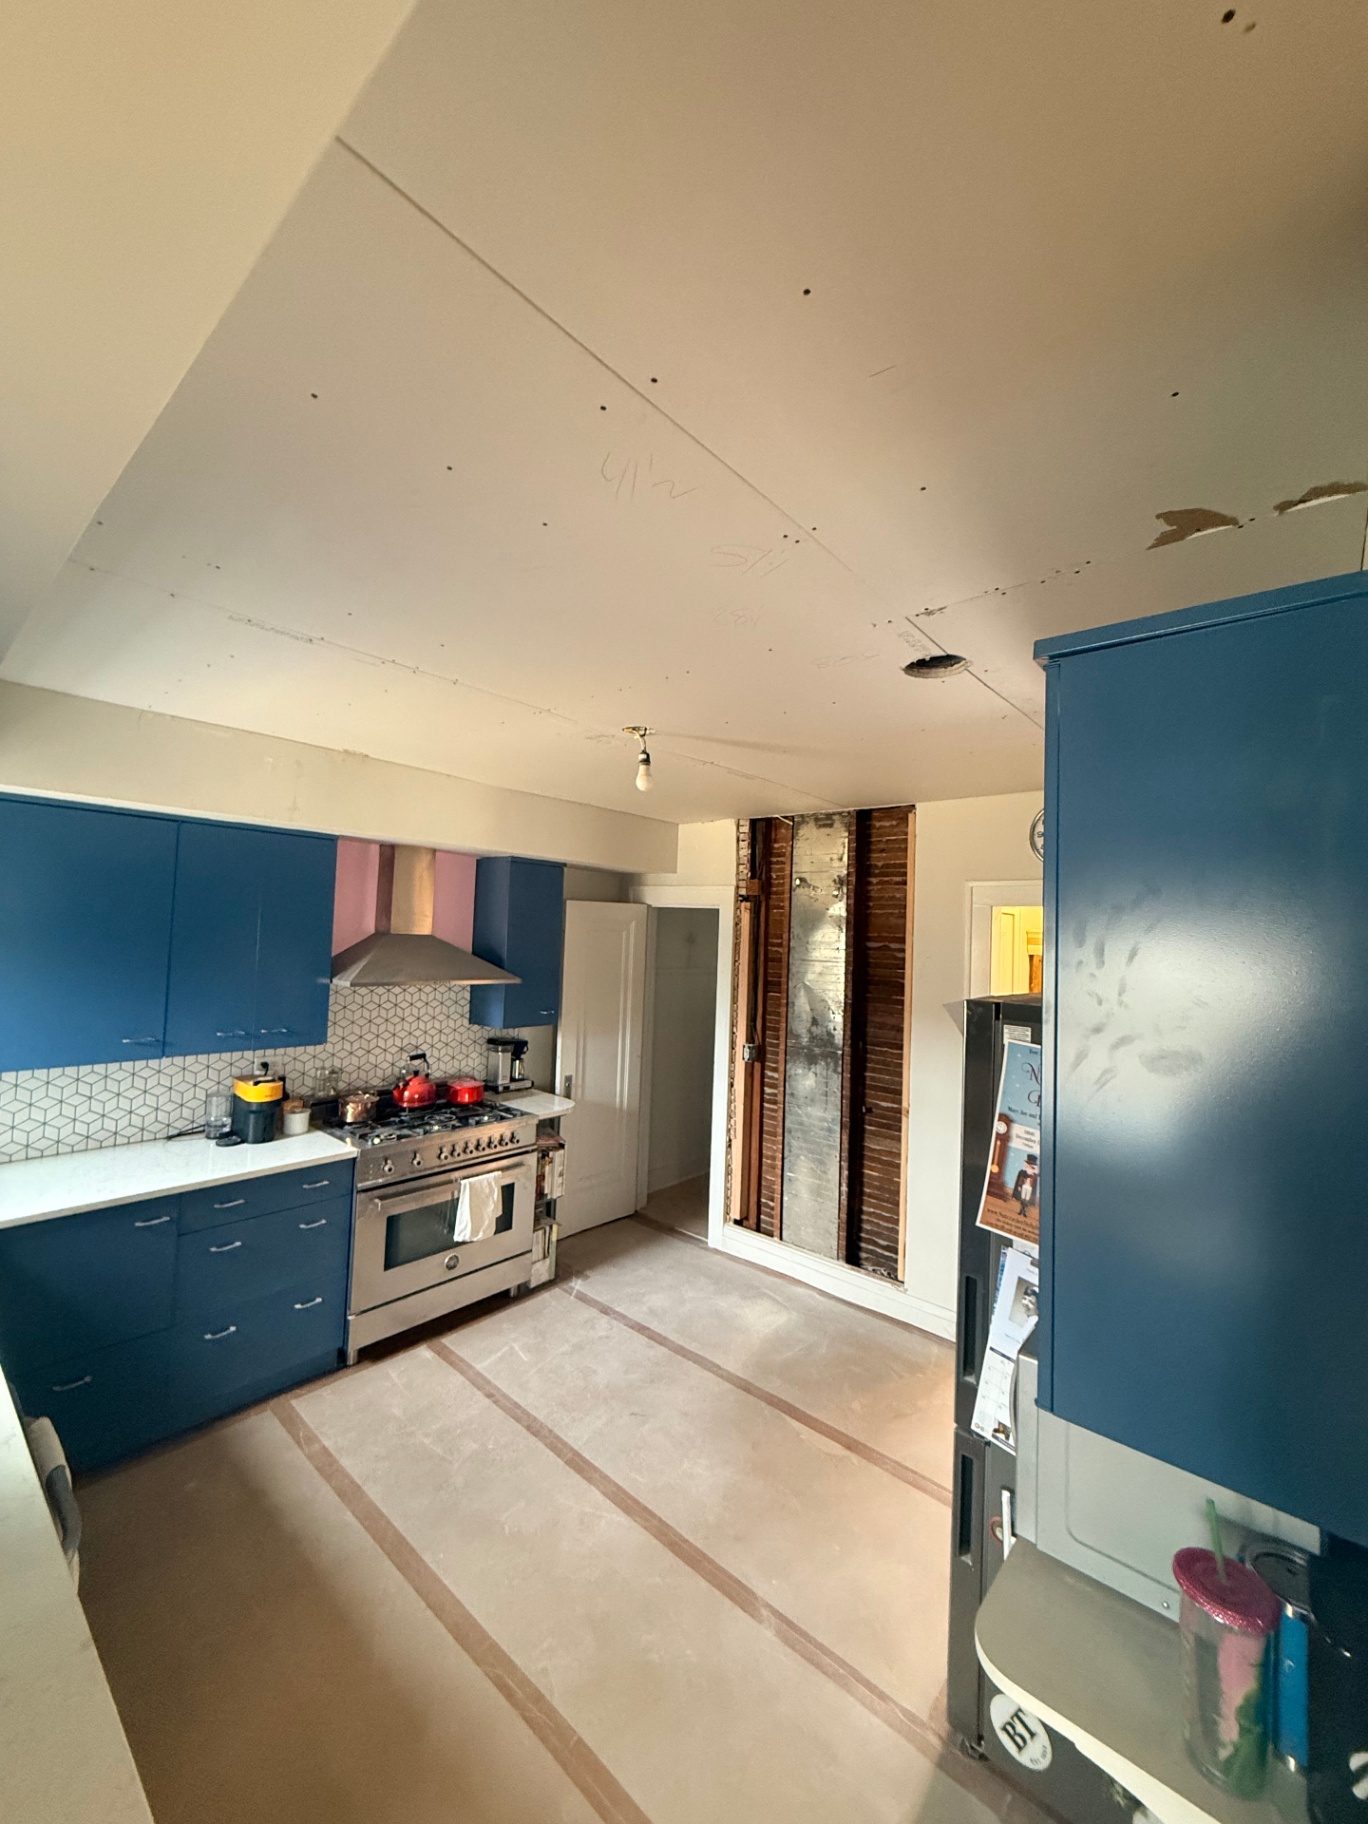
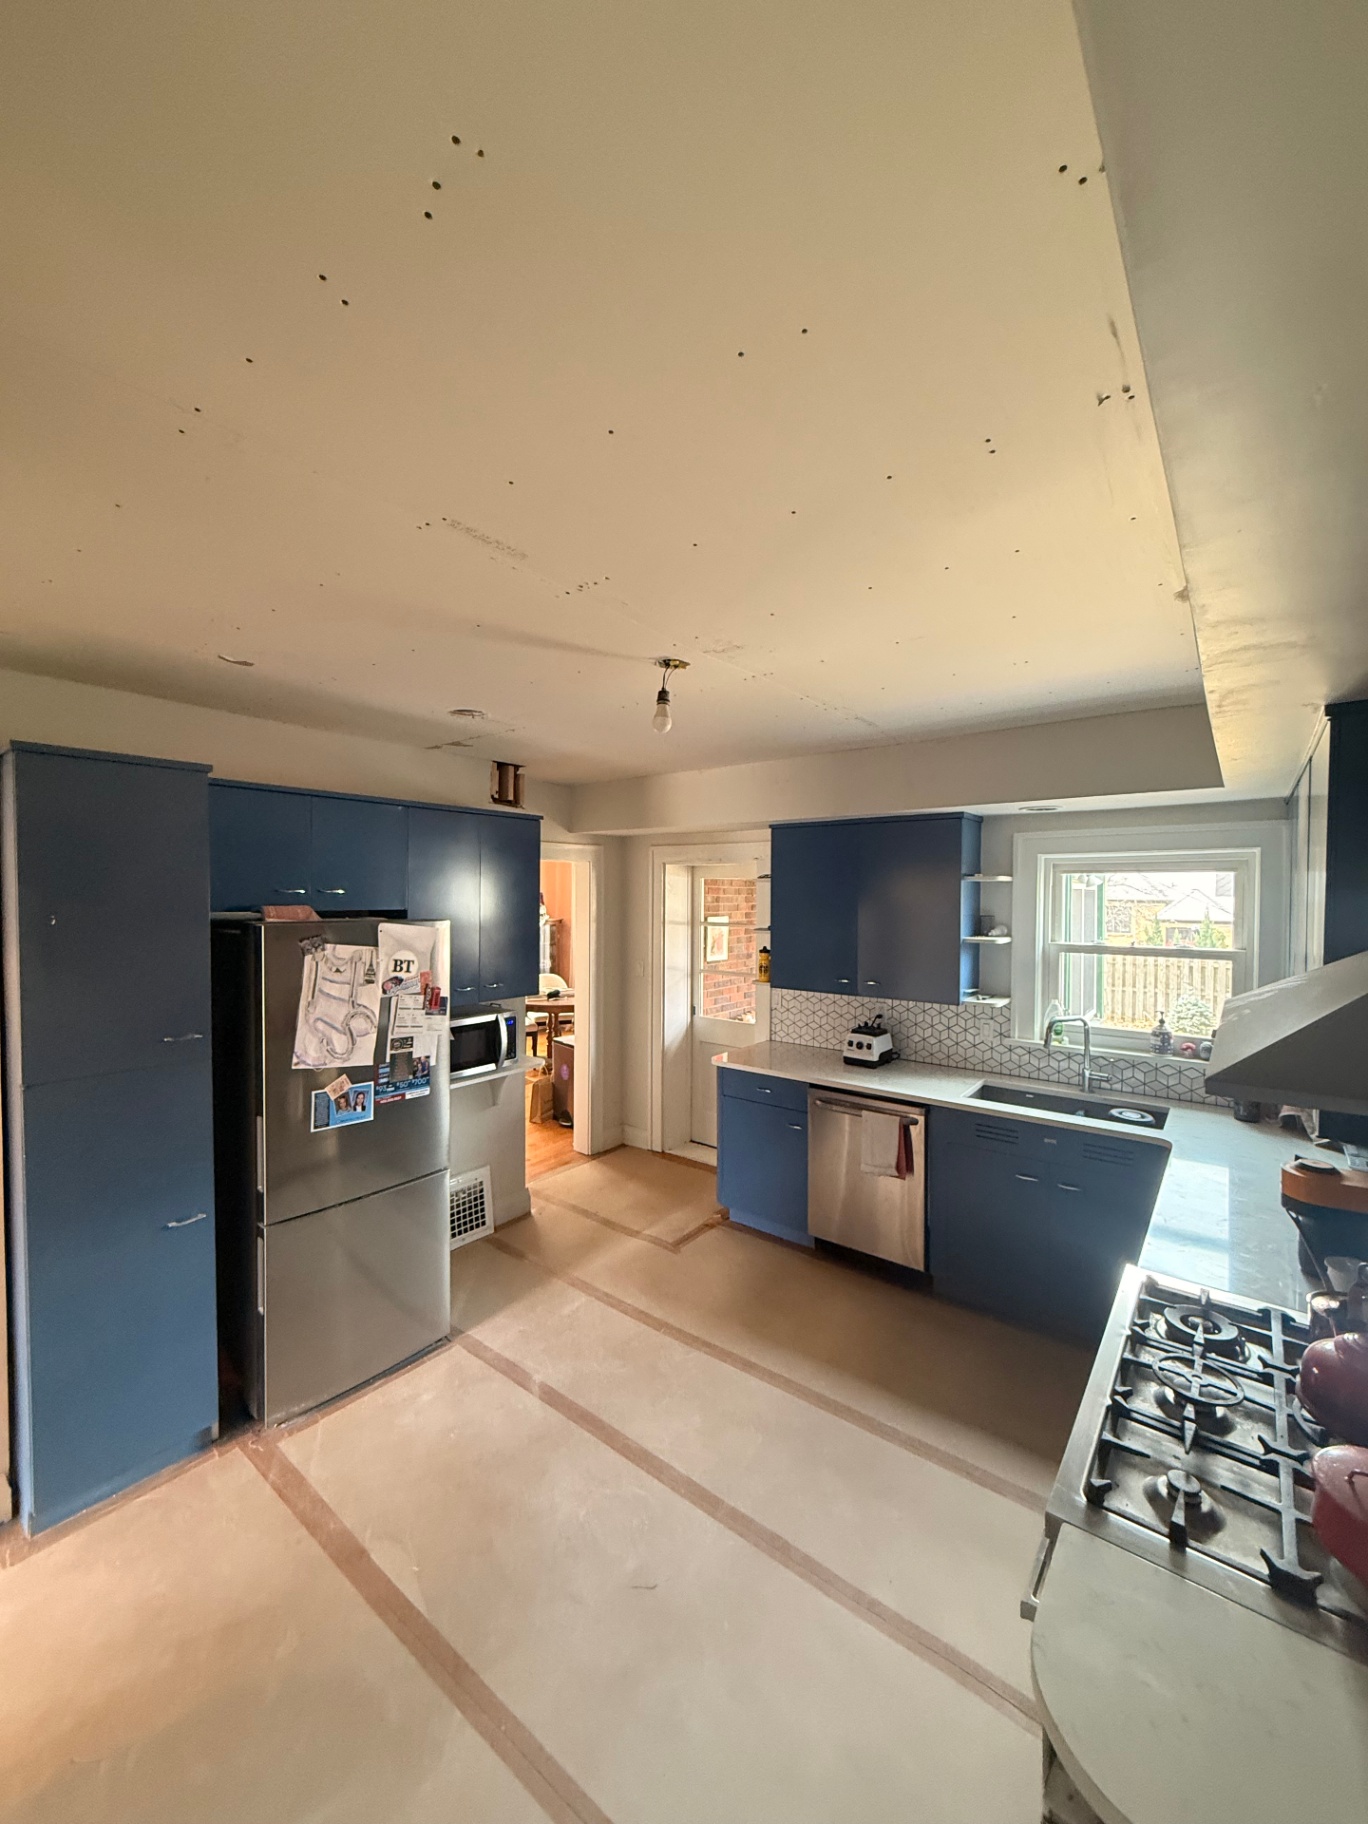
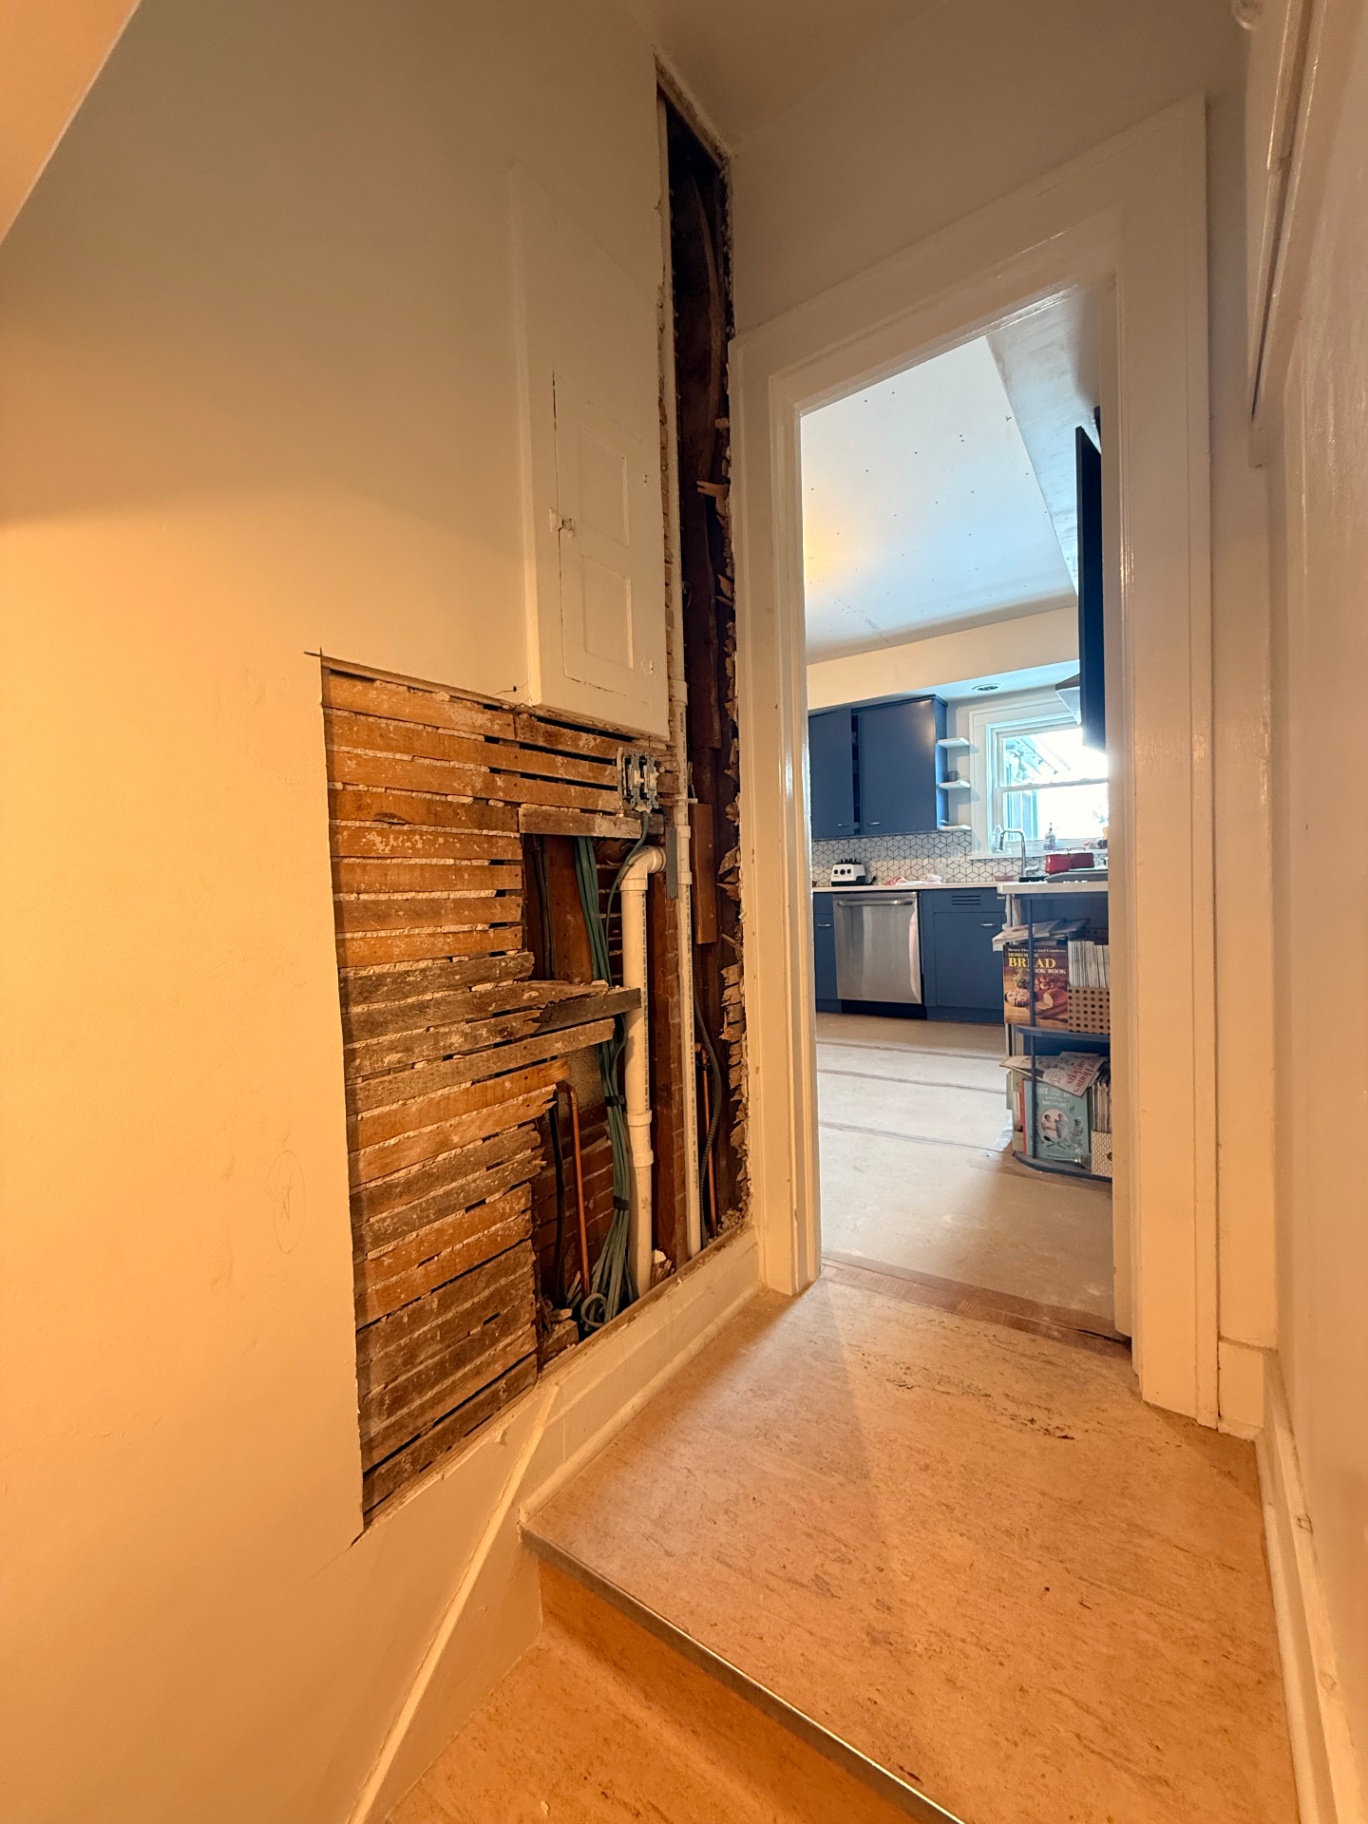
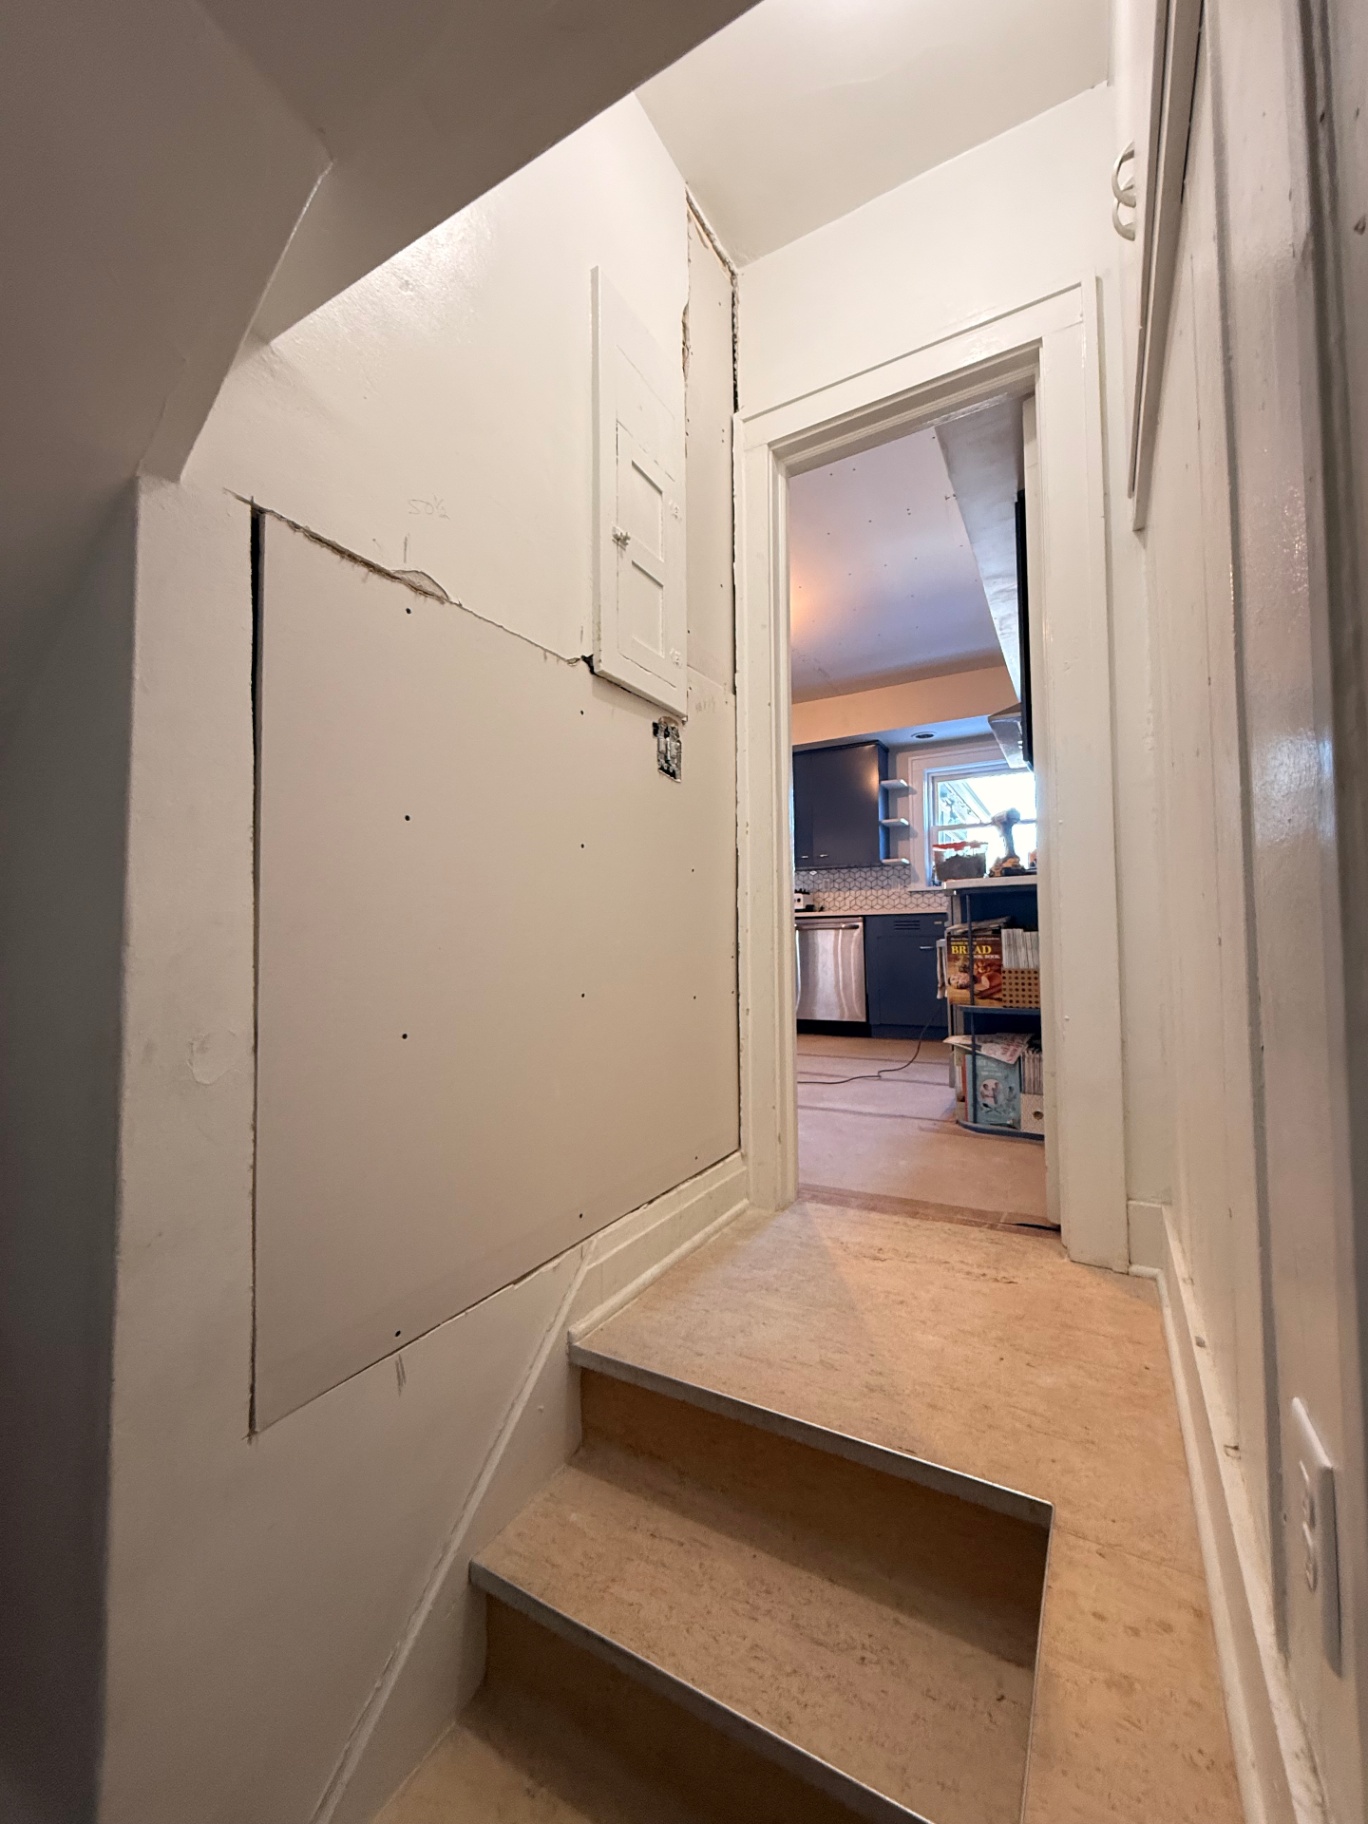
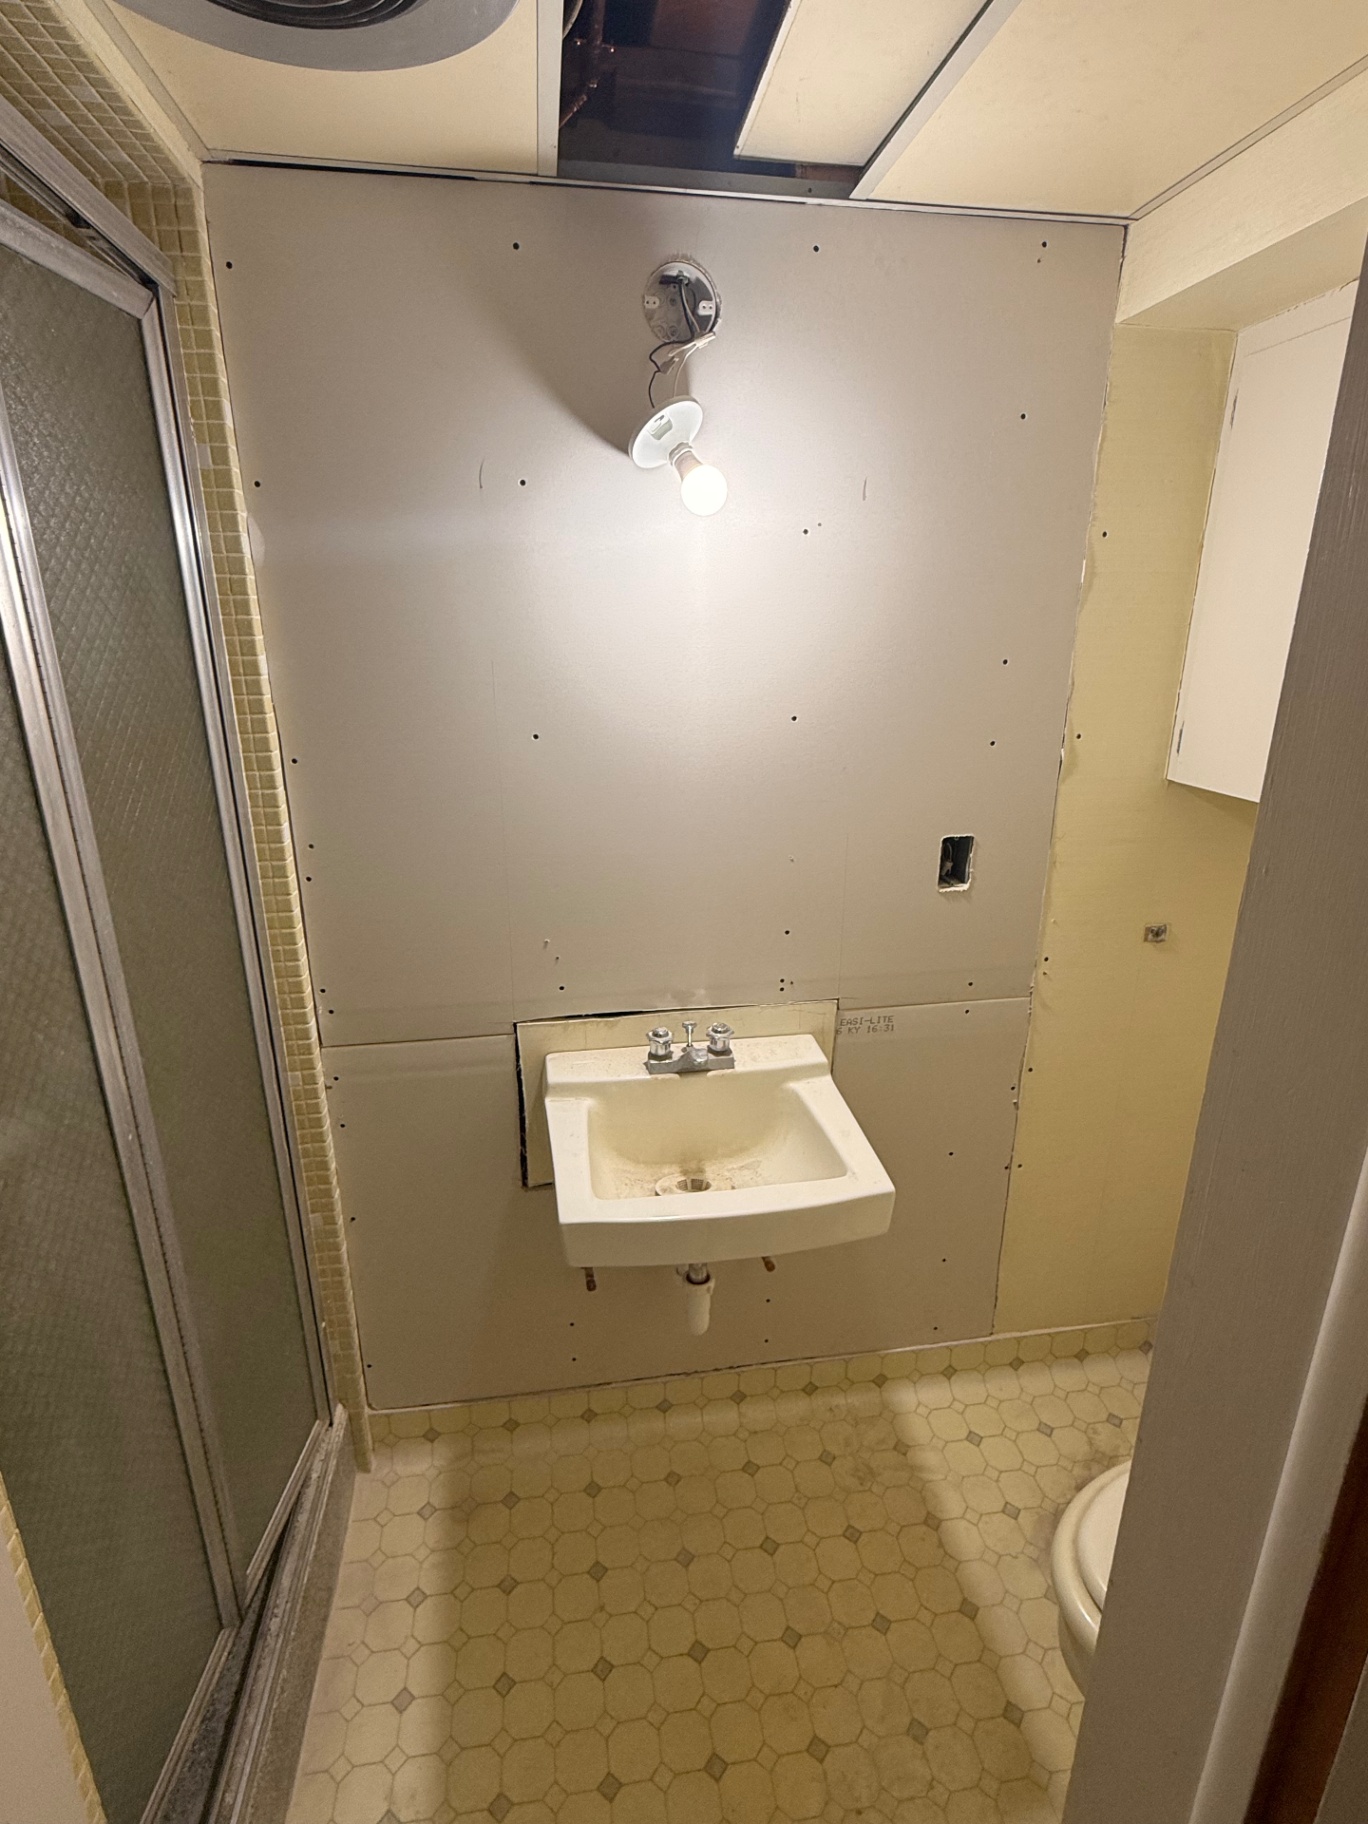
Full plaster repair scope across a single home — kitchen ceiling opened up around plumbing then boarded and finished, dining-room wall cut open for repairs then patched flush, stairwell lath exposed and re-boarded, and a bathroom wall rebuilt with new drywall over old plaster.
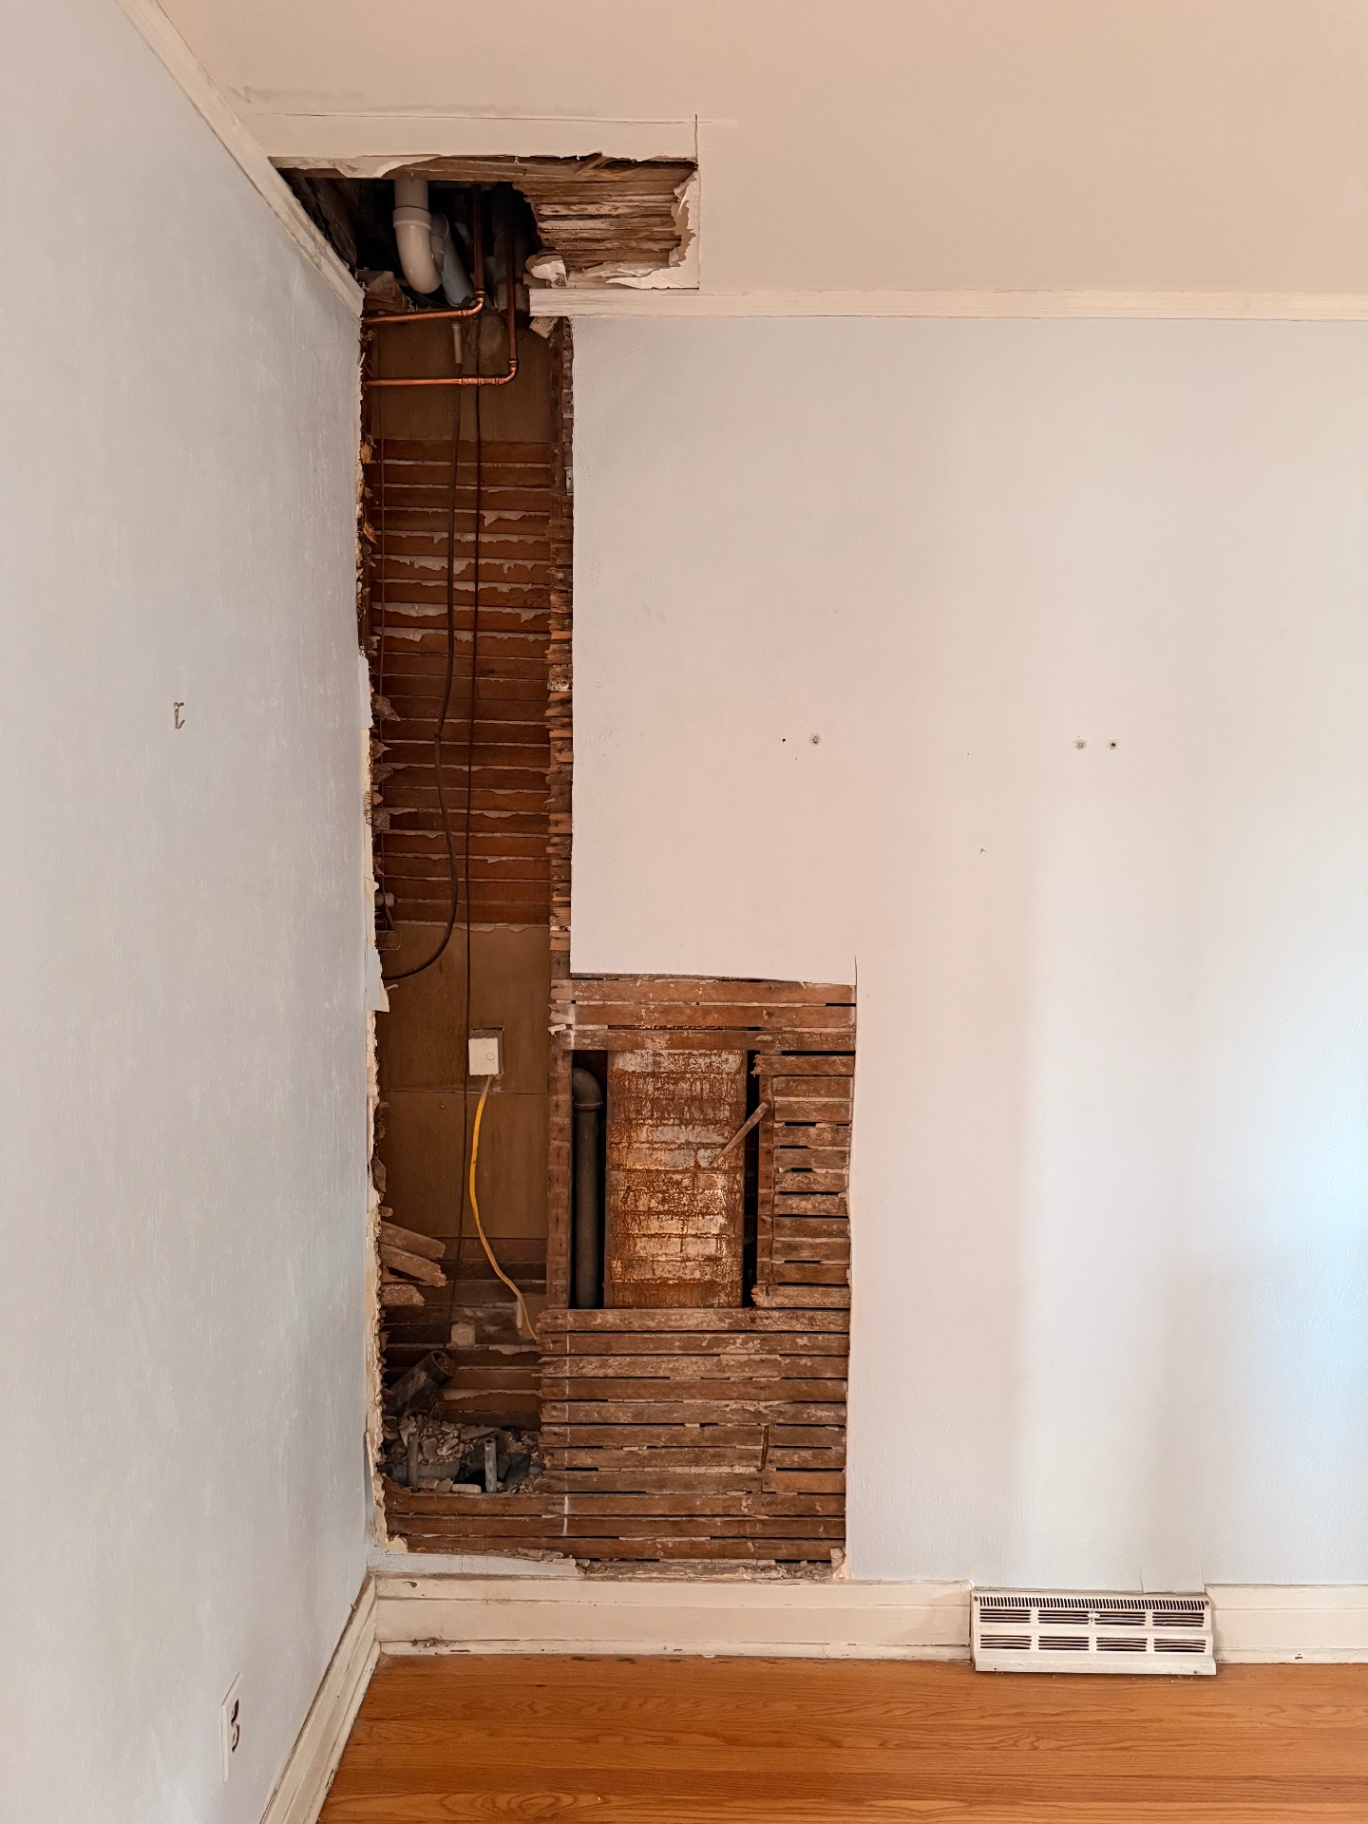
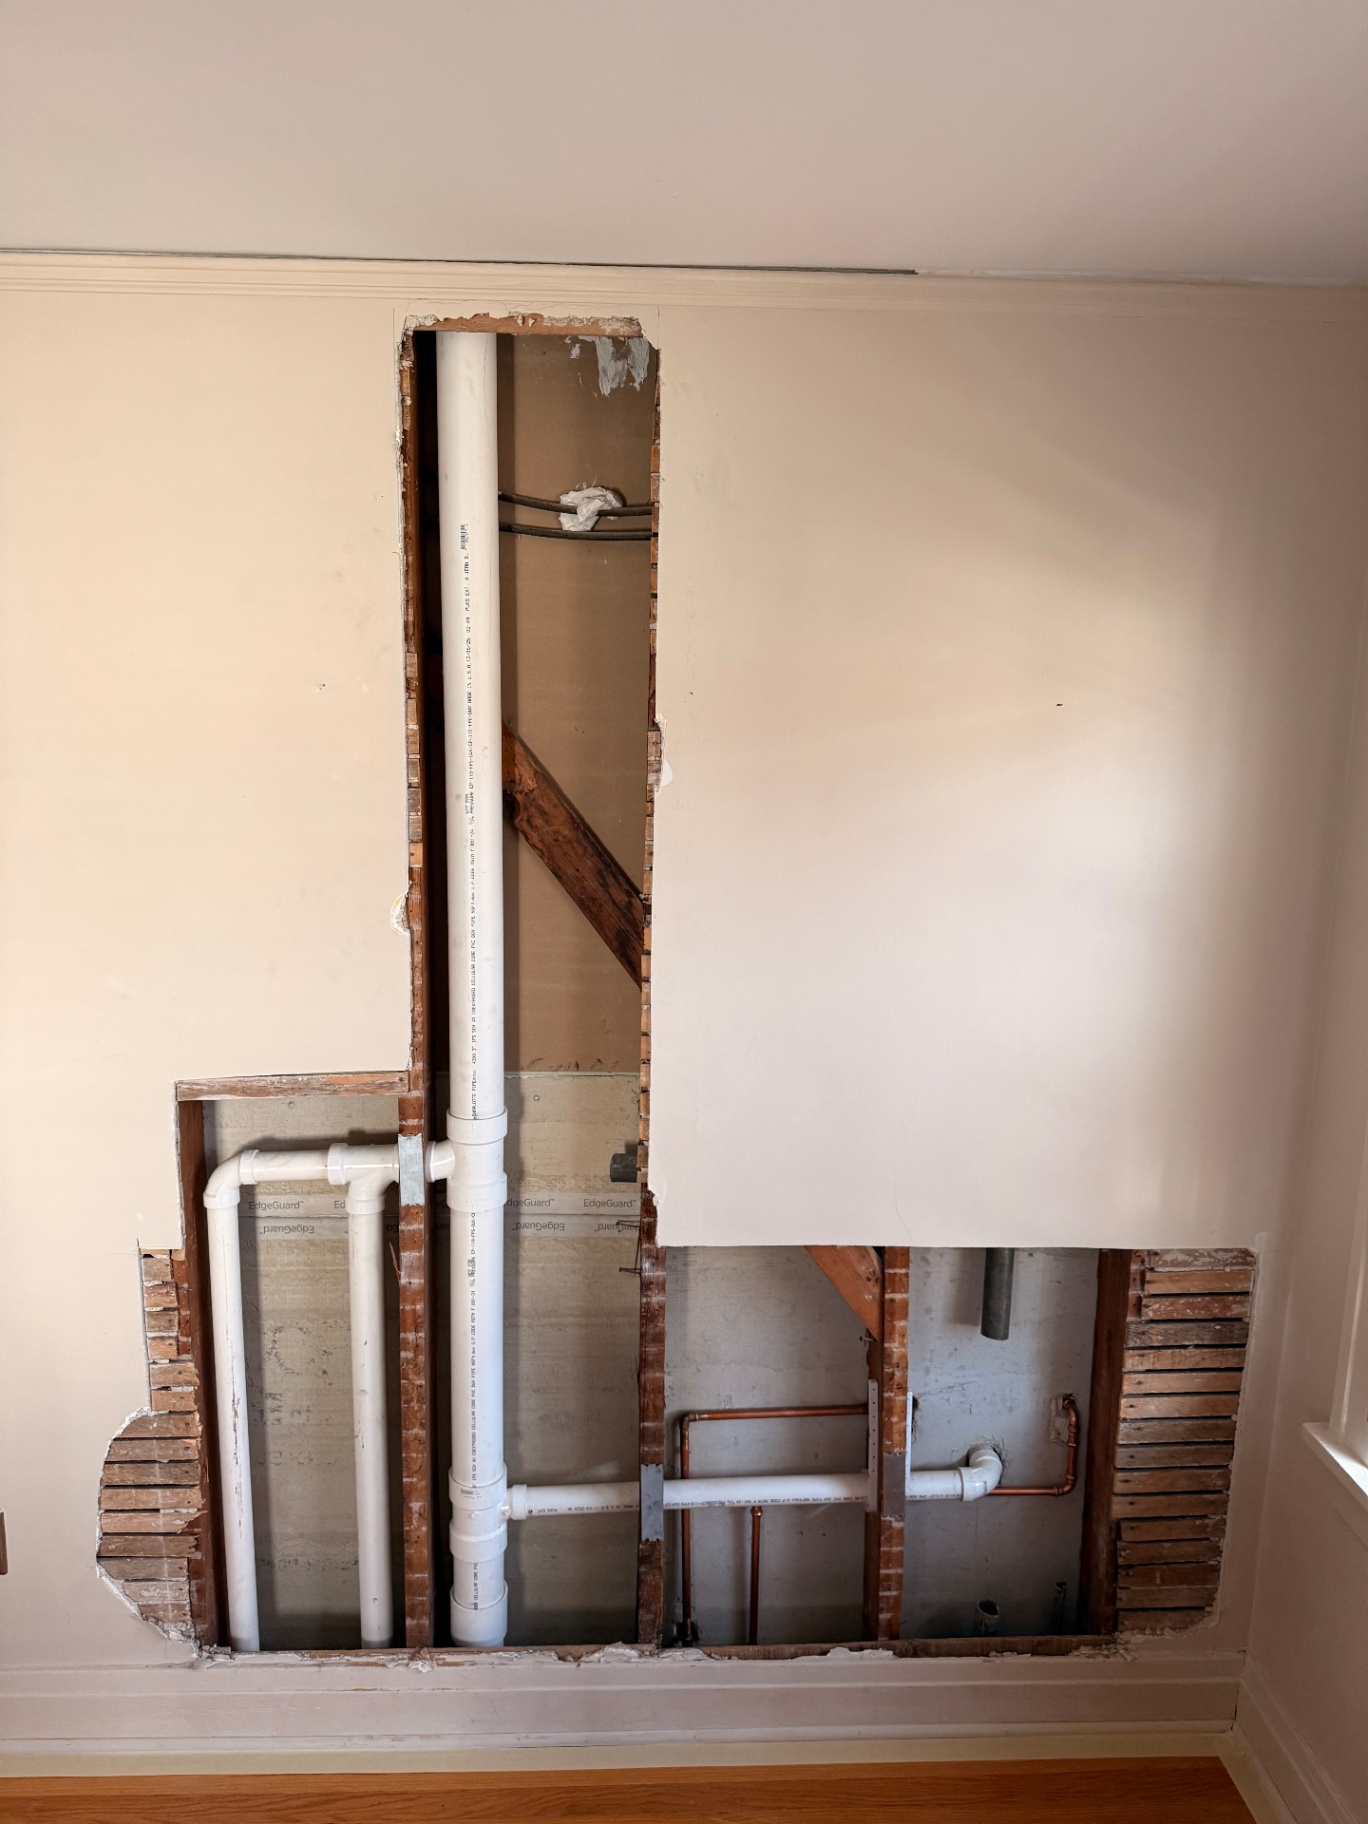
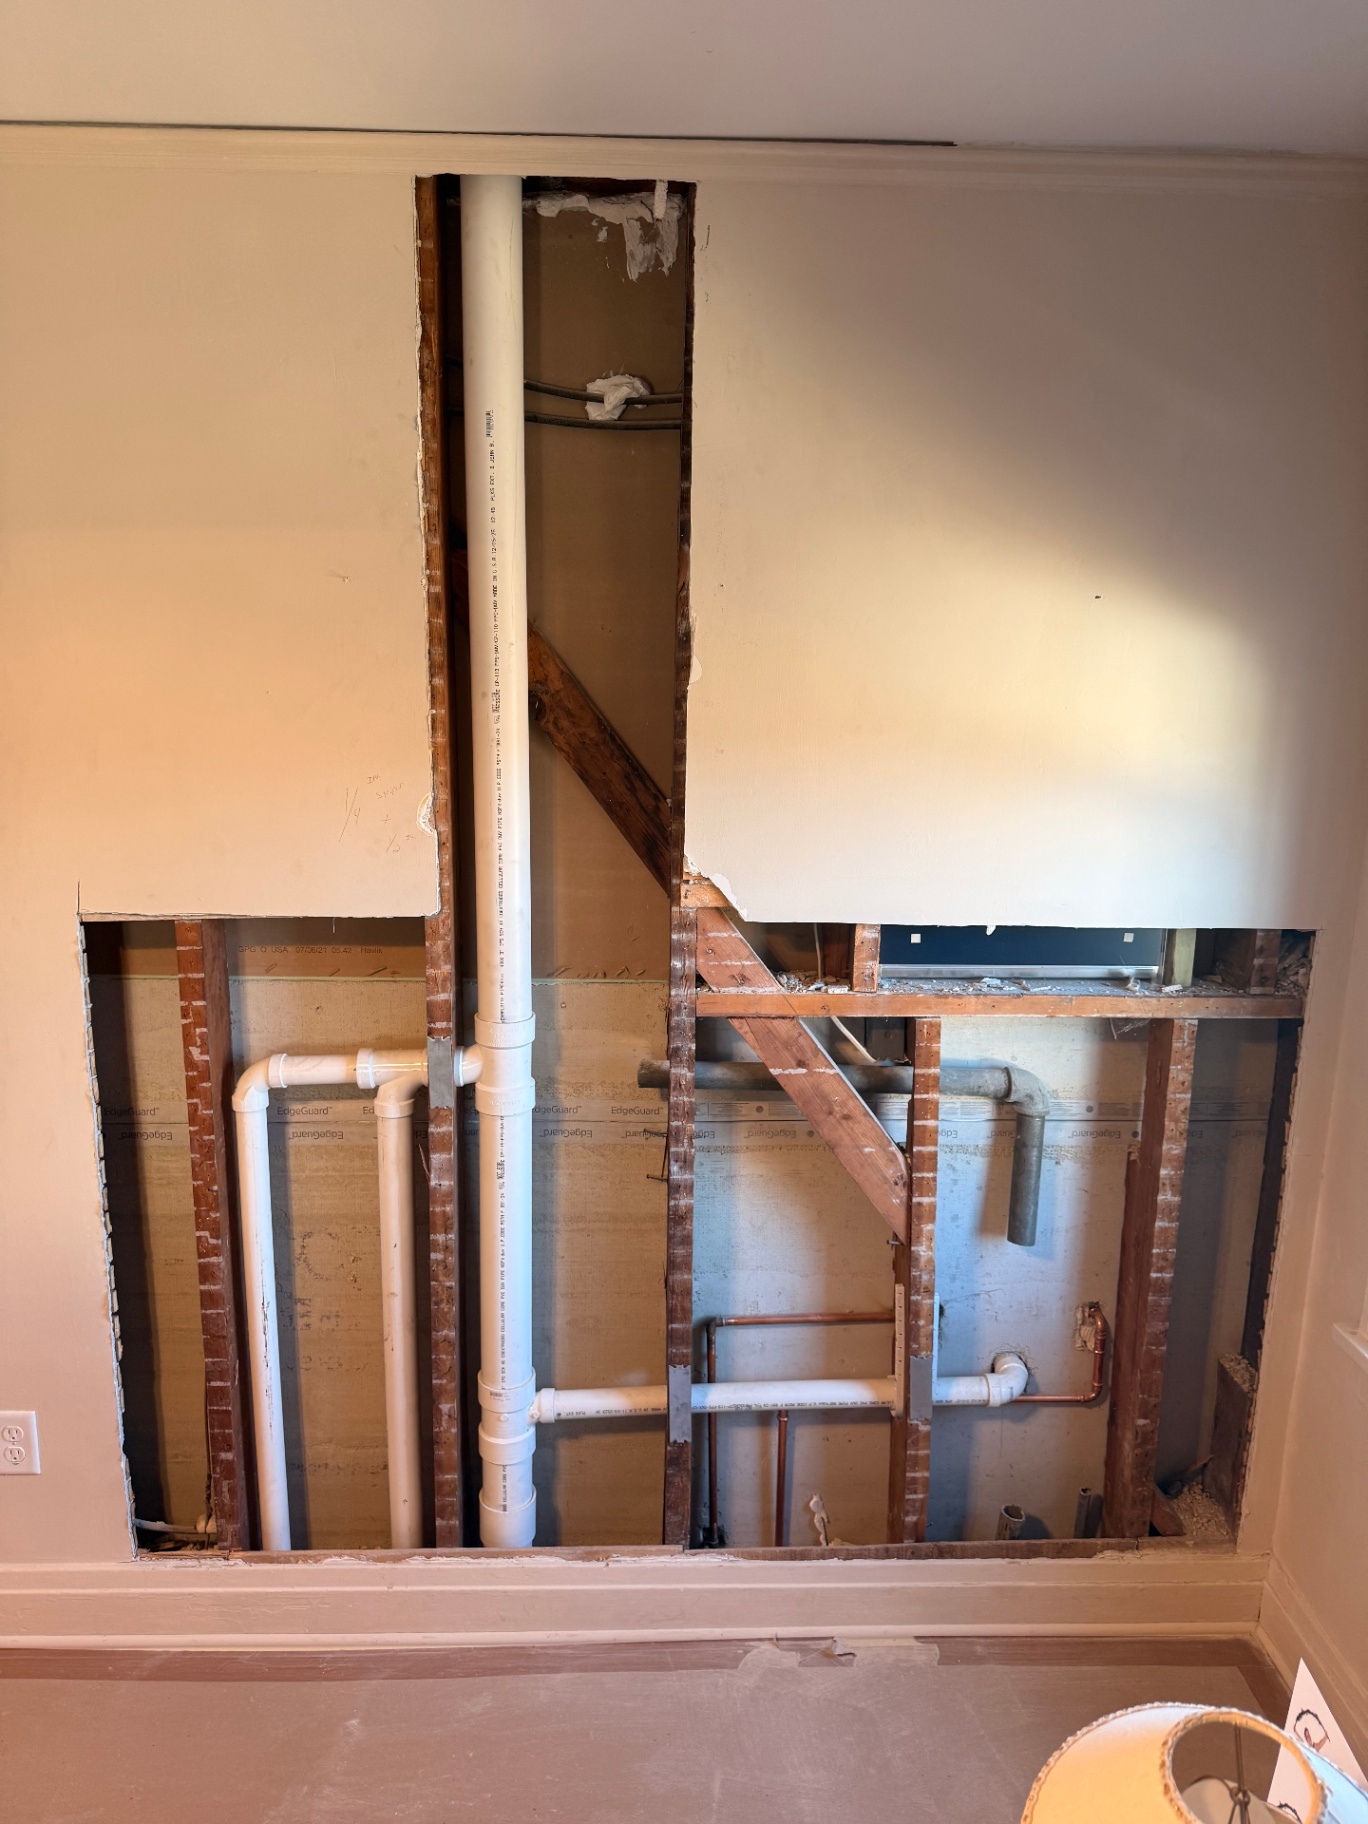
Dining-room wall opened to original lath to access plumbing behind the plaster
Wider view of the opened plaster wall with PVC and copper plumbing exposed for repair
Plaster wall mid-patch — new drywall set into the old opening around the active plumbing stack
Kitchen ceiling opened up around the drain stack — old plaster removed to access the structure above
Kitchen ceiling with new framing and plumbing fully exposed before drywall goes back up
Fresh drywall hung across the kitchen ceiling, blended back into the existing plaster surface
Kitchen ceiling taped and screwed off — seams ready for finish coats over the new drywall-to-plaster transition
Stairwell wall opened to original wood lath around the access panel and plumbing chase
Same stairwell wall patched with new drywall set into the old plaster, ready for finish coats
Bathroom wall rebuilt with new drywall over the original plaster substrate, ready for finishing

— Remodel: New Drywall

Remodel — new drywall.

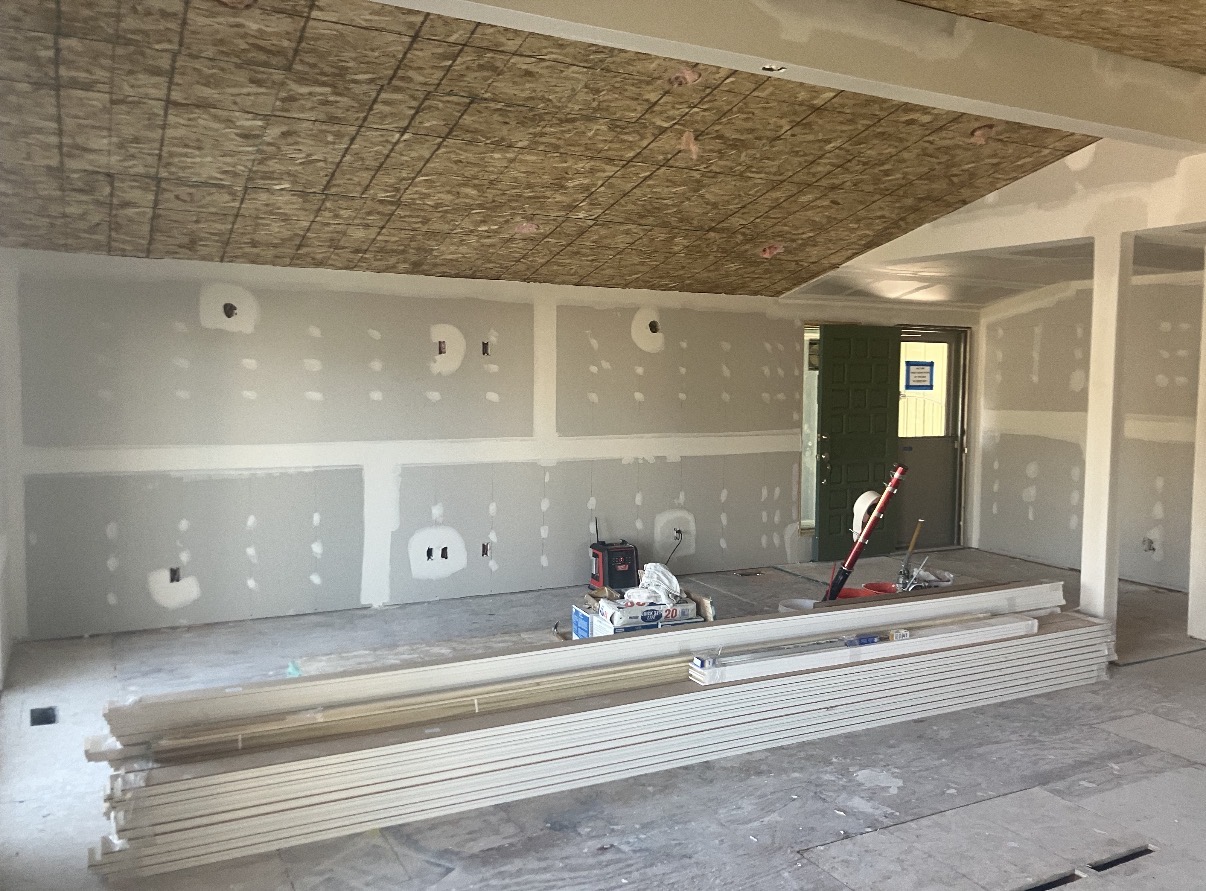
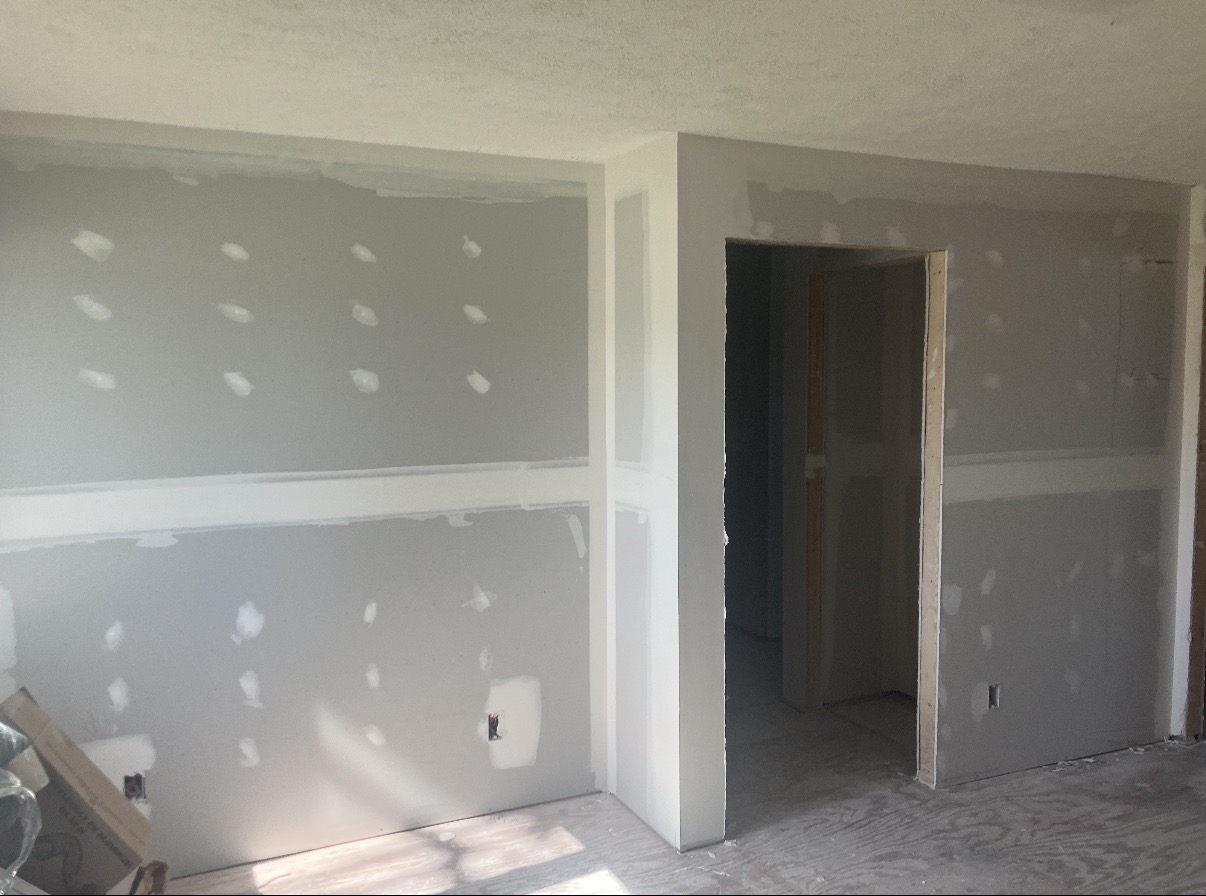
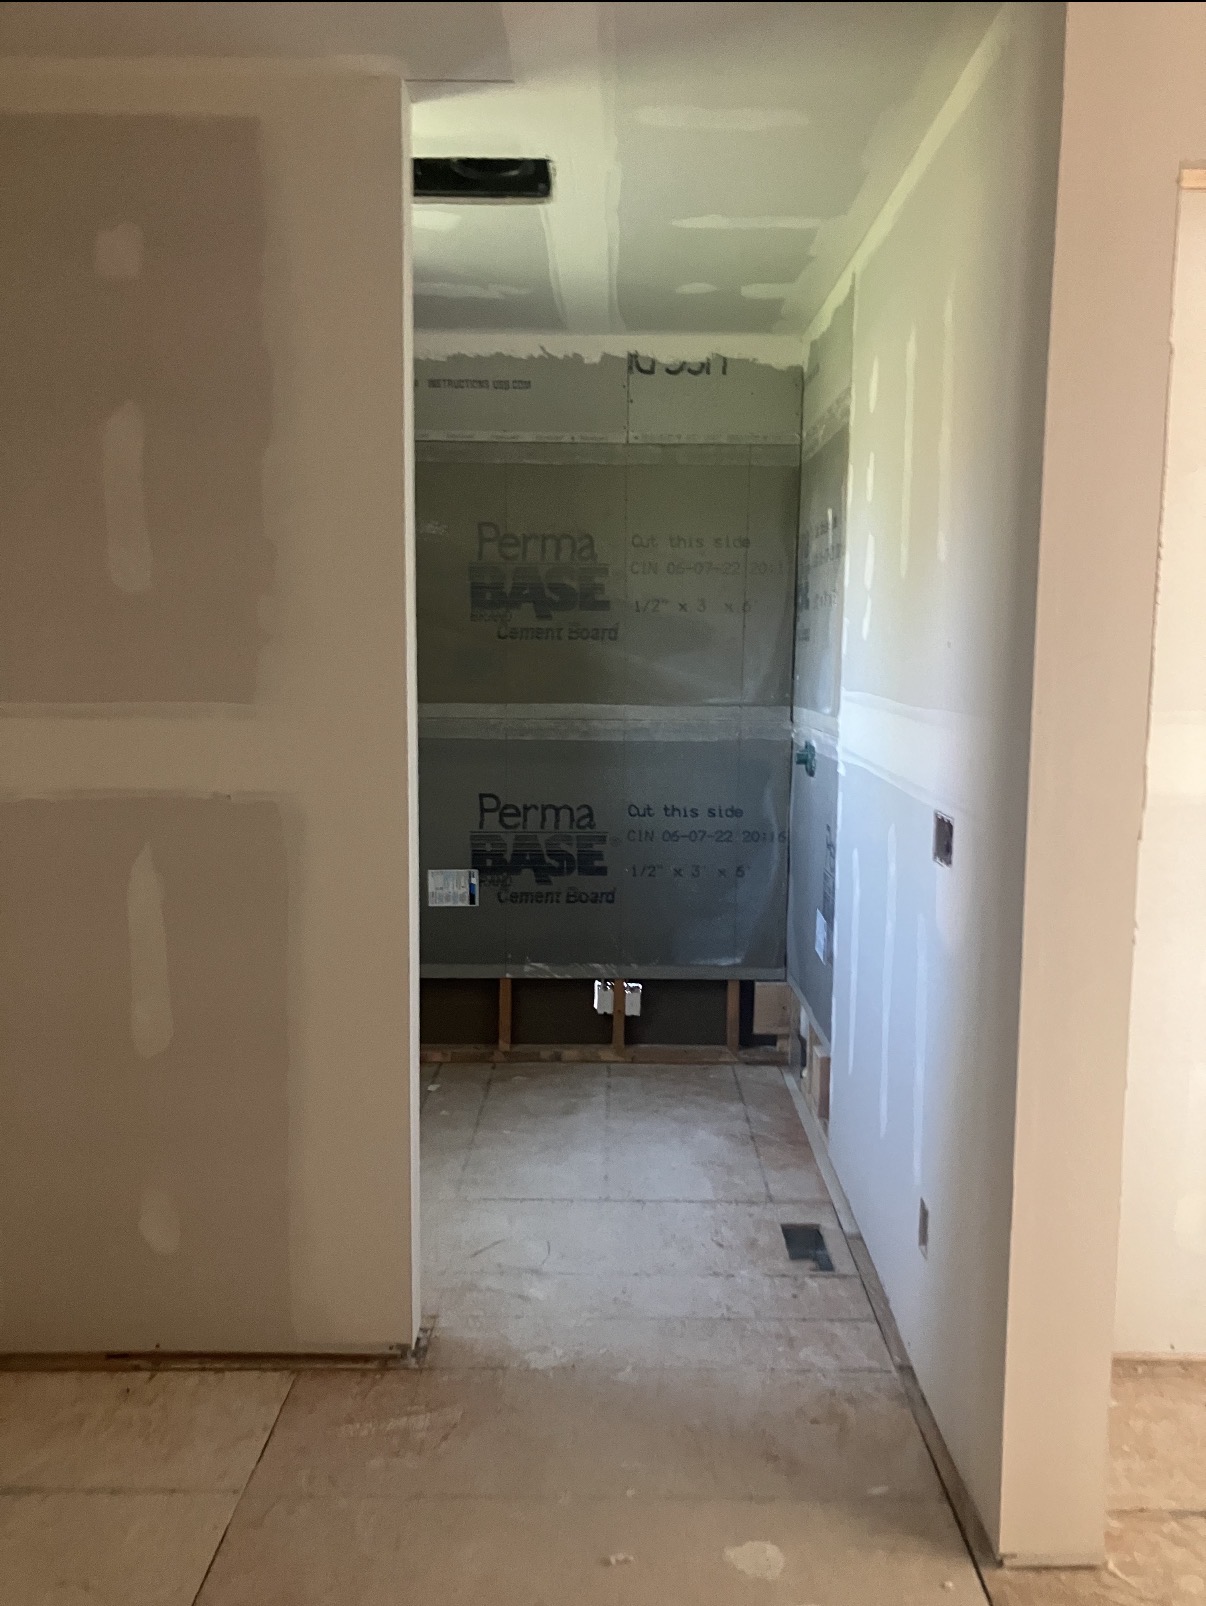
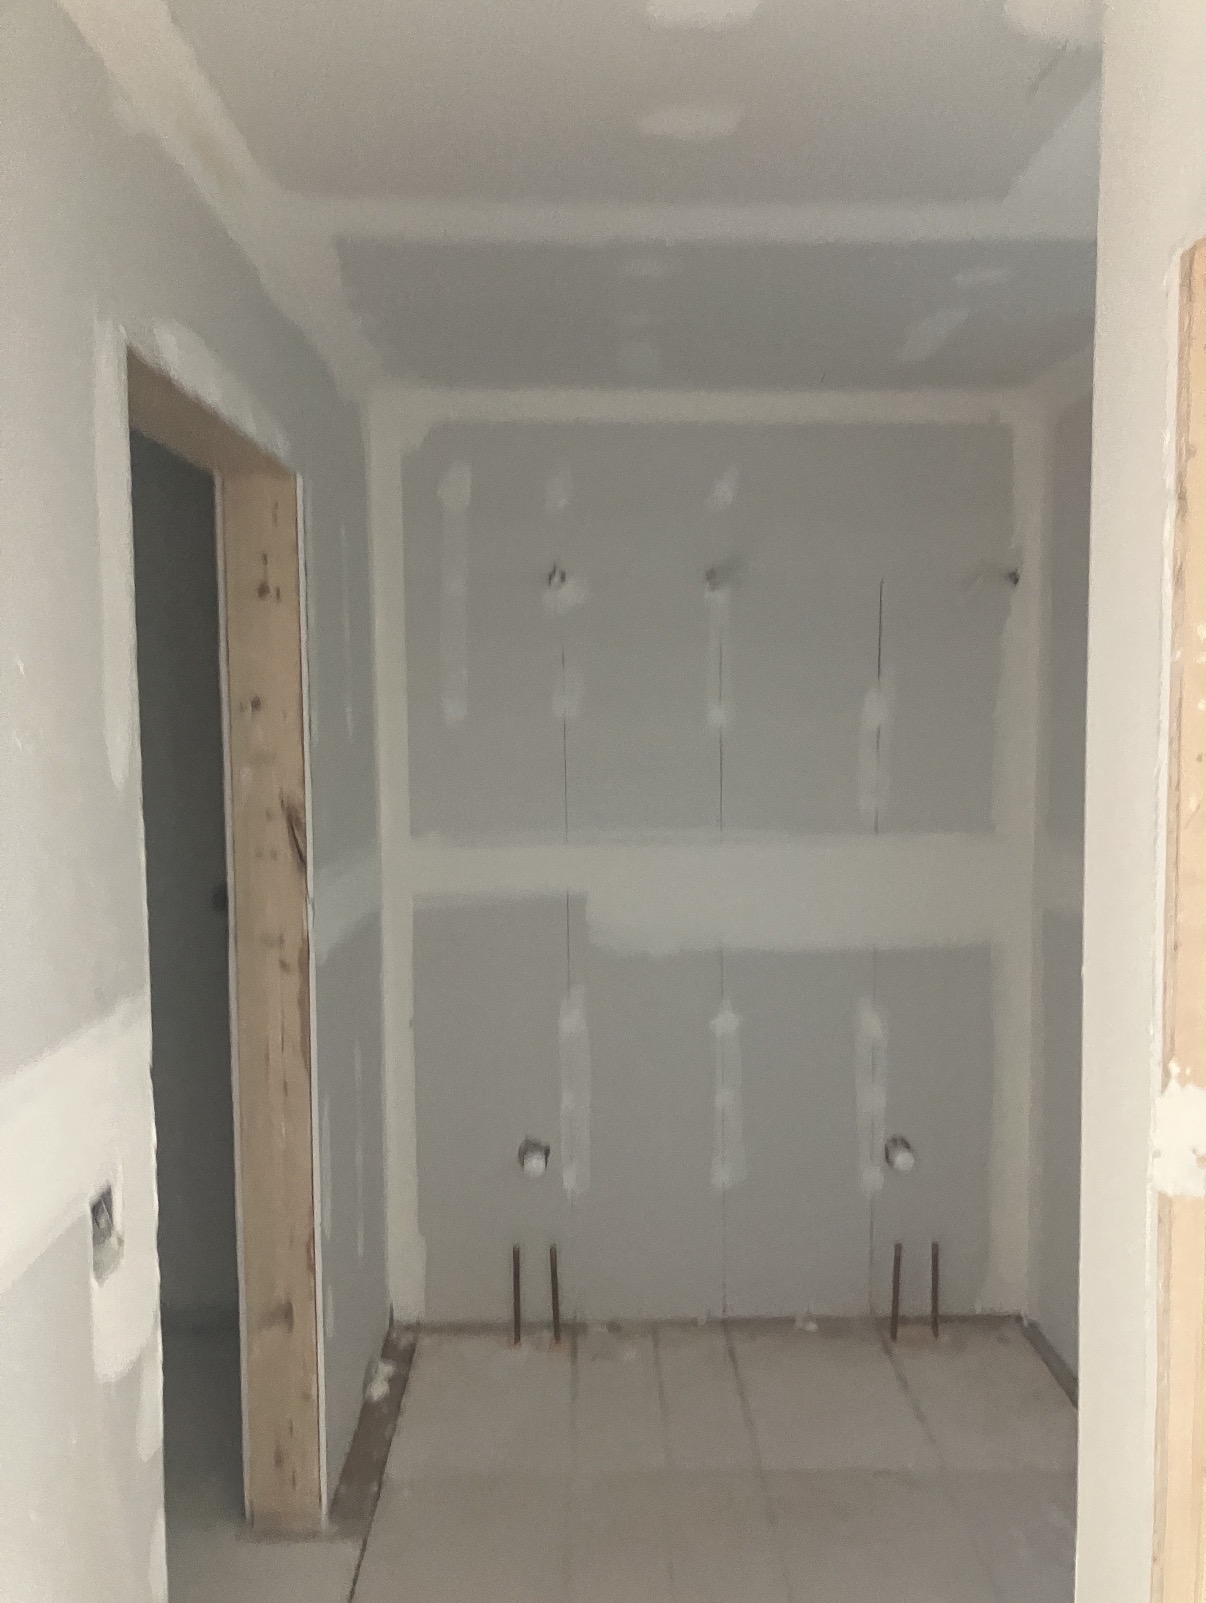
Full remodel with new drywall hung throughout — great room and bedrooms boarded out wall-to-wall with OSB ceilings still exposed, plus a bathroom shower wall prepped with PermaBase cement board, all staged for finishing.
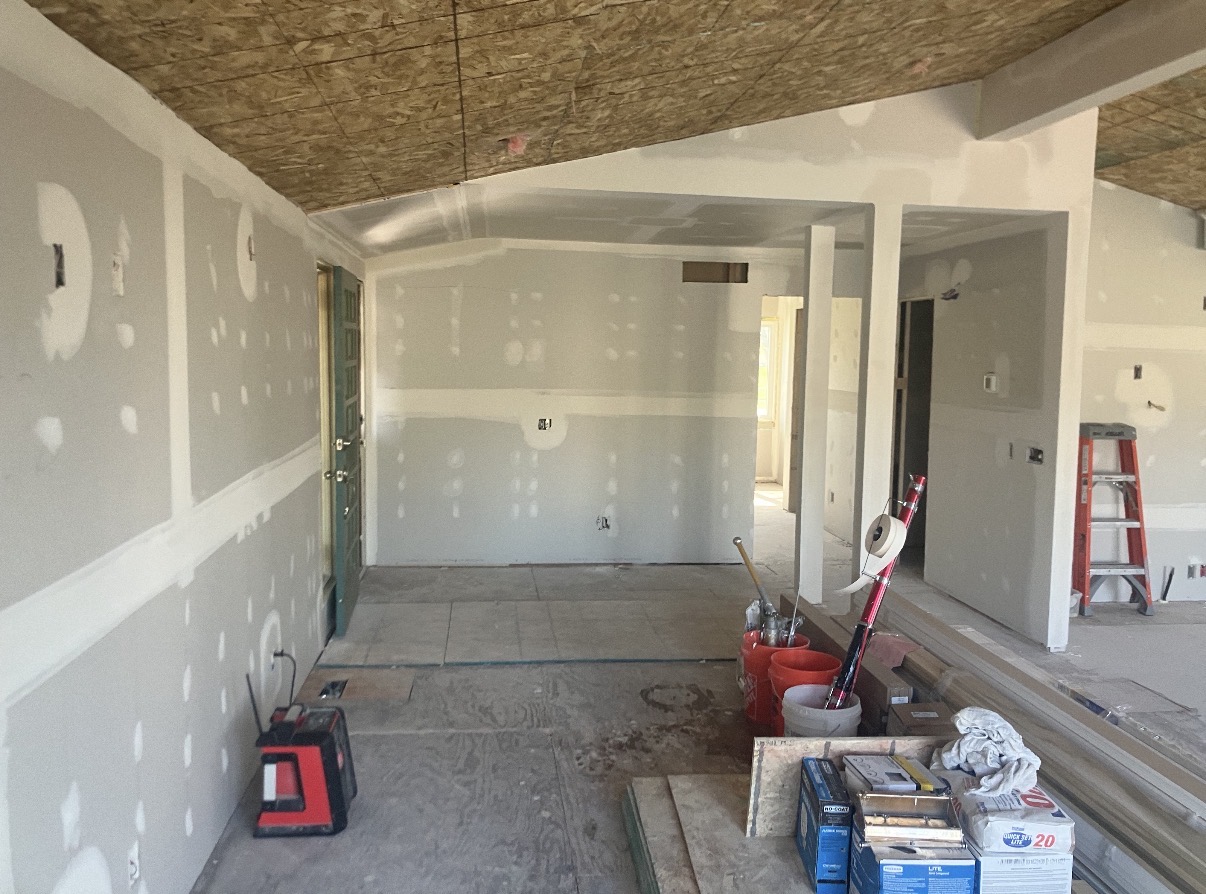
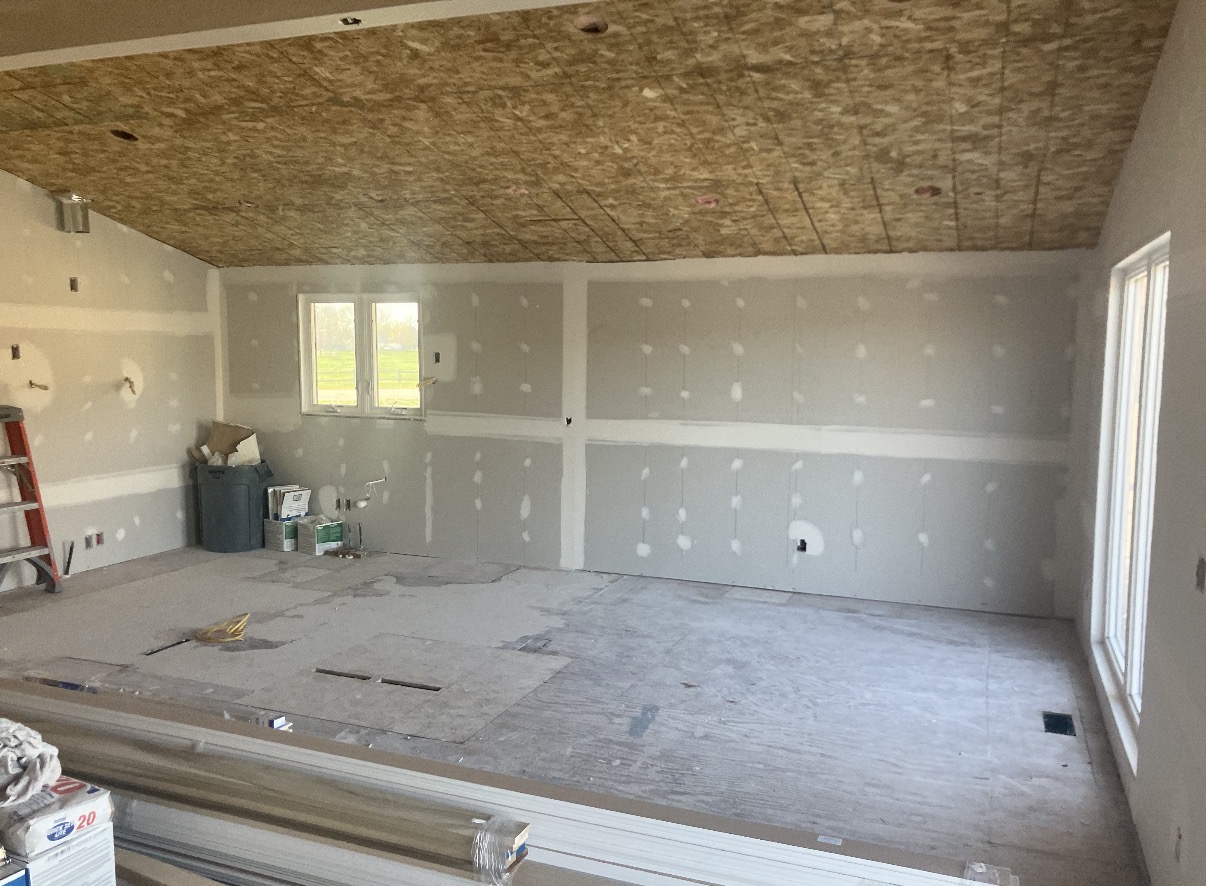
Open great room with new drywall hung across every wall — staged for ceiling board and finishing
Bedroom fully boarded out around the window with vaulted OSB ceiling exposed, ready for drywall above
Wide entry wall hung with new drywall and stacked board on site for the next room
Finished corner detail with new drywall taped at the seam and doorway opening framed clean
Bathroom shower walls prepped with PermaBase cement board for tile, transitioning to drywall in the rest of the room
Tight closet alcove hung with new drywall and taped — ready for finish coats and paint

— Ceiling Drywall Slap Texture Patch

Ceiling drywall slap texture patch.

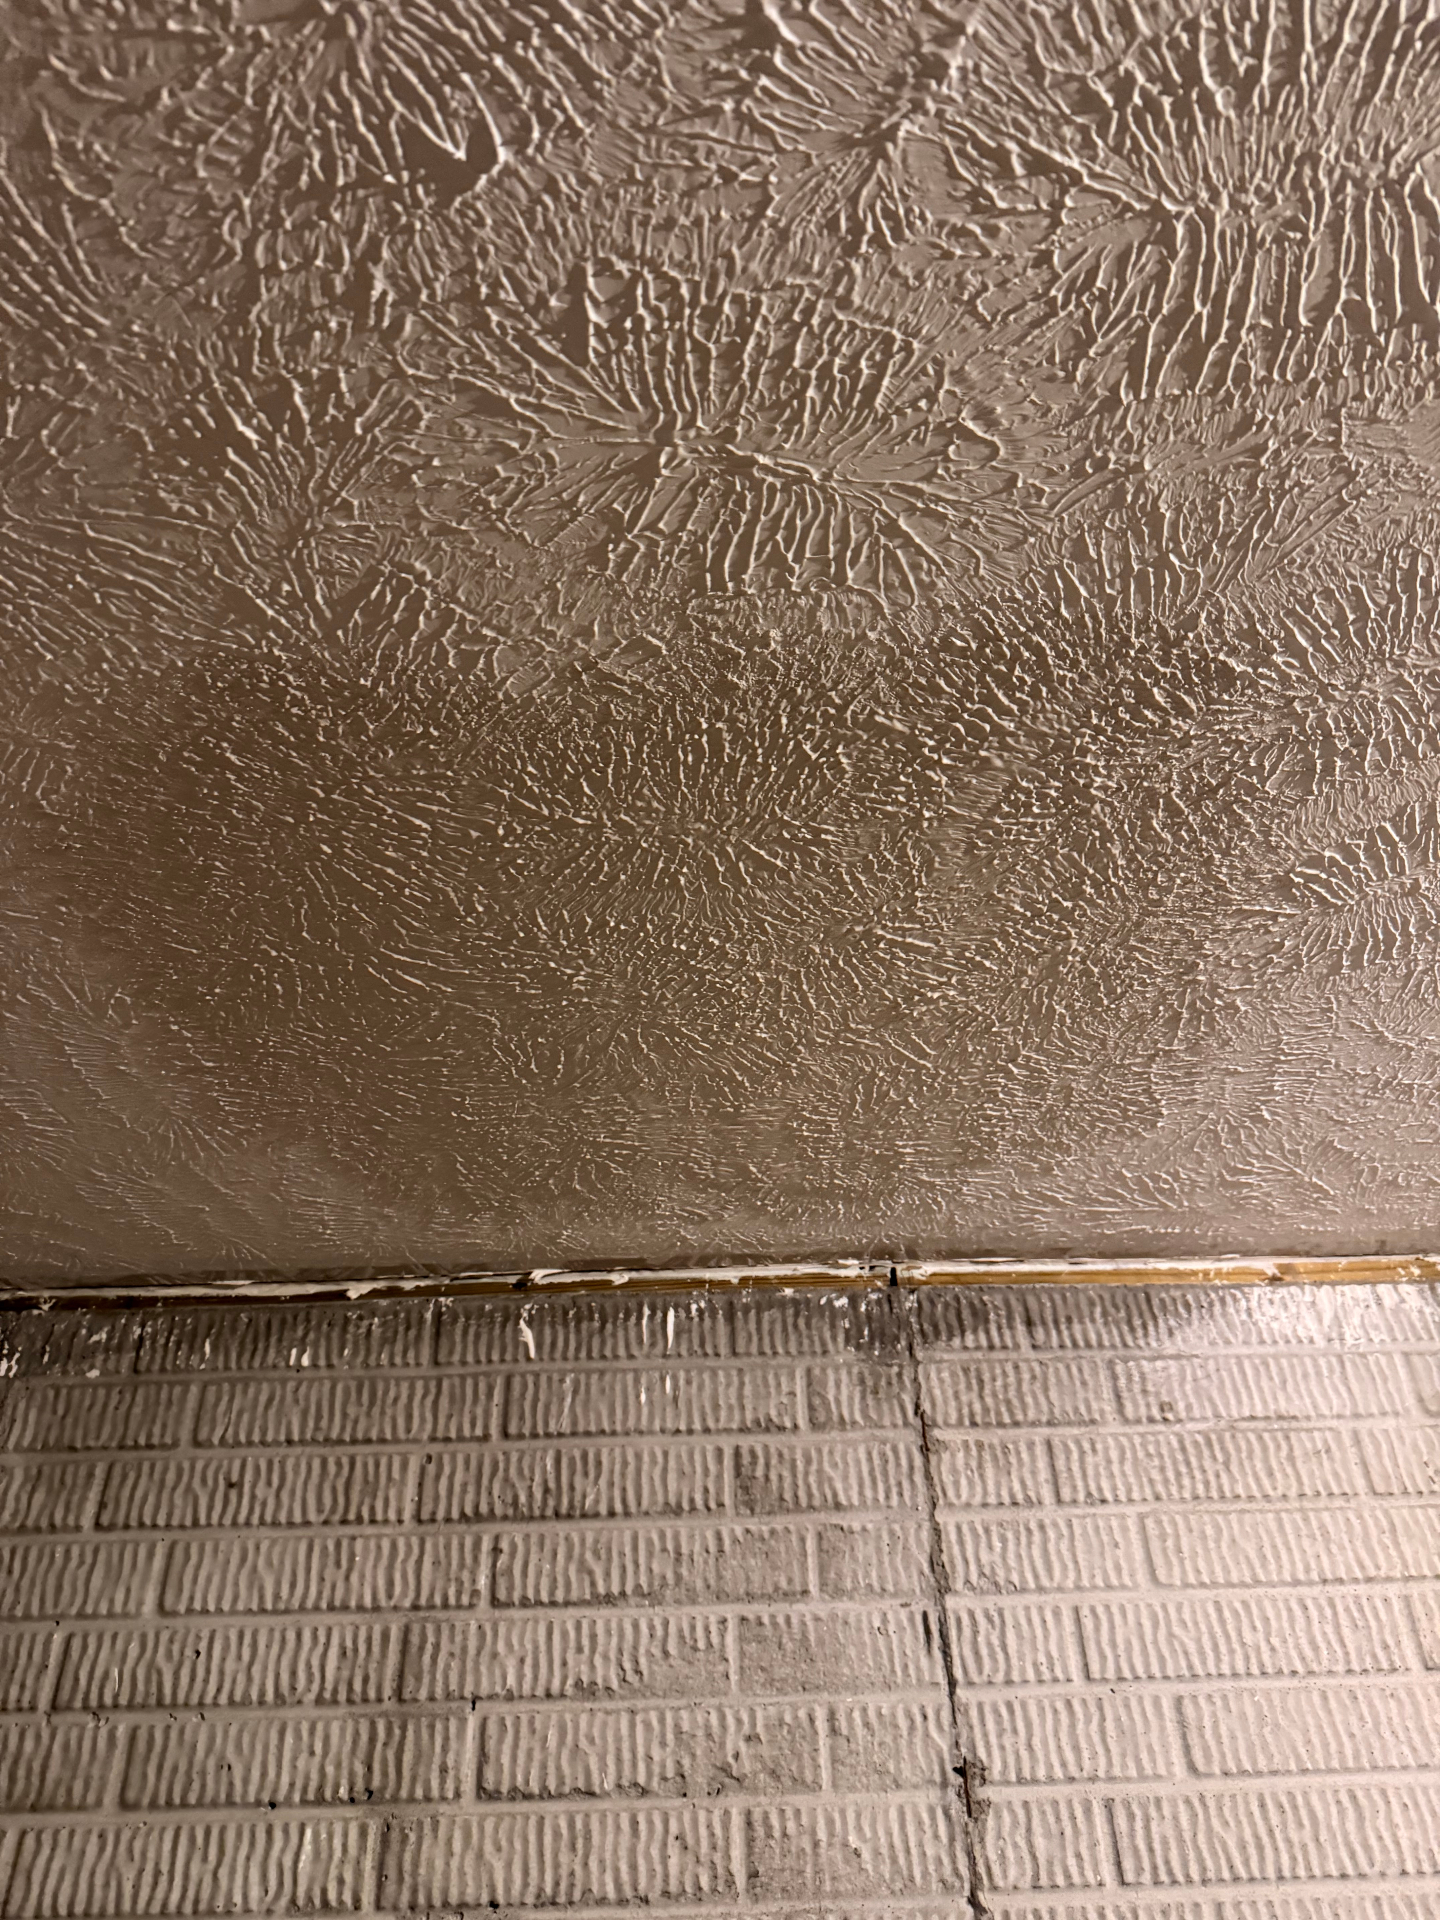
Ceiling patches blended into existing slap-brush (crows-foot) texture so repairs disappear into the original finish — including light fixture cutouts and ceiling-to-wall transitions.
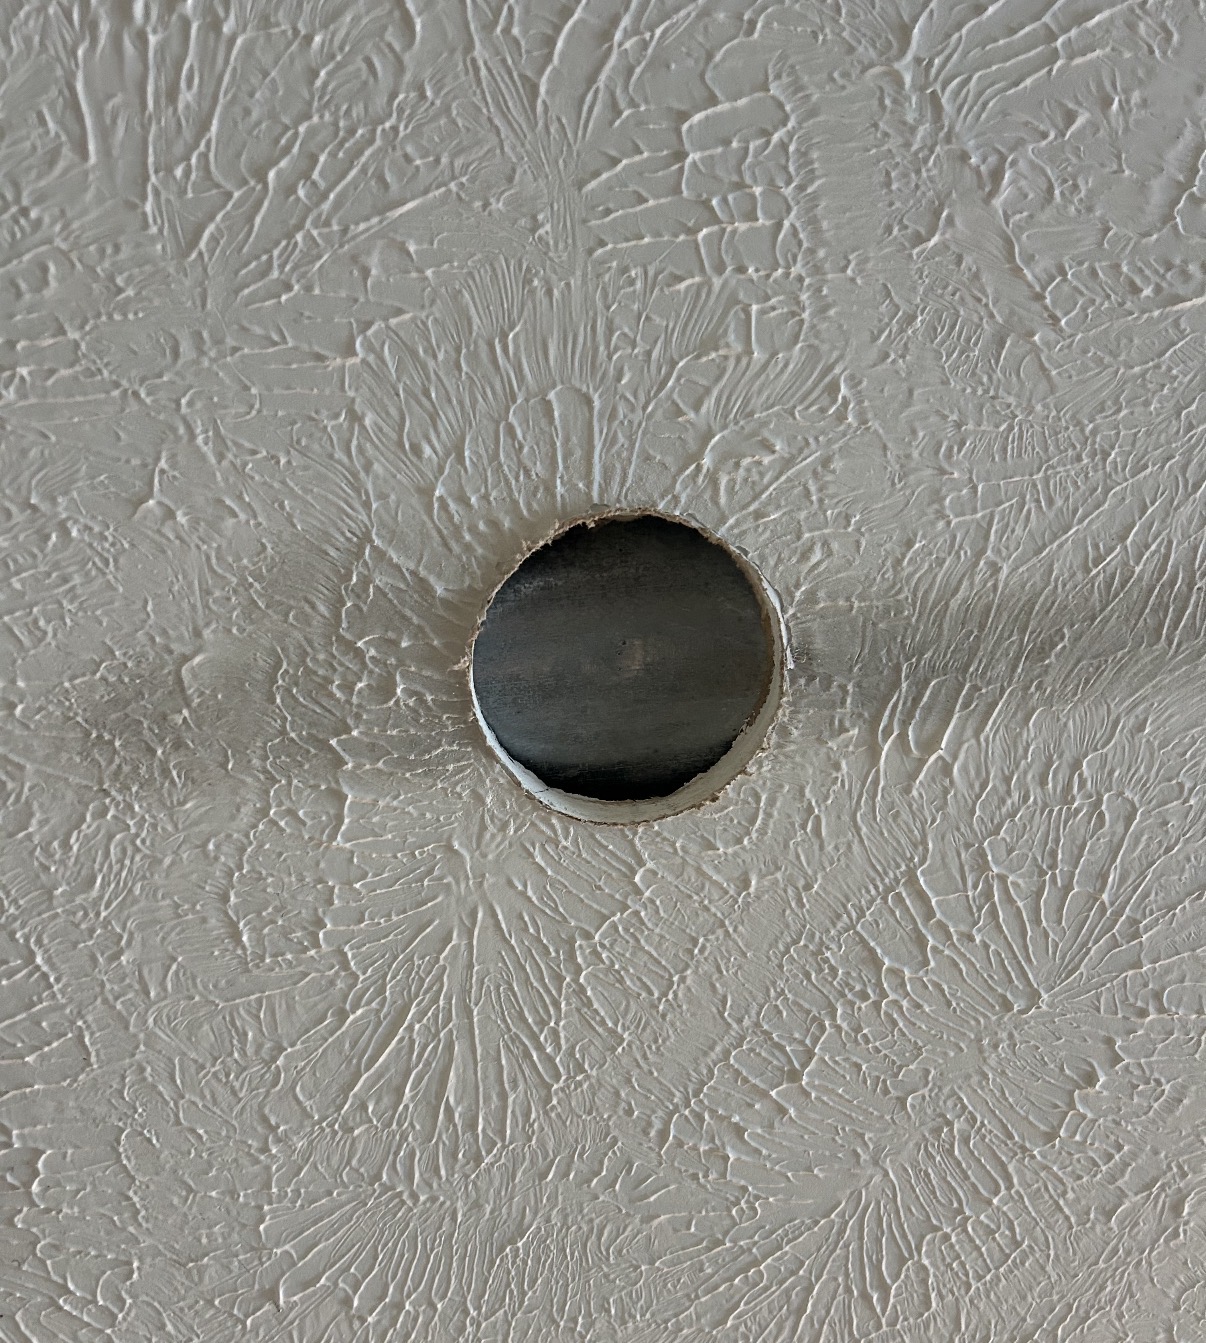
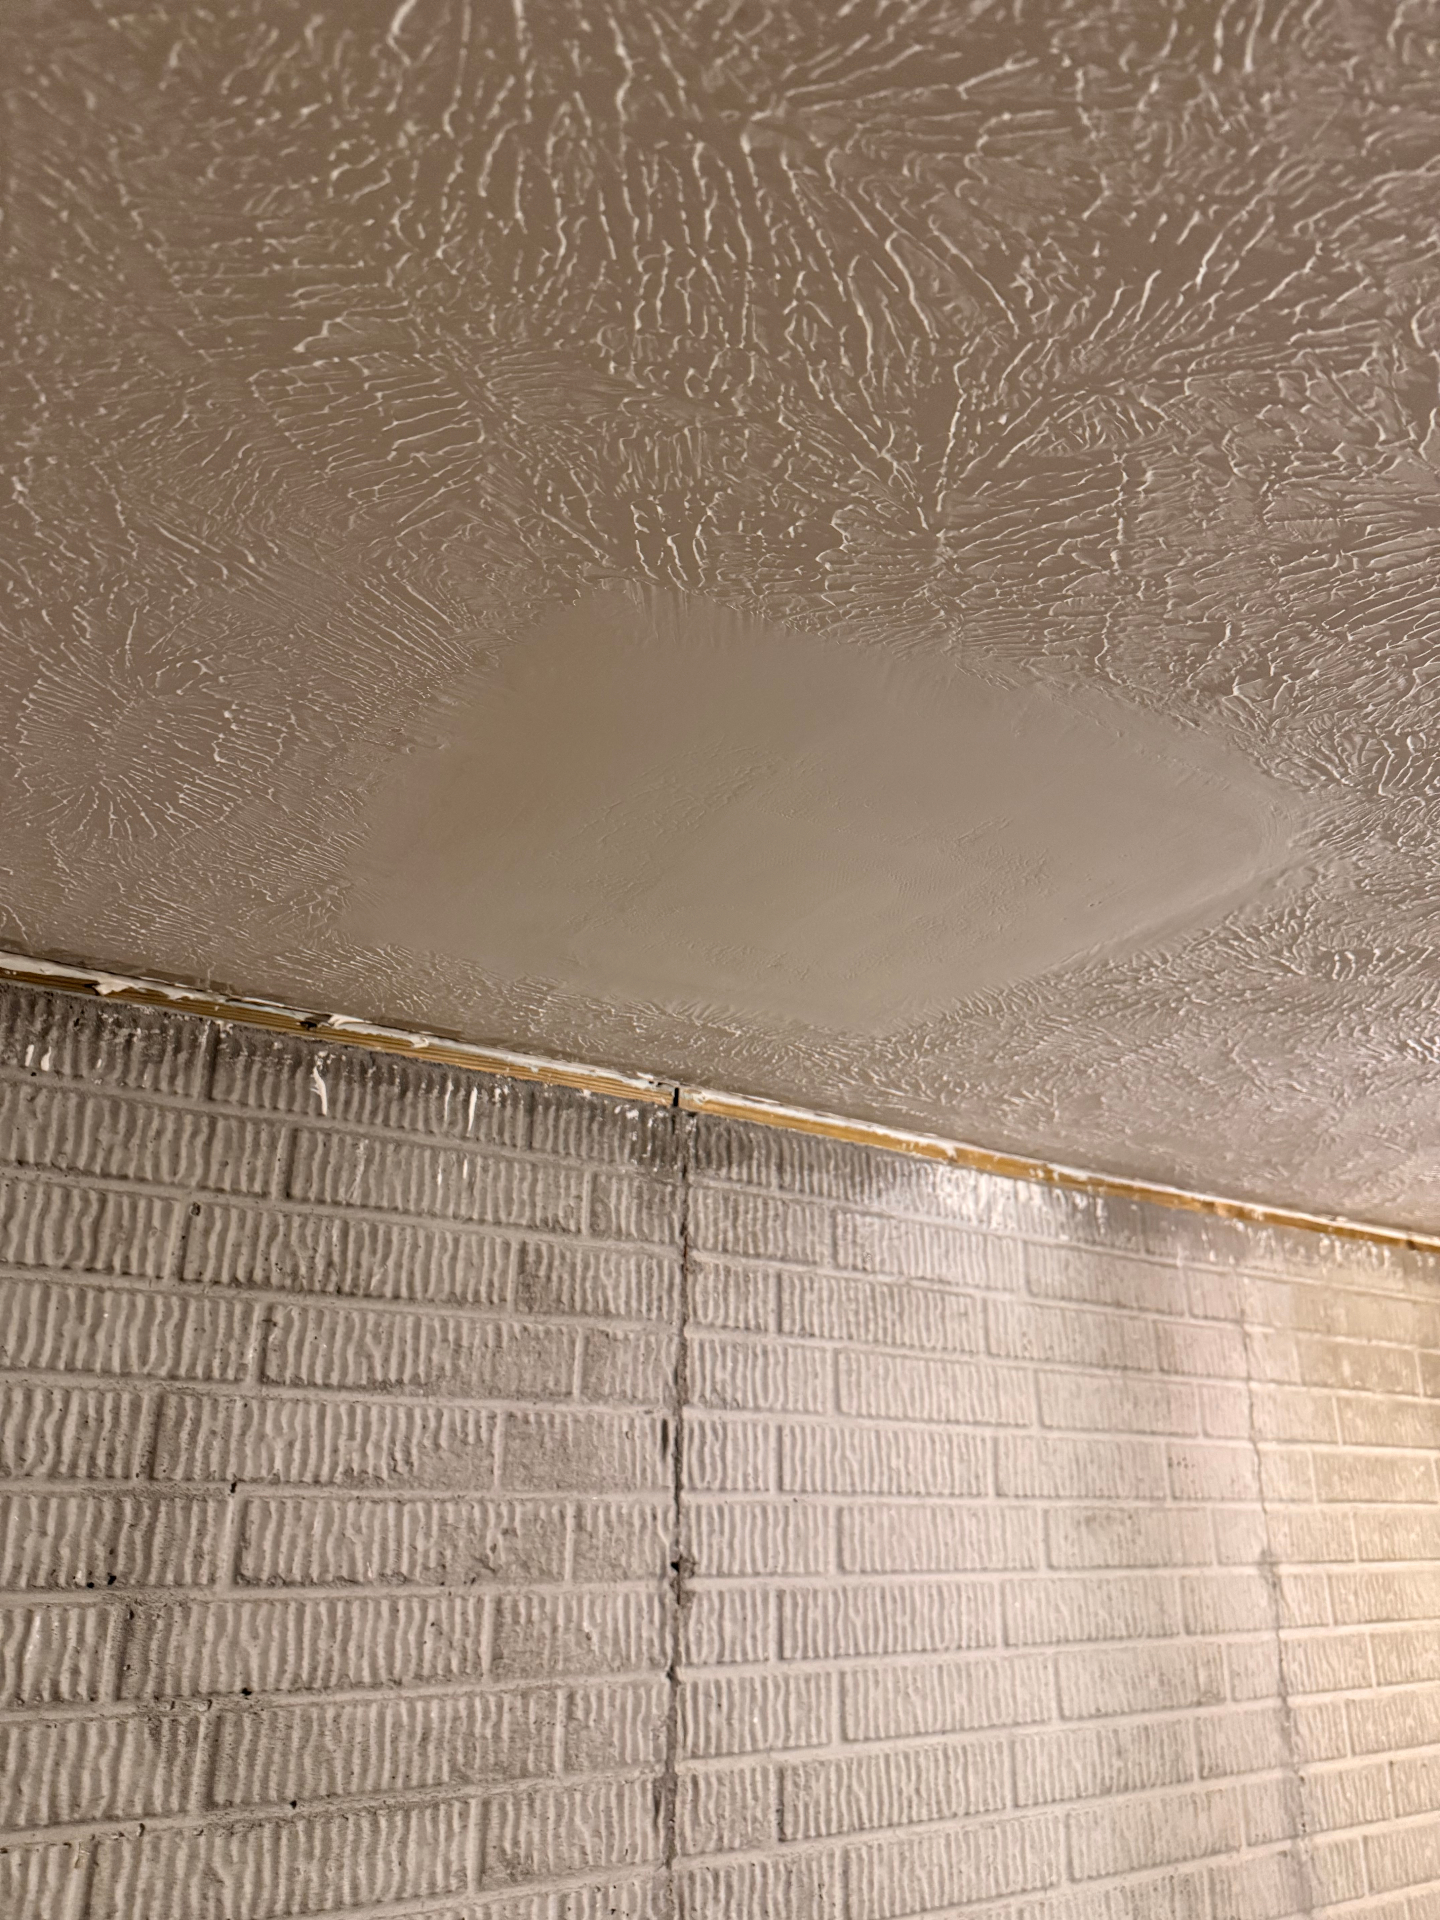
Light fixture cutout in a slap-brush textured ceiling — clean opening blended into the surrounding pattern
Ceiling patch feathered into existing slap-brush texture — repair area reads as one surface with the original ceiling
Slap-brush textured ceiling running clean to the wall line above painted brick

— Drywall Overlay on Garage Ceiling

Drywall overlay on garage ceiling.

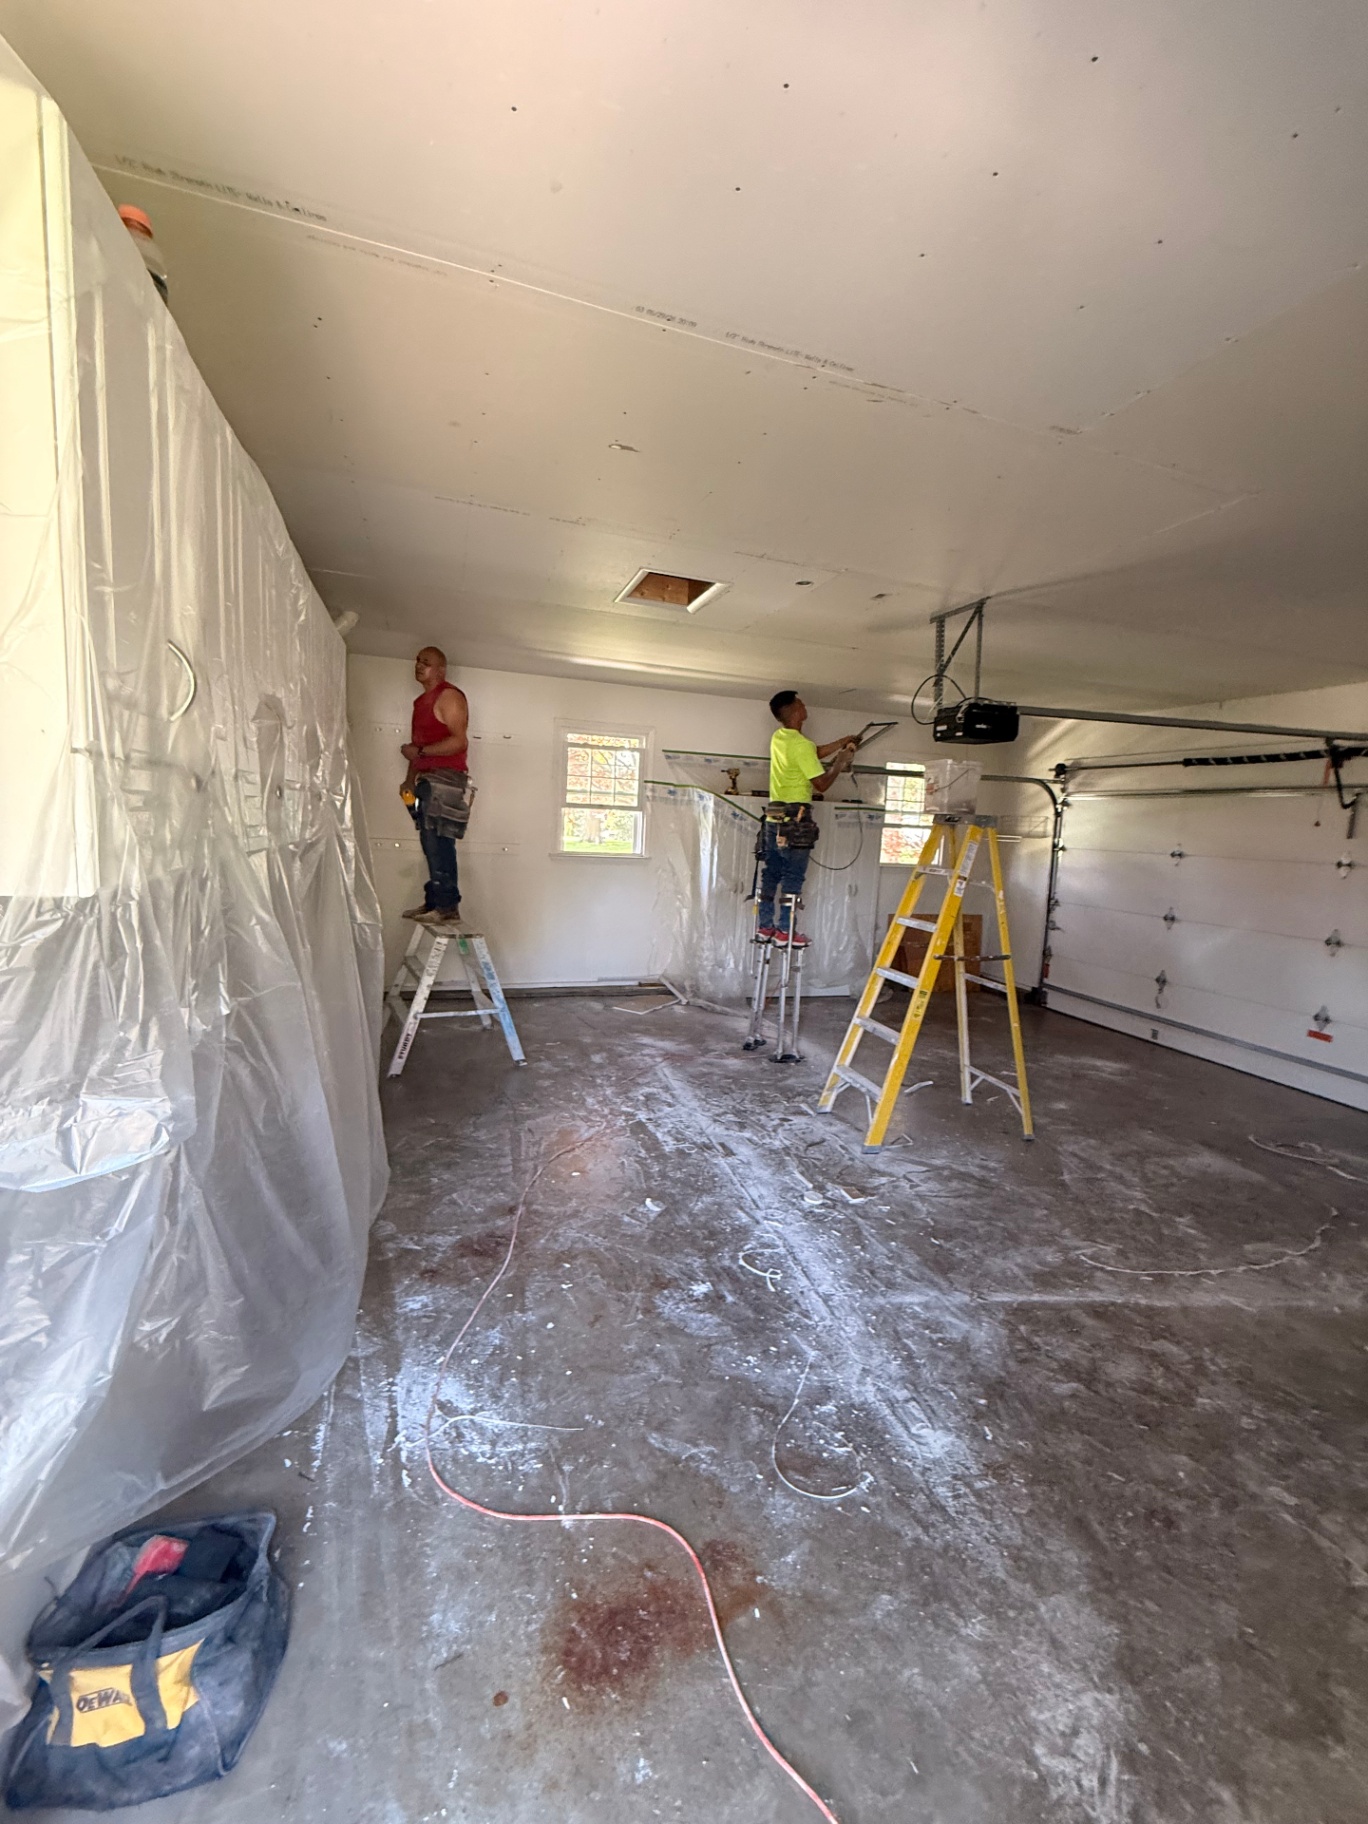
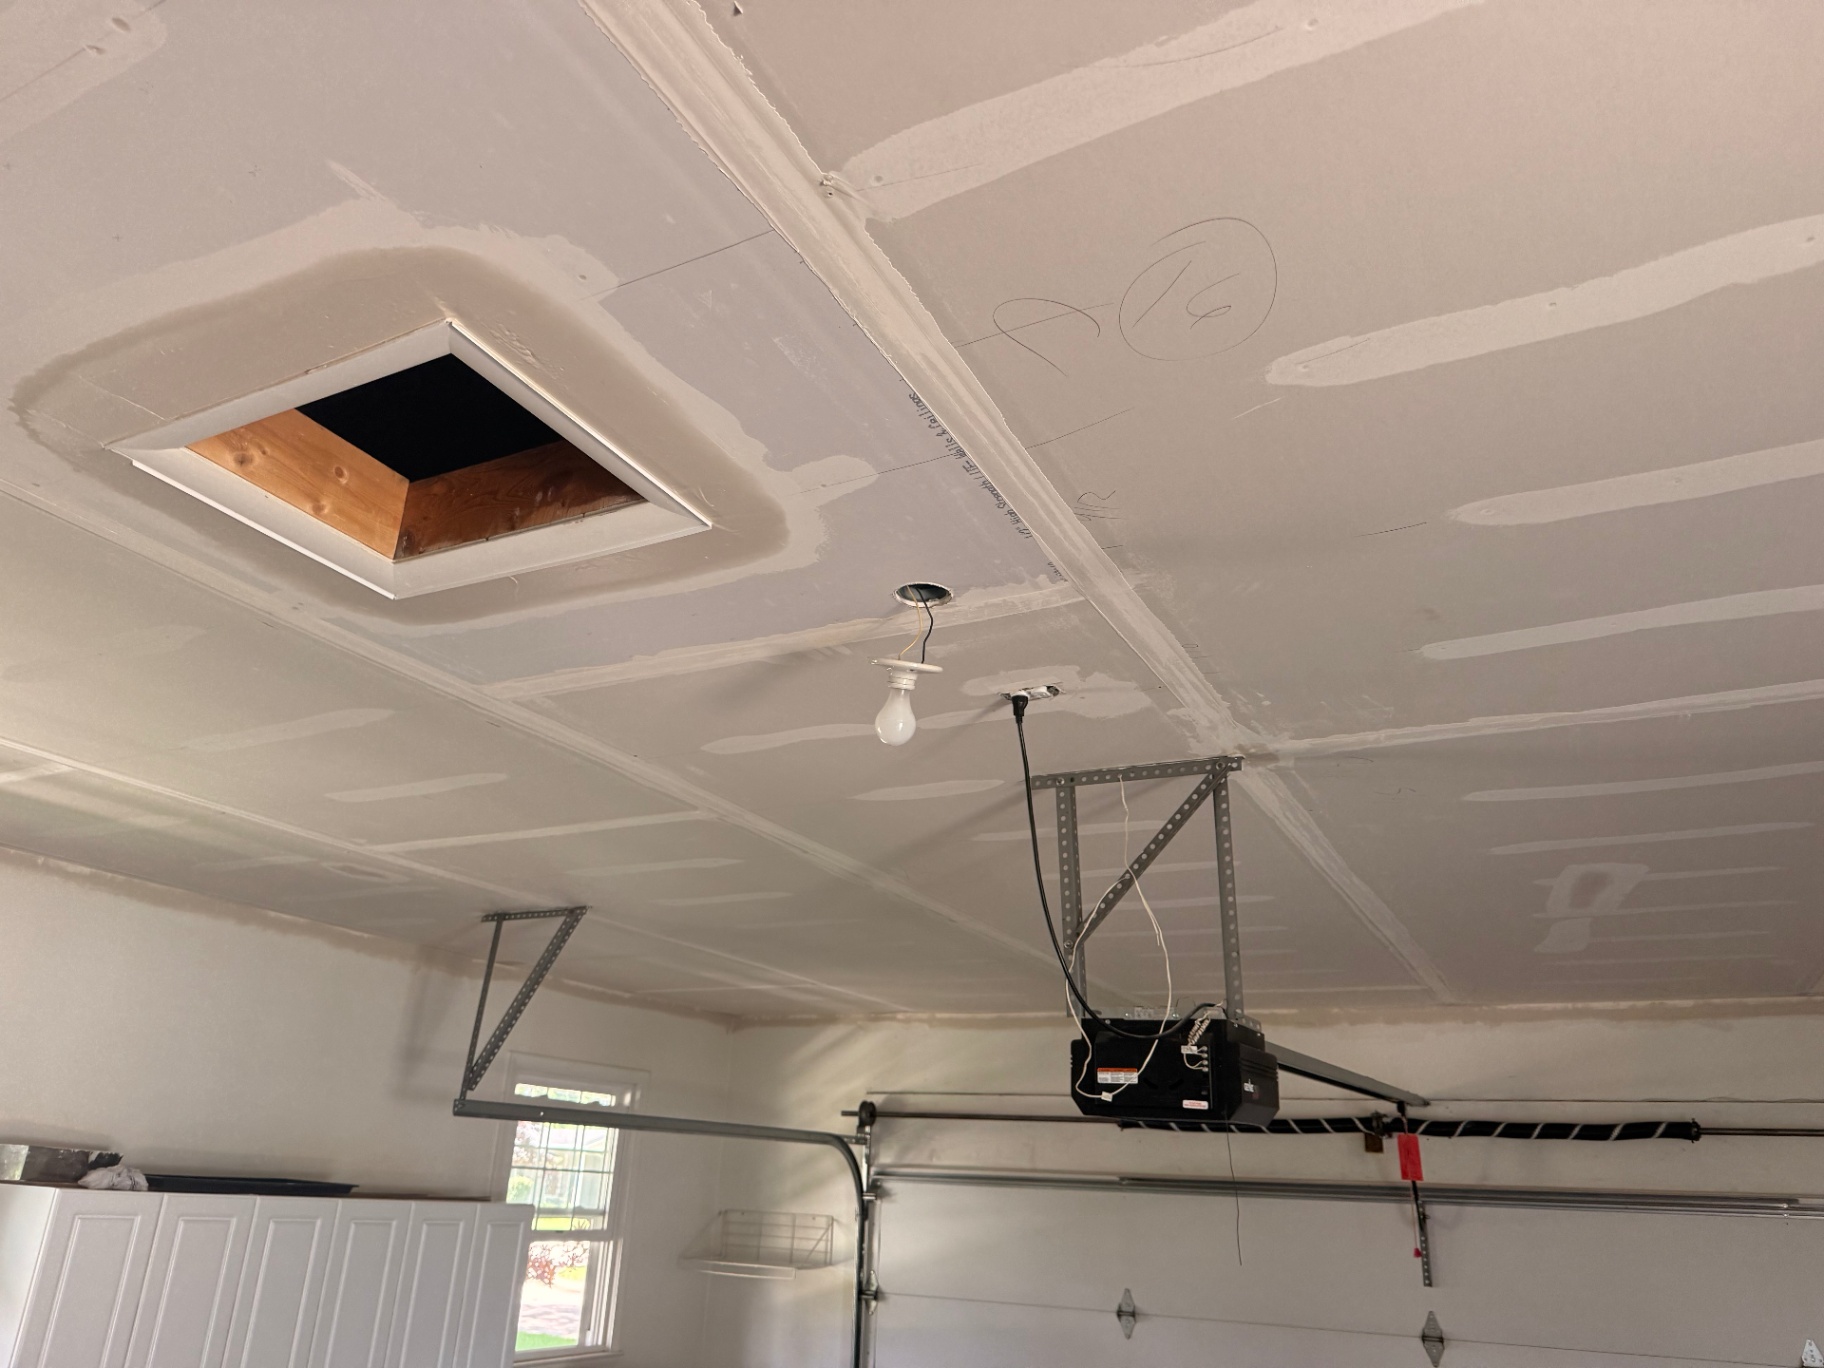
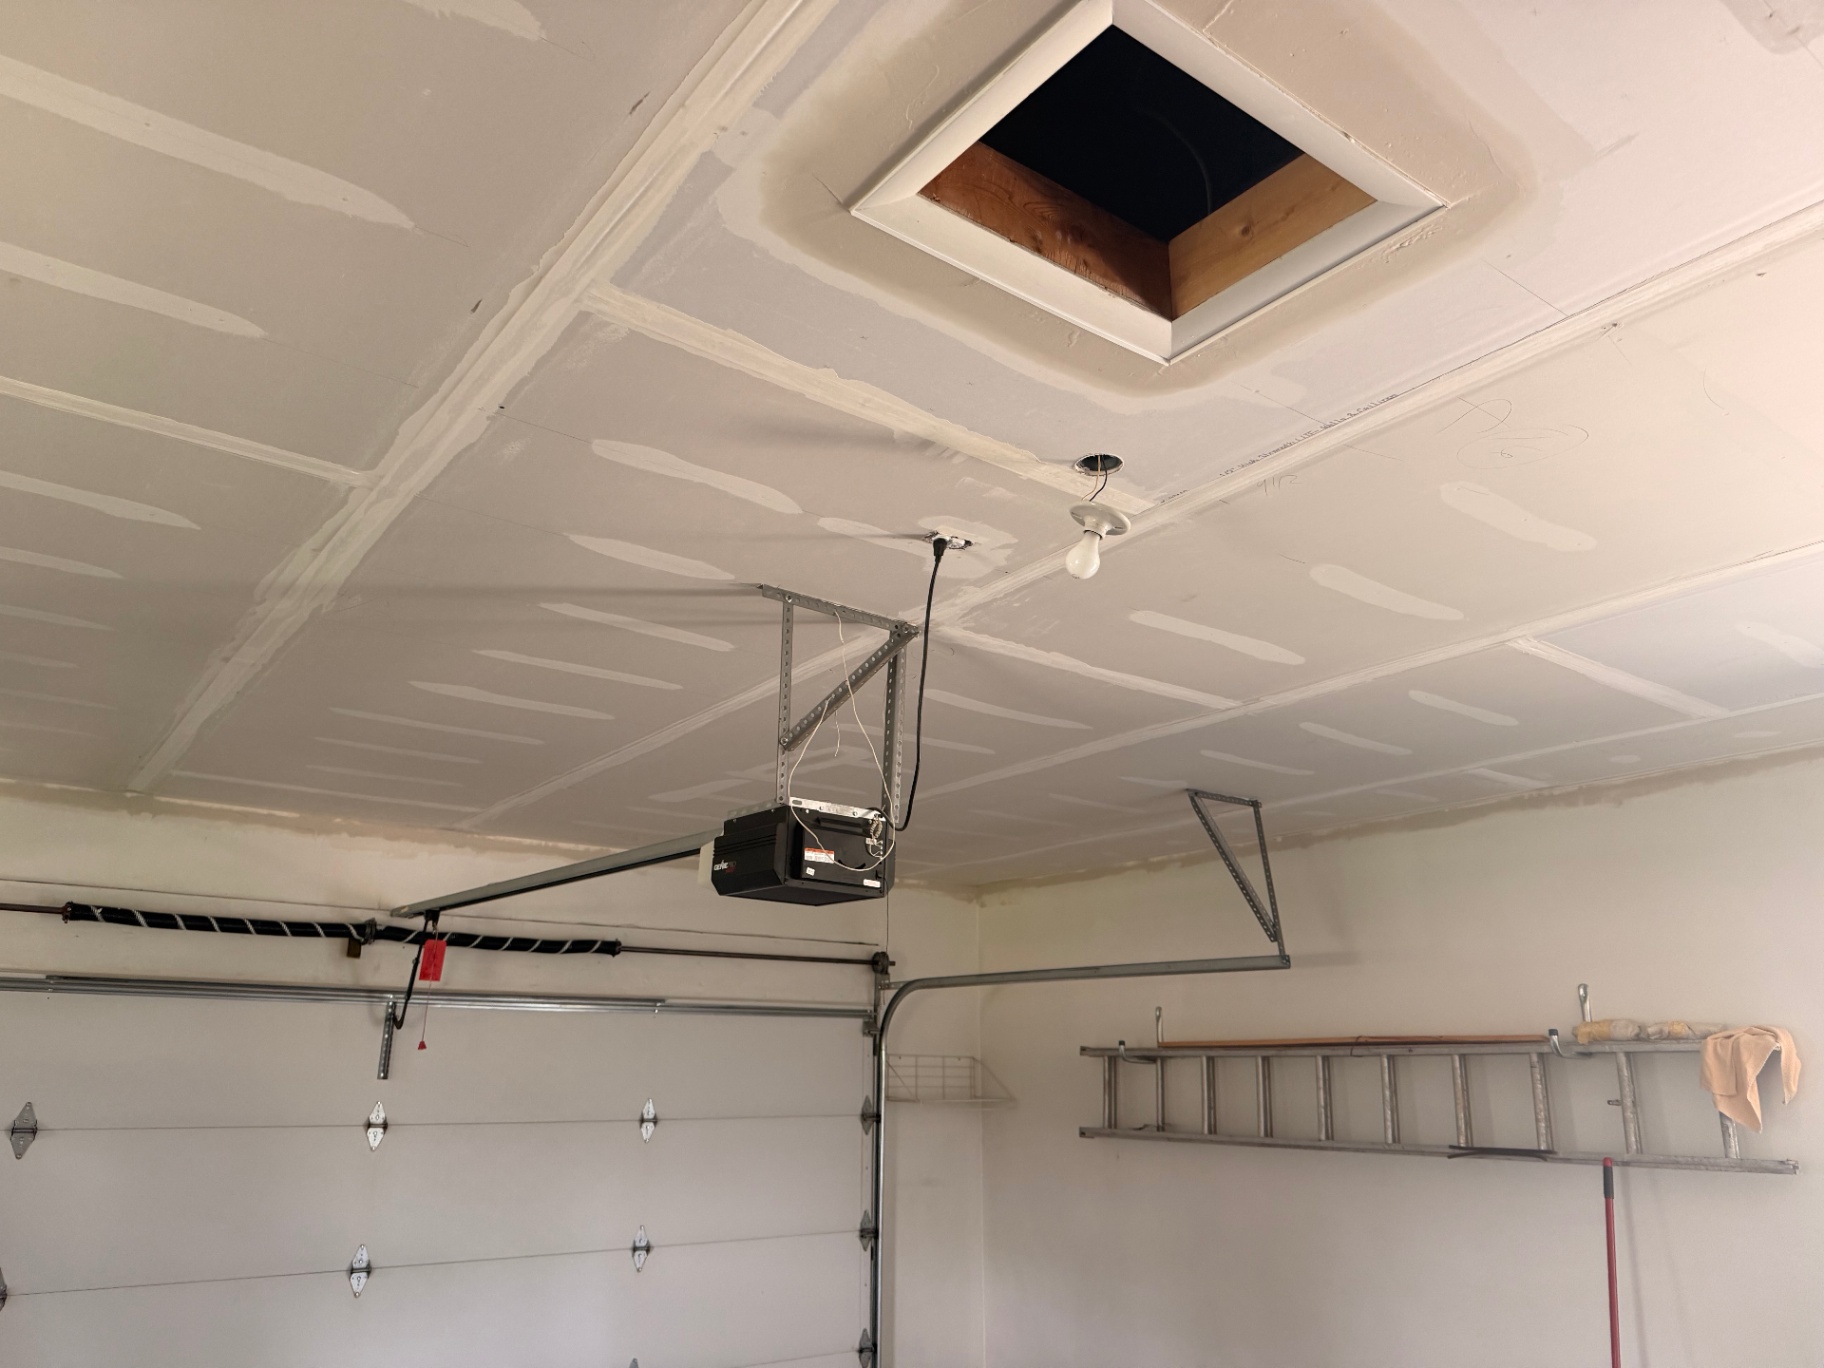
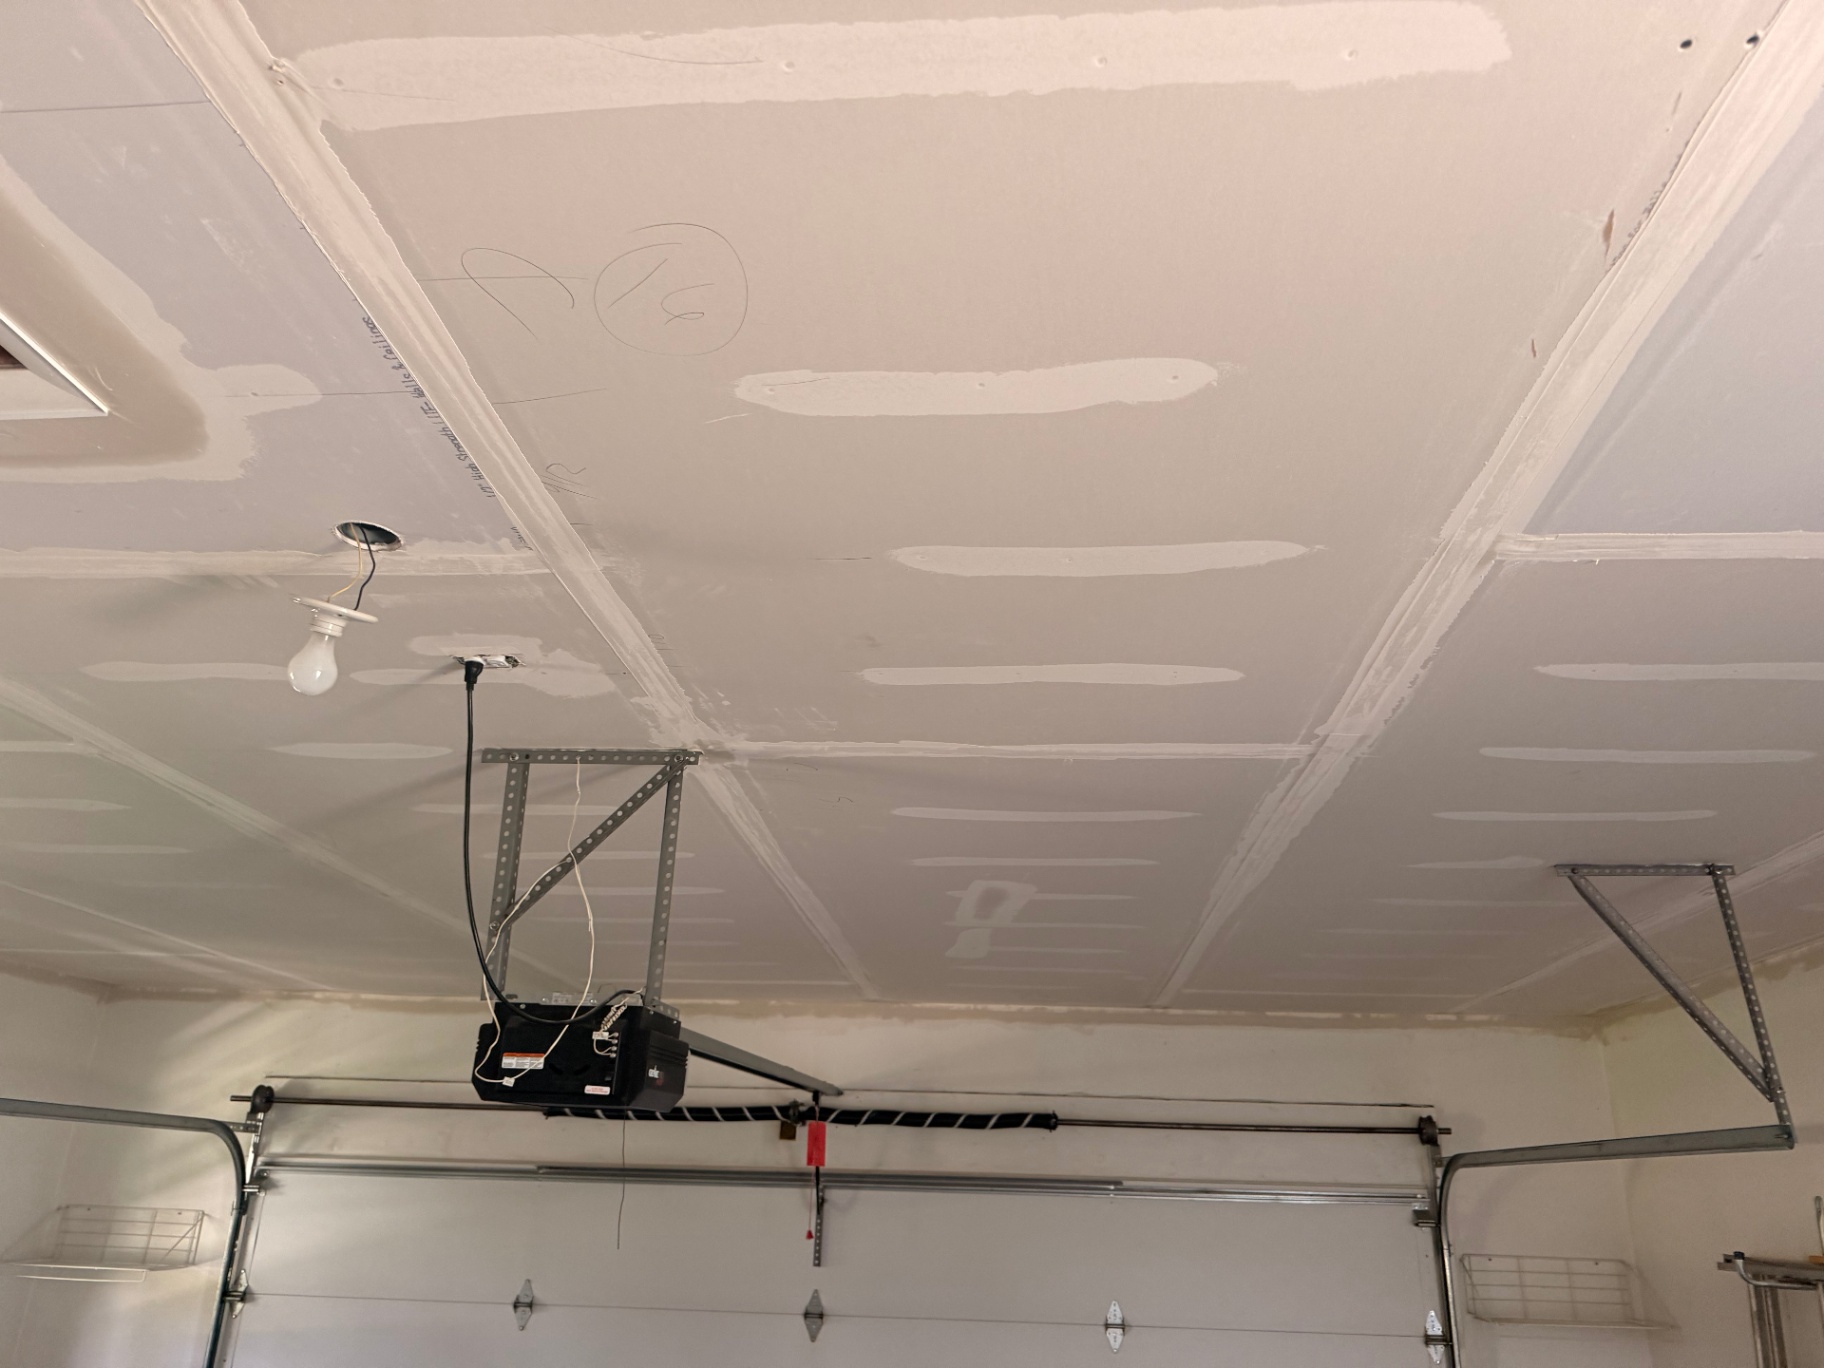
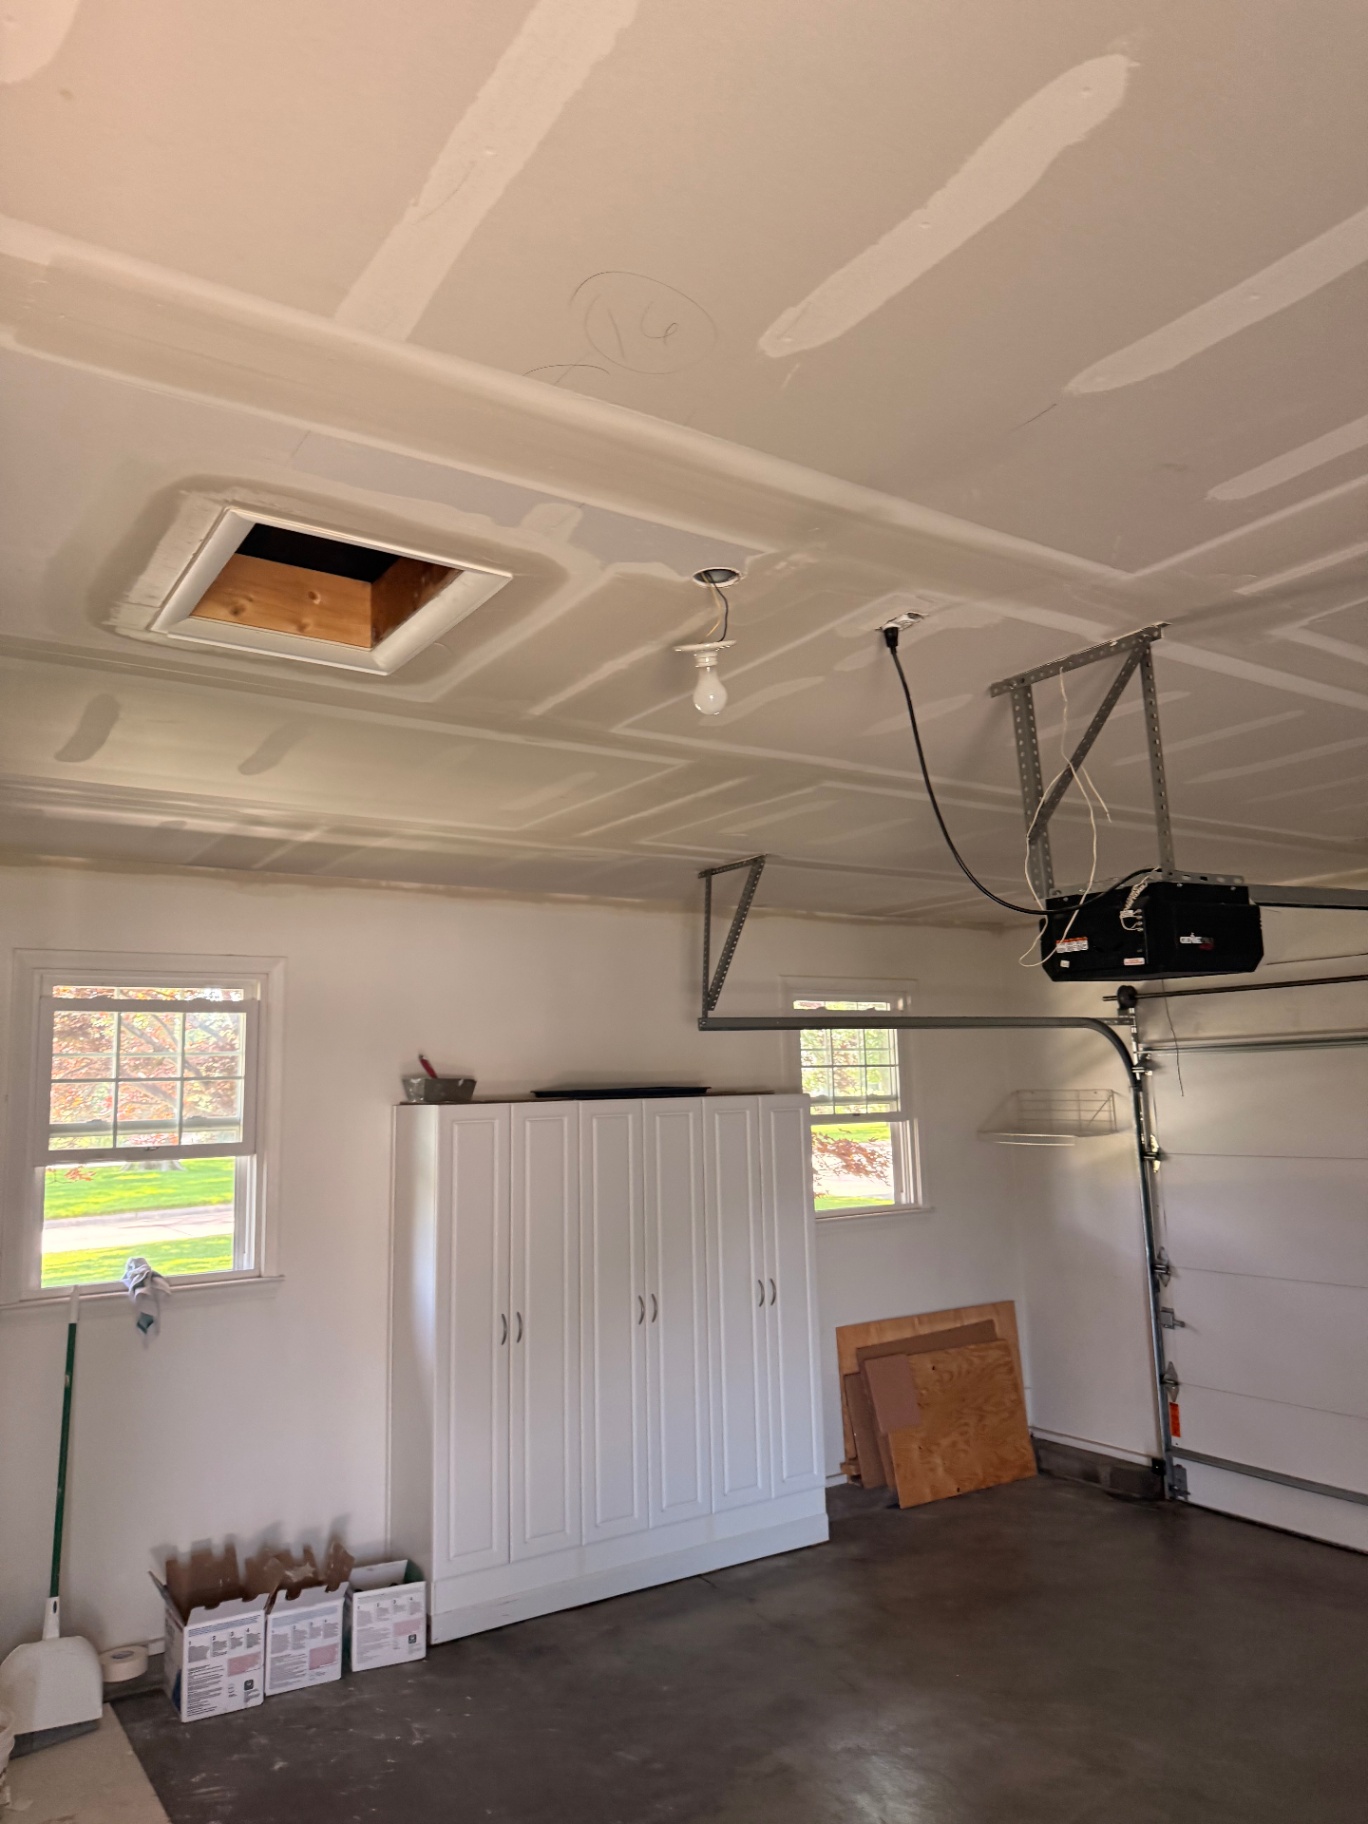
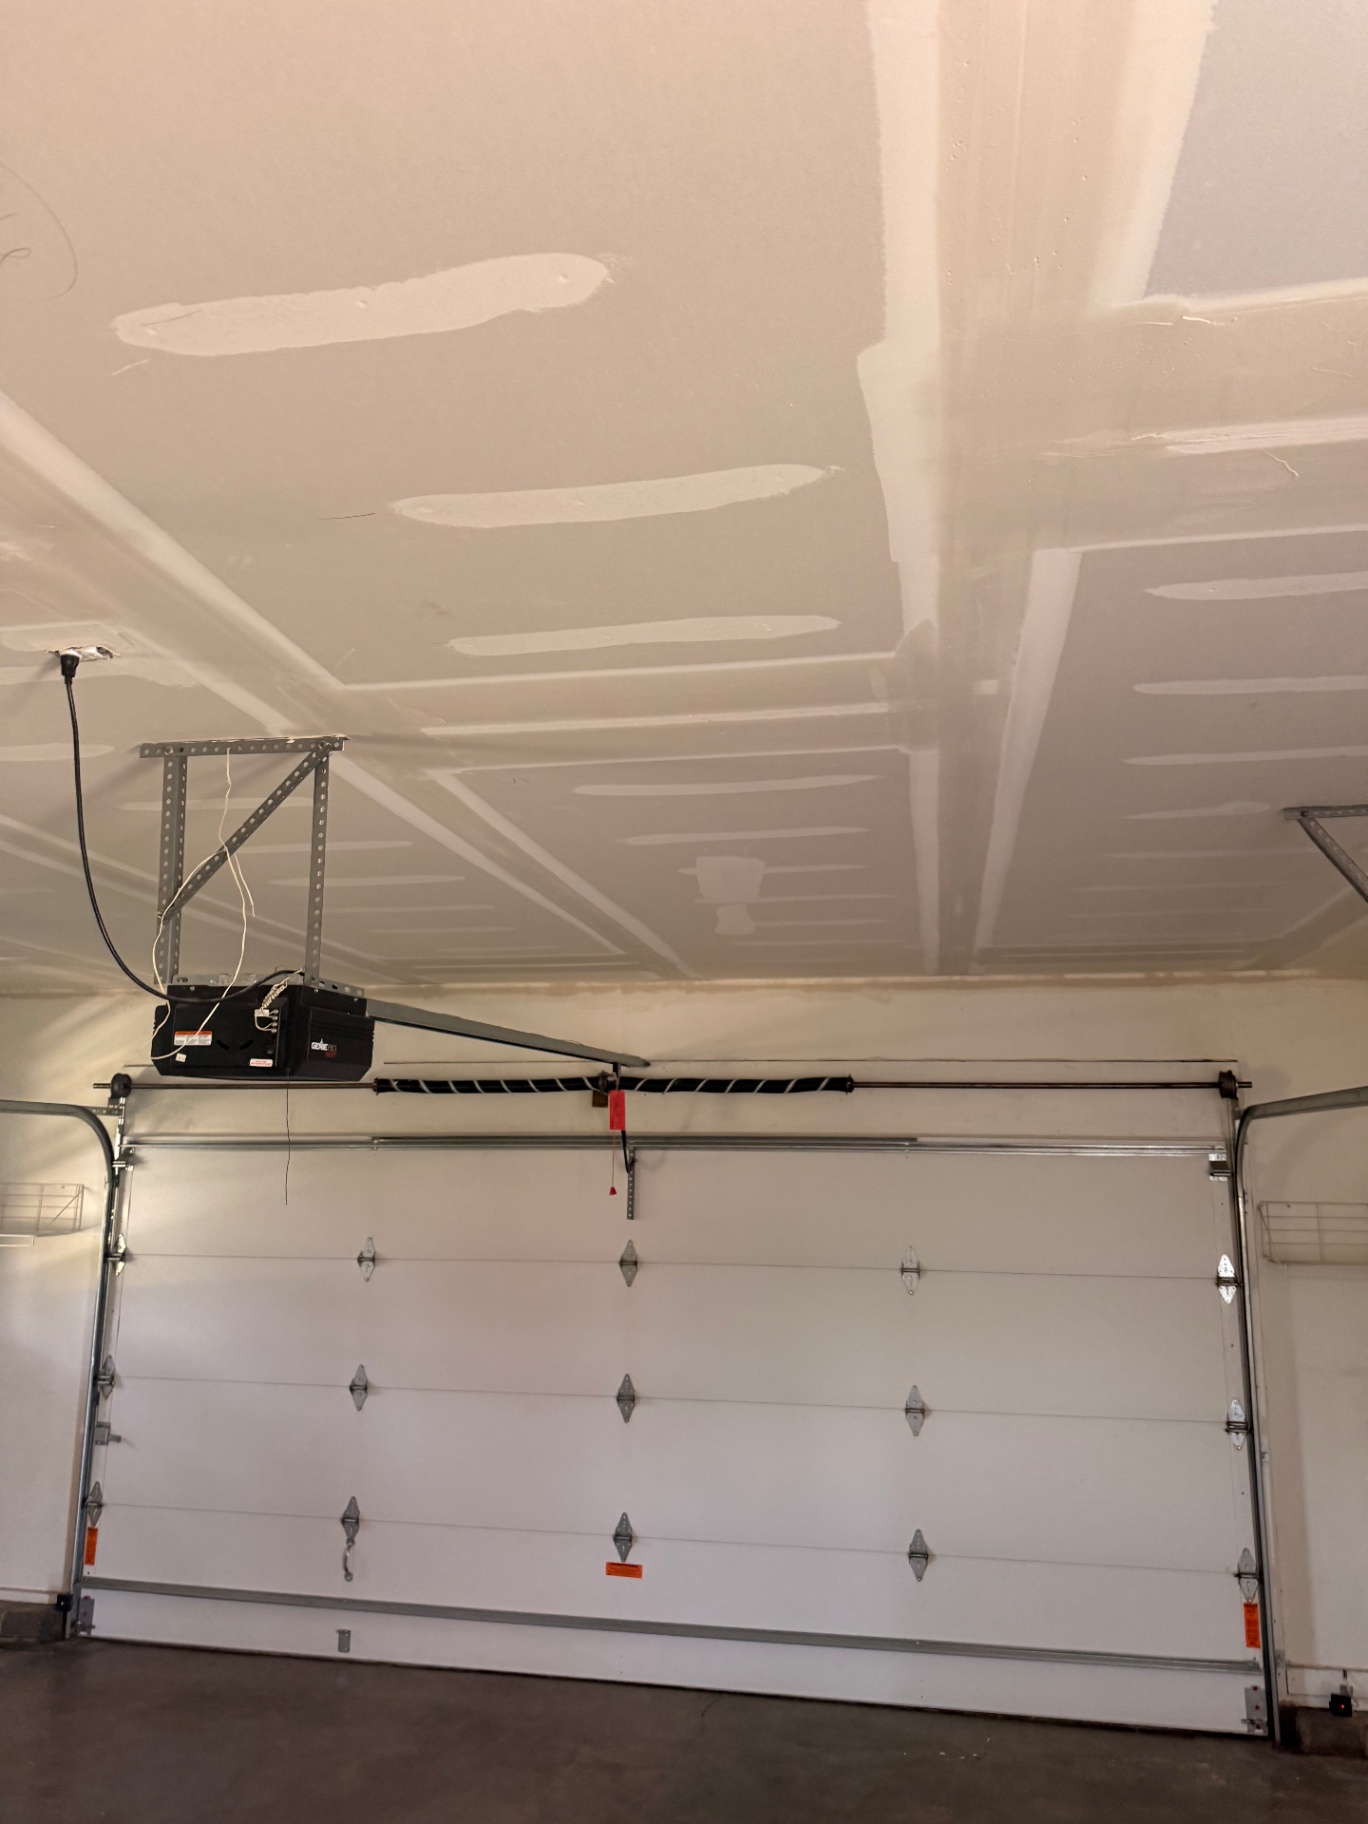
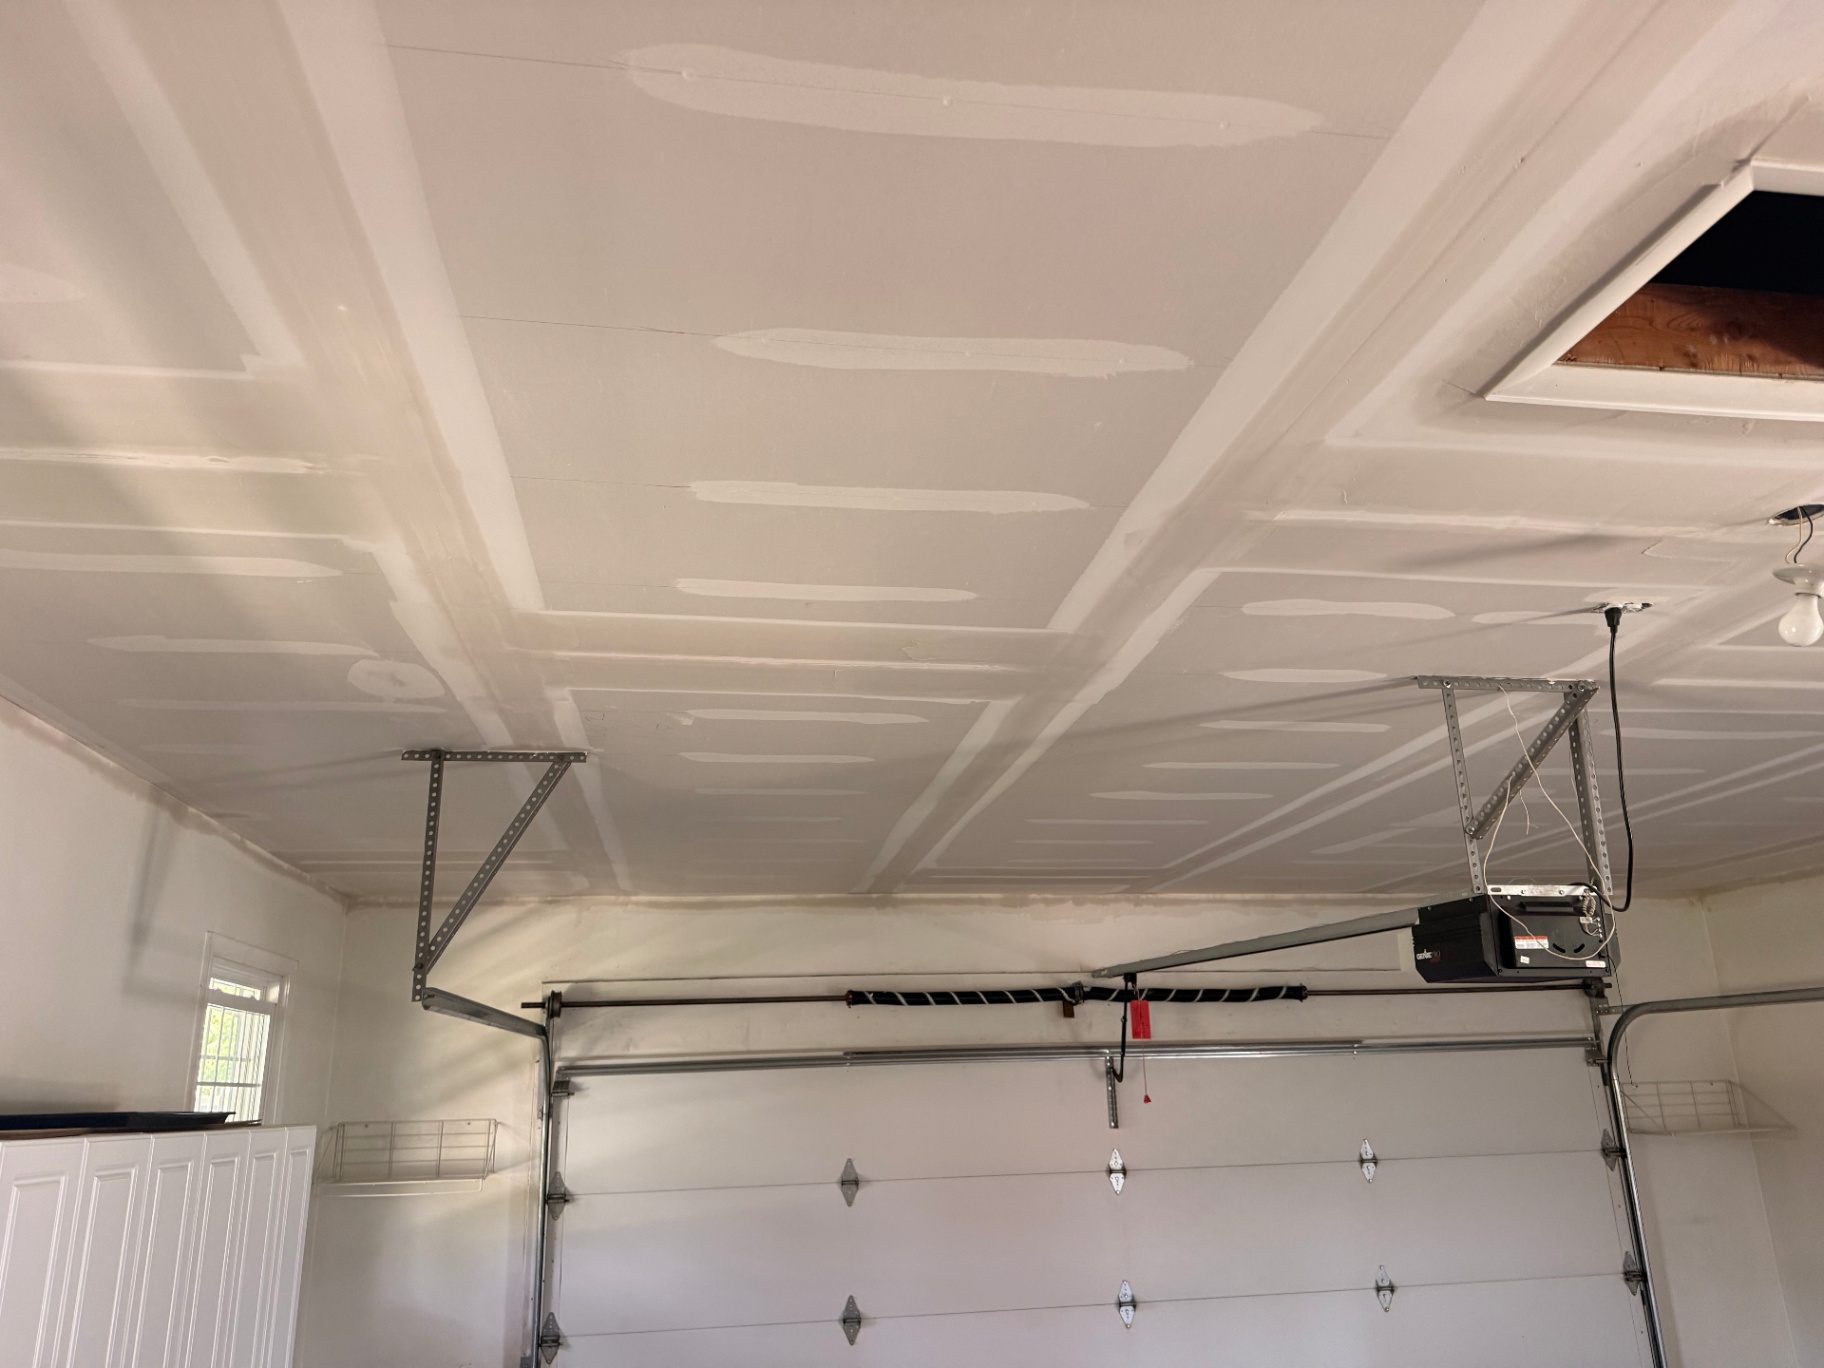
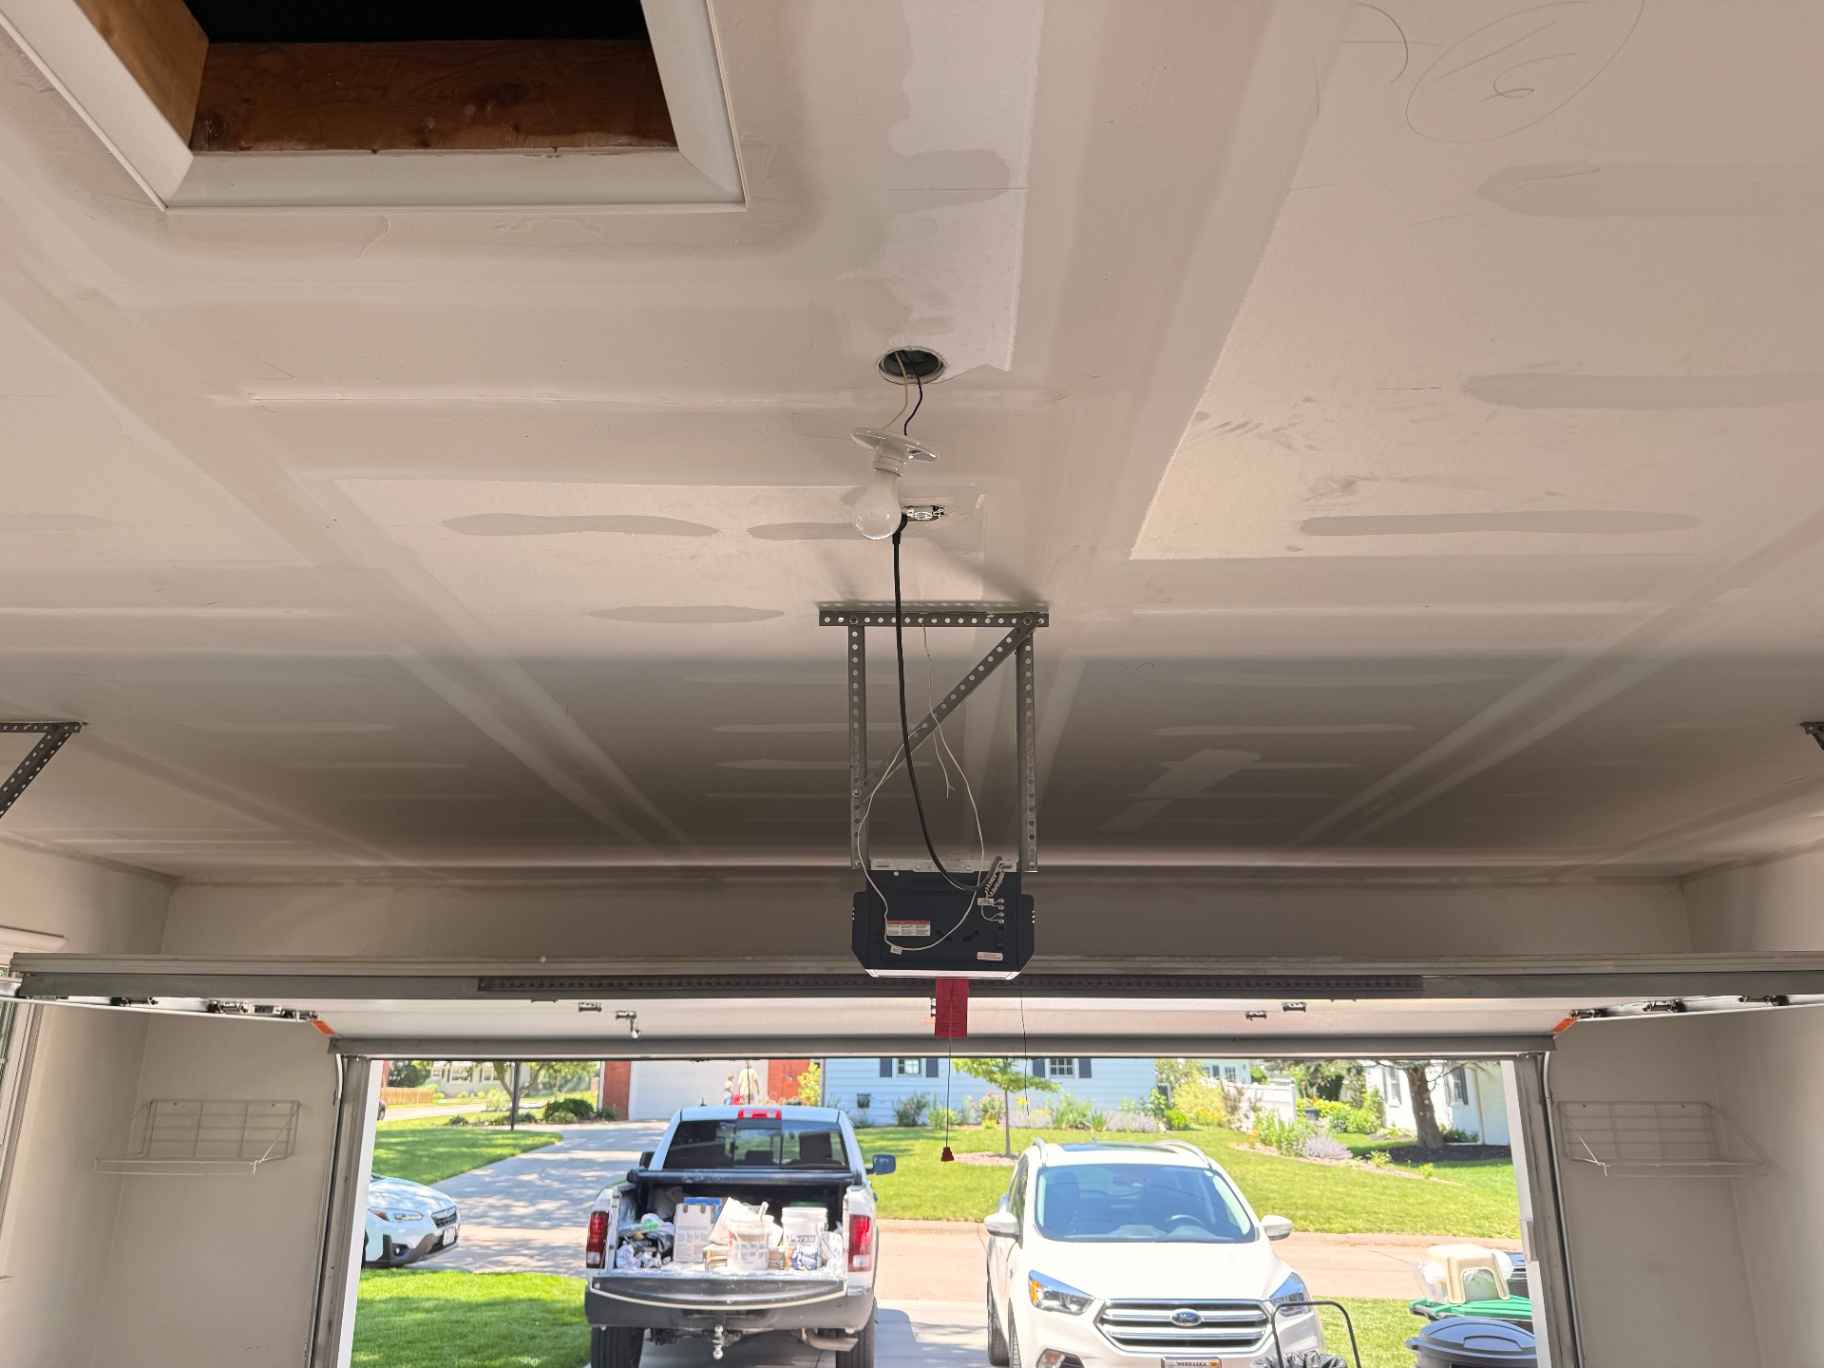
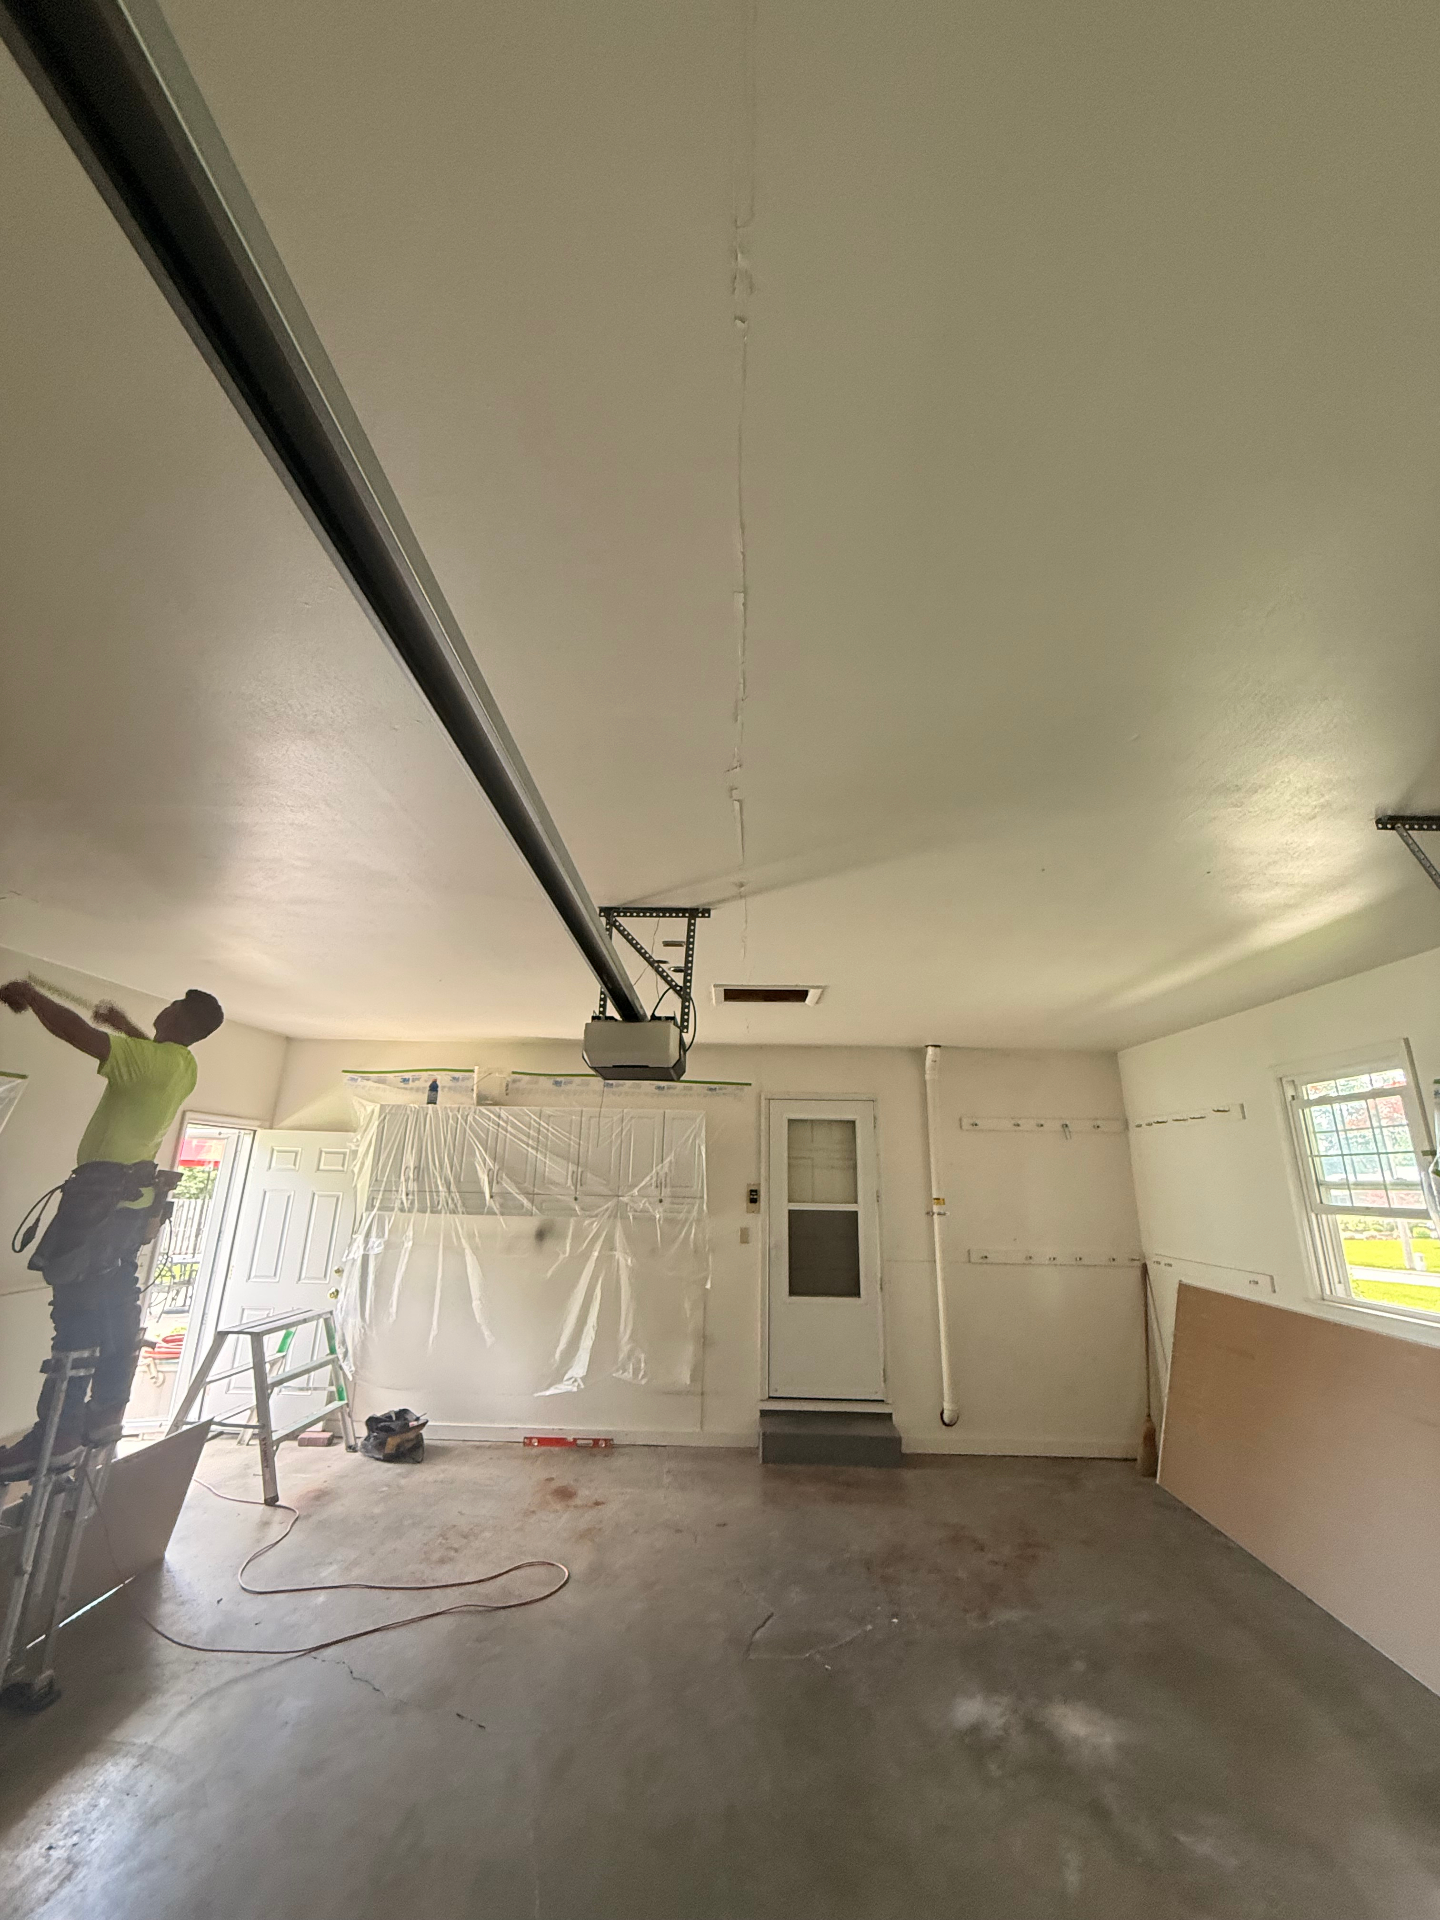
Full sequence overlaying a garage ceiling with new drywall — original ceiling prepped and masked, fresh board hung across the entire span around the opener and attic access, seams taped and coated, then sanded smooth to a clean paint-ready finish.
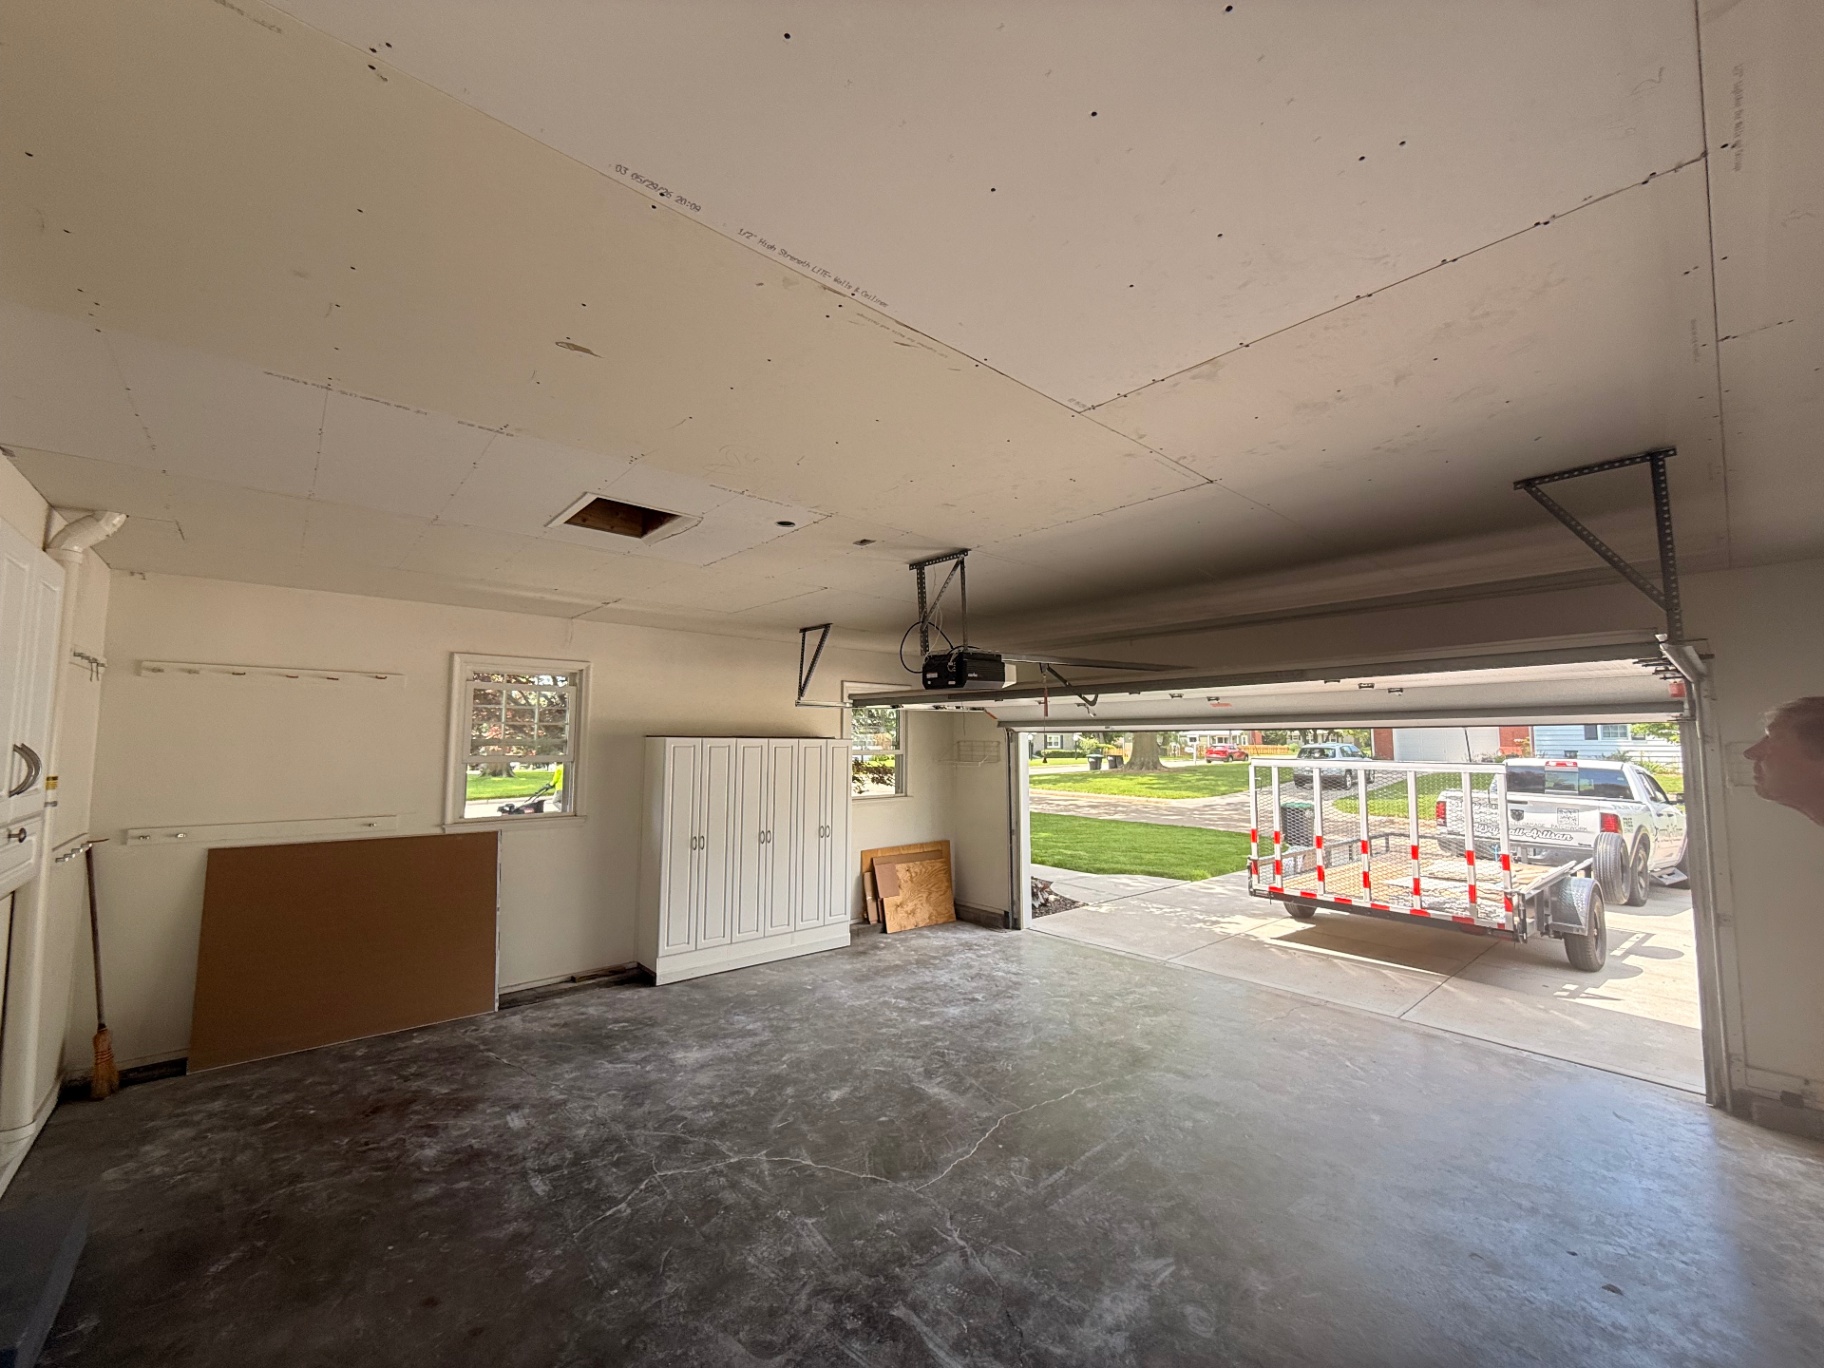
Garage prepped before overlay — original ceiling cleared and ready for new drywall to go up
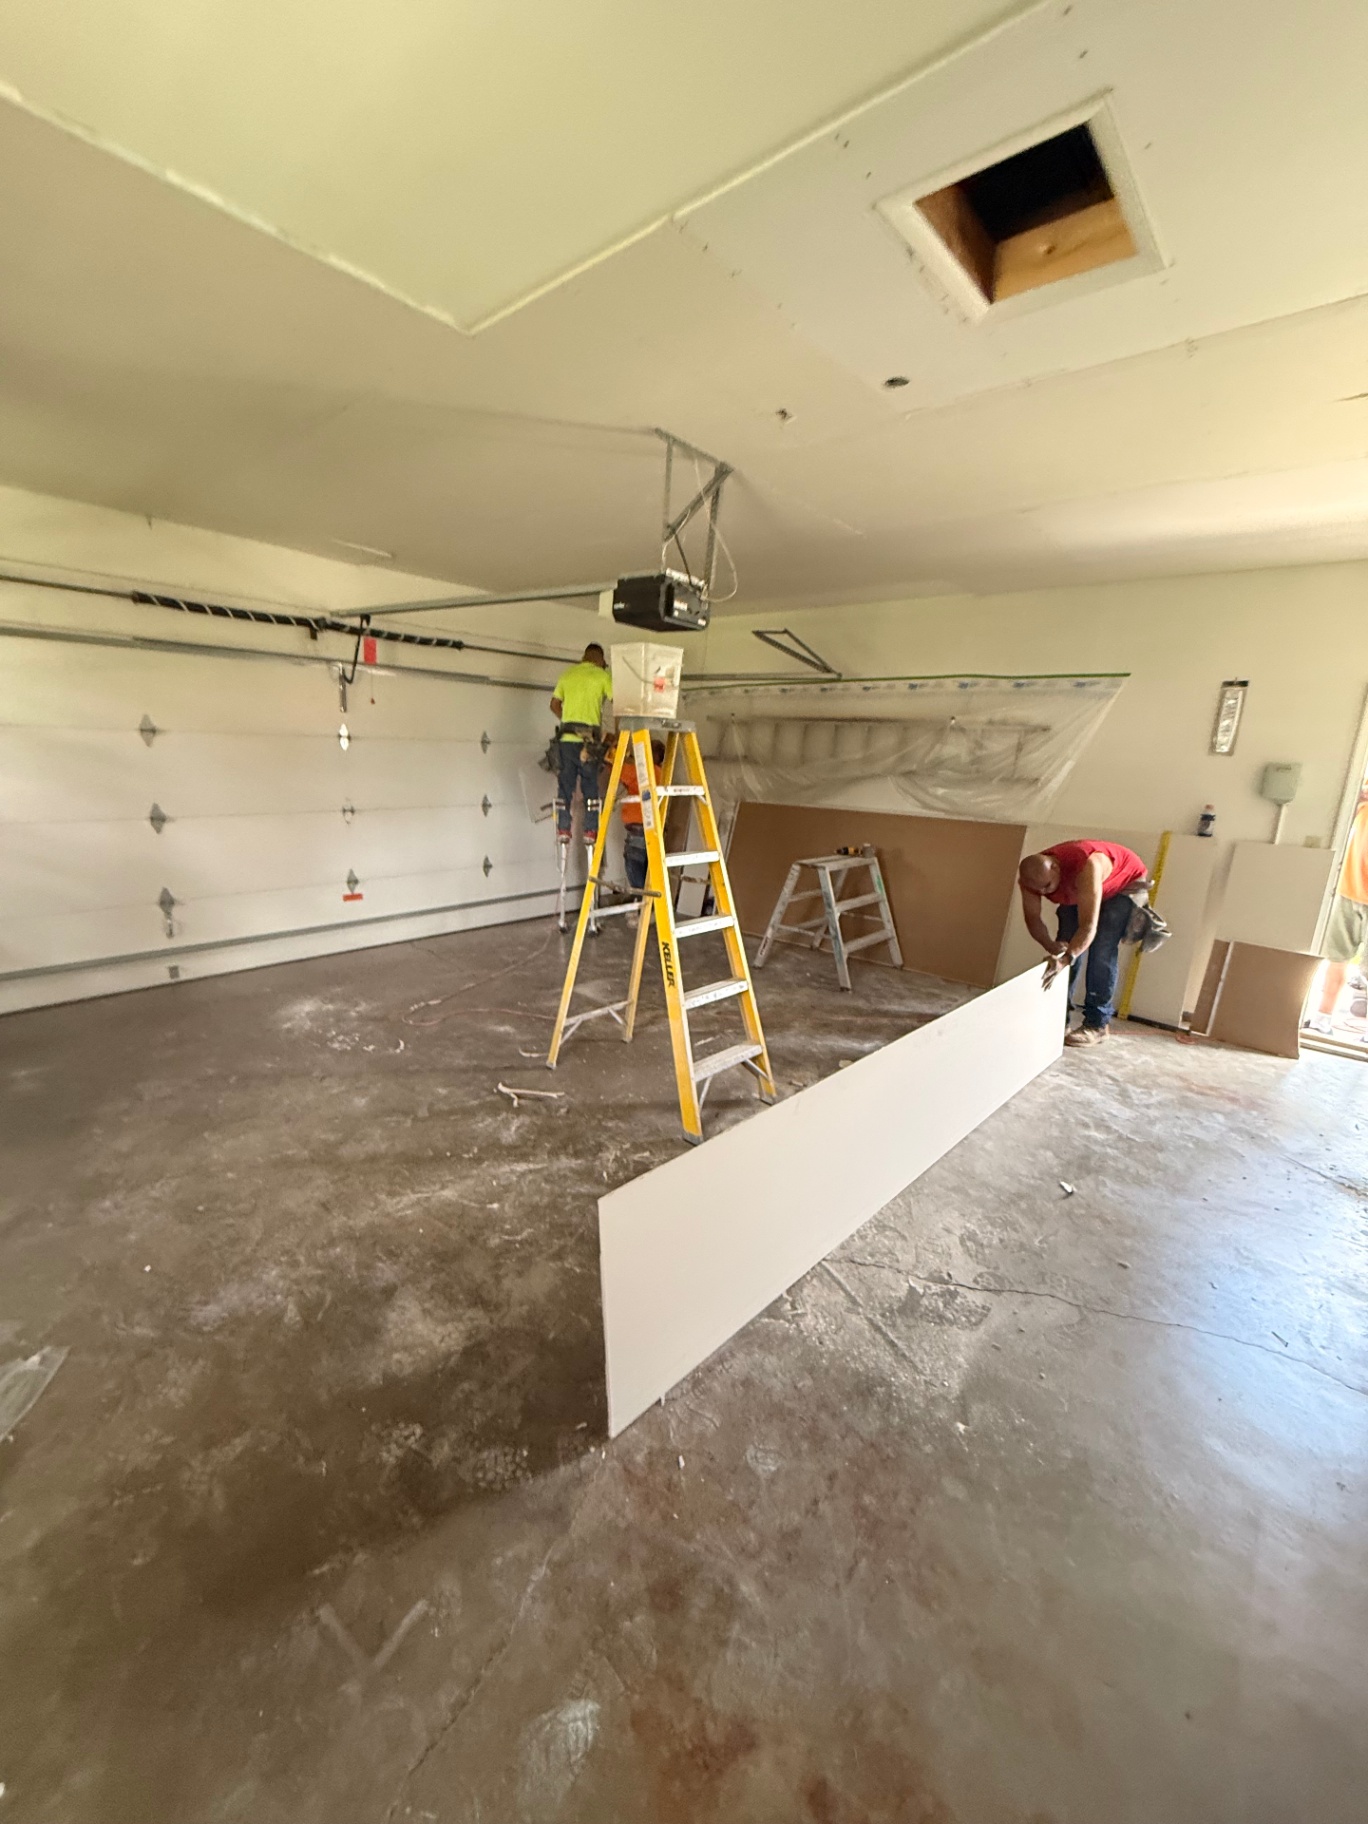
Crew laying out board on the floor as the first ceiling panels go up over the existing surface
Hanging new drywall across the garage ceiling on stilts with walls fully masked off
Ceiling fully hung around the attic access opening — fresh board ready for tape and mud
Tighter view of the new ceiling boarded around the attic chute and garage opener mount
Seams taped and first coat of mud applied across the new ceiling board
Taped and coated ceiling around the attic access — second coats going on between bays
Finish coats floated across the full ceiling span — joints feathered and ready for sanding
Wide angle showing the full ceiling overlay coated out from wall to wall above the garage door
Finished garage ceiling — smooth, paint-ready drywall overlay with clean lines around the opener and attic opening
Wide finished view down the full garage — overlay sanded smooth and paint-ready with masking still in place around the opener track

— Drywall Patch with Orange Peel Texture Matched

Drywall patch with orange peel texture matched.

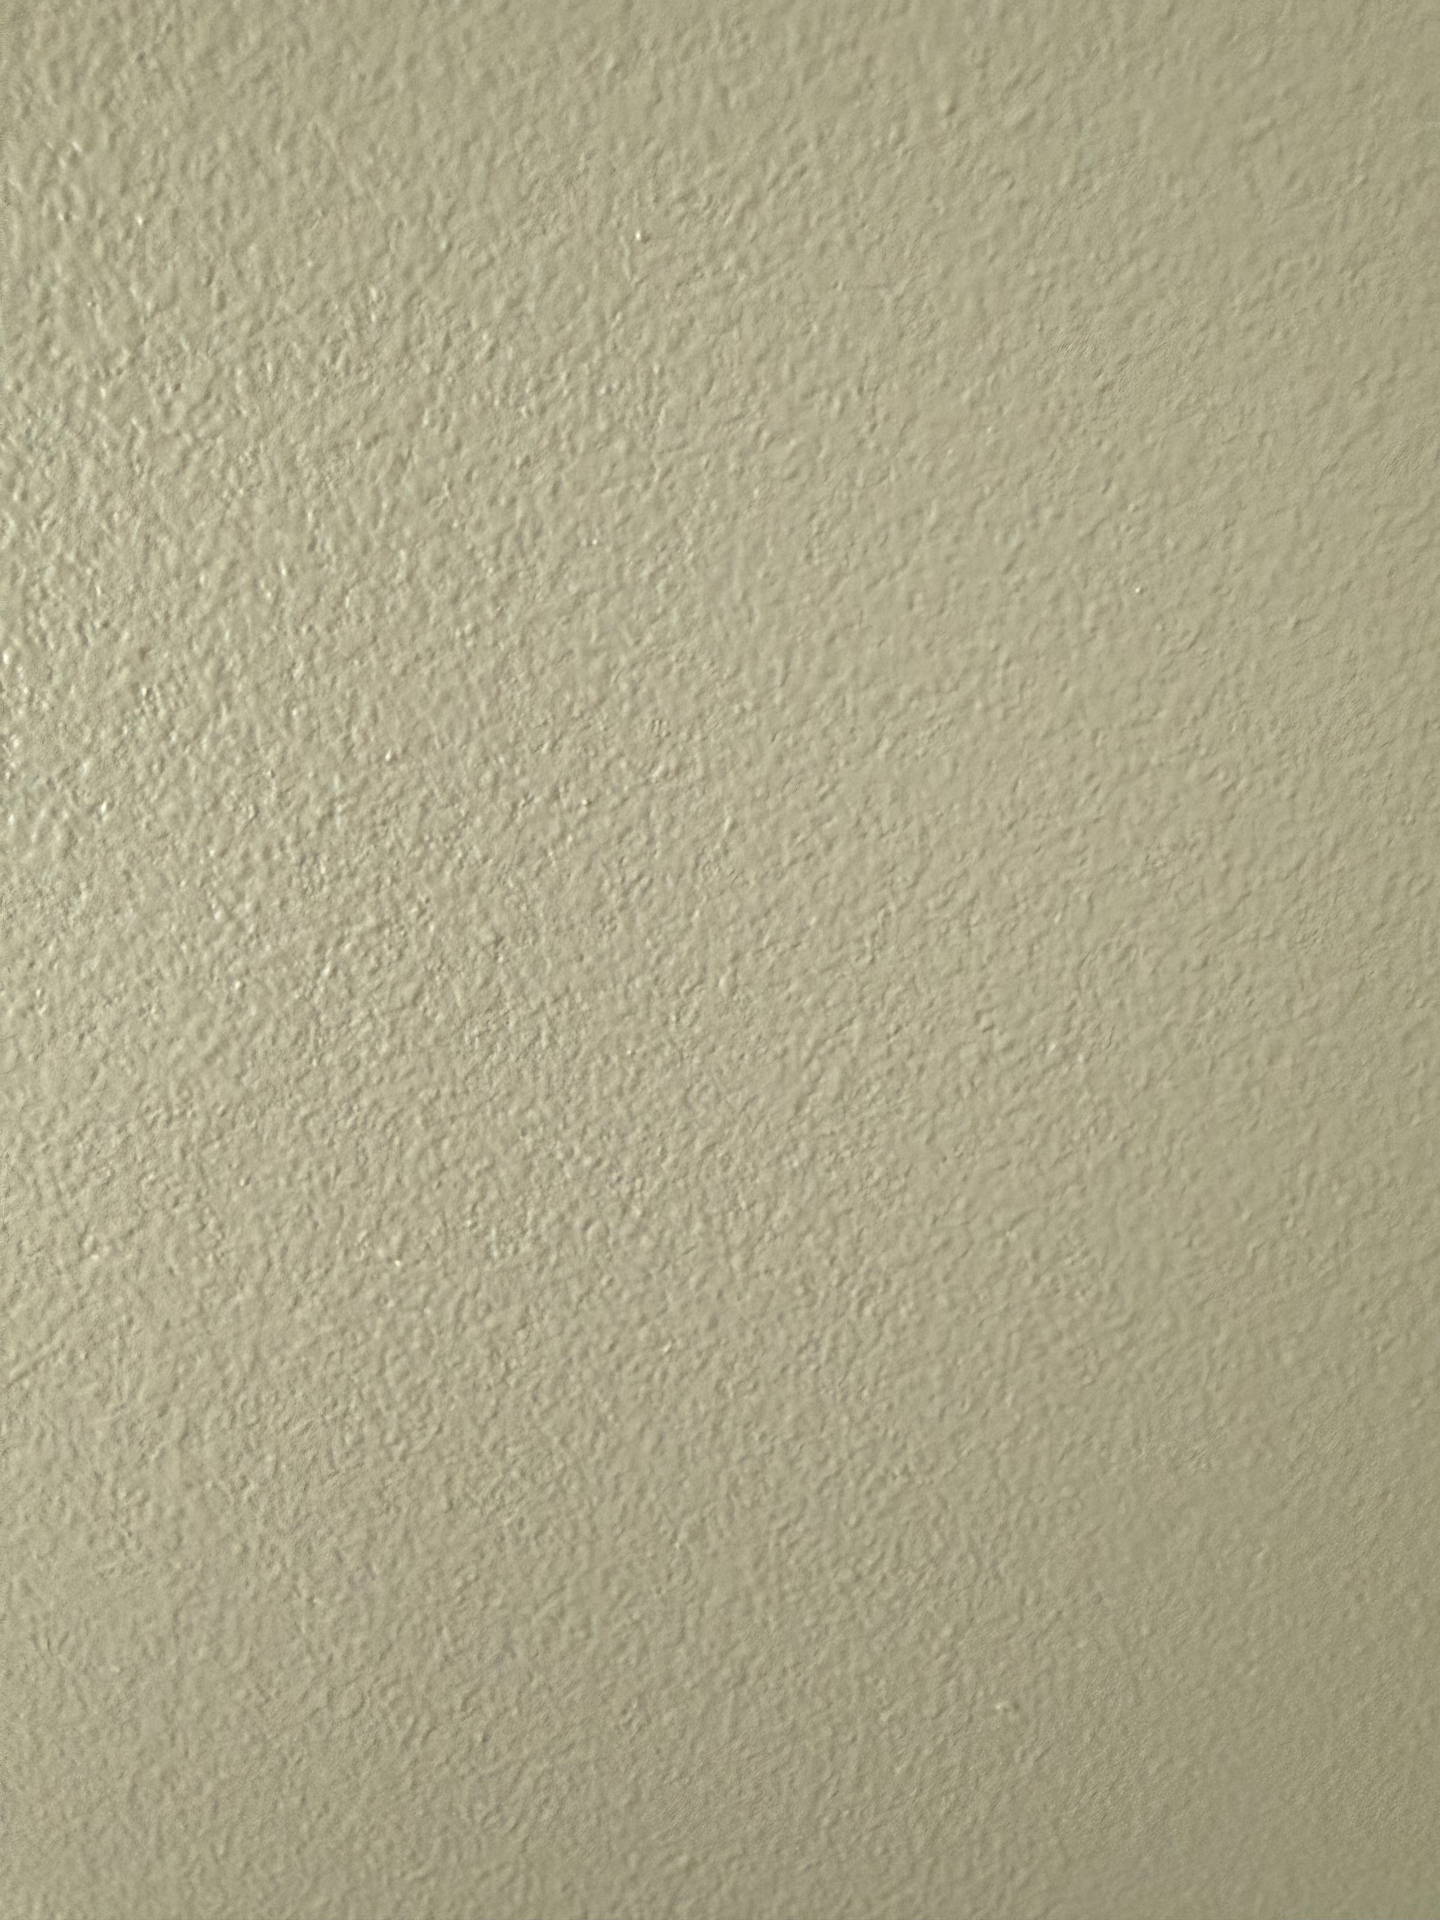
Wall patch primed and then sprayed with orange peel texture to match the surrounding finish — repair area blends into the original wall once paint goes on.
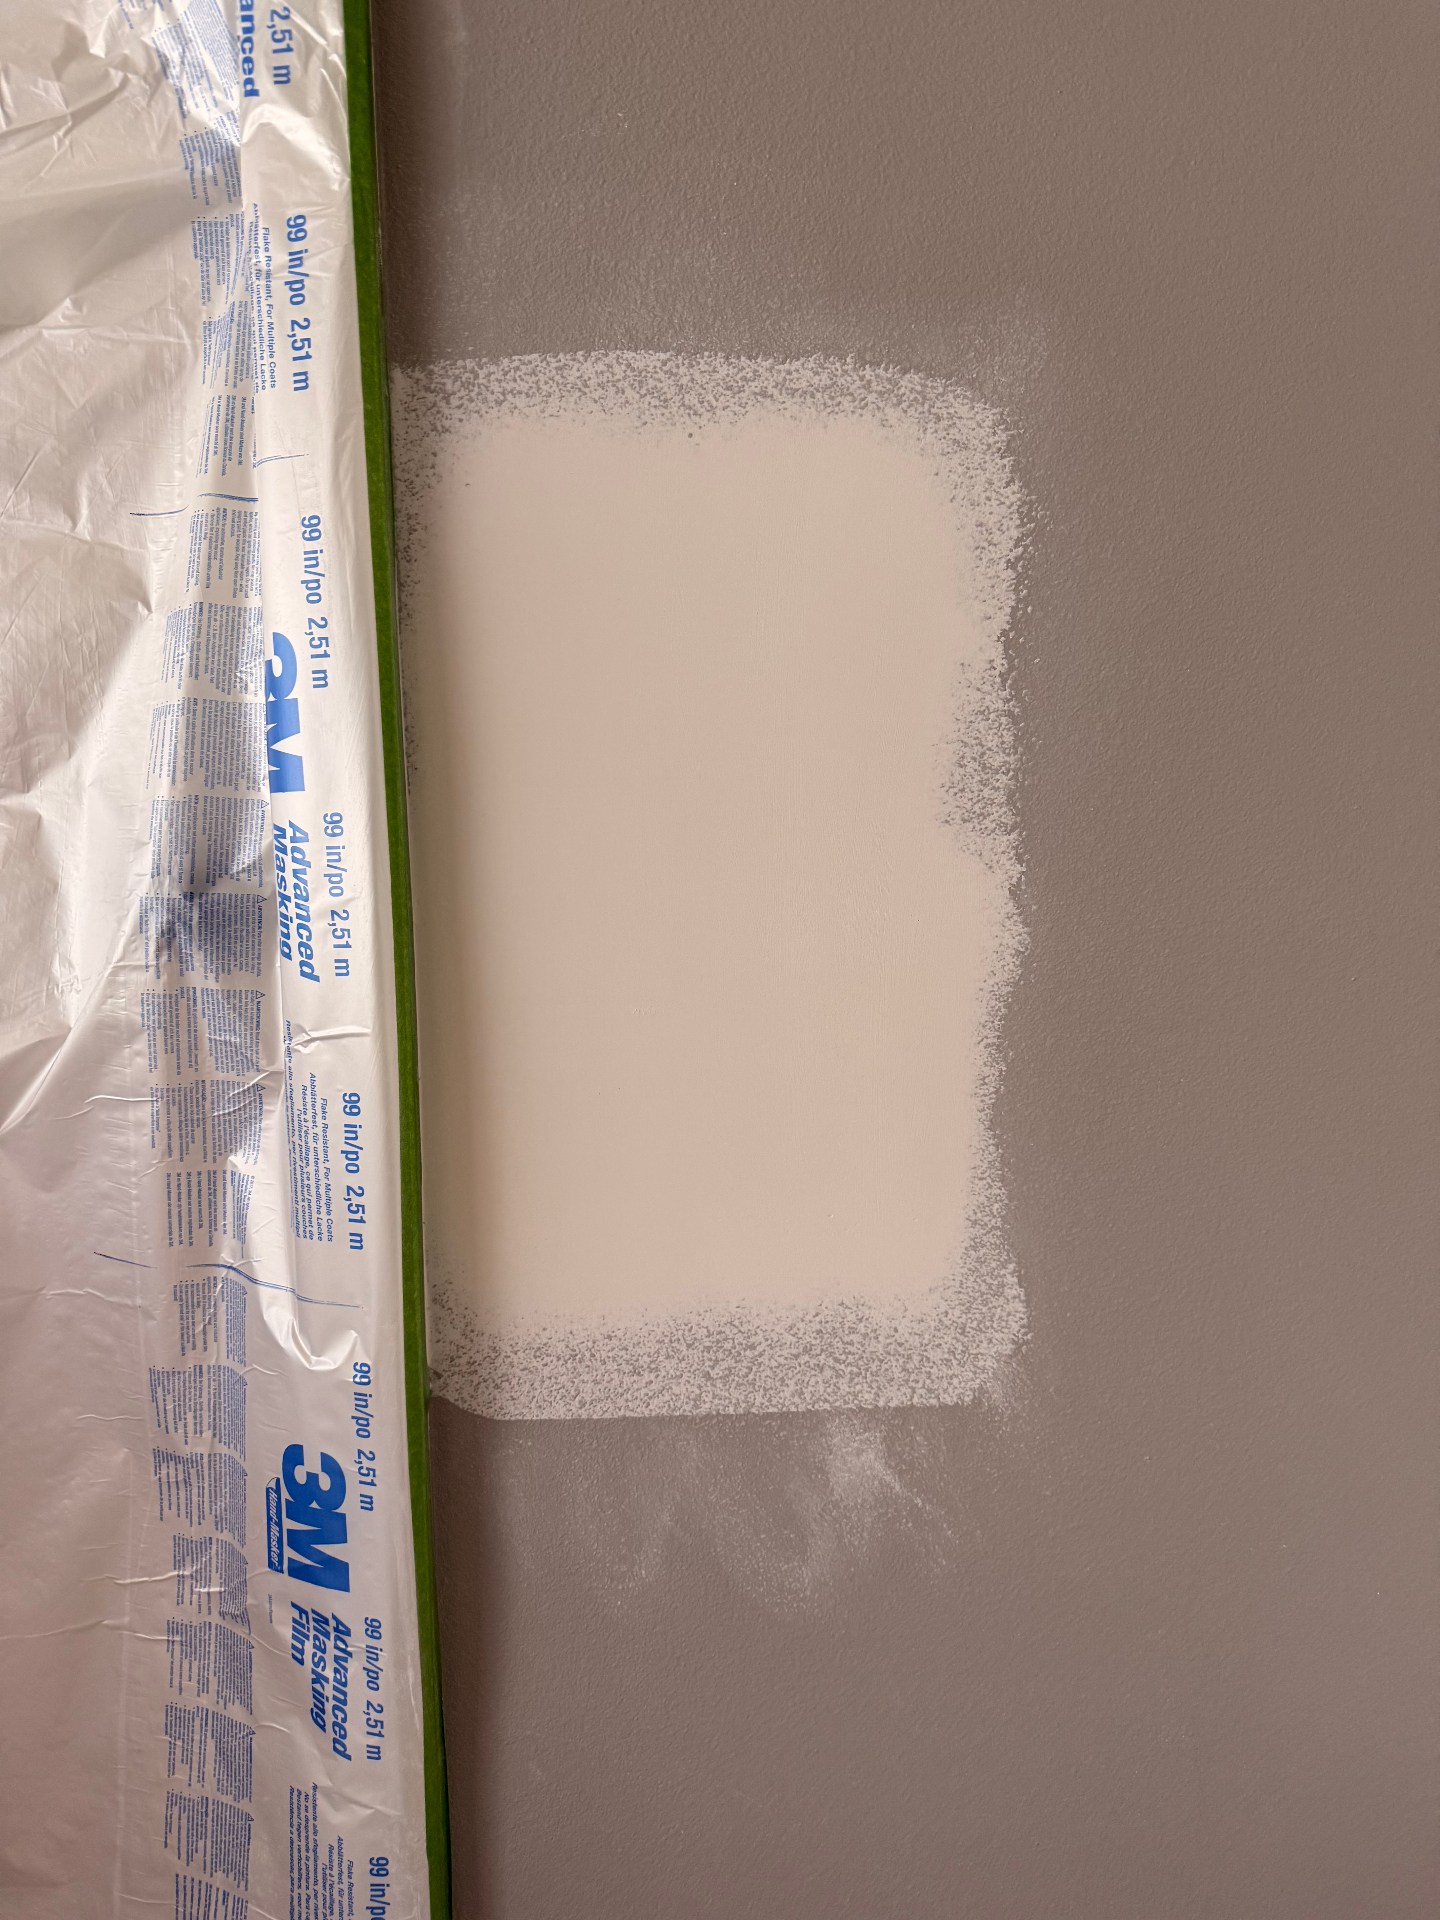
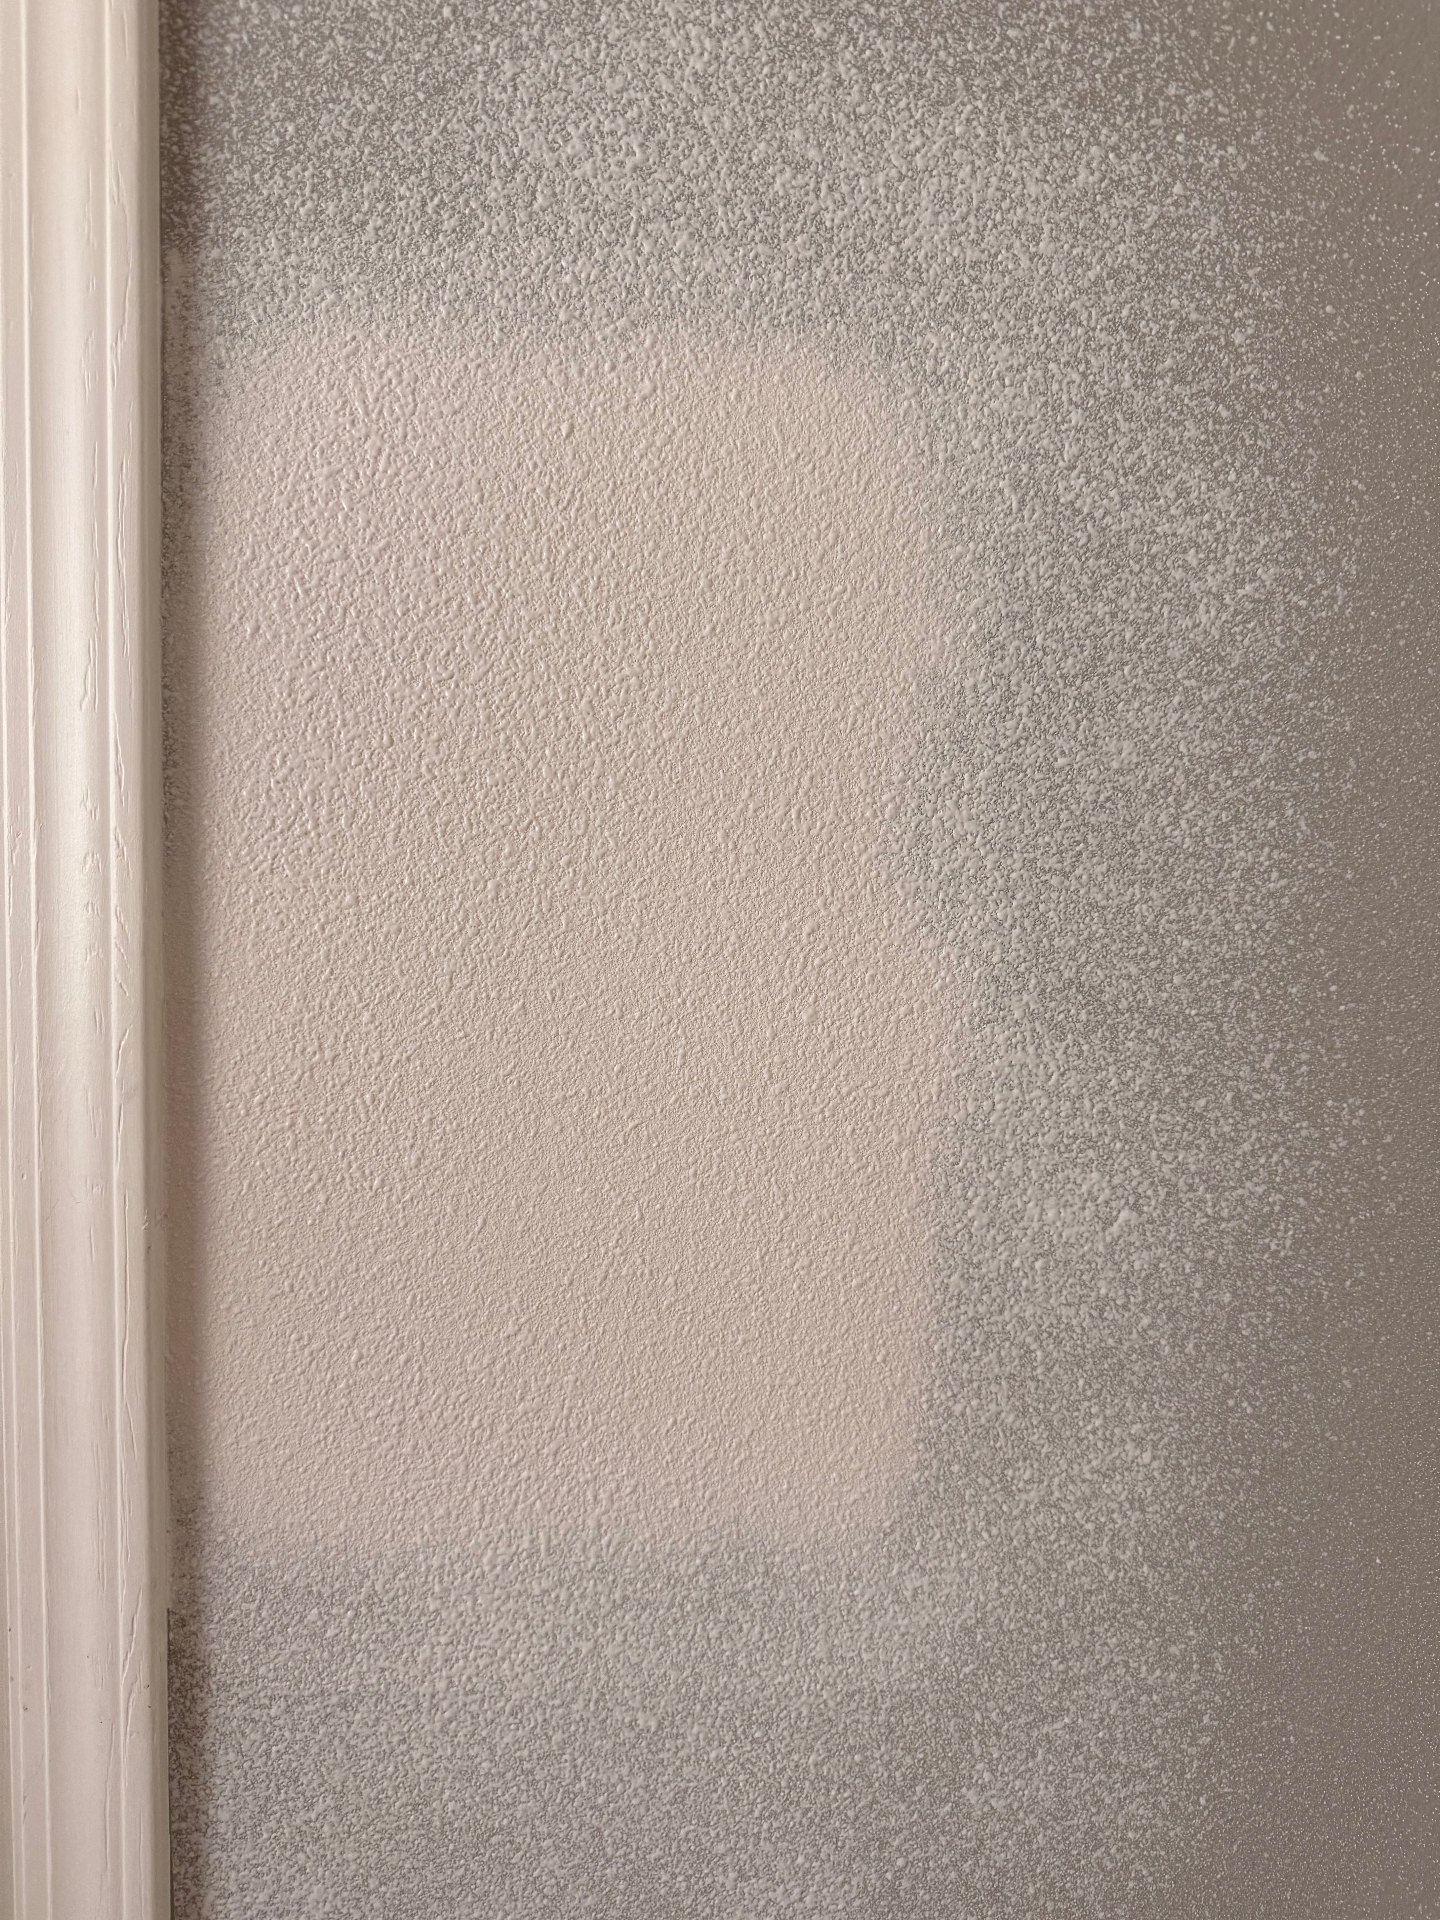
Patch sanded smooth and primed white, masked off and ready for texture spray
Fresh orange peel texture sprayed over the patch — splatter pattern dialed in to match the surrounding wall
Finished orange peel texture — uniform splatter across the wall, paint-ready and indistinguishable from the original

— Drywall Touch Ups / Repairs

Drywall touch ups / repairs.

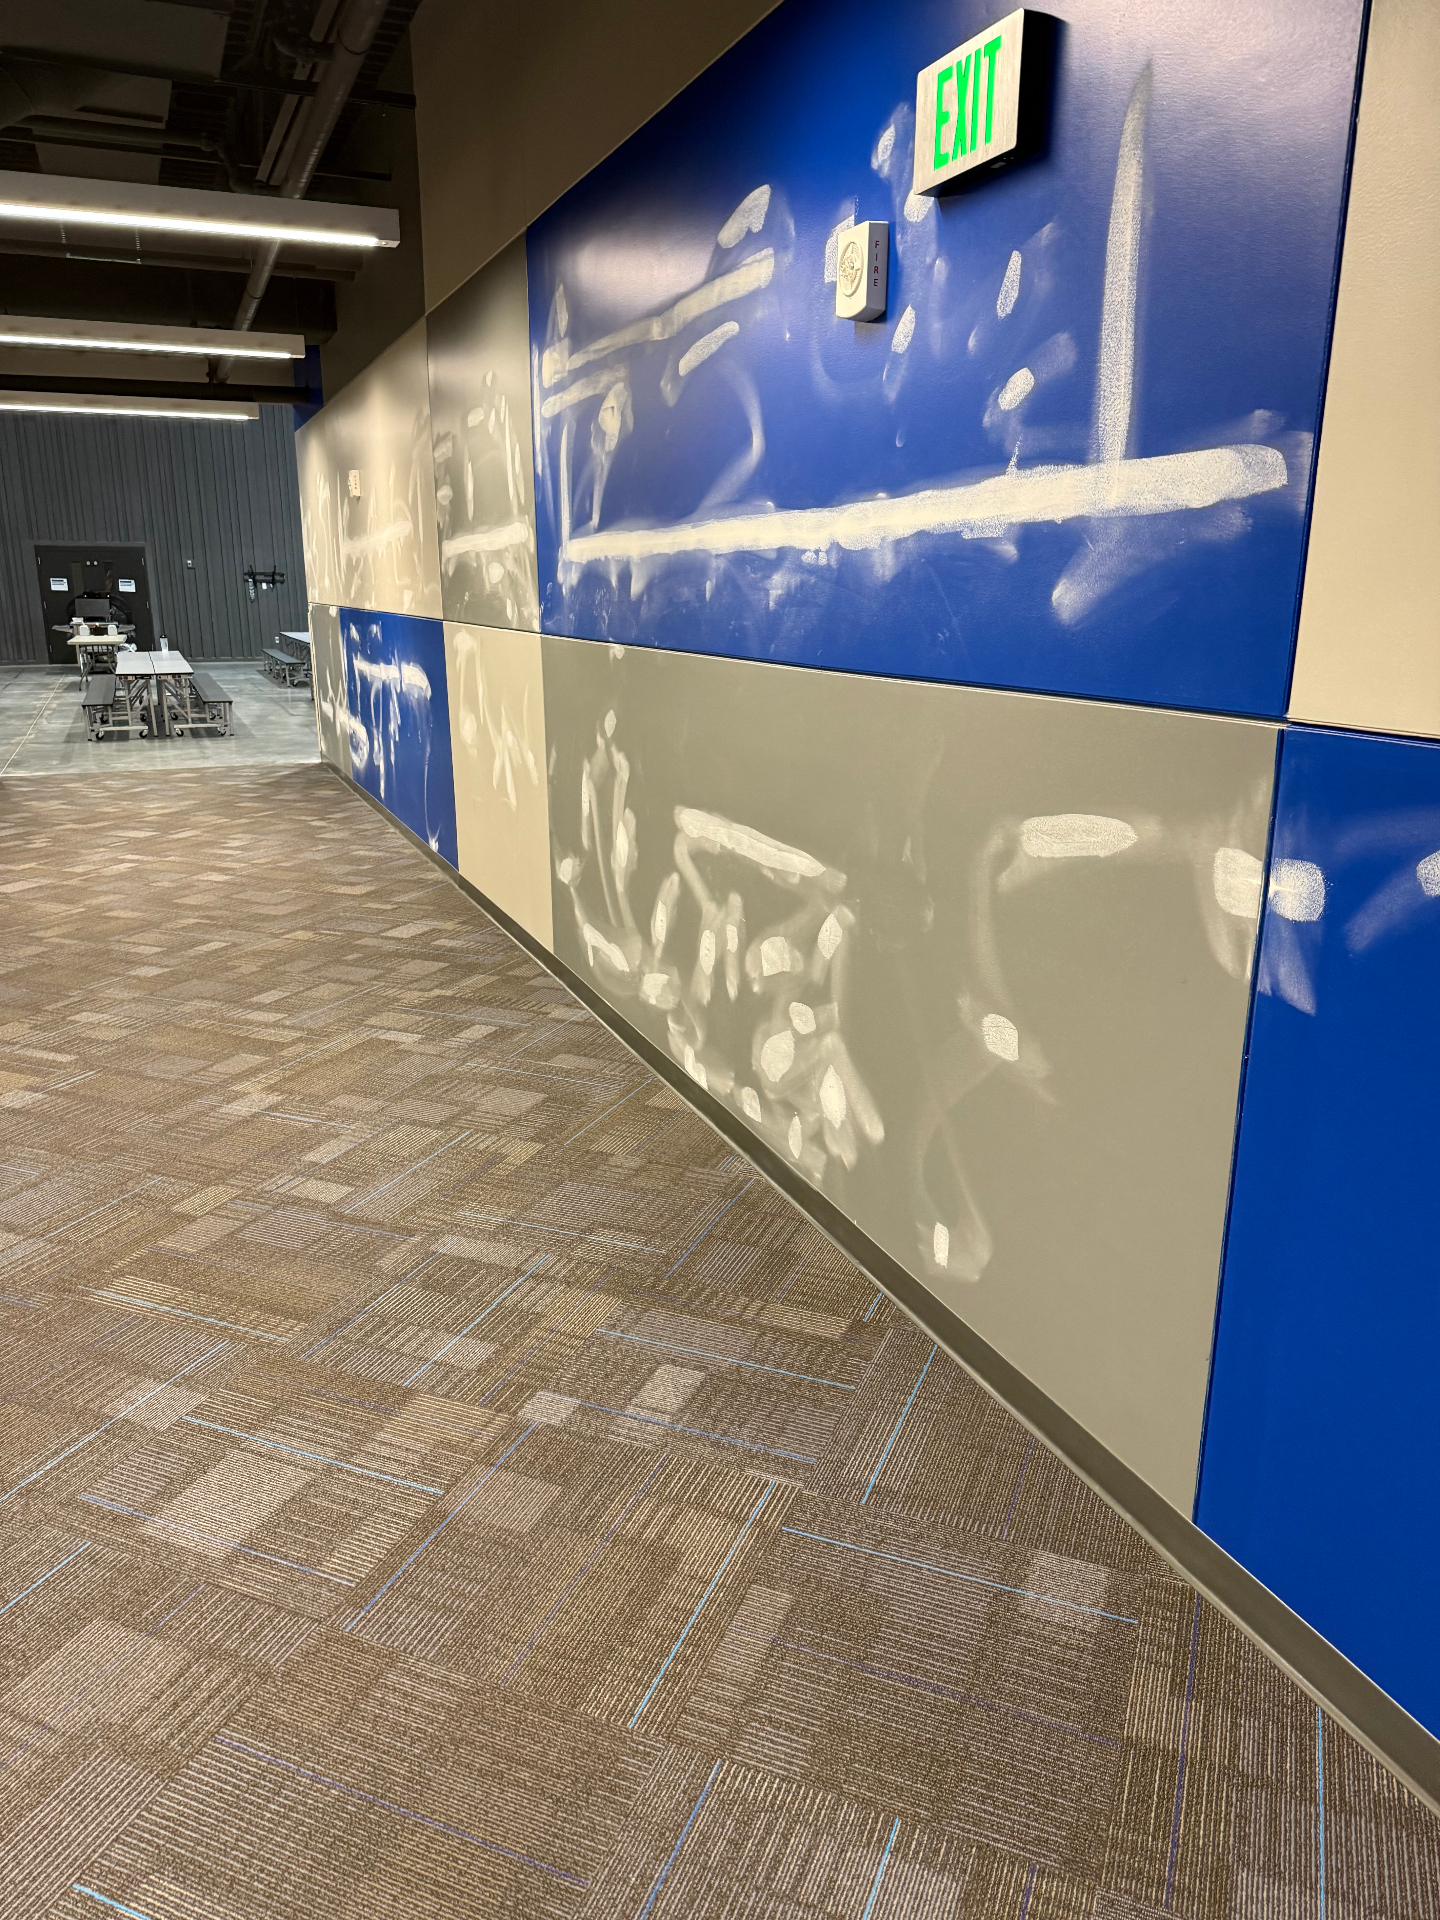
Scuffs, scrapes, and surface damage spot-patched and feathered across commercial corridors and wall panels — sanded smooth and ready for paint to blend back into the existing finish.
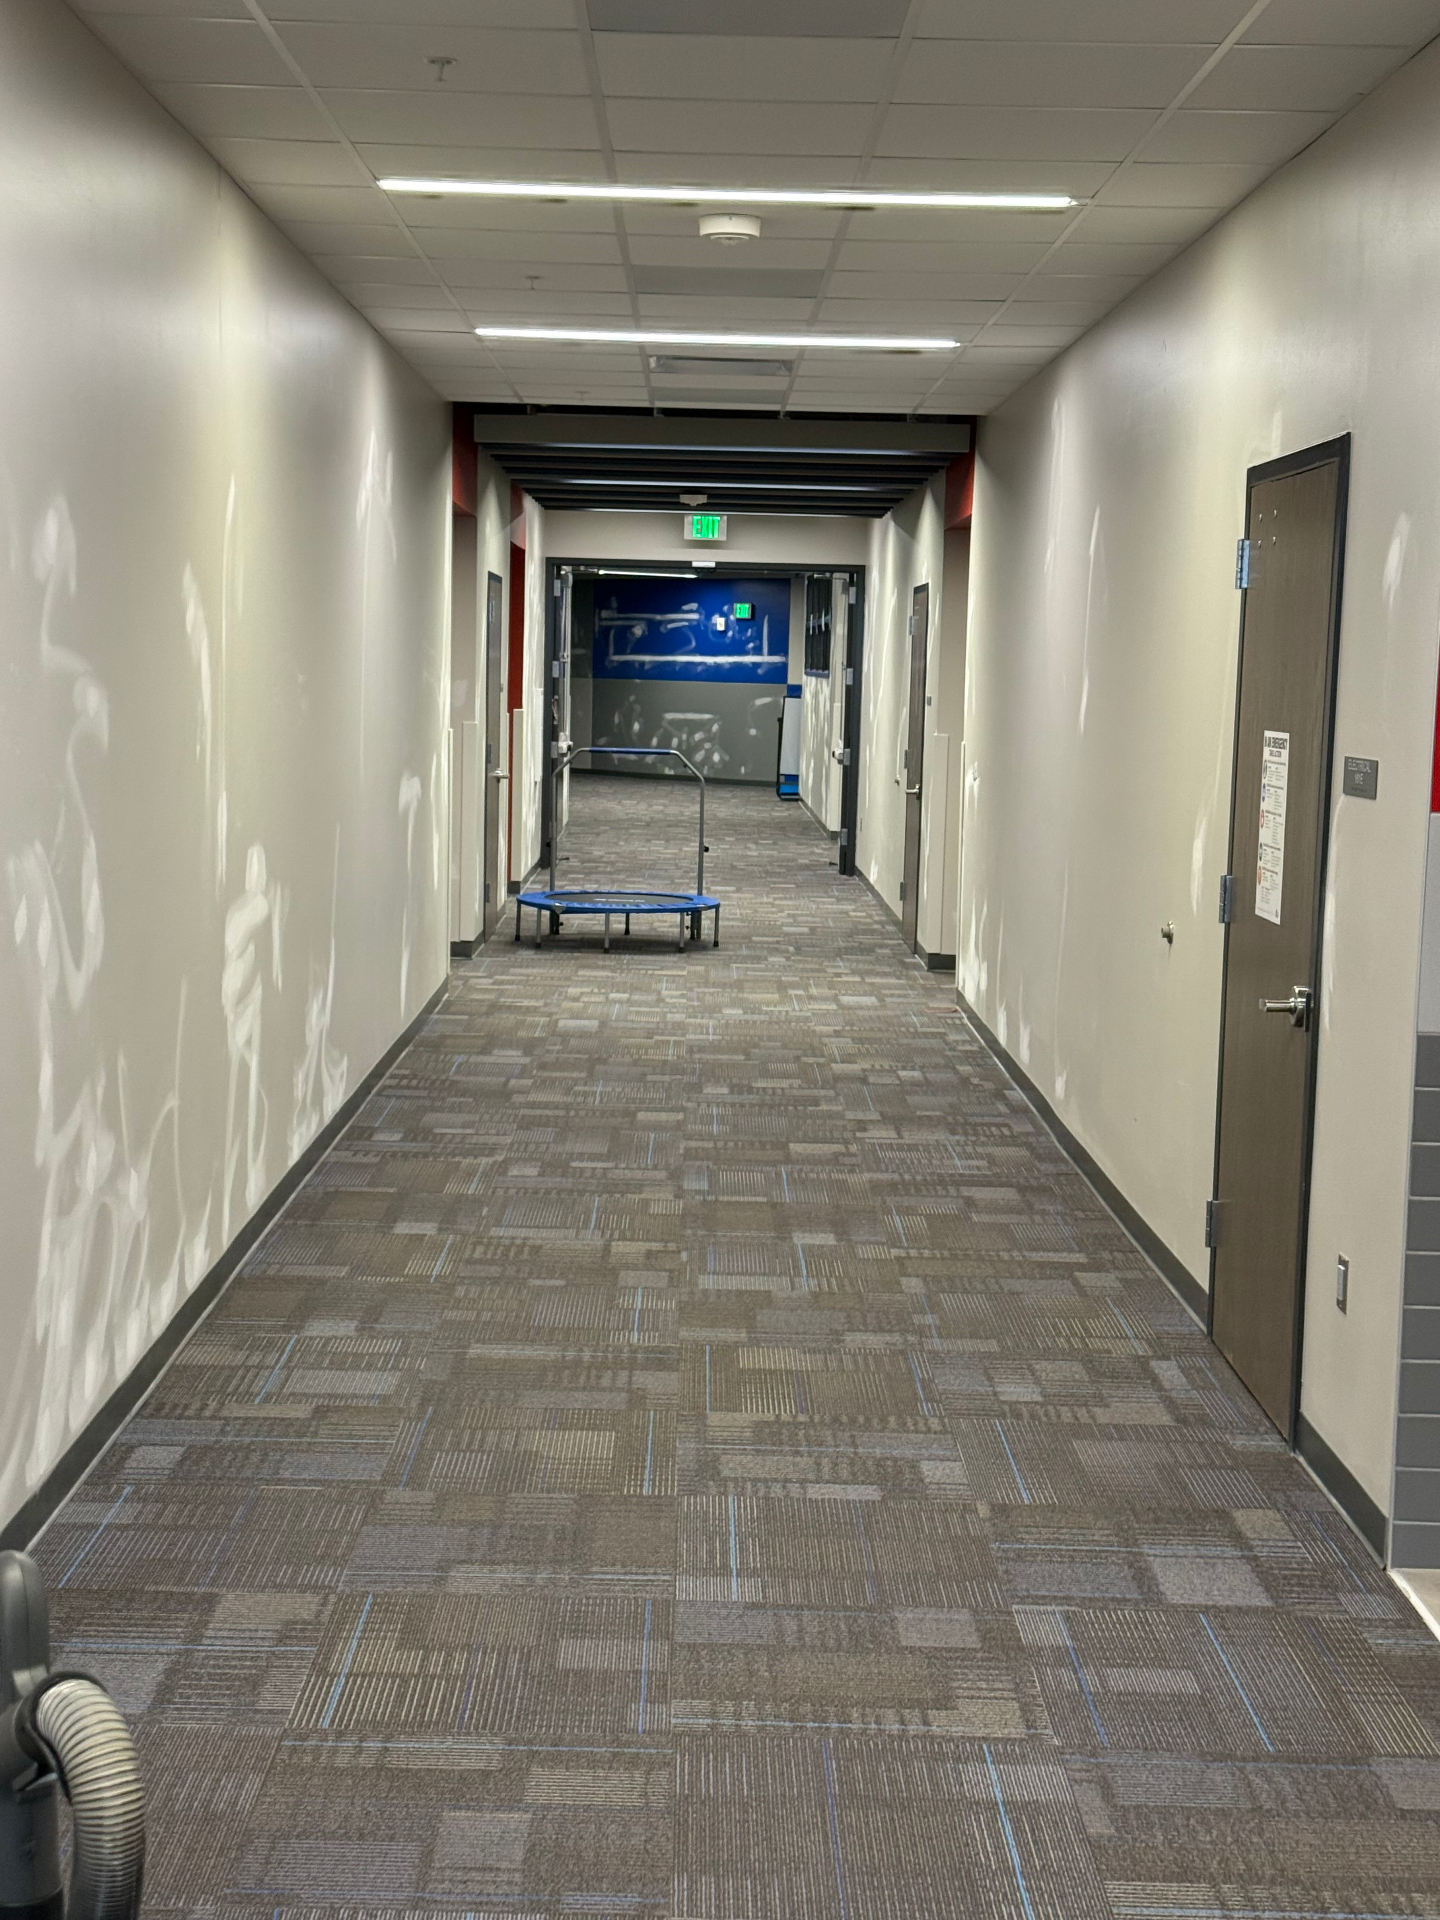
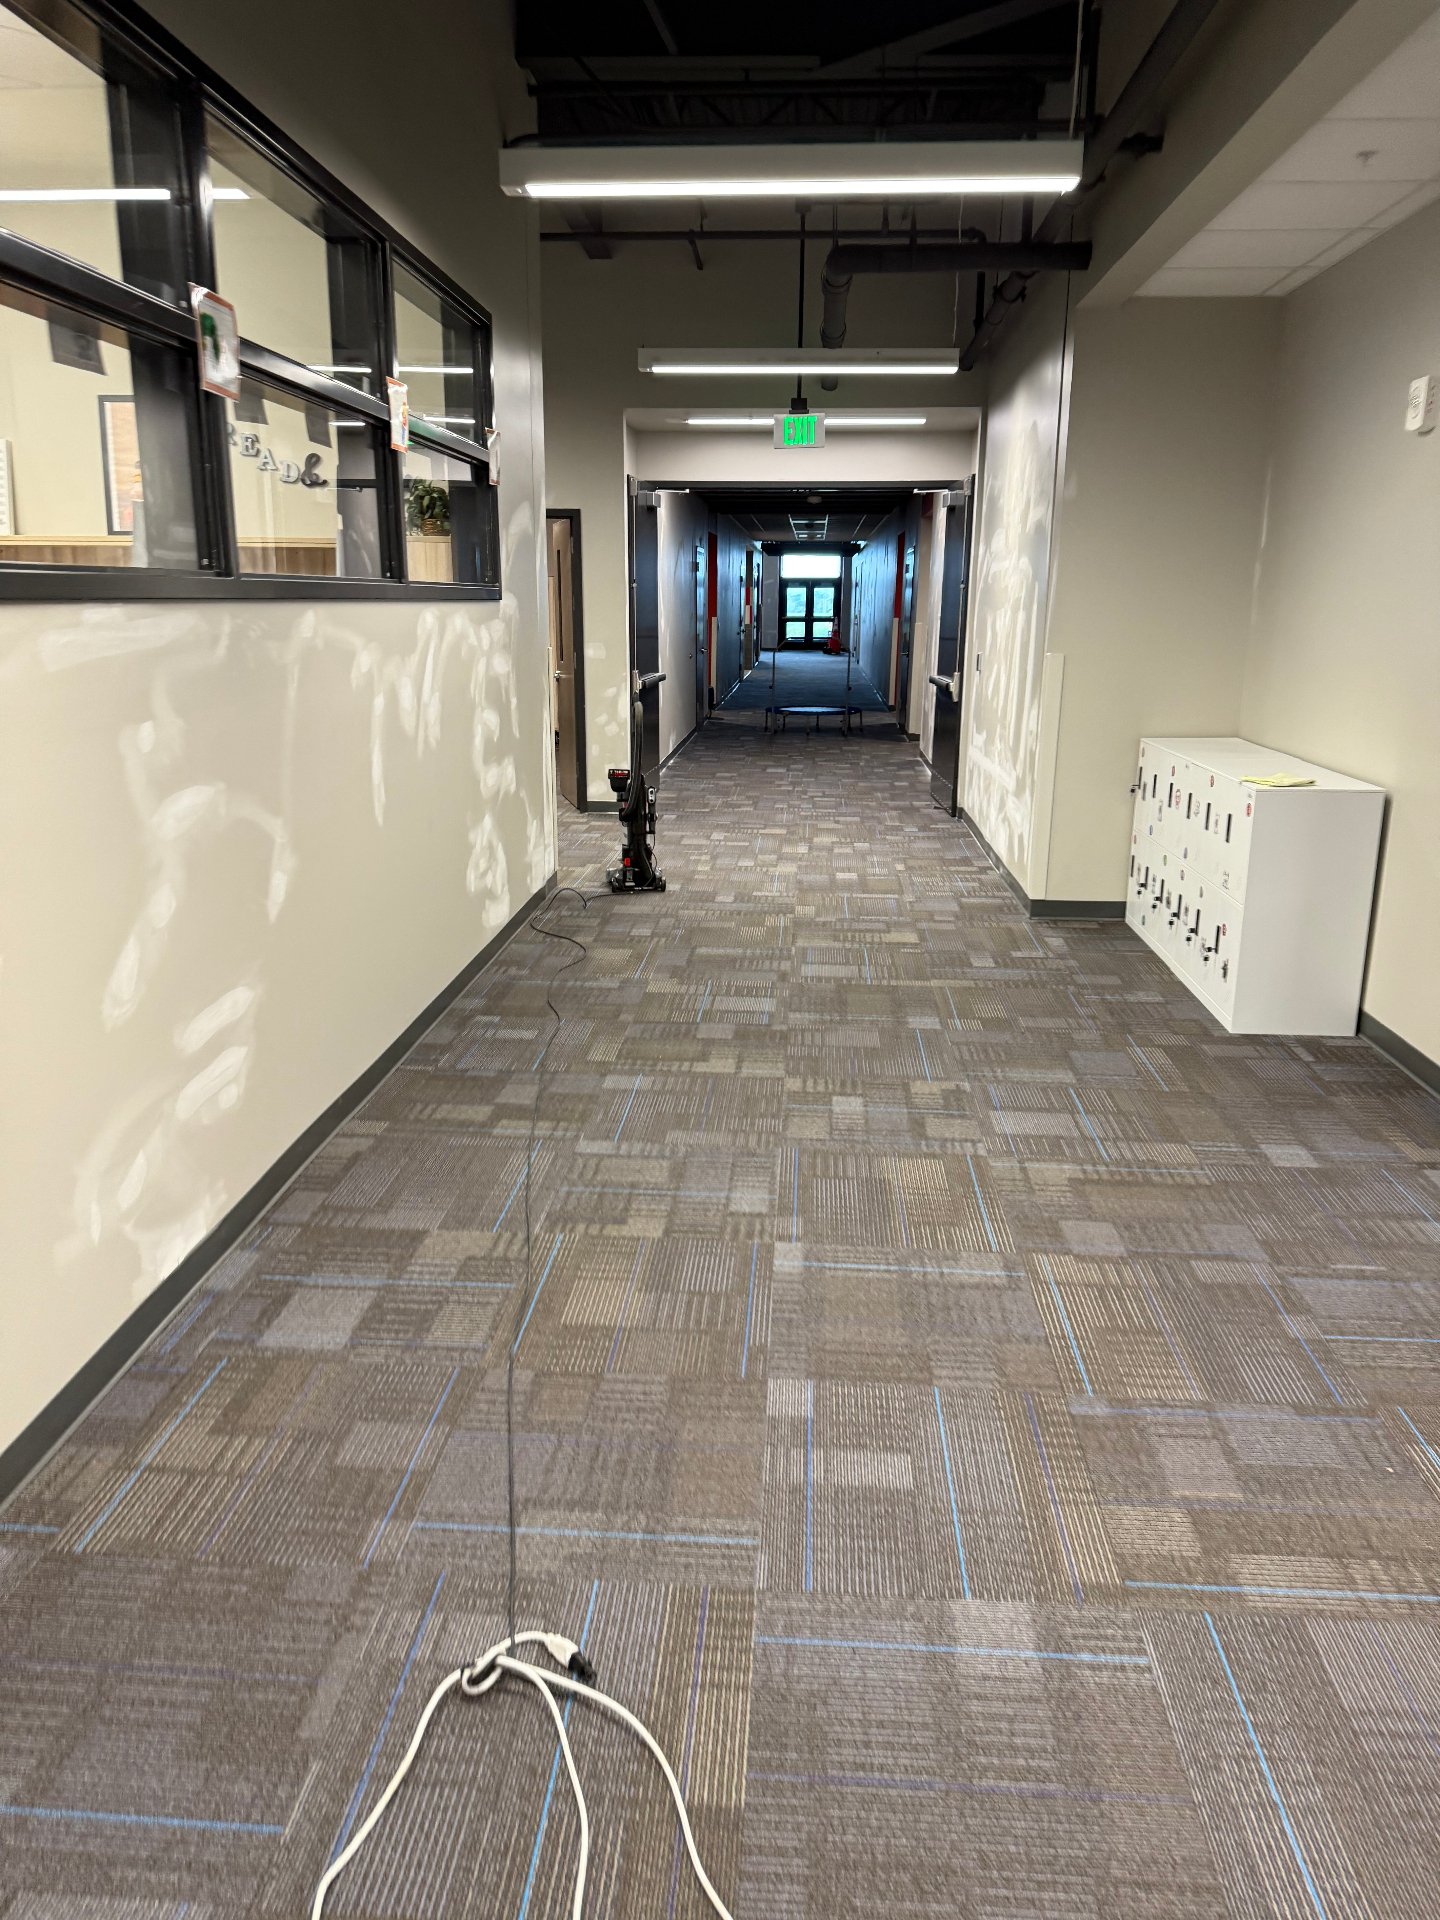
Commercial corridor walls spot-patched and feathered out down the full length — ready for paint touch-up
Wider hallway run with multiple wall touch-ups sanded smooth and prepped for primer and paint
Painted panel wall with surface damage spot-patched and feathered to blend into the existing blue and tan finish

— Popcorn Ceiling Patch

Popcorn ceiling drywall patch.

Drywall patch installed into an existing popcorn ceiling and re-textured to match — splatter density and profile dialed in so the repair disappears into the surrounding ceiling.
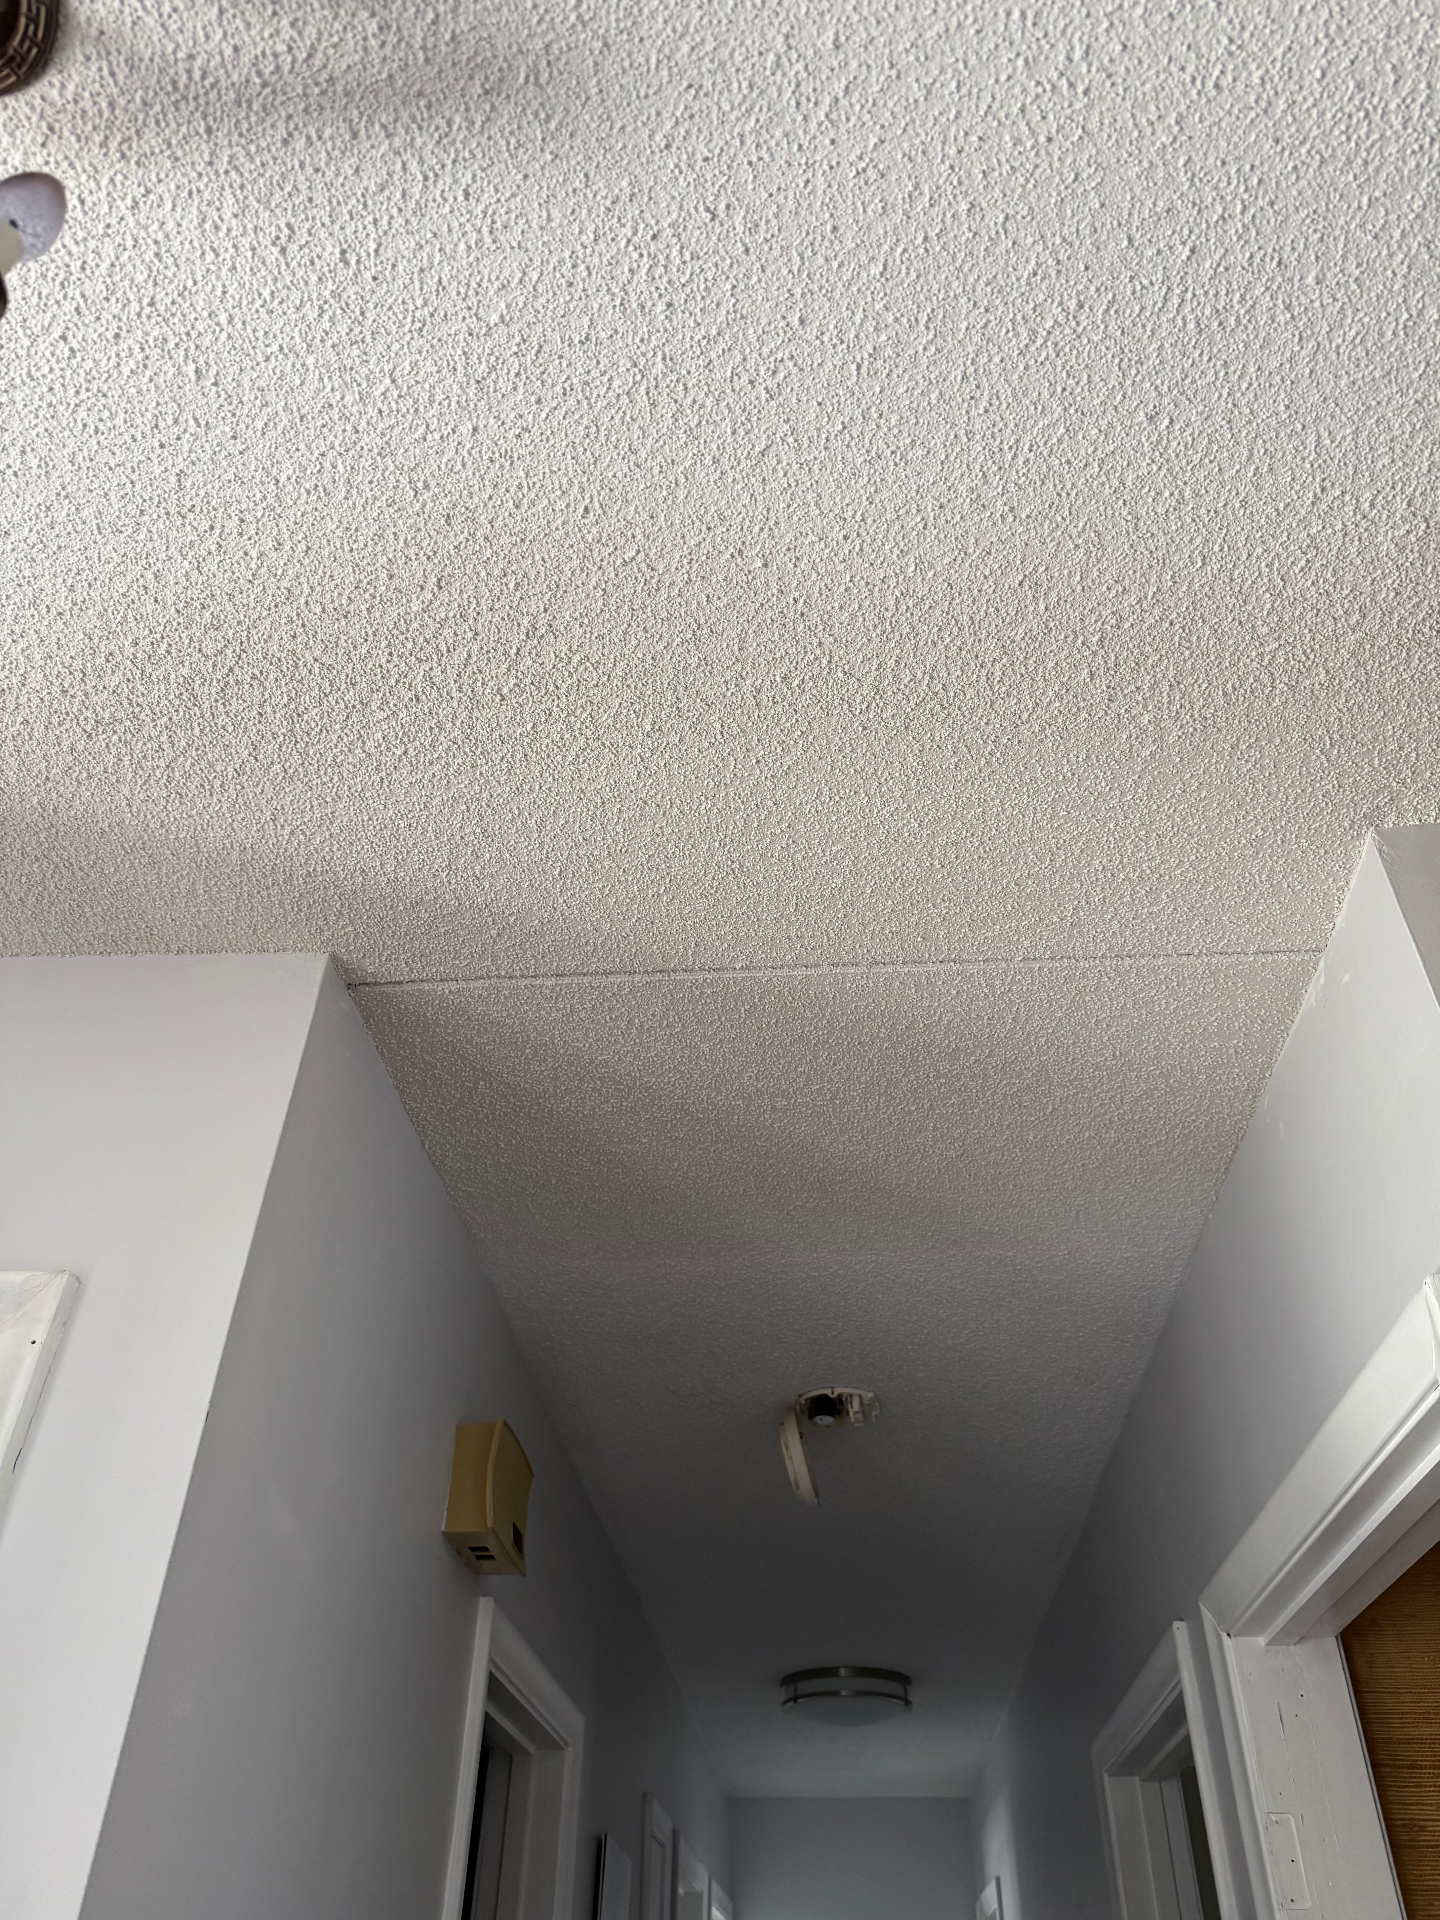
Drywall patch tied into the existing popcorn ceiling above a hallway opening — popcorn texture sprayed and blended to match the original

— Water Damage Restoration

Water damage restoration.

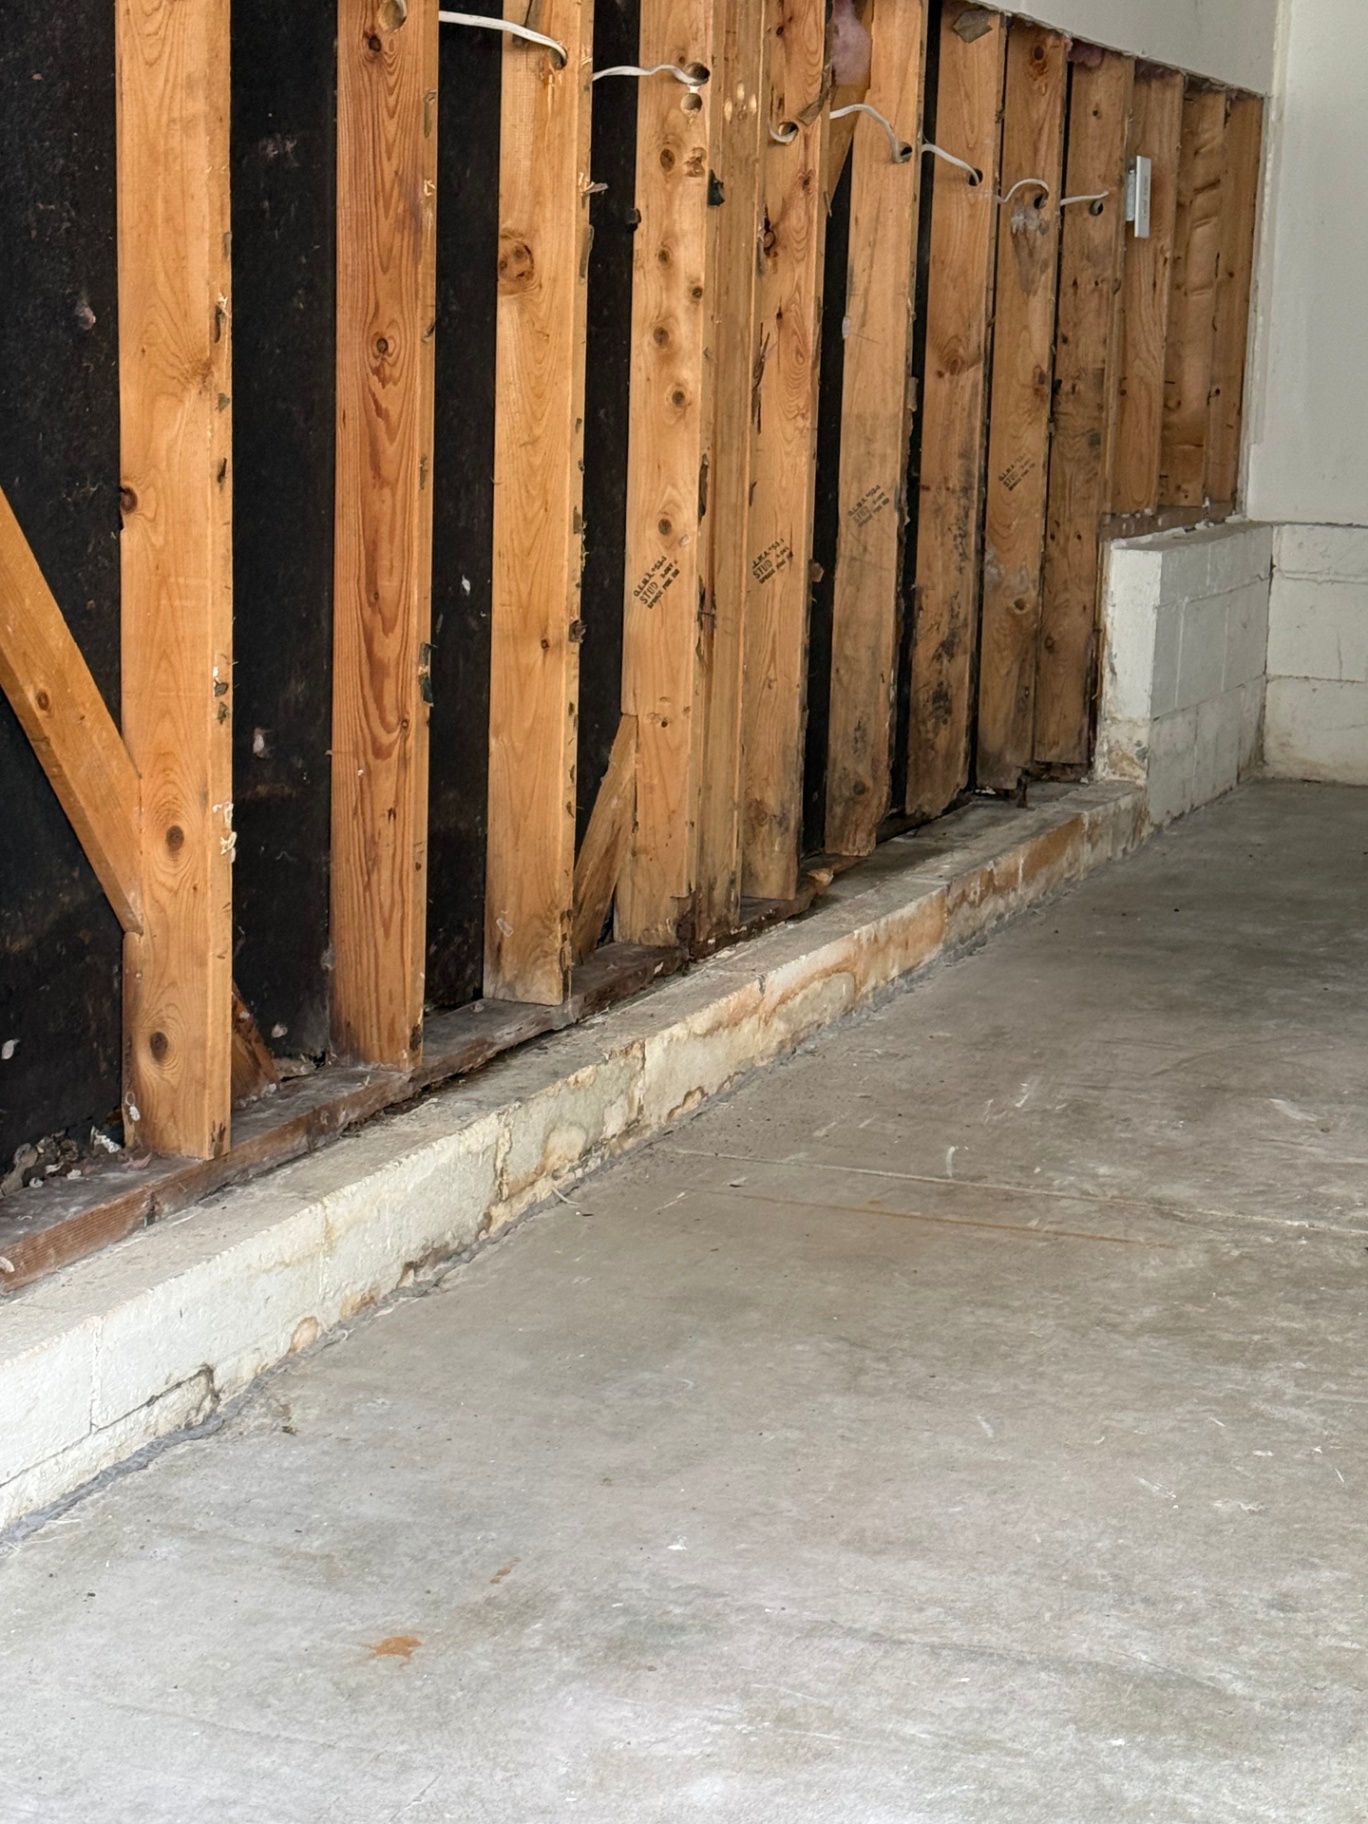
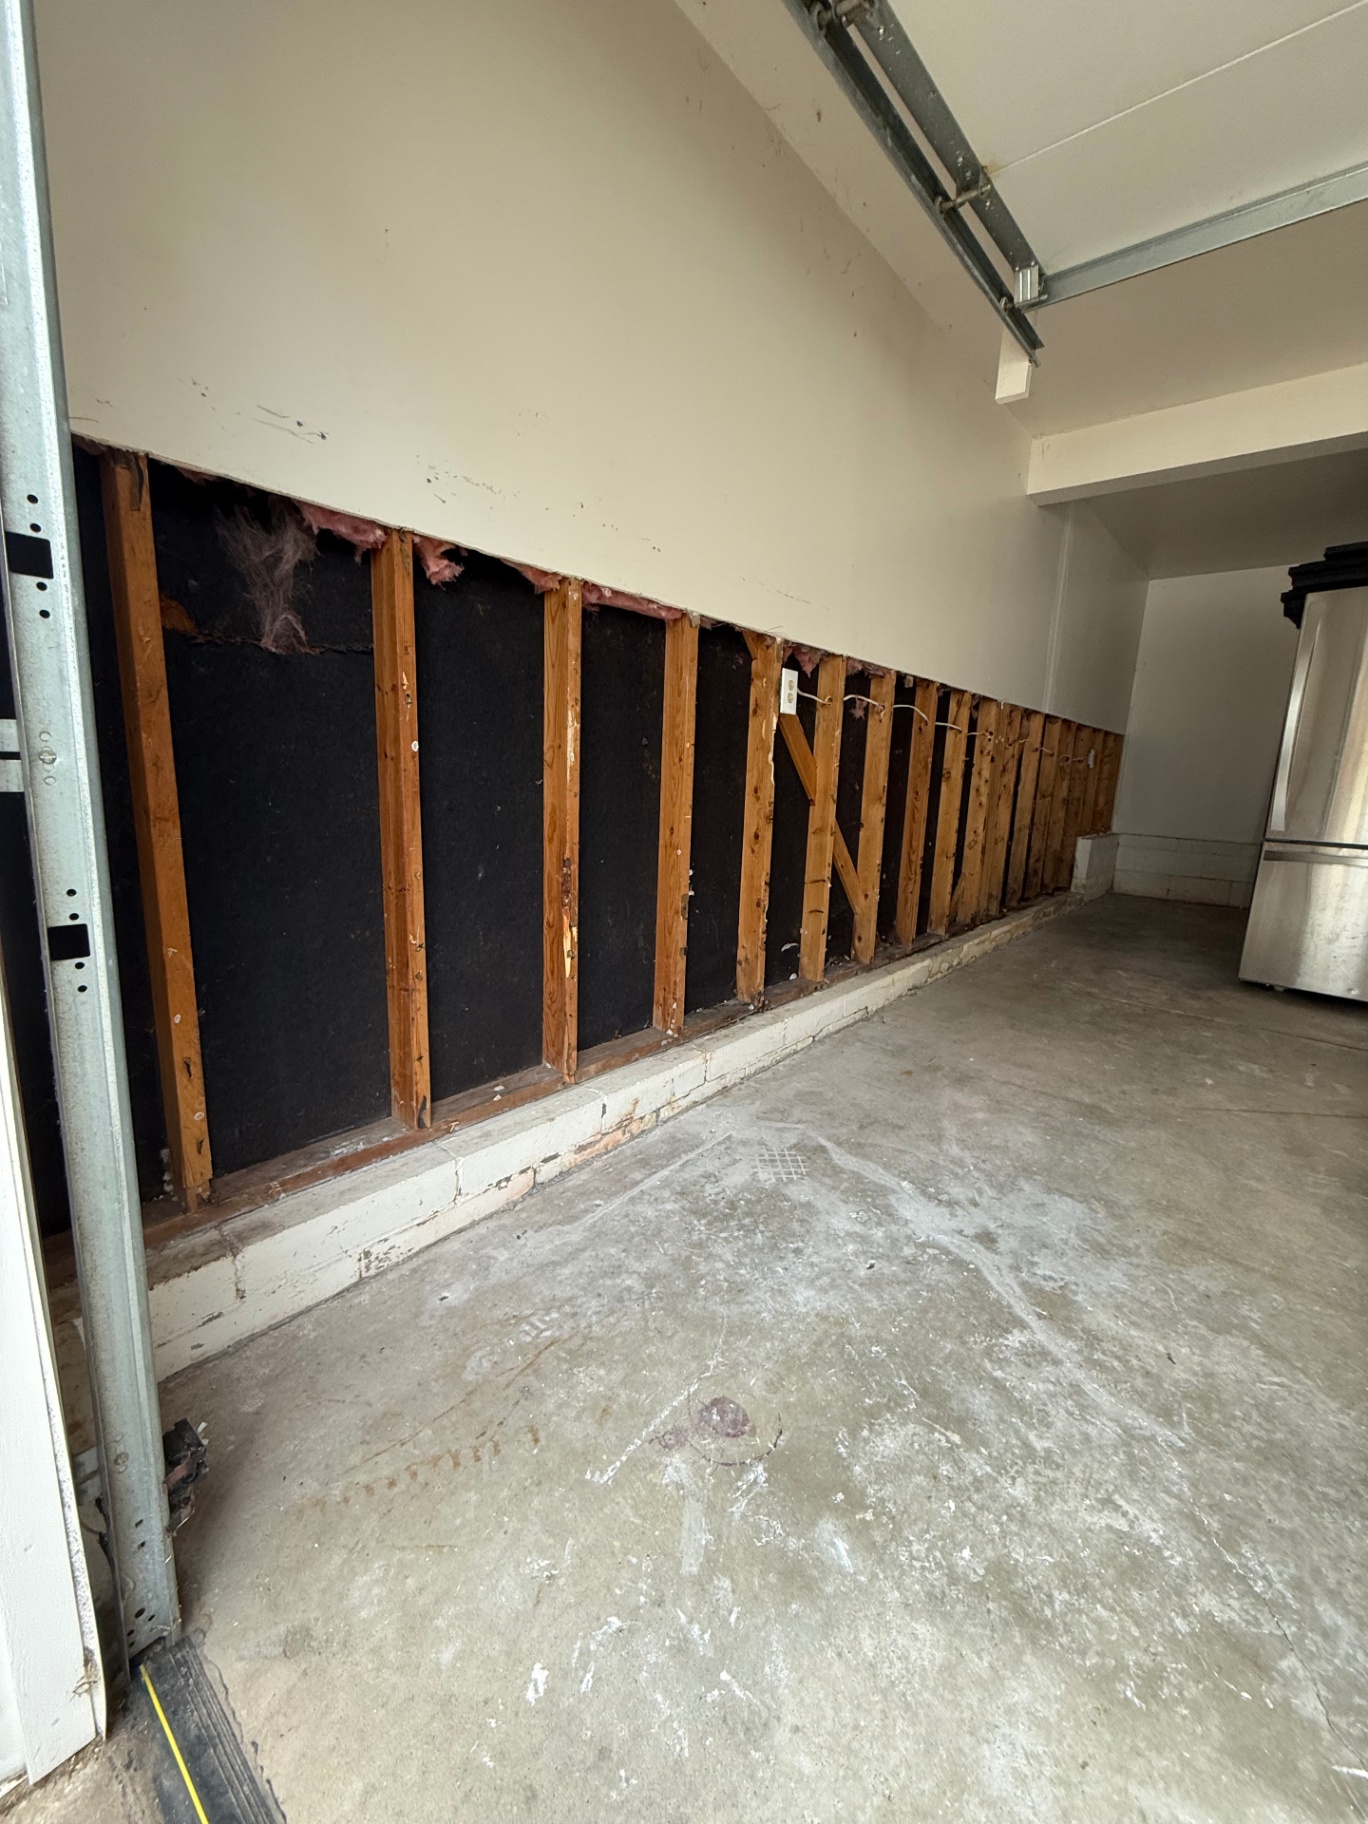
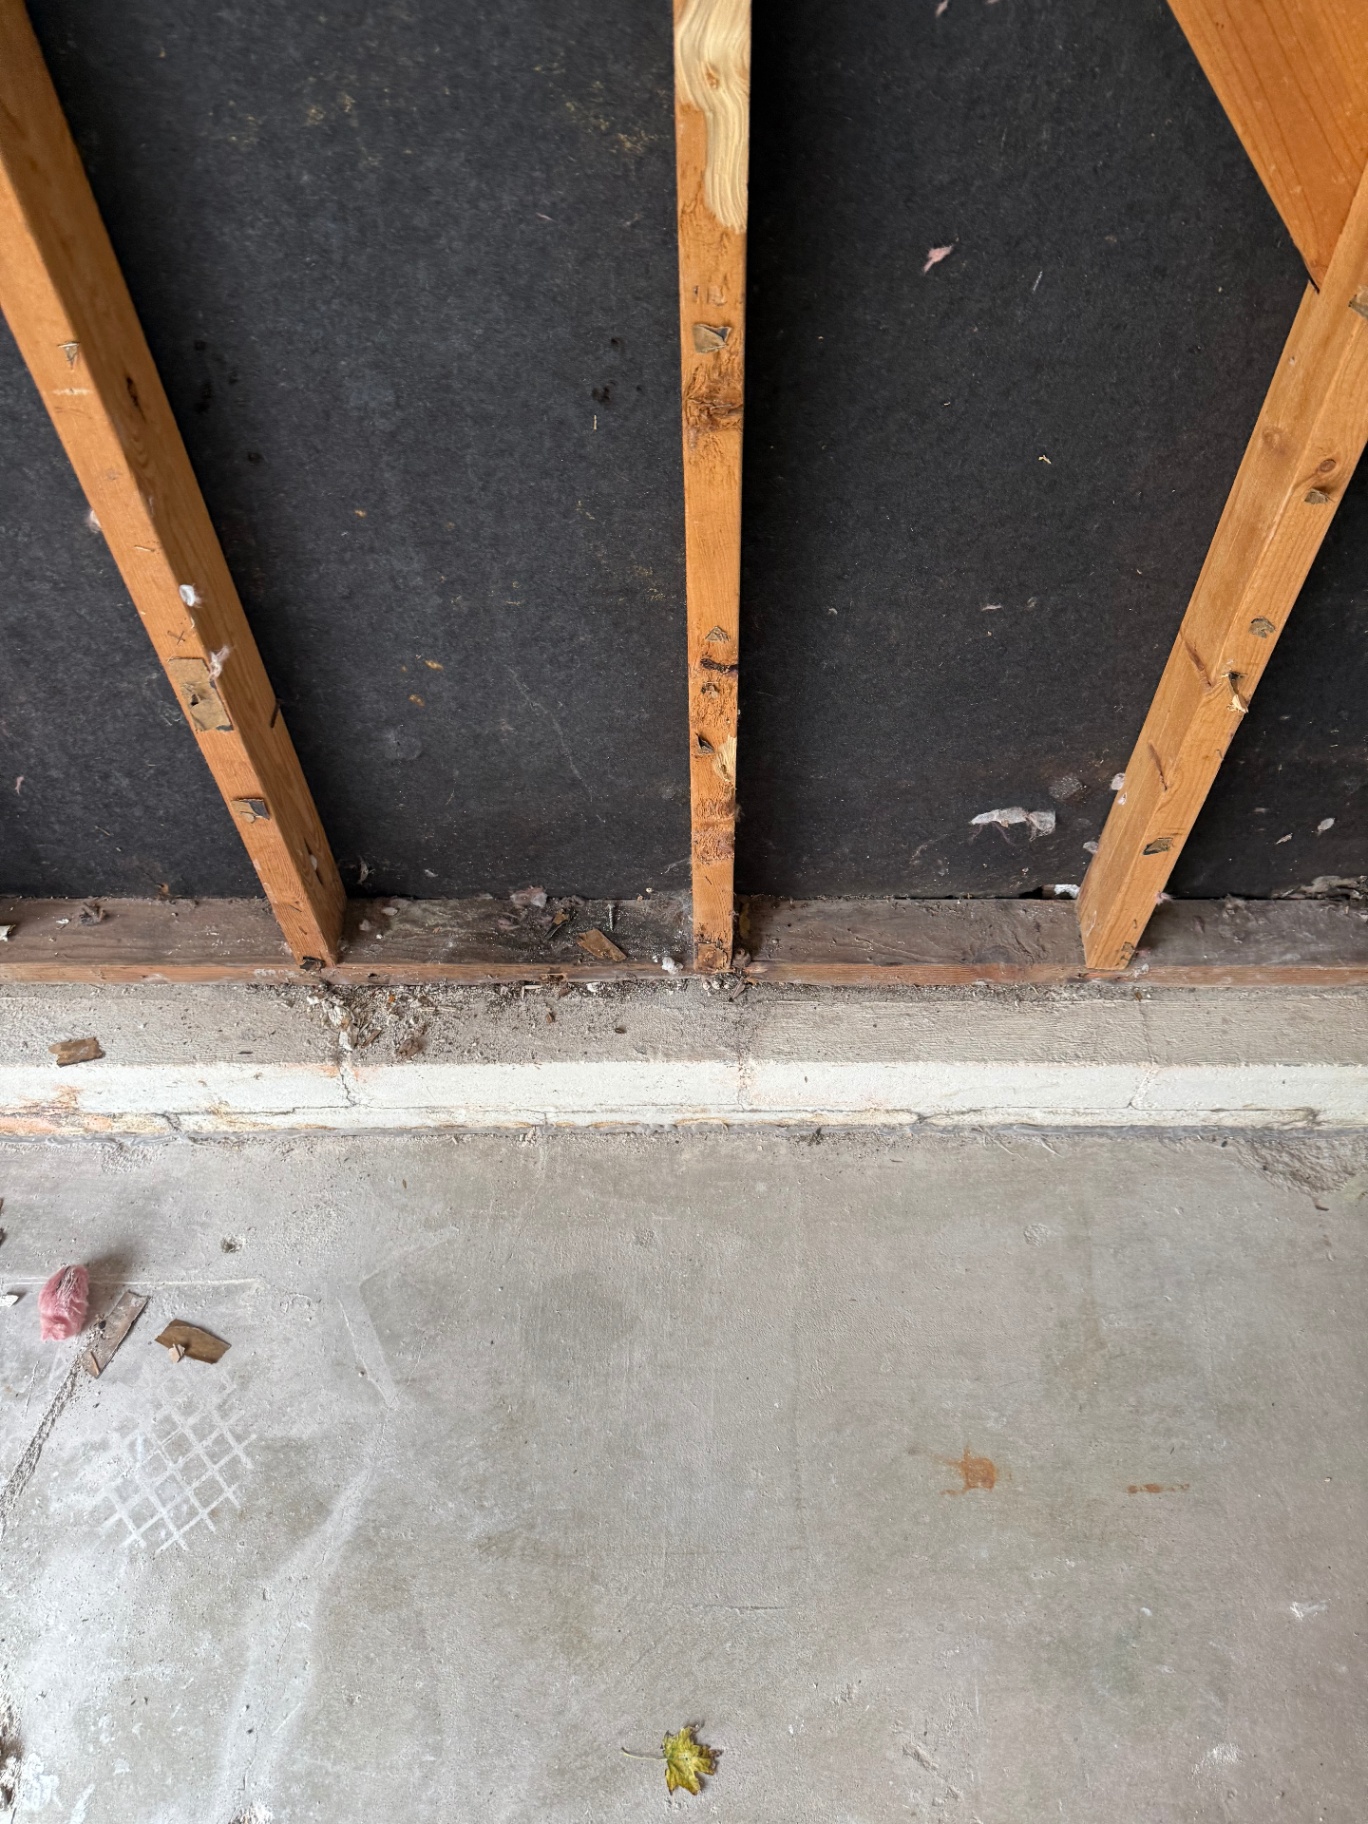
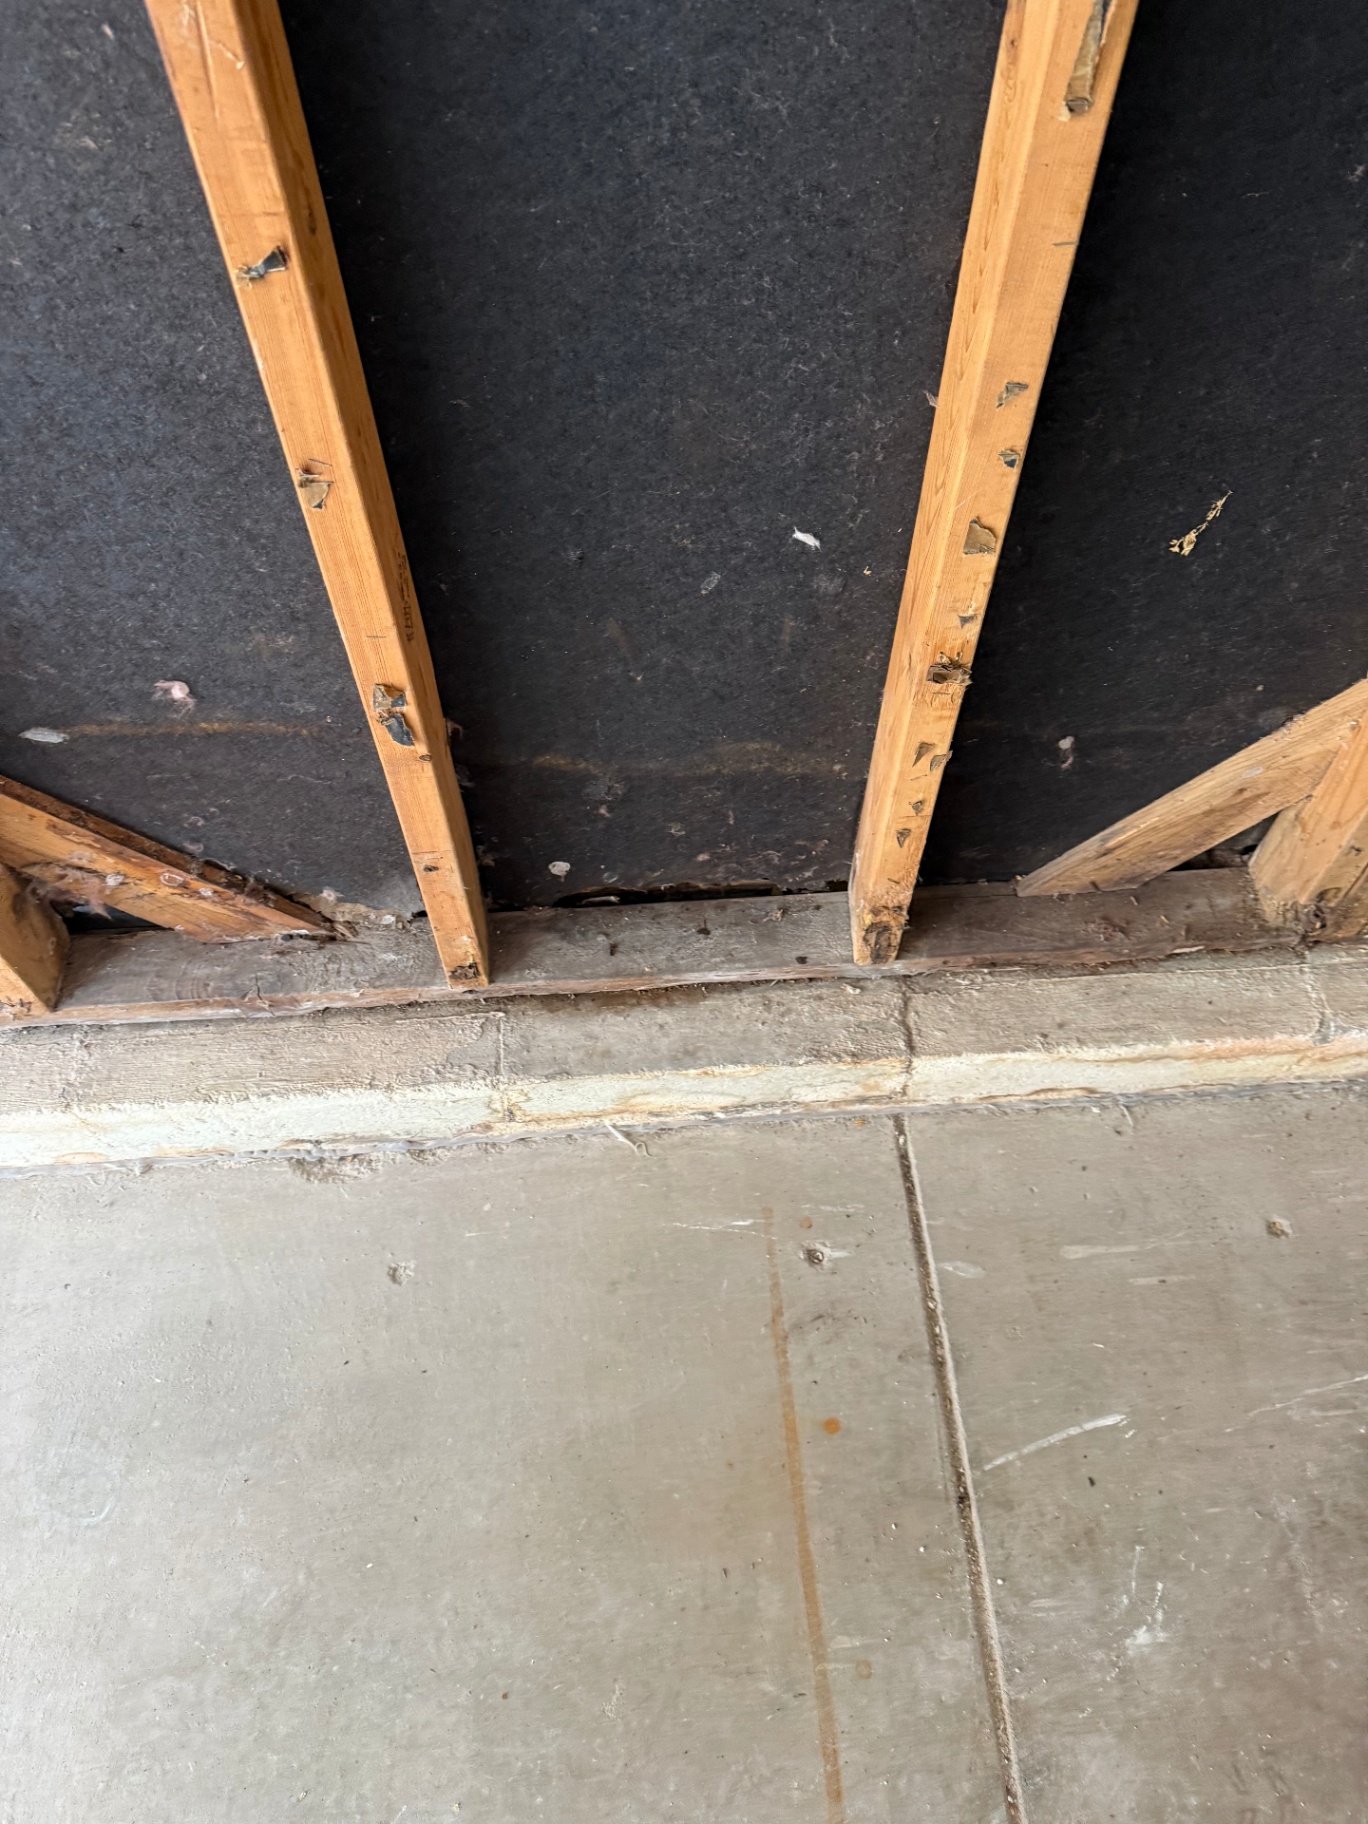
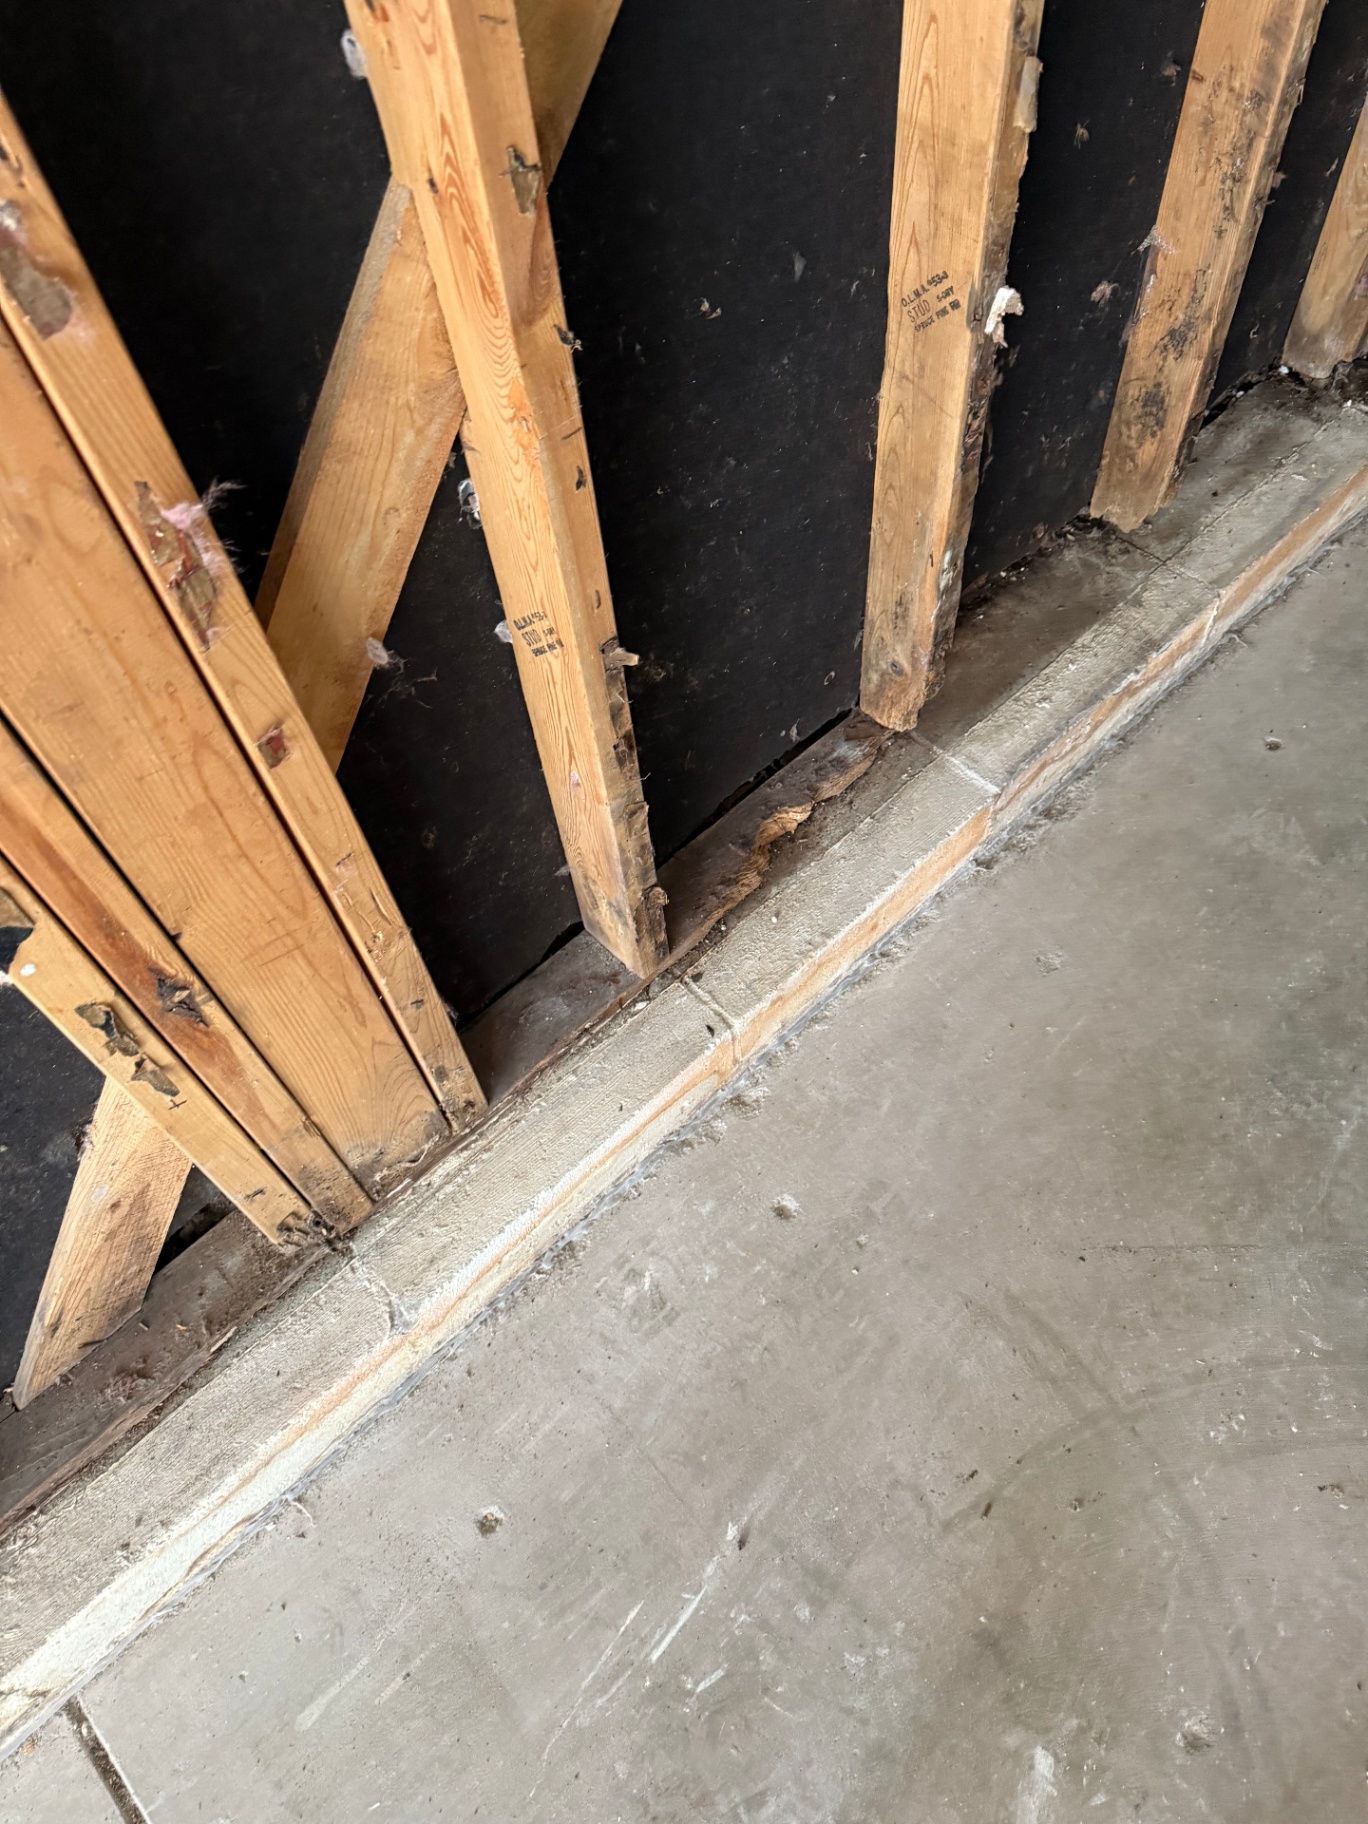
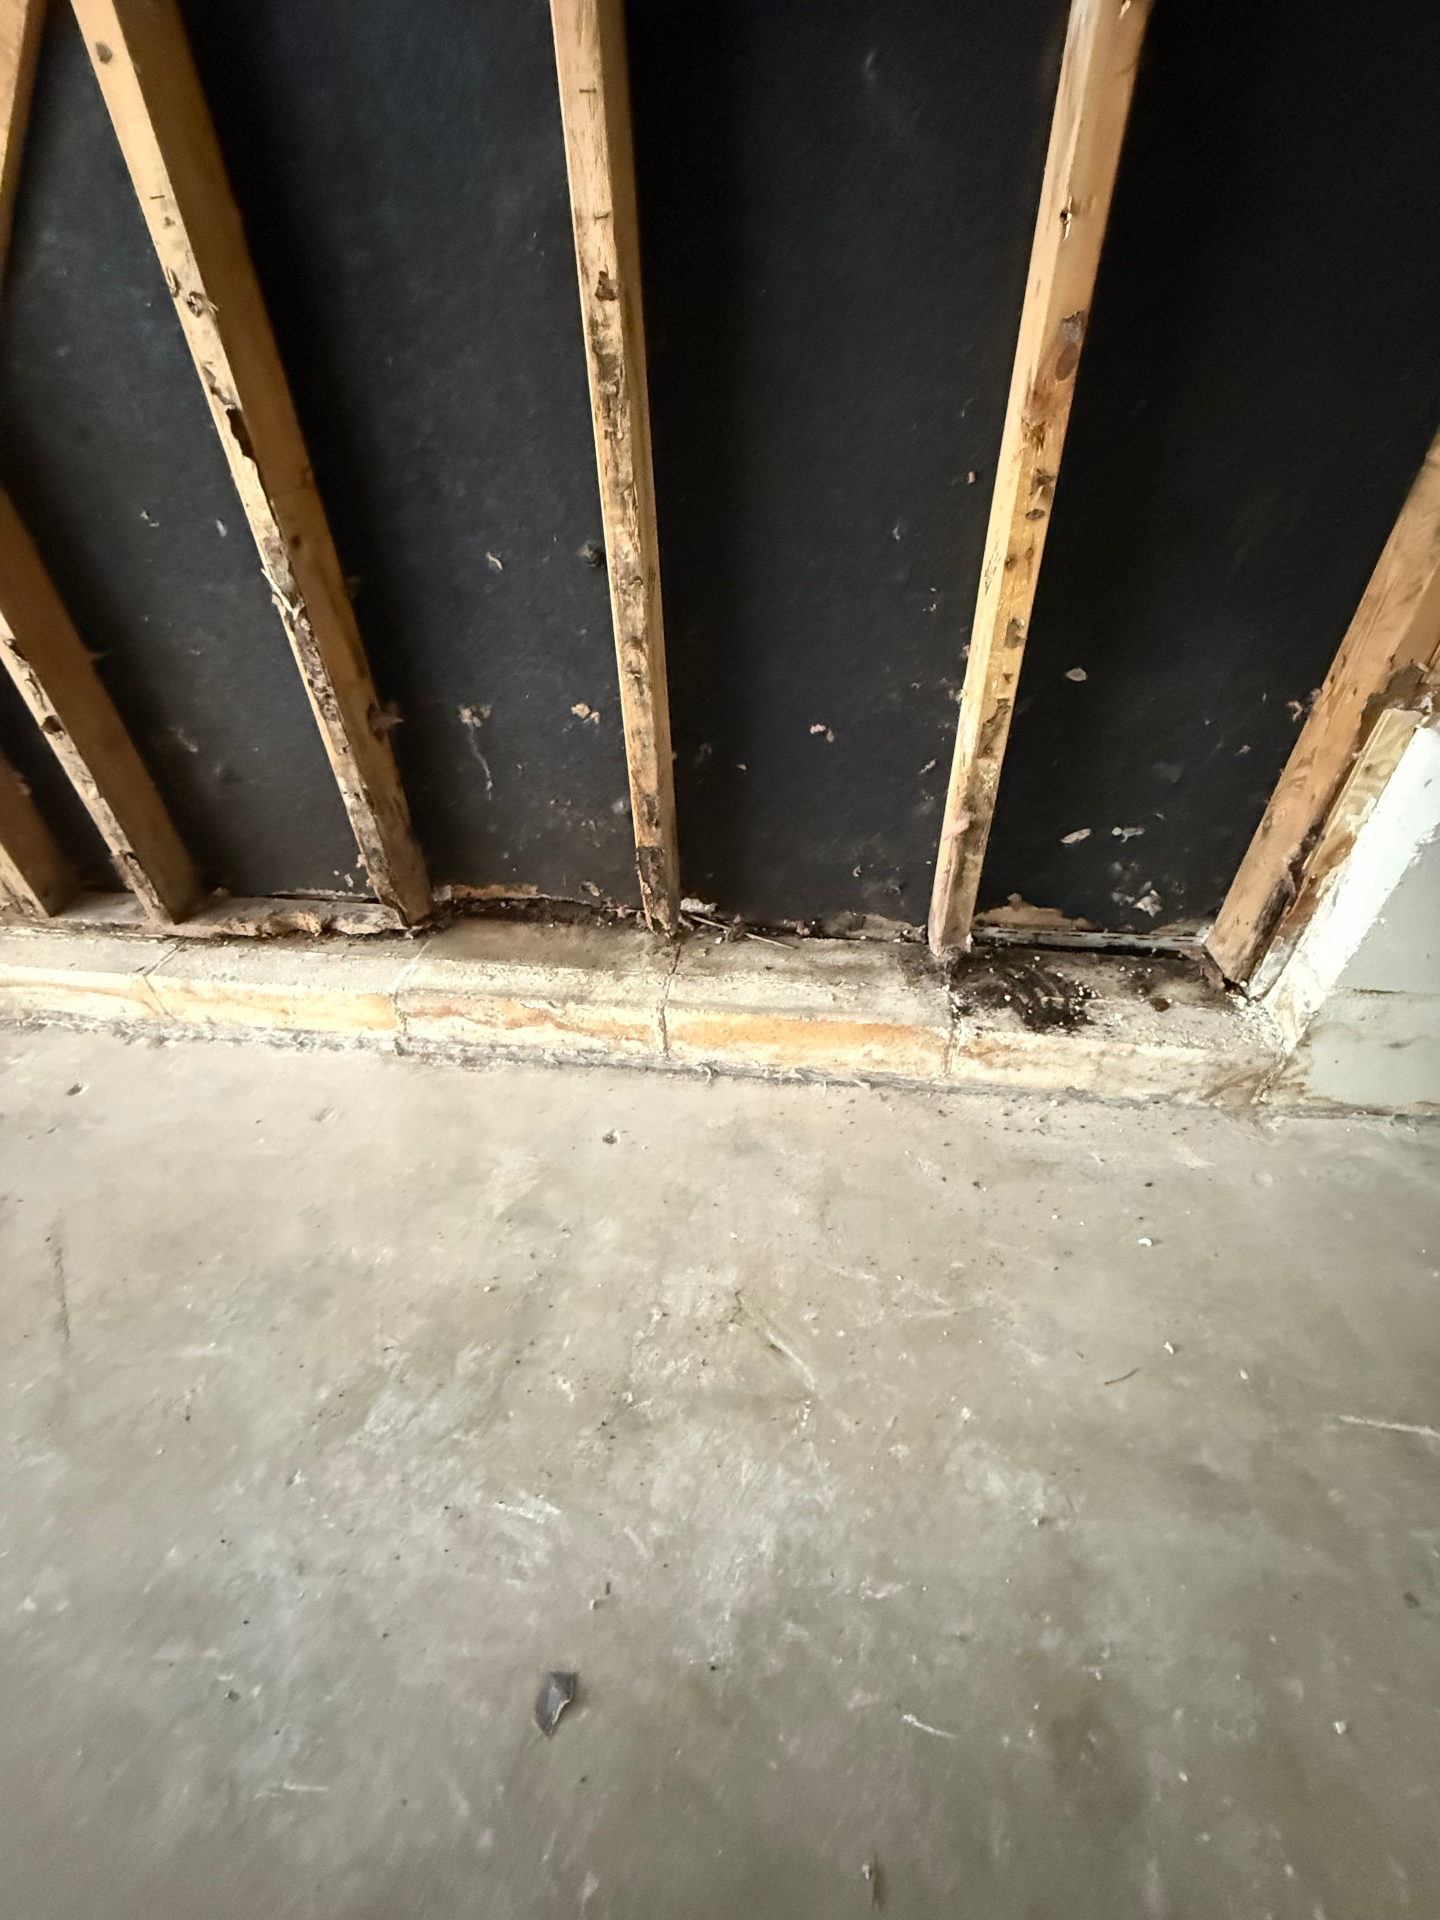
Garage wall opened up after moisture damage so the wet lower section, framing condition, and affected sill line could be documented before rebuild. The set shows the damaged wall from wide angles down to close-up inspection at the base where water had been sitting.
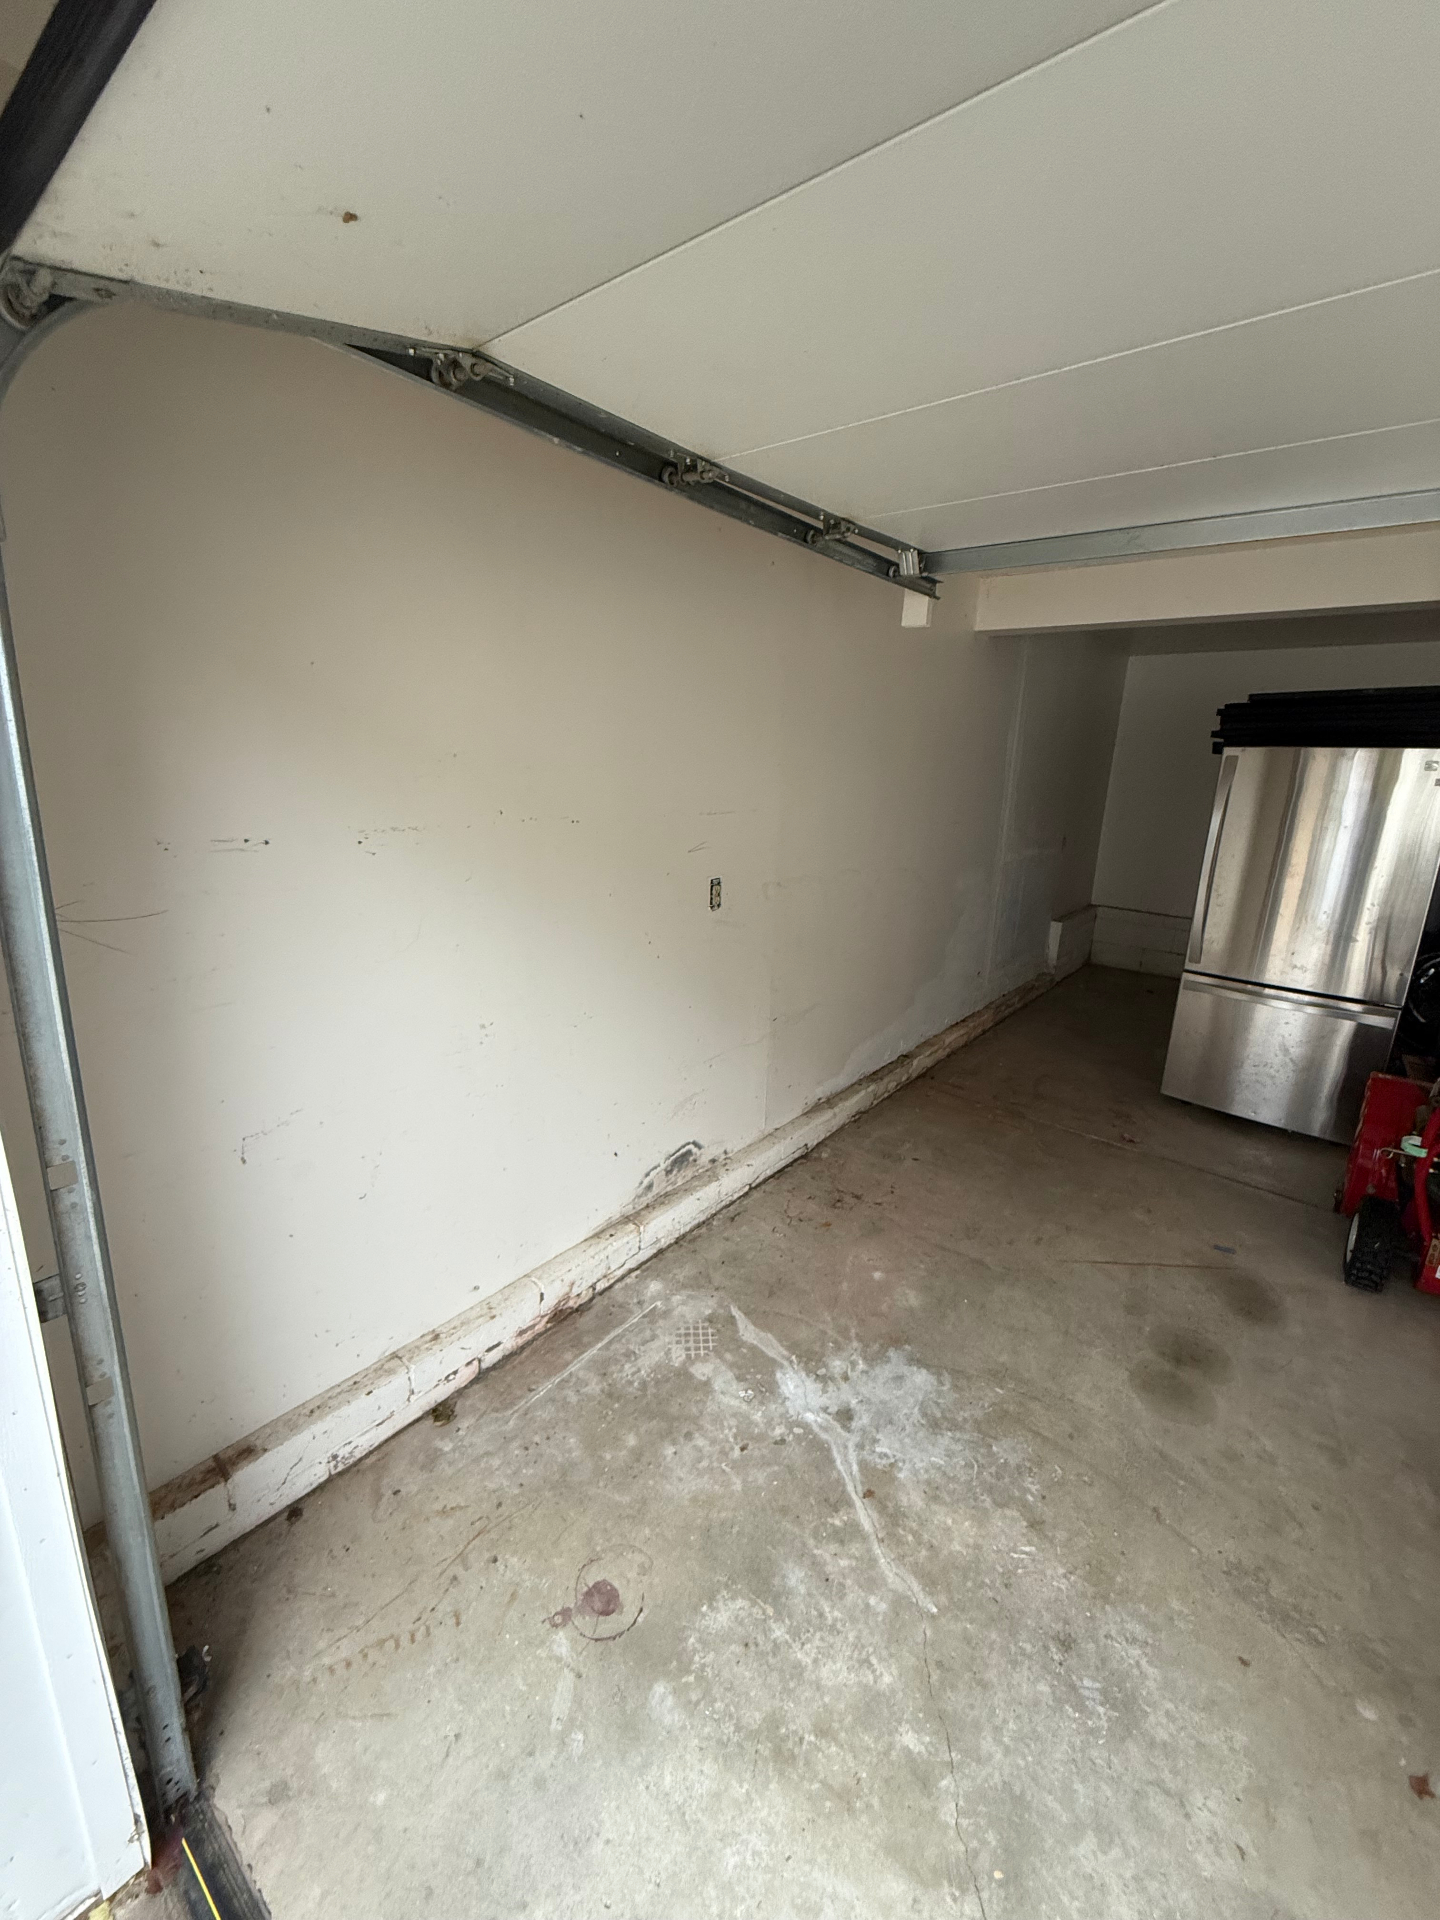
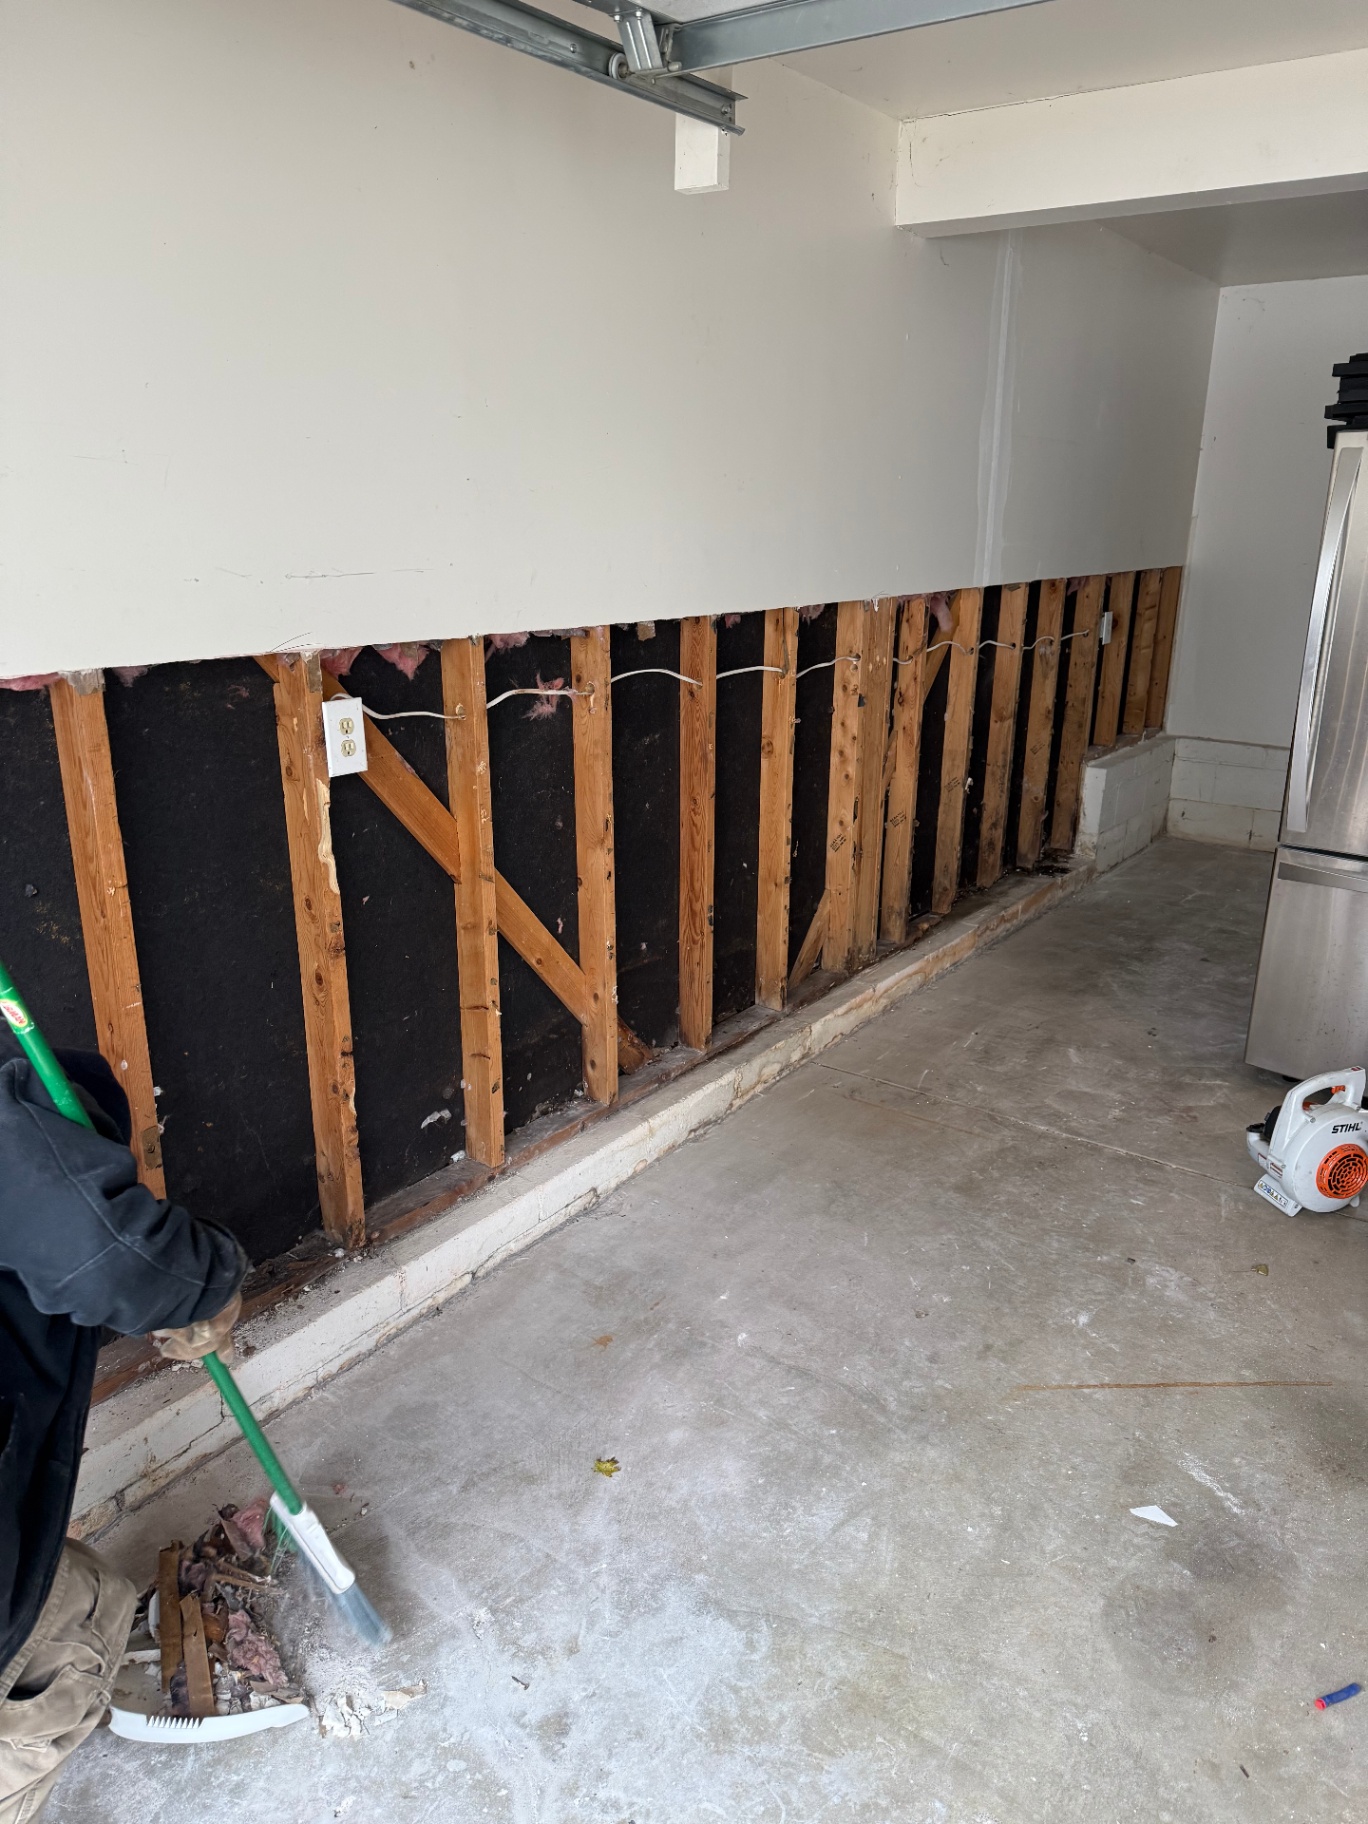
Wide garage view showing the wall after the damaged lower section was removed and the work area cleared for restoration
Long exposed run of garage wall with the lower drywall cut out to inspect framing, wiring, and the full extent of water damage
Wide angle on the opened wall showing staining and deterioration concentrated along the lower ends of multiple studs
Framing exposed across the full wall span so damaged material at the base could be evaluated before rebuilding
Close-up of the sill line and lower framing where moisture damage collected along the concrete edge
Tight inspection shot at the base of the wall showing separation and deterioration where the lower framing met the slab
Close-up of water-damaged wood at the bottom of the wall with visible deterioration where moisture sat against the framing
Detailed look at the lower studs and sill area documenting the worst of the water damage before repair work started

— Water Damage Restoration Ceiling Patch

Water damage restoration ceiling patch.

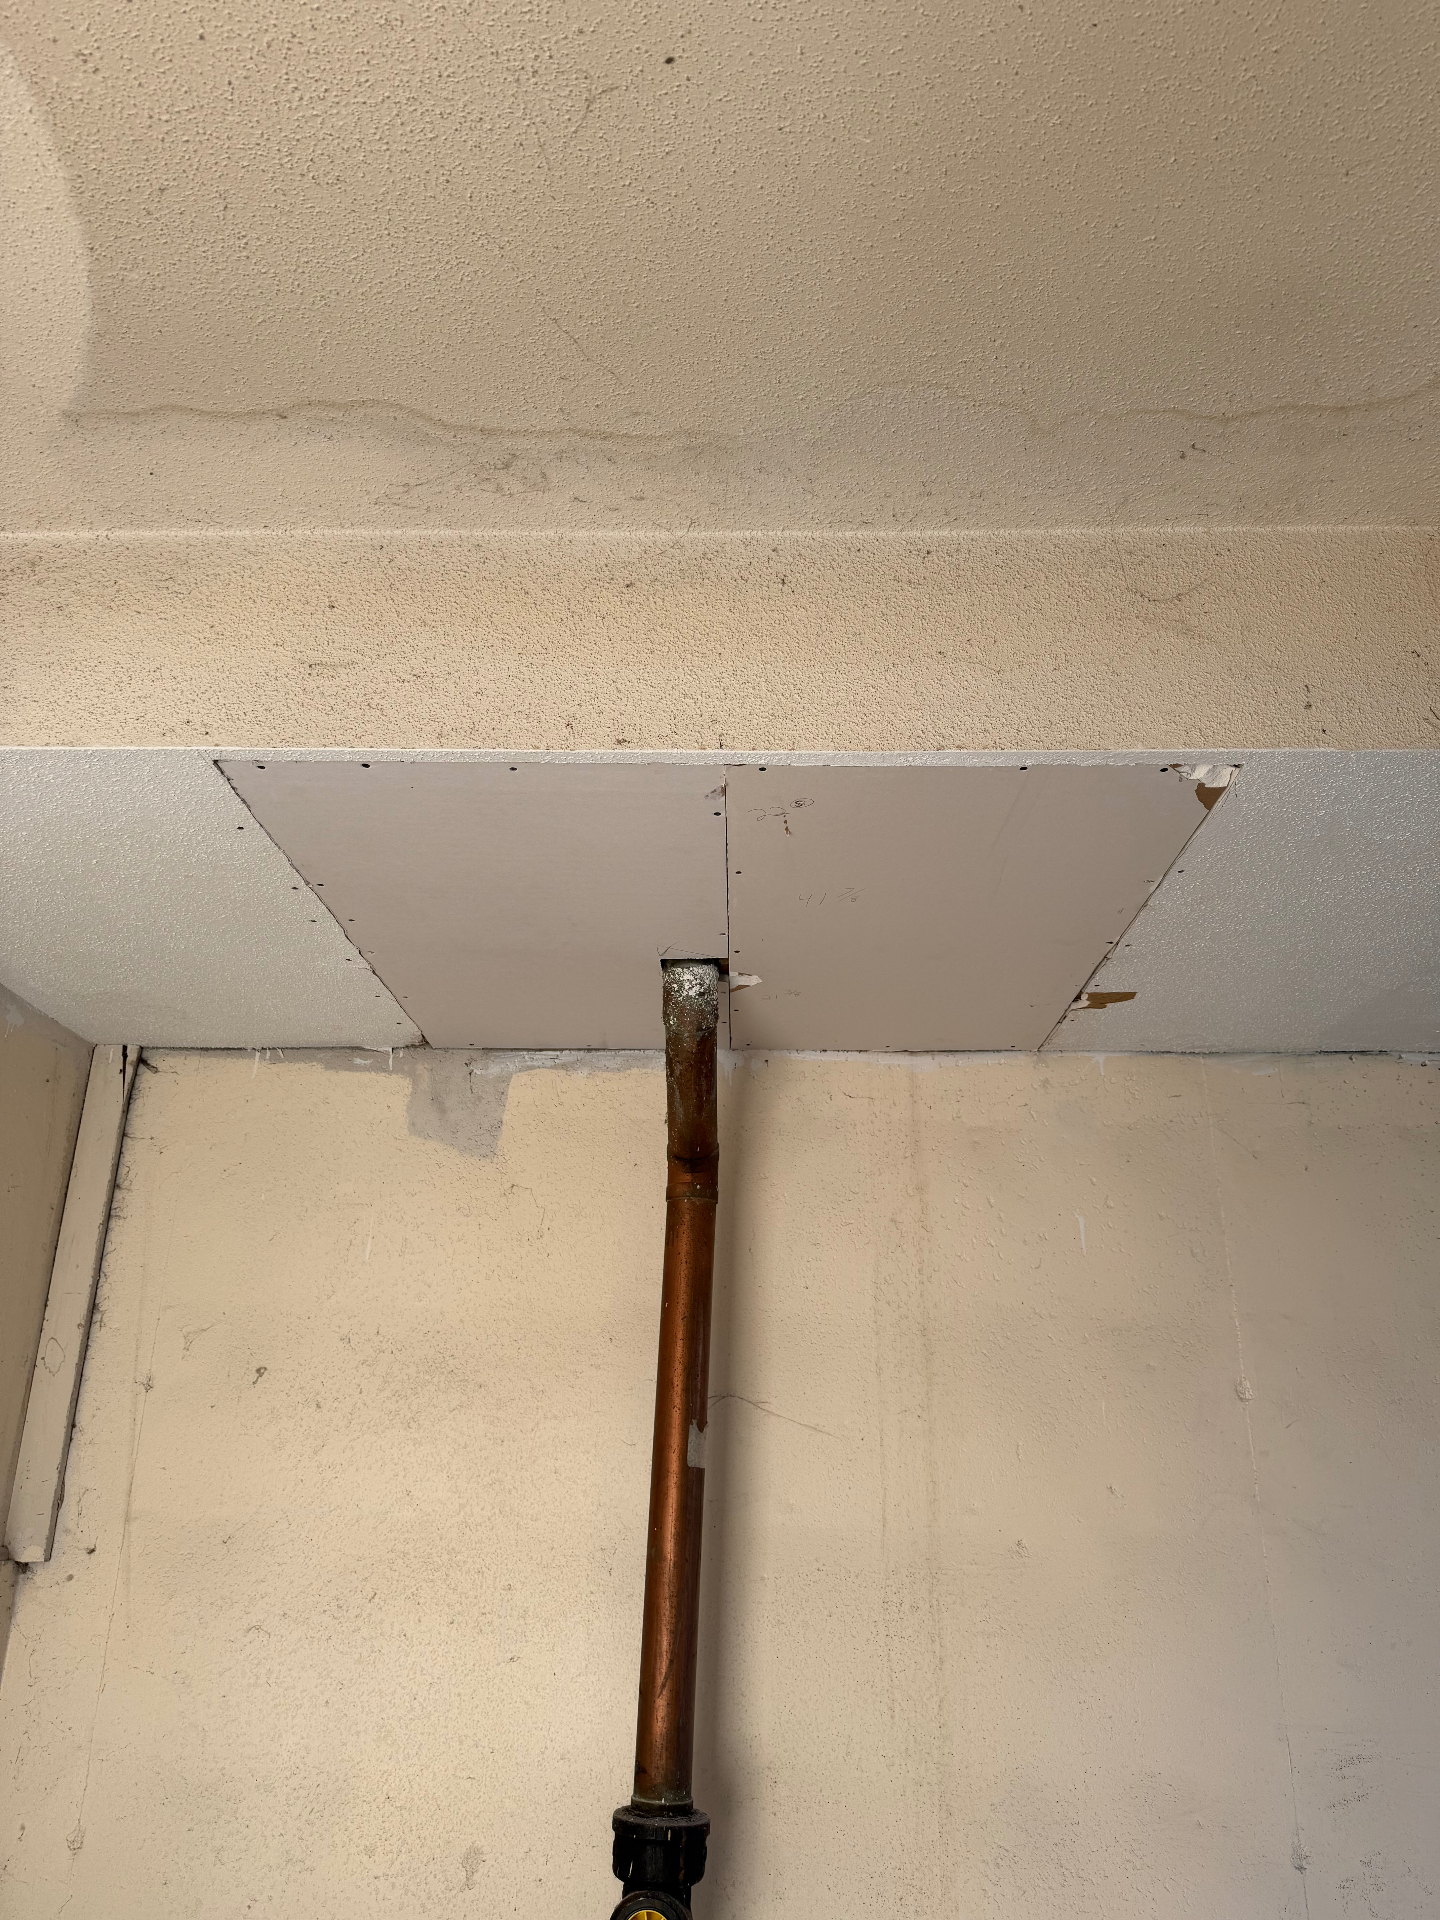
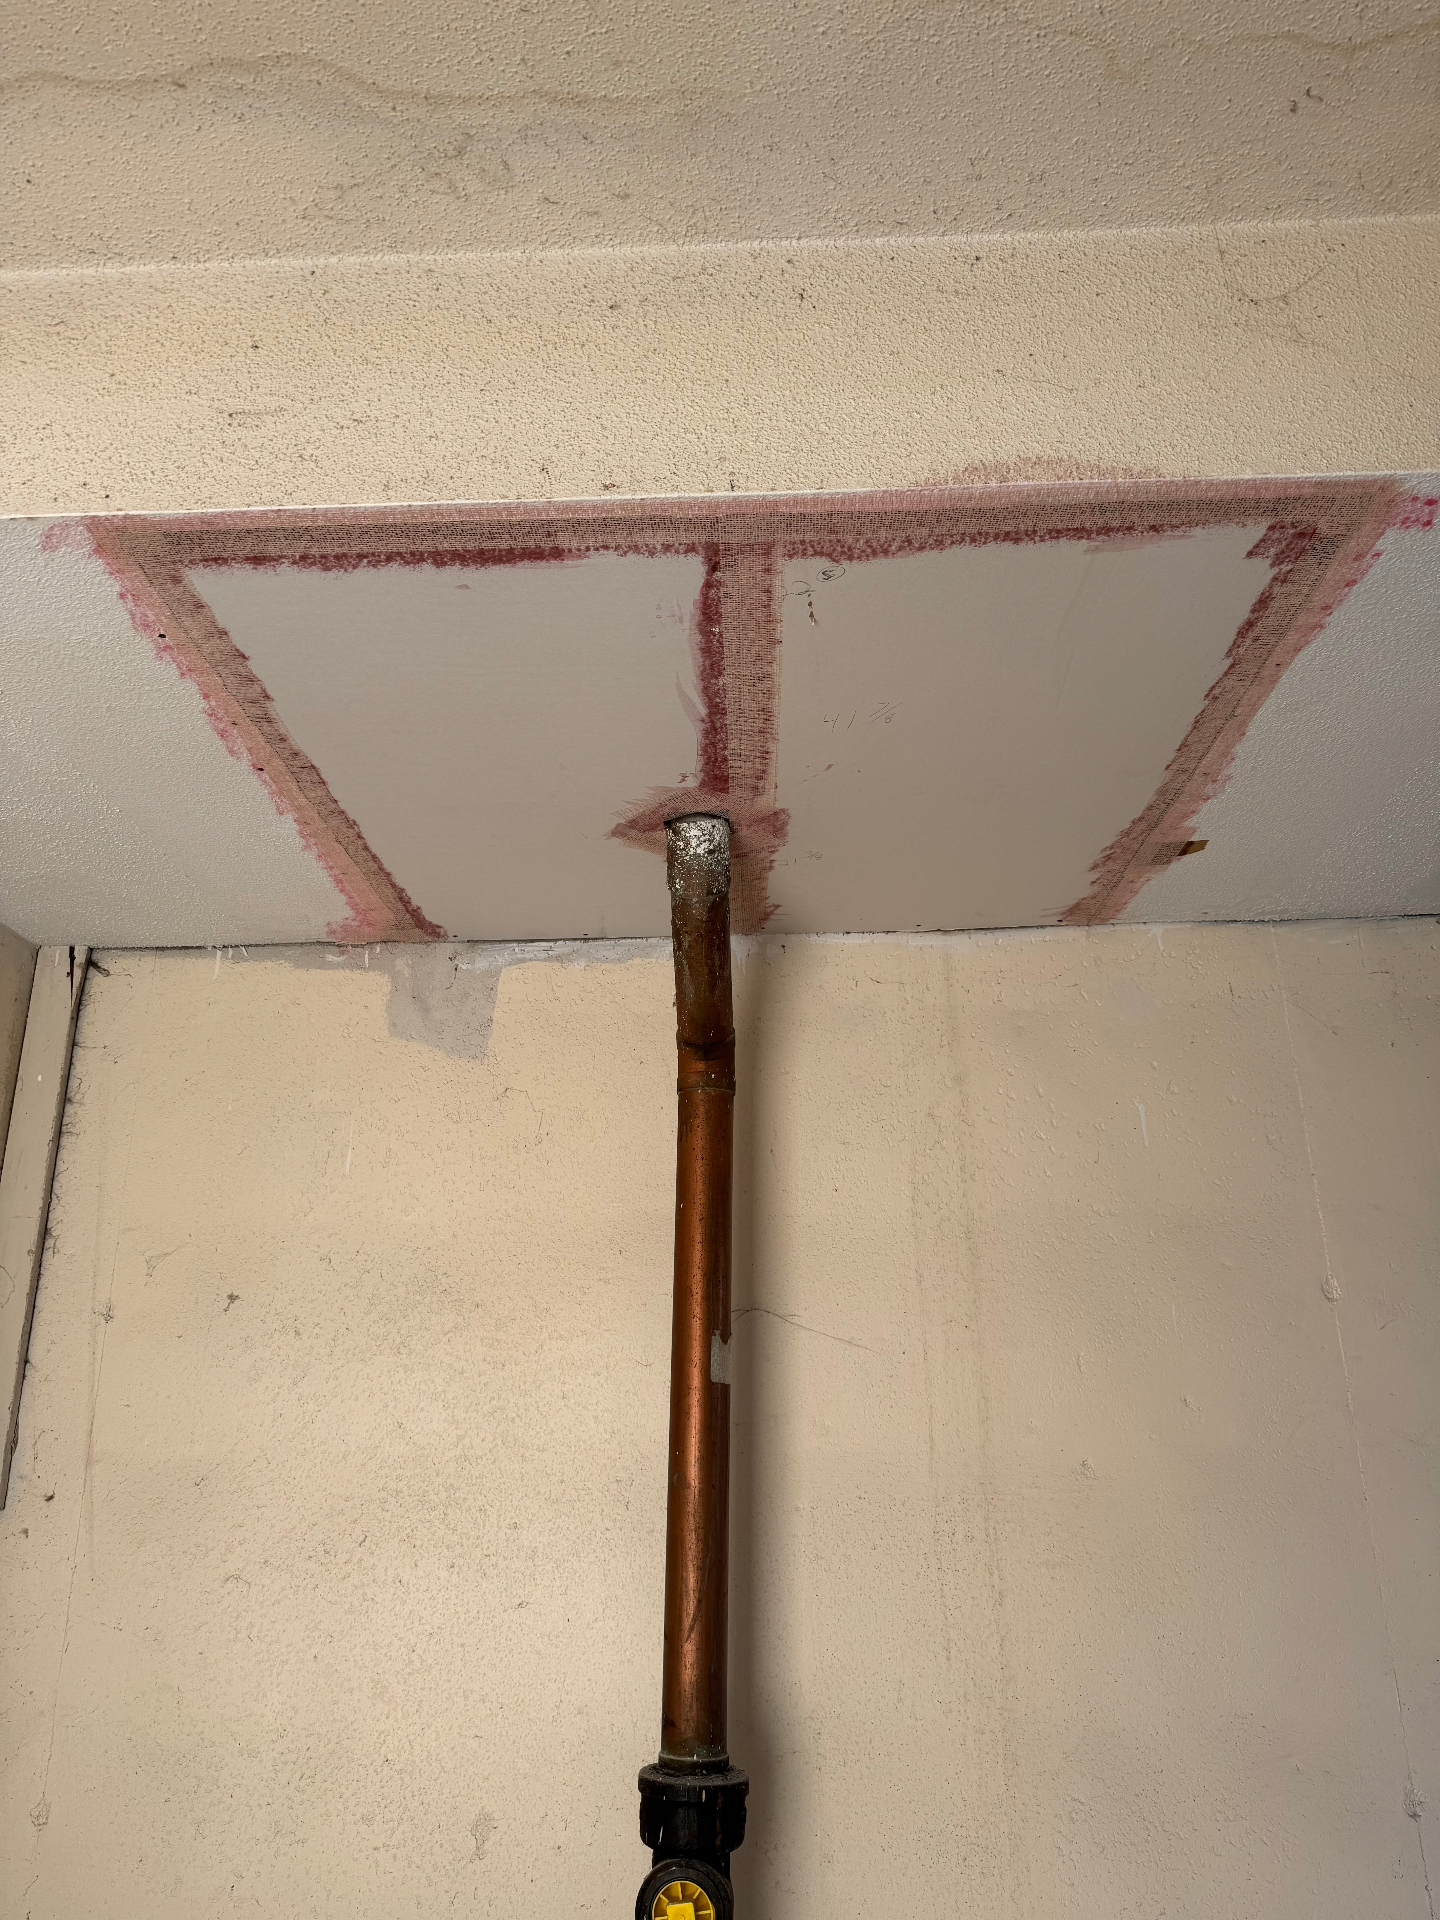
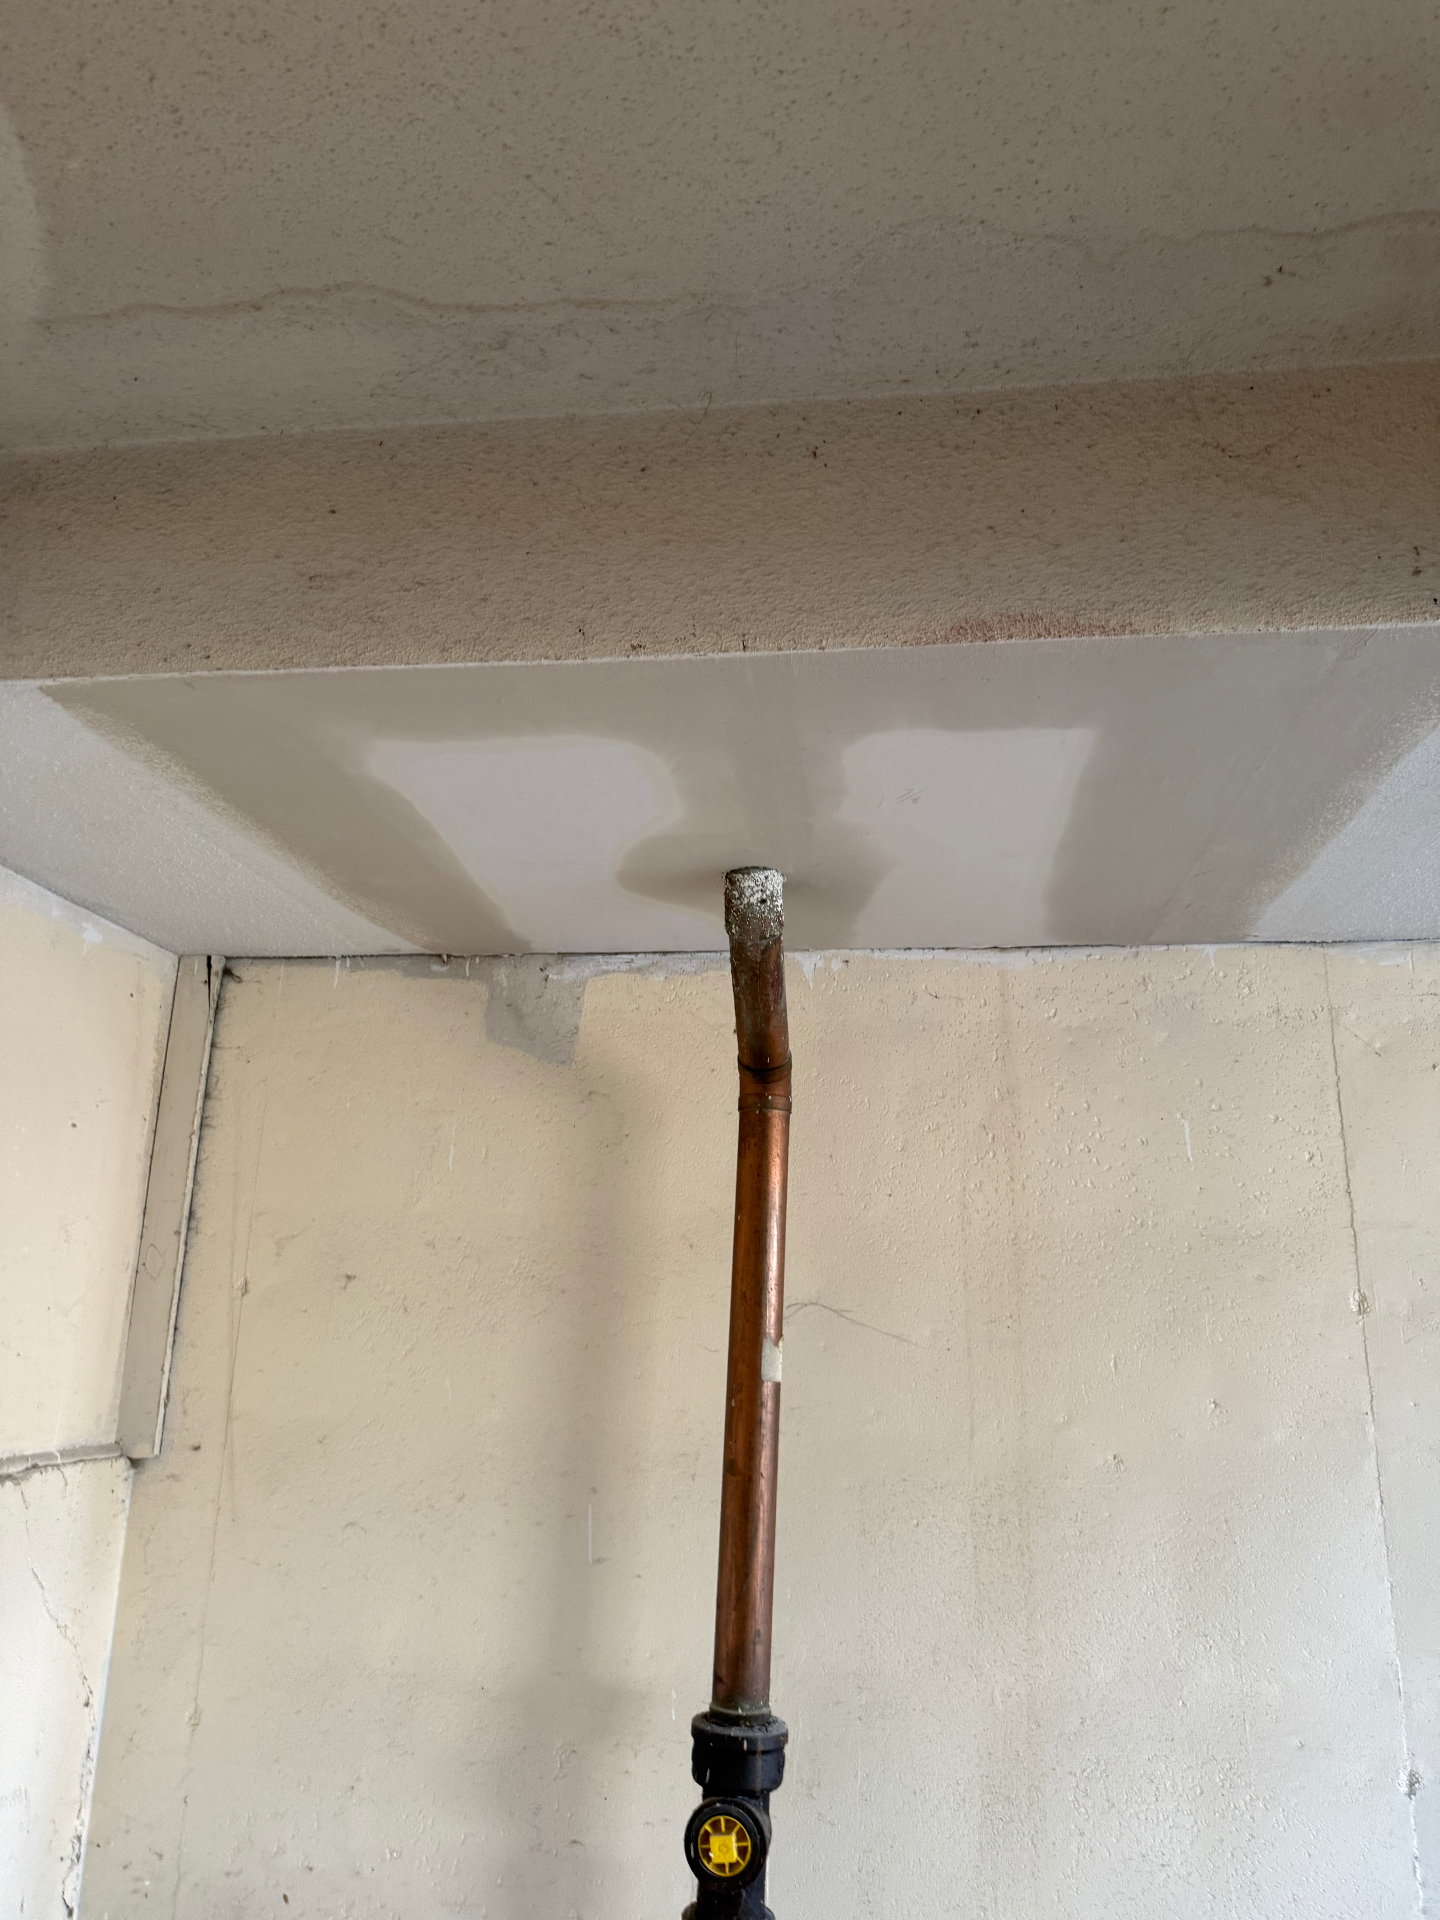
Ceiling opened up after water damage around a plumbing run, damaged material removed, new board fit back in around the pipe, then taped, coated, and re-textured to blend into the existing ceiling finish.
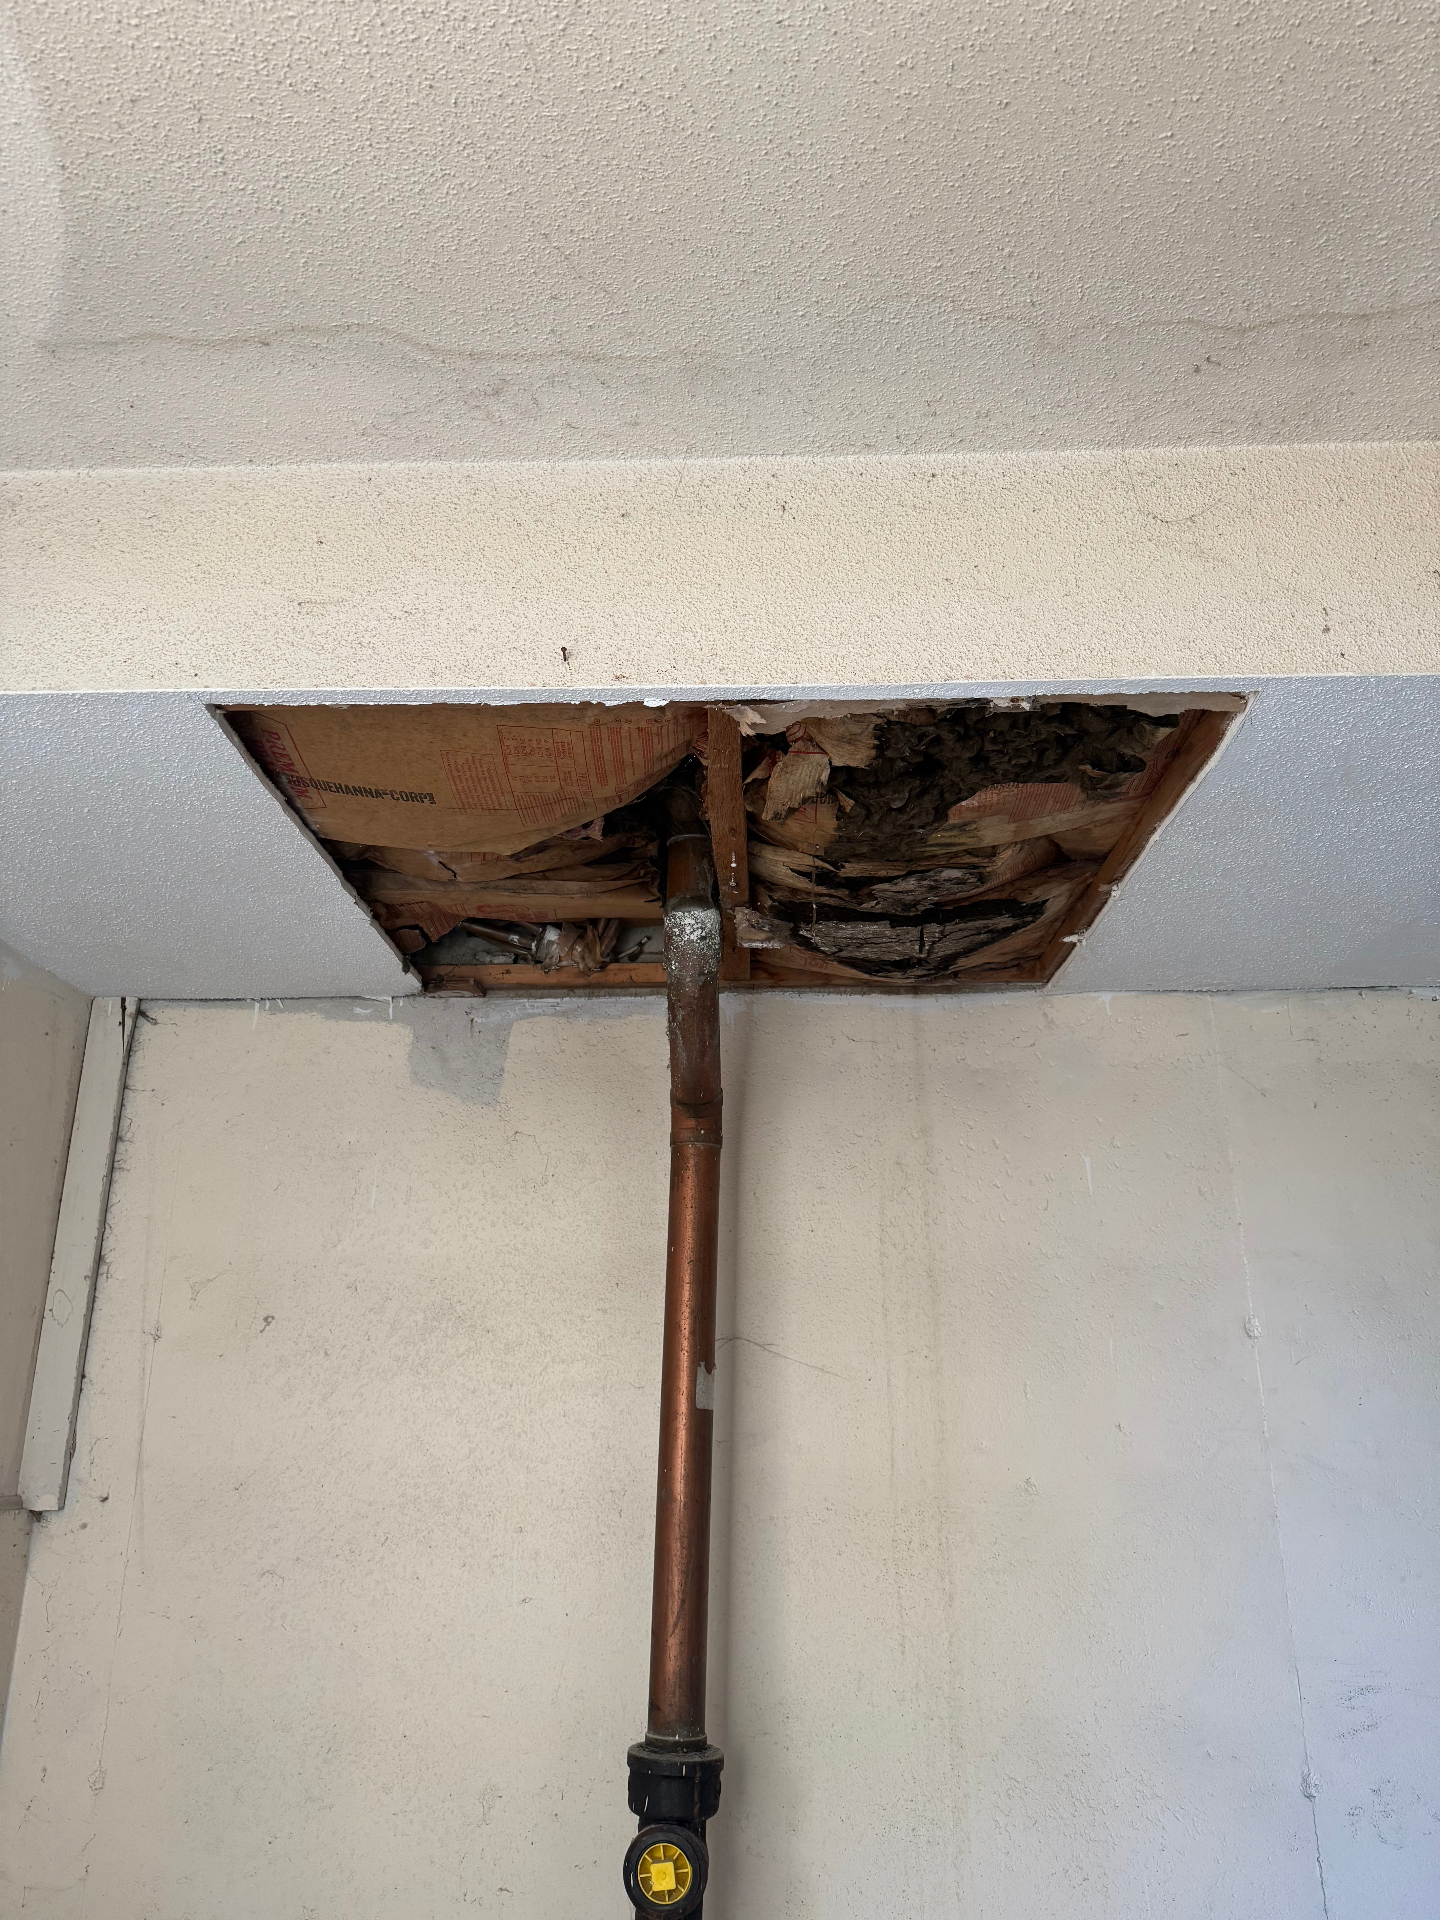
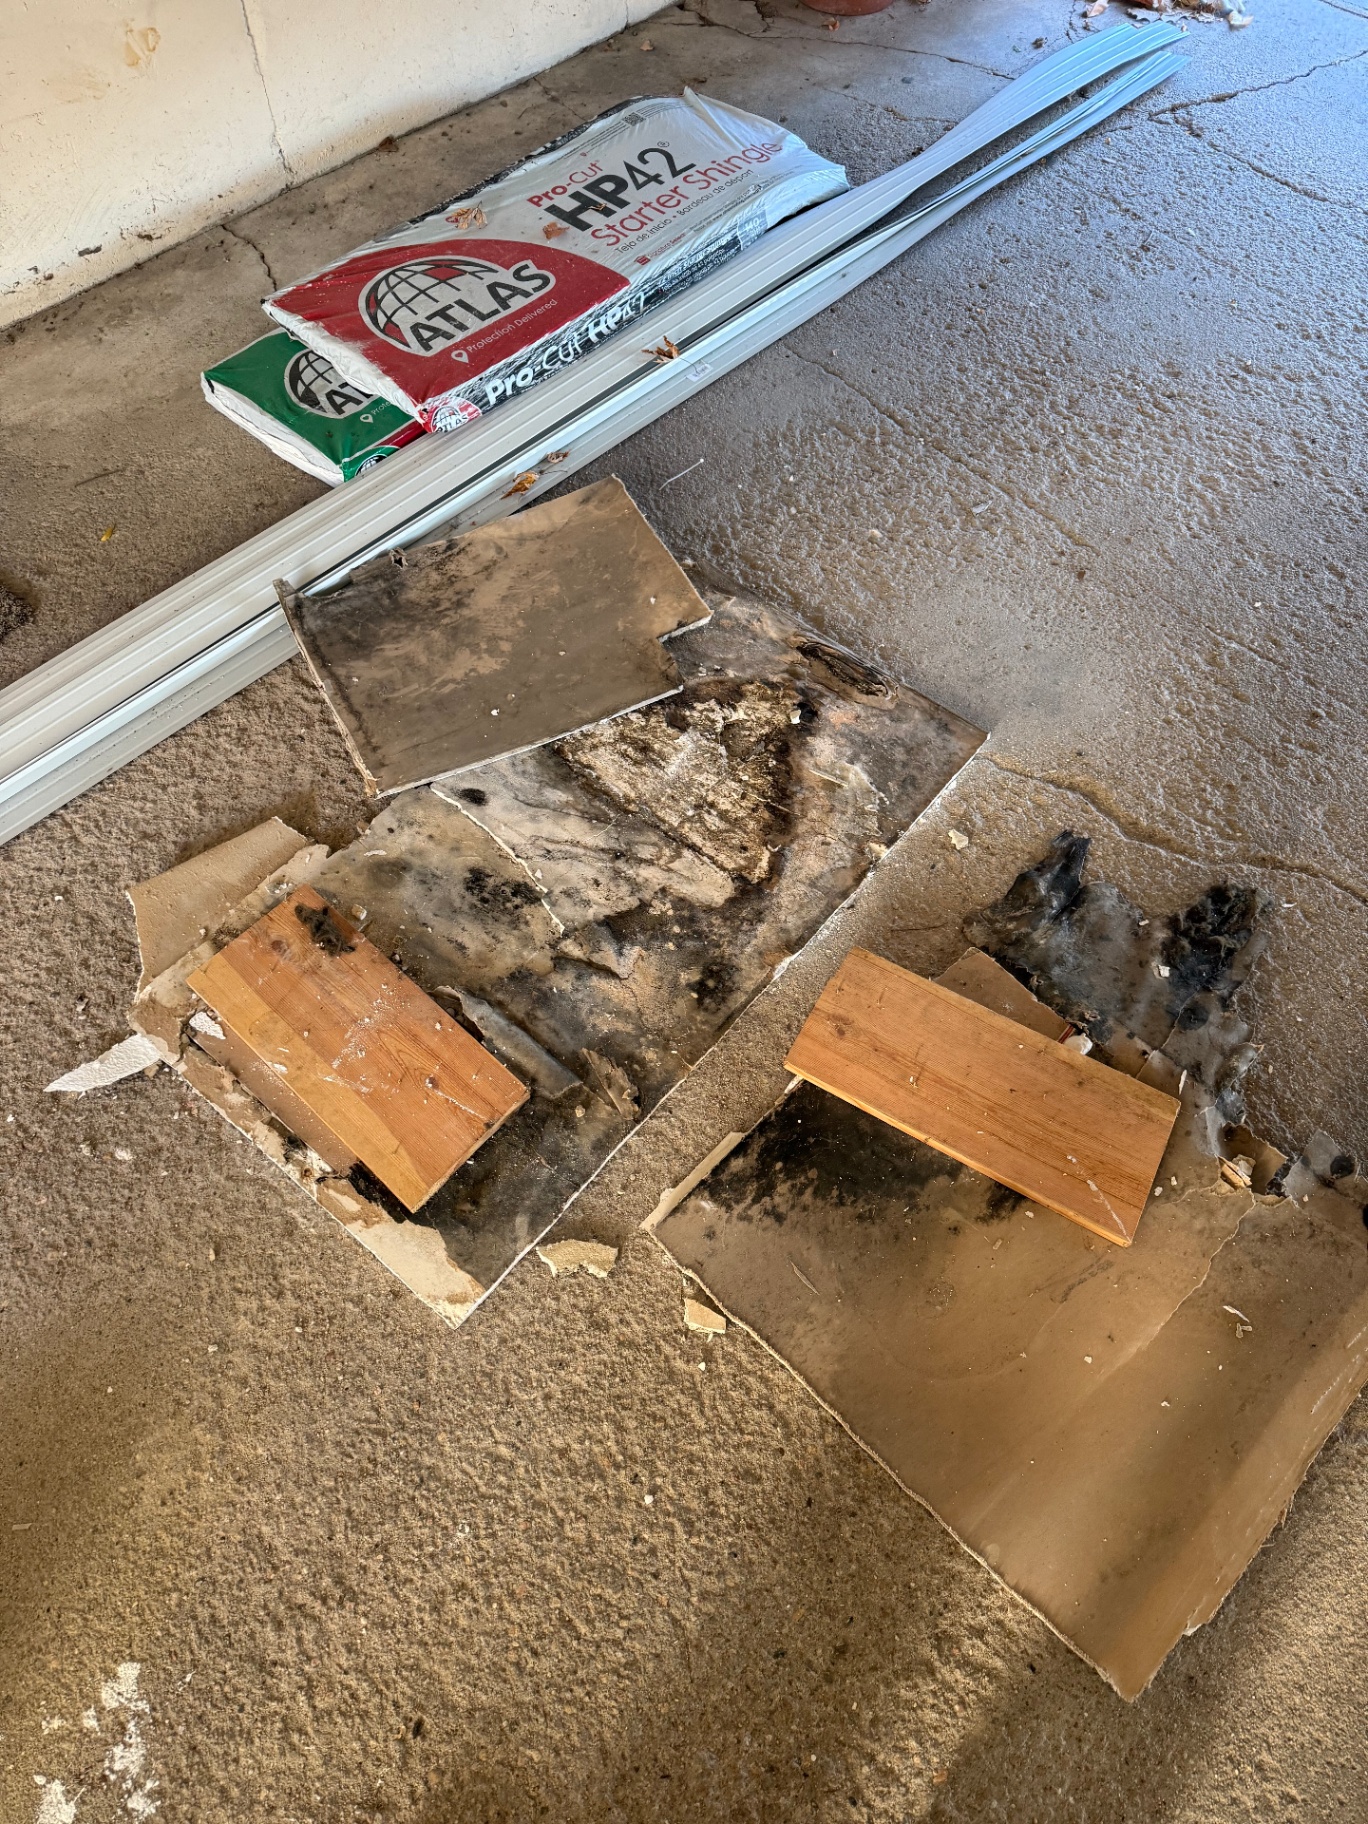
Ceiling opened up around the plumbing run after water damage — wet insulation and damaged material exposed for removal
Damaged ceiling material removed and replacement board and metal corner trim staged on site before patching
New ceiling patch pieces cut in tight around the pipe and fastened off, ready for tape and mud
Patch taped and reinforced around the full opening with mesh and compound to bridge the repair into the original ceiling
Finish coats floated smooth across the repaired section, prepped for texture blending
Completed ceiling patch with texture matched back in around the pipe so the repair blends into the surrounding finish

— Water / Moisture Damage Bathroom

Water / moisture damage bathroom.

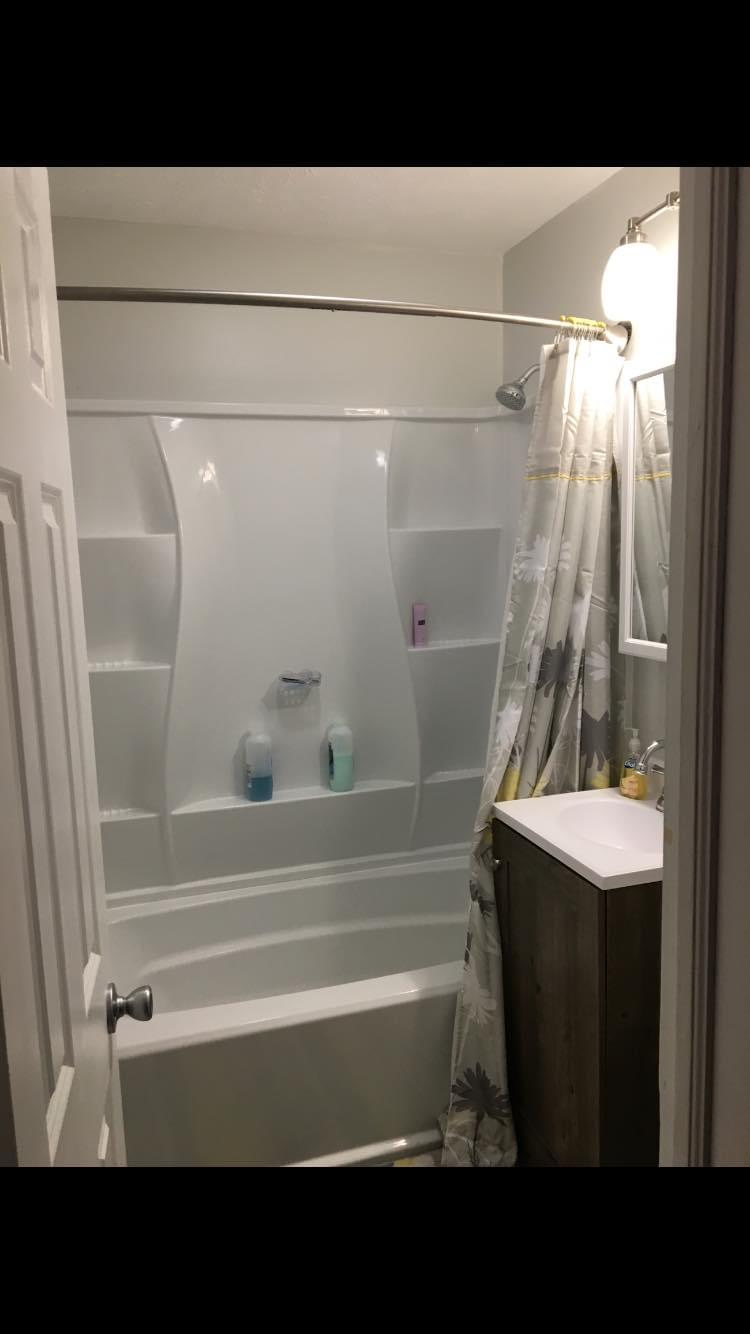
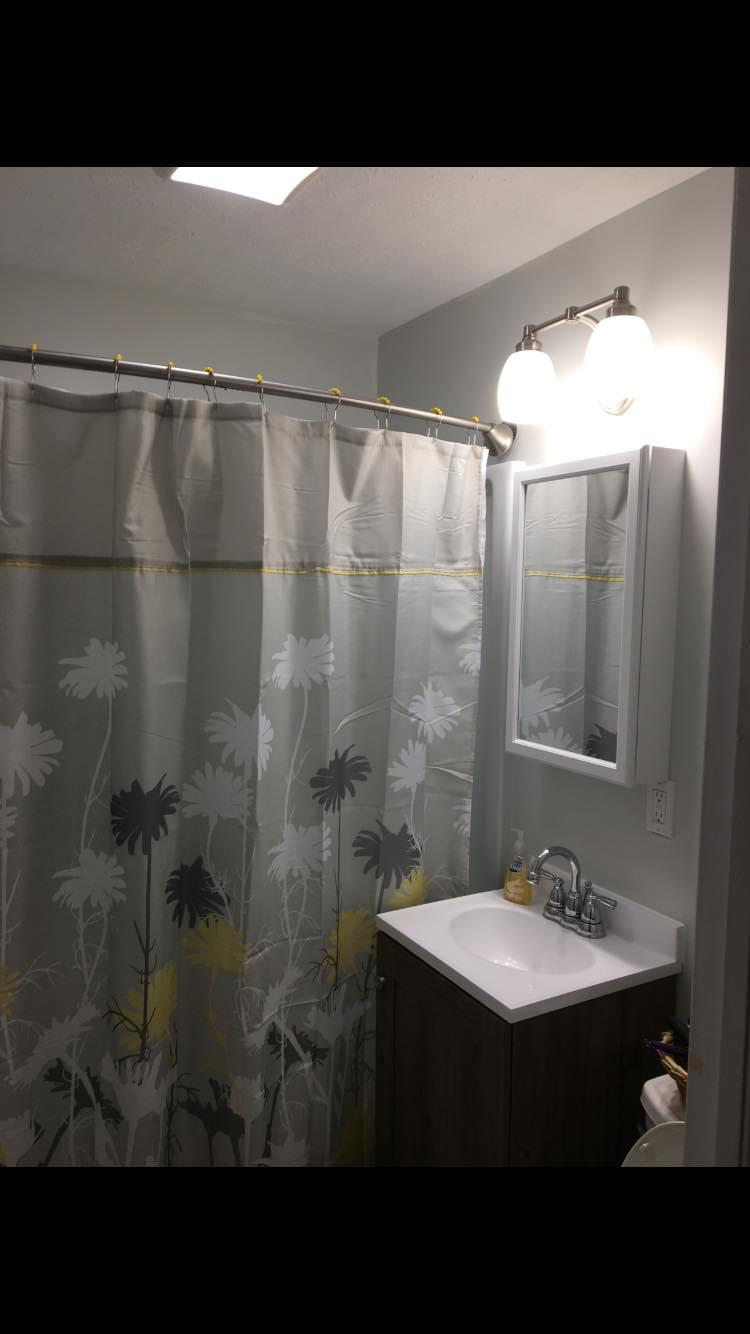
Full bathroom rebuild after water and moisture damage — original tub area gutted to studs, then re-boarded with moisture-resistant drywall around the tub, shower, and hallway, taped and finished, and reset with a new tub surround, vanity, and fixtures.
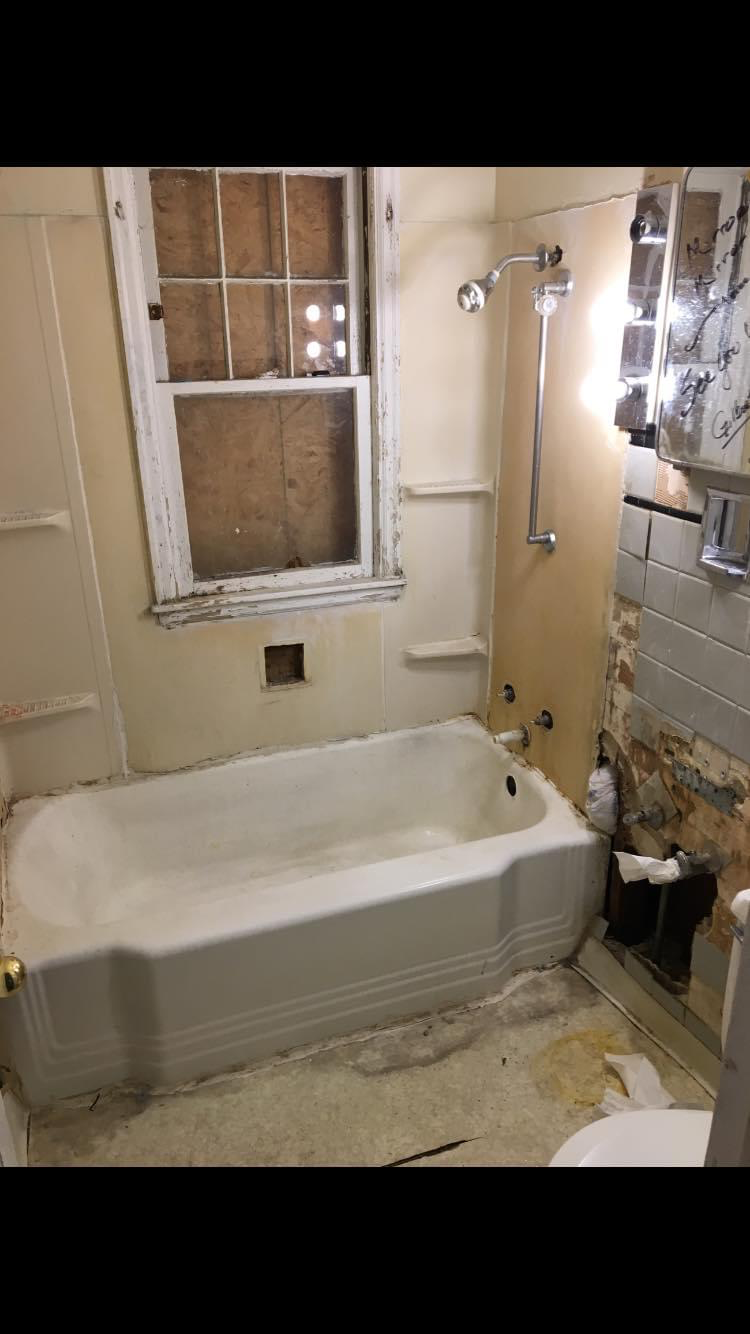
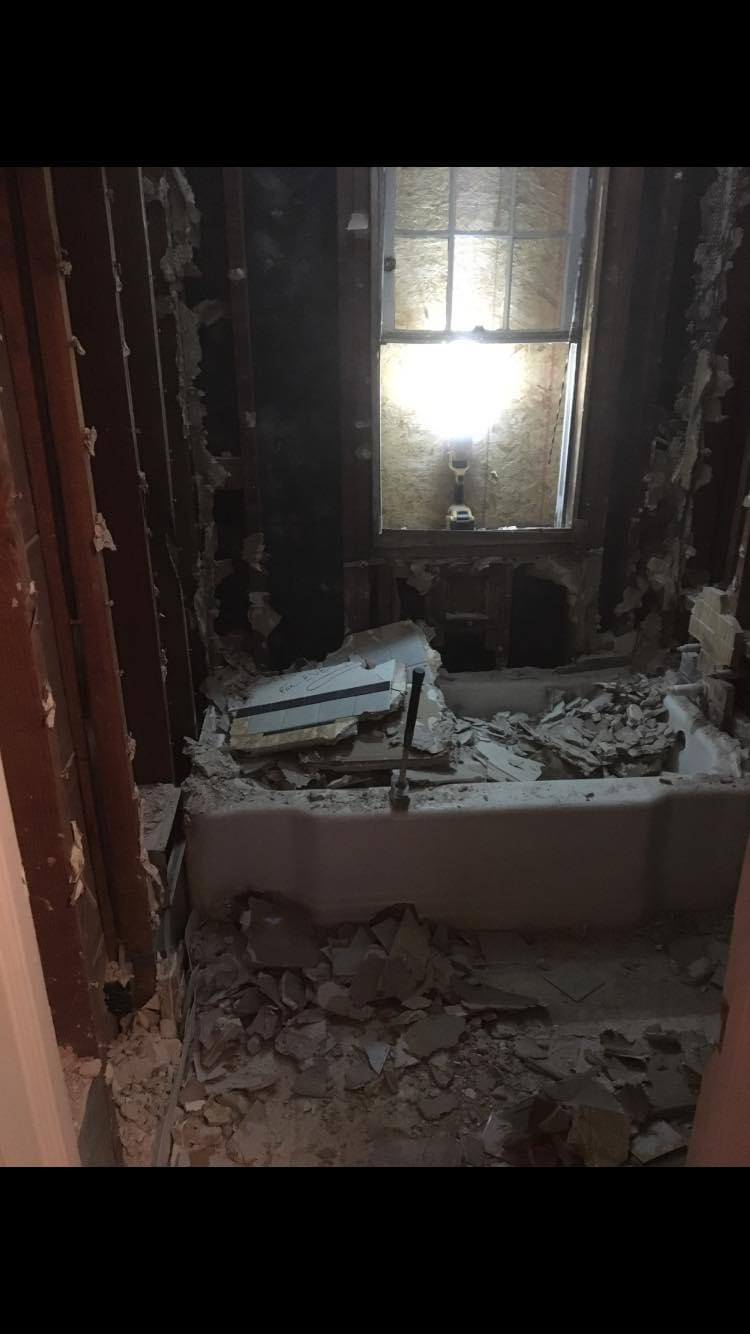
Original bathroom before demo — water-damaged walls around the tub and window with failing tile and trim
Bathroom gutted down to framing and subfloor — damaged plaster, lath, and substrate removed for rebuild
New tub surround set and walls boarded with moisture-resistant drywall — seams taped and ready for finish coats
Tighter angle on the rebuilt shower wall with moisture-resistant board hung tight to the new tub surround
Adjoining hallway re-boarded with moisture-resistant drywall and skim-coated around the doorway transition
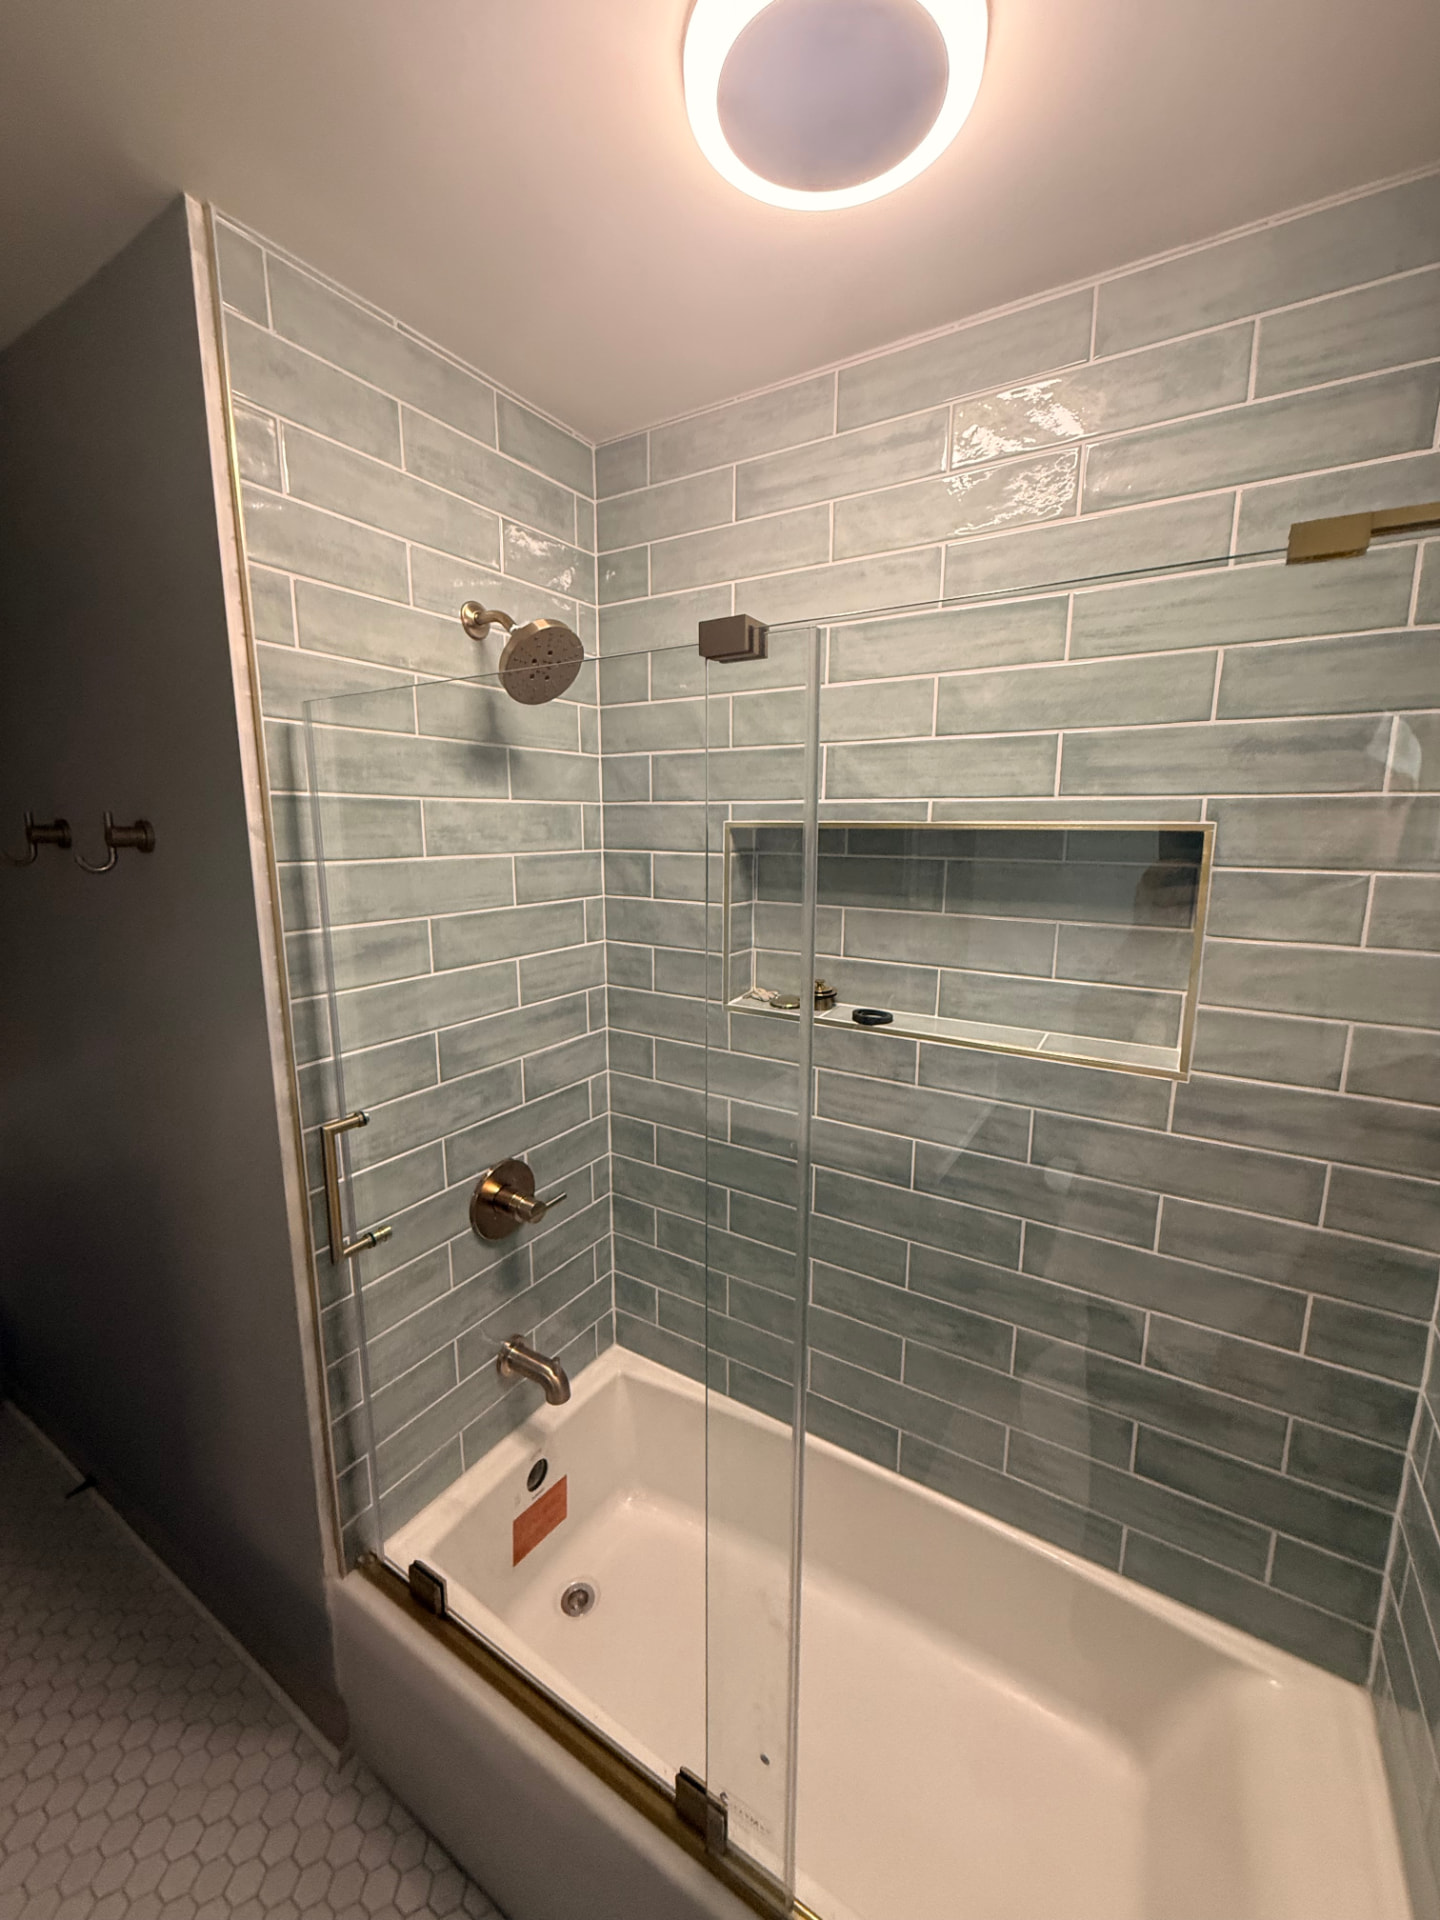
Finished tub and shower area — paint-ready walls around the new surround with curtain rod and fixtures set
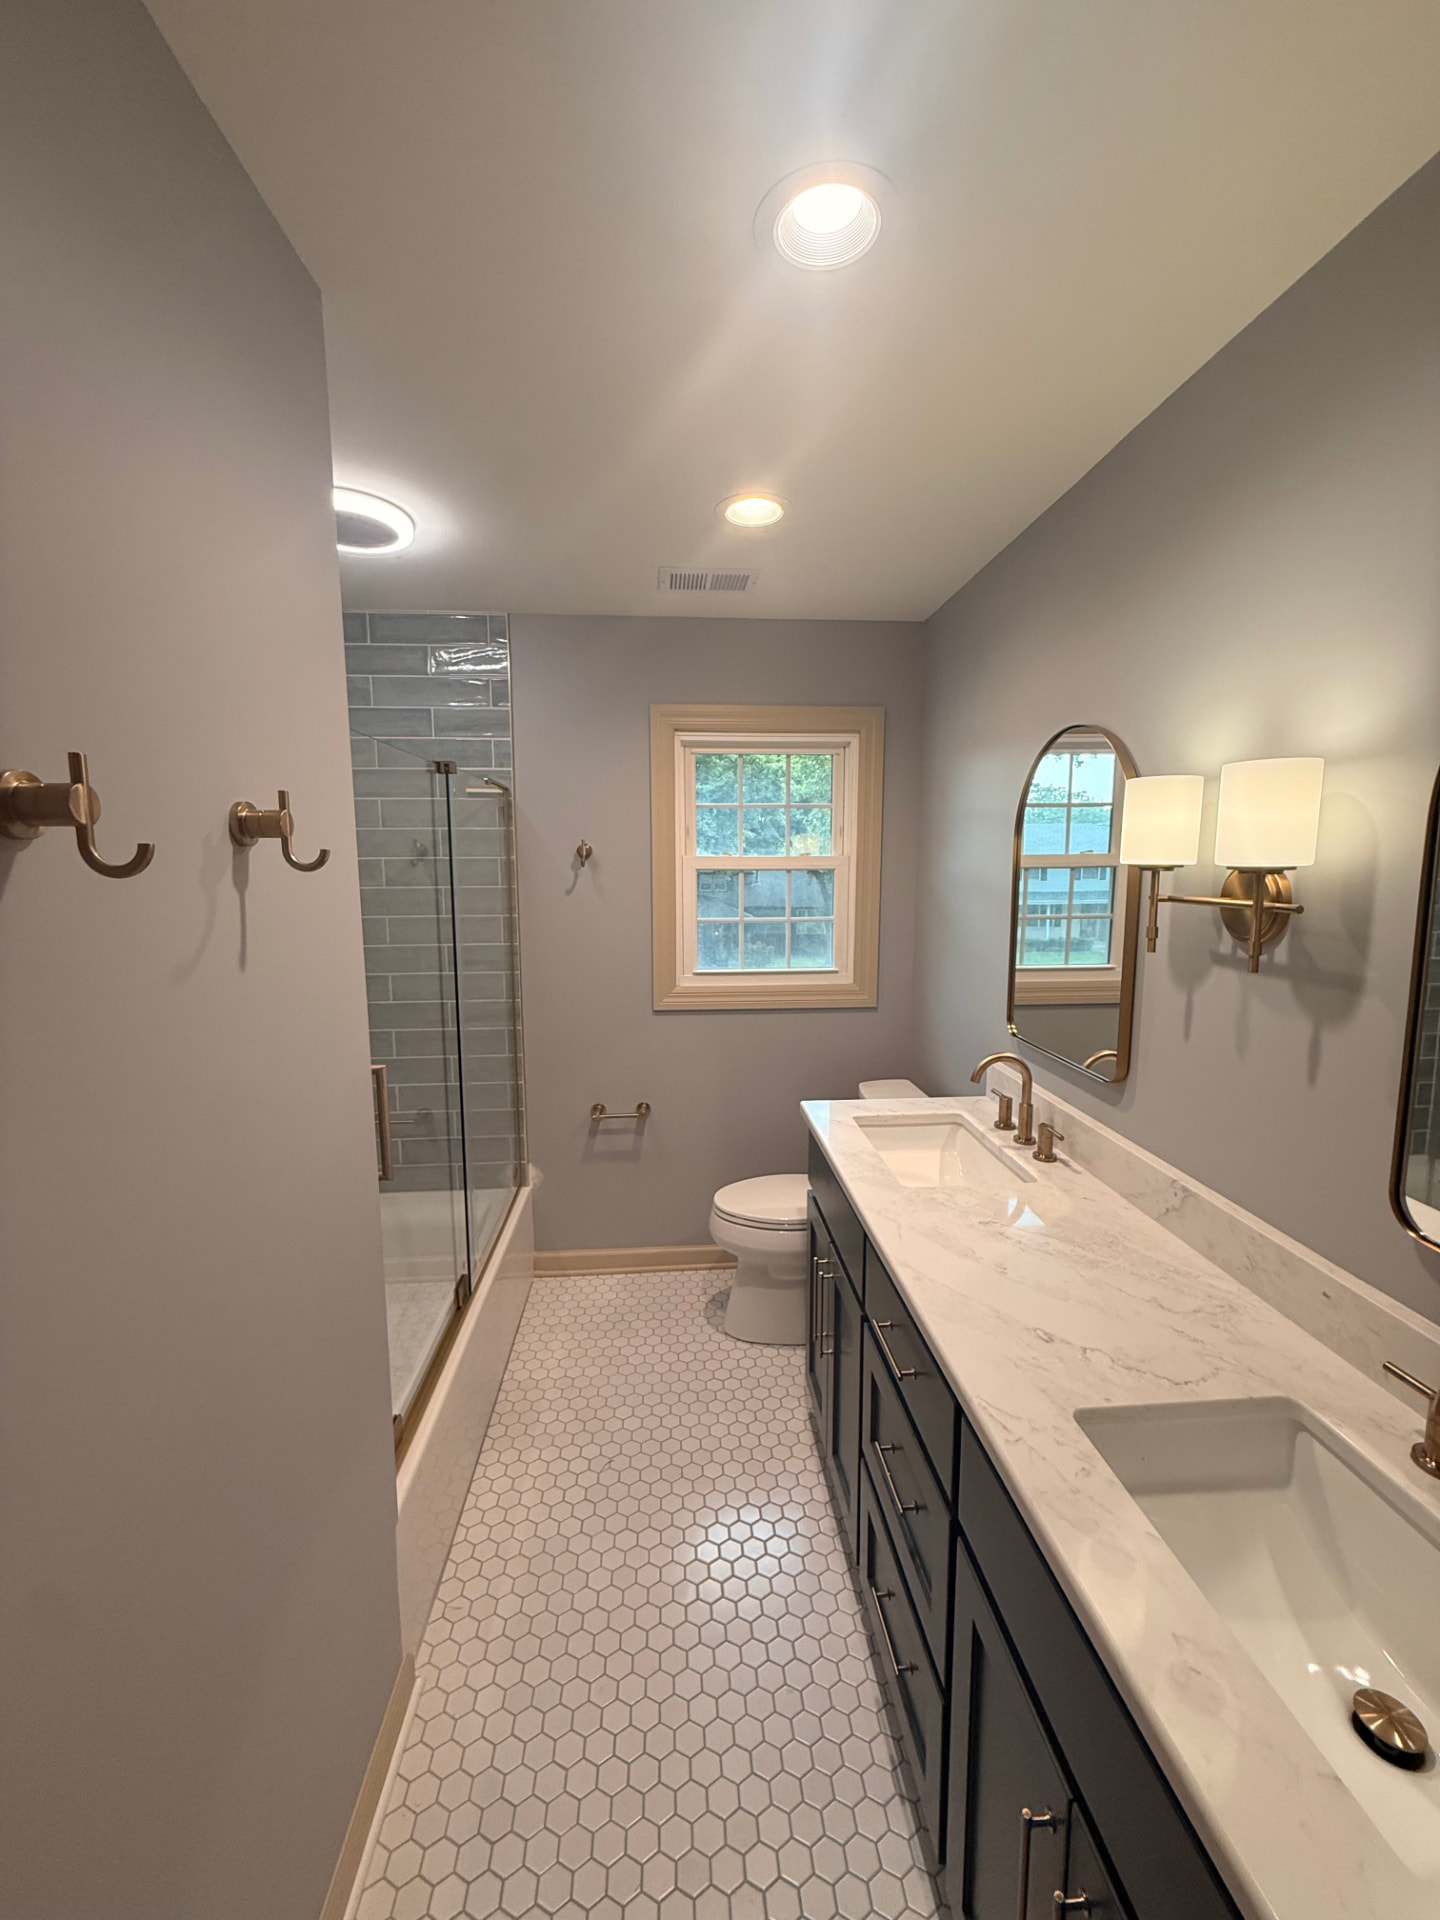
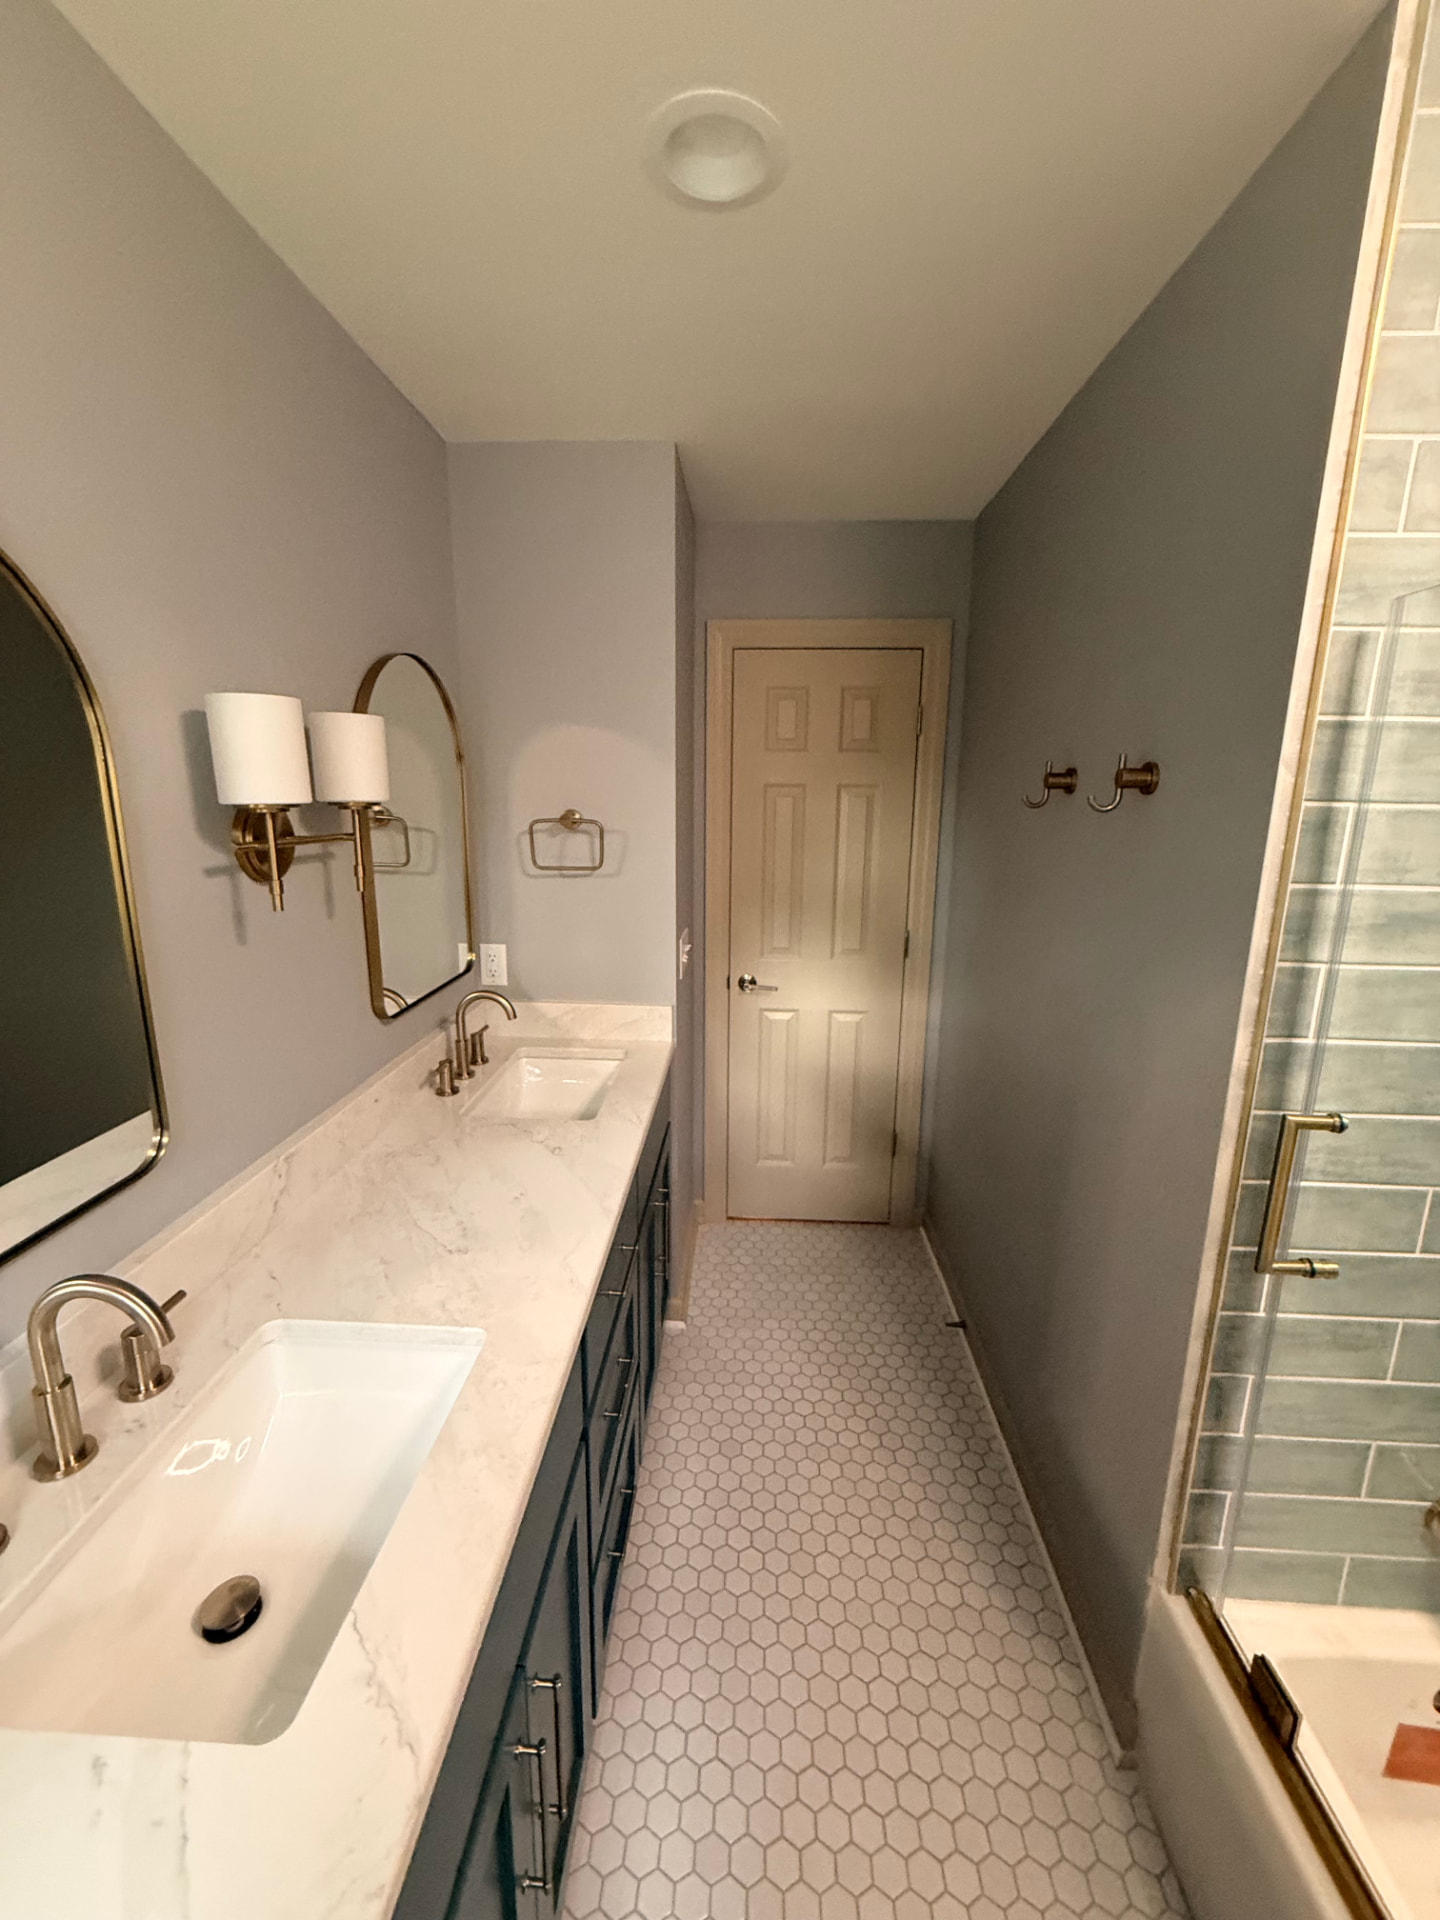
Finished bathroom from the vanity side — smooth painted walls, new medicine cabinet, lighting, and vanity in place

— Commercial

Commercial drywall.

Tenant improvements, office build-outs, retail, and small commercial spaces — completed on schedule with minimal disruption.

Commercial build-out with mold-resistant board hung, taped, and seam-coated
Commercial hallway prepped for paint after multi-point patching

— On the Job

On the job in Omaha.

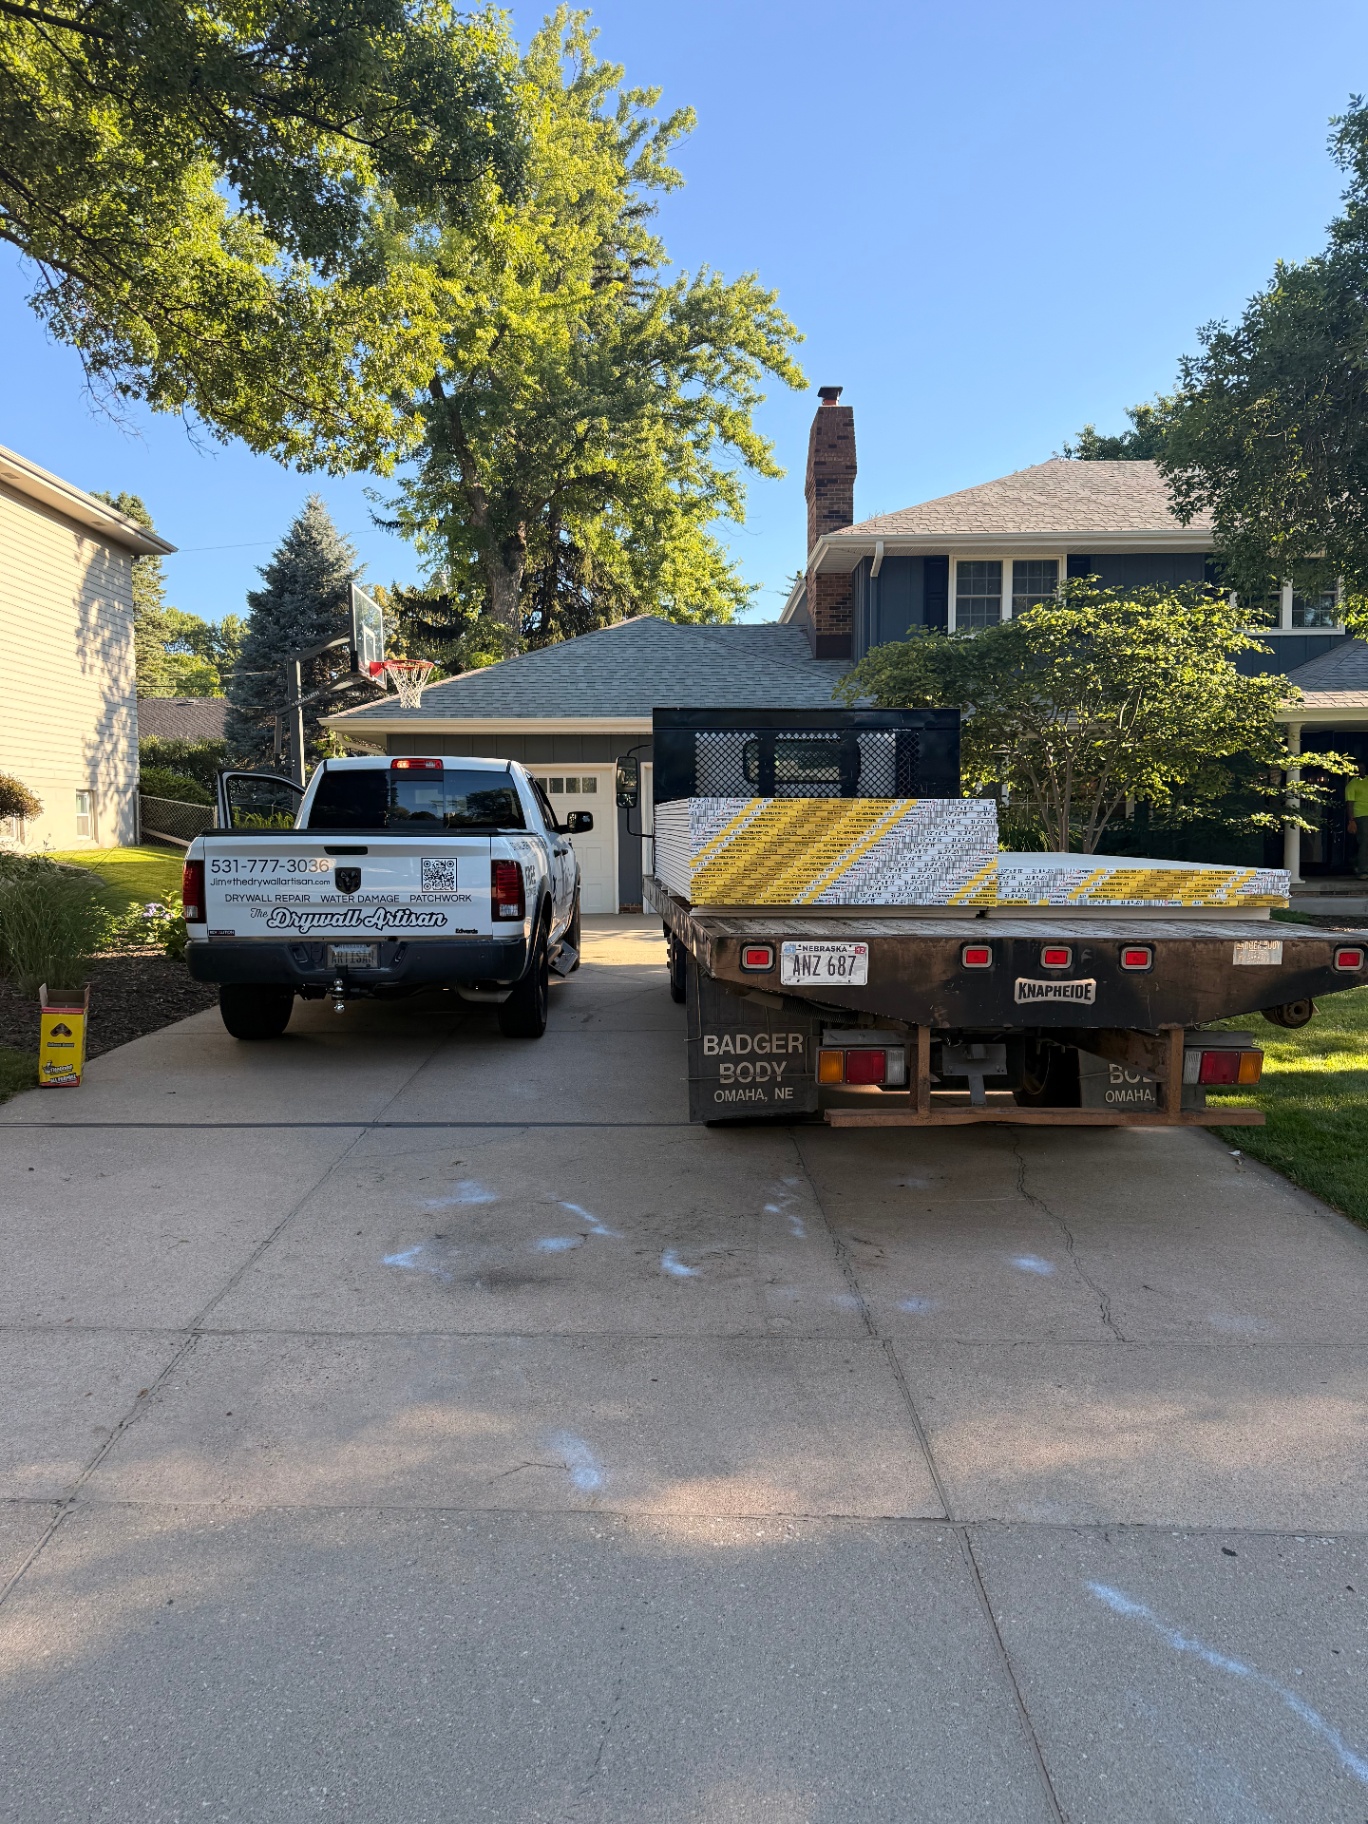
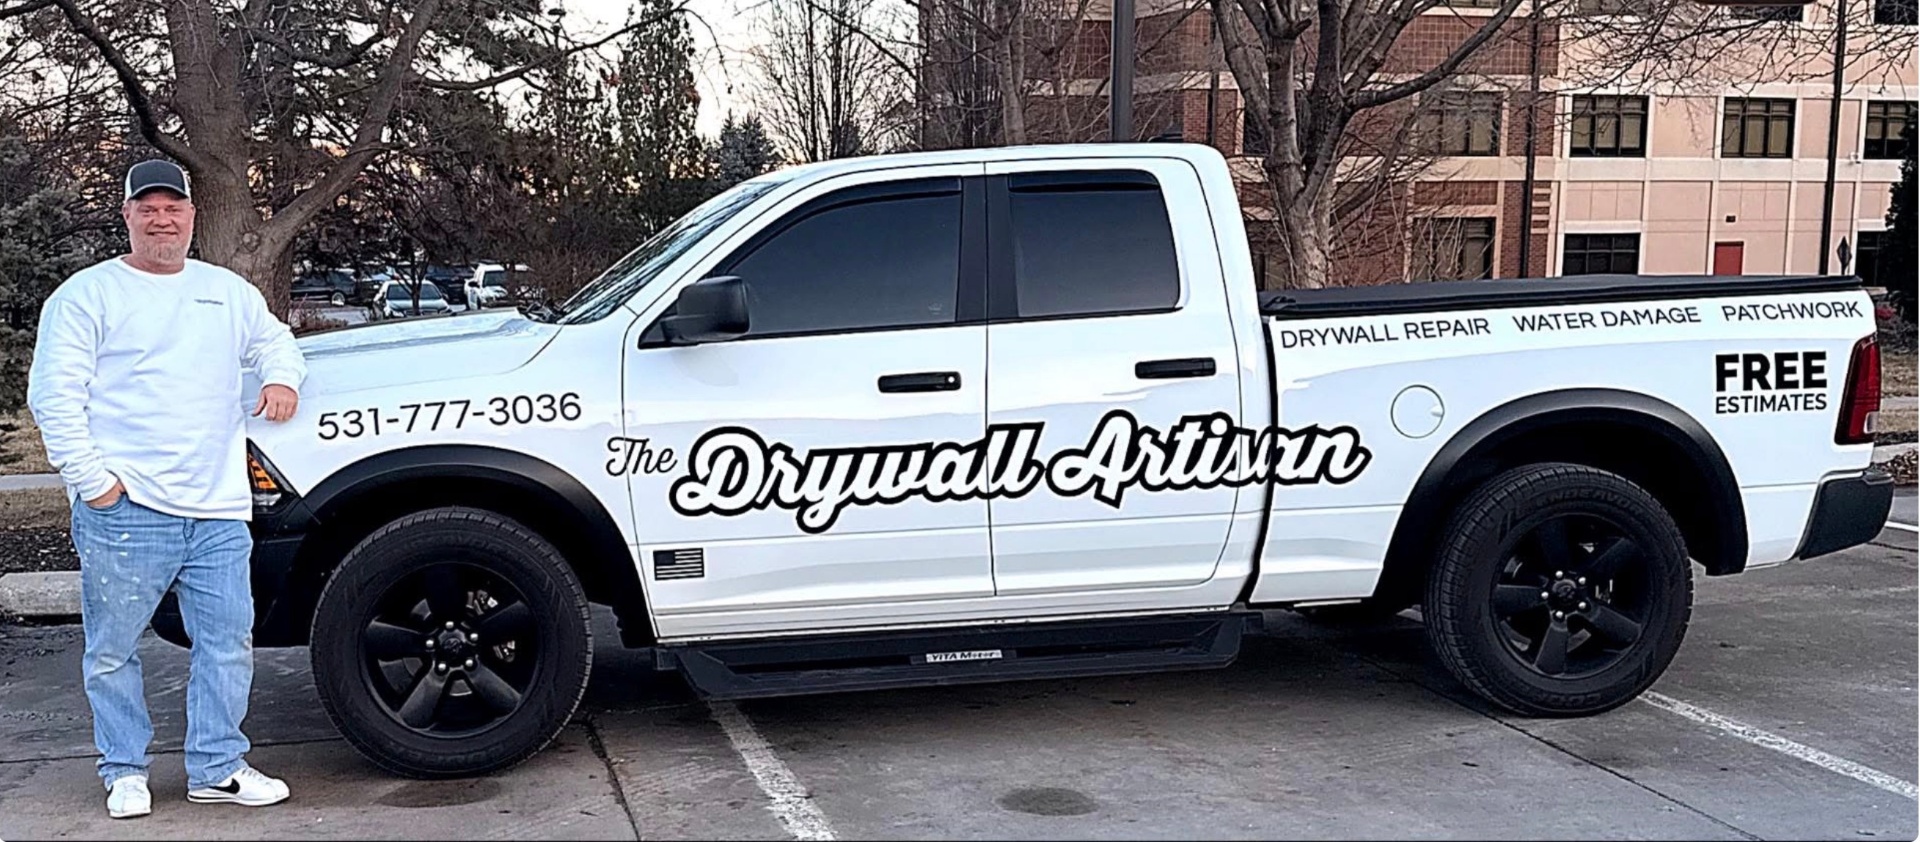
Jim and the company truck — Drywall Repair · Water Damage · Patchwork
On the scaffold, finishing a two-story vaulted ceiling