— Repair
Water Damage — Drywall Rebuild
After the restoration crew removes damaged materials, we replace insulation and install new drywall — finished paint-ready.
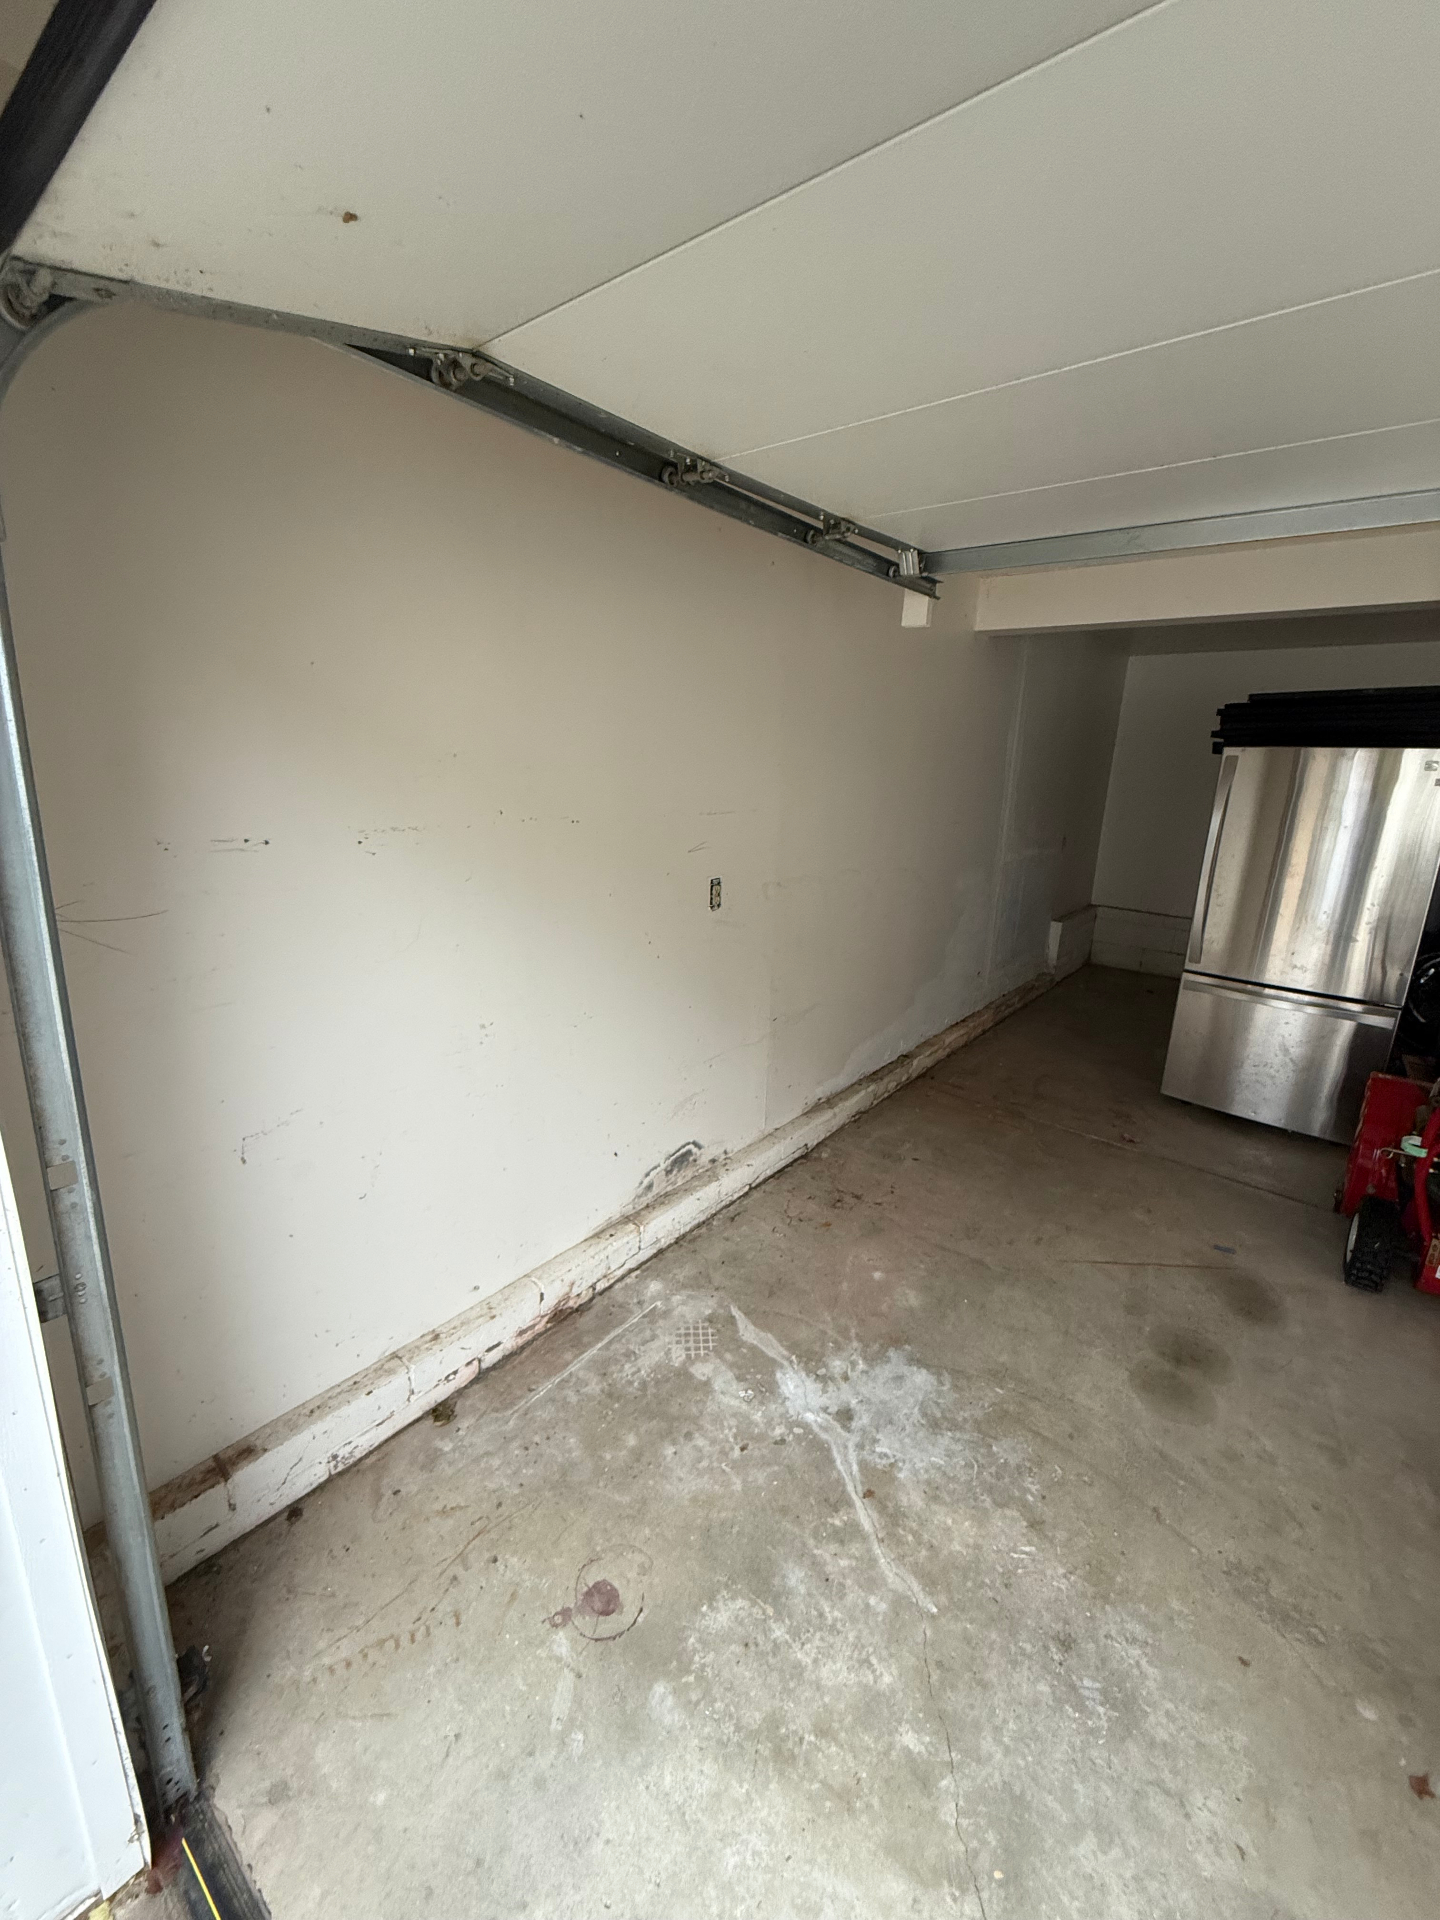
Water damage restoration companies handle the extraction, demo, and damaged-material removal. Once that's done, we step in: we replace insulation, hang new drywall, tape and float every seam, and finish the surface to a paint-ready Level 4 or 5. You get a wall or ceiling that looks like nothing ever happened.
— What's included
- Insulation replacement after water damage
- New drywall installation on repaired framing
- Taped, mudded, and sanded to paint-ready finish
- Texture matching to existing surrounding walls
- Coordination with restoration and remediation crews
— Why it matters
Done right the first time.
Water Damage — Drywall Rebuild done well disappears. Done poorly, you see every seam, every shadow, every patch — for years. Coats need time to dry. Texture needs to match. Edges need to feather into the existing wall.
We work with USG-grade materials, plan the job in stages, and finish each step before moving to the next. The result is a wall or ceiling that looks like nothing was ever wrong.
— Signs you need this
If you've noticed any of these, give us a call.
Small drywall problems rarely stay small. Catching them early keeps the repair simple, the cost low, and the result invisible under paint.
- Cracks reopening along seams or corners
- Sagging, soft spots, or staining on ceilings
- Nail or screw pops appearing in walls
- Visible patches, shadows, or texture mismatches
- Damage after furniture, doors, or moves
- Walls that look 'off' under raking light
— Materials & standards
What goes into a water damage — drywall rebuild job.
We pick the right board, tape, and compound for the job — and we don't cut corners on either materials or dry time.
USG-grade board
Standard, mold-resistant, Type X, and abuse-resistant board specified to the job.
Paper tape on flats
Embedded in fresh compound — stronger and cleaner than mesh on butt and flat seams.
Setting compound
Hot mud where strength and short dry times matter; lightweight finish coats on top.
Three coats minimum
Every joint floated three times, each wider than the last, sanded between.
— What sets us apart
Four things you'll notice on day one.
Licensed & insured
Full general liability coverage, BBB accredited, certificates on request.
Honest timing
Free written estimates inside 24 hours and arrival windows we actually keep.
Dust-controlled work
Plastic containment, drop cloths, and vacuum-sanding so the rest of your home stays livable.
One craftsman
Jim sees every job from estimate to walk-through — no rotating crews, no surprises.
— The craft behind it
Why water damage — drywall rebuild take longer than people think.
On paper, drywall looks fast: hang a board, run some tape, sand it down. In practice, almost every step has a wait built into it. Joint compound has to dry — not skin over, but cure all the way through — before the next coat can go on. Skip that, and the seam will telegraph through paint within a season.
A water damage — drywall rebuild job is really a sequence of short visits stitched together by drying time. We plan the schedule around that, not around rushing back the same day. Three coats means three trips. Texture means a fourth. Each one is short — but each one has to happen.
The other half of the craft is the part you don't see: the corner that's actually plumb, the butt joint that lands on a stud instead of in the field, the backing block added so a future fastener has something to grab. Done right, none of it is visible. Done wrong, you find out two years later when a crack walks across the ceiling.
— Common scenarios
Jobs that usually start with a phone call about water damage — drywall rebuild.
Every project is a little different, but most water damage — drywall rebuild calls fall into a handful of patterns we see week after week.
The DIY that didn't take
A patch was attempted, the texture doesn't match, and now there's a halo of mud visible under every light. We sand it back, re-tape, and re-spray the texture so the whole area reads as one surface.
Years of small damage
Anchor holes, furniture scuffs, kids, dogs, a couple of TV mounts that moved. None of it is dramatic on its own, but the room is starting to look tired. We walk the space, list every spot, and quote the whole room at once.
Pre-listing prep
House is going on the market in a few weeks. Cracks, popped nails, and old patches all need to disappear before photos. Quick turnaround, paint-ready finish, and clean handoff to the painter.
— What drives the price
An honest look at the estimate.
We give written estimates inside 24 hours. Here's what we're actually weighing when we put a number on a water damage — drywall rebuild job.
Size & access
Square footage of the affected area, ceiling height, stair access, and how much material has to be carried in and out.
Finish level
Level 4 is the residential standard. Level 5 (skim-coated) is needed under gloss paint or strong raking light, and takes an extra coat across the entire surface.
Texture match
Smooth walls are quickest. Knockdown, orange peel, and hand-trowel patterns add a sampling step and a return trip for the spray.
Substrate condition
Old plaster, water-damaged framing, or layered wallpaper underneath all change the prep — and the timeline.
Coordination
Working around installed cabinets, flooring, or other trades takes longer than an empty room. We price the protection and the slower pace honestly.
— What to expect
From the moment we pull into the driveway.
Morning
We text 30 minutes out, walk the space with you one more time, lay down floor protection, and seal off the work area with plastic and zip walls where it makes sense.
Midday
Cuts, hanging, and tape happen first — the loudest part of the day. We break for lunch off-site so the house stays quiet, then start the first coat of mud.
Between visits
Compound is allowed to dry fully — usually overnight. Most jobs require two to four return trips spread across a week, each shorter than the last.
Final day
Vacuum-assisted sanding, texture matching, a thorough cleanup, and a walk-through with you. We don't call it done until you sign off on the finish under your own lights.
— Mistakes we fix
The shortcuts that come back to bite.
A surprising amount of our water damage — drywall rebuild work is fixing other people's work. Here's what we see most often.
Mesh tape on flat seams
Mesh is fine on butt joints with setting compound, but on flats it lets the seam crack through. We strip and re-tape with paper embedded in fresh mud.
Skipping the second and third coat
One thick coat looks done — until it shrinks. We float three coats, each wider than the last, so the seam disappears into the field.
Sanding into the paper
Over-sanding fuzzes the paper face and shows through paint. We block-sand by hand on flats and stop the second the surface is flat.
No backing on a patch
A patch without backing flexes every time someone leans on it. Eventually it cracks. We add a wood or board cleat behind every patch larger than a few inches.
"Jim showed up when he said he would, kept the site clean, and the finish looks like the wall was never touched. Exactly what we hoped for."
— Homeowner · Omaha metro
— Recent work
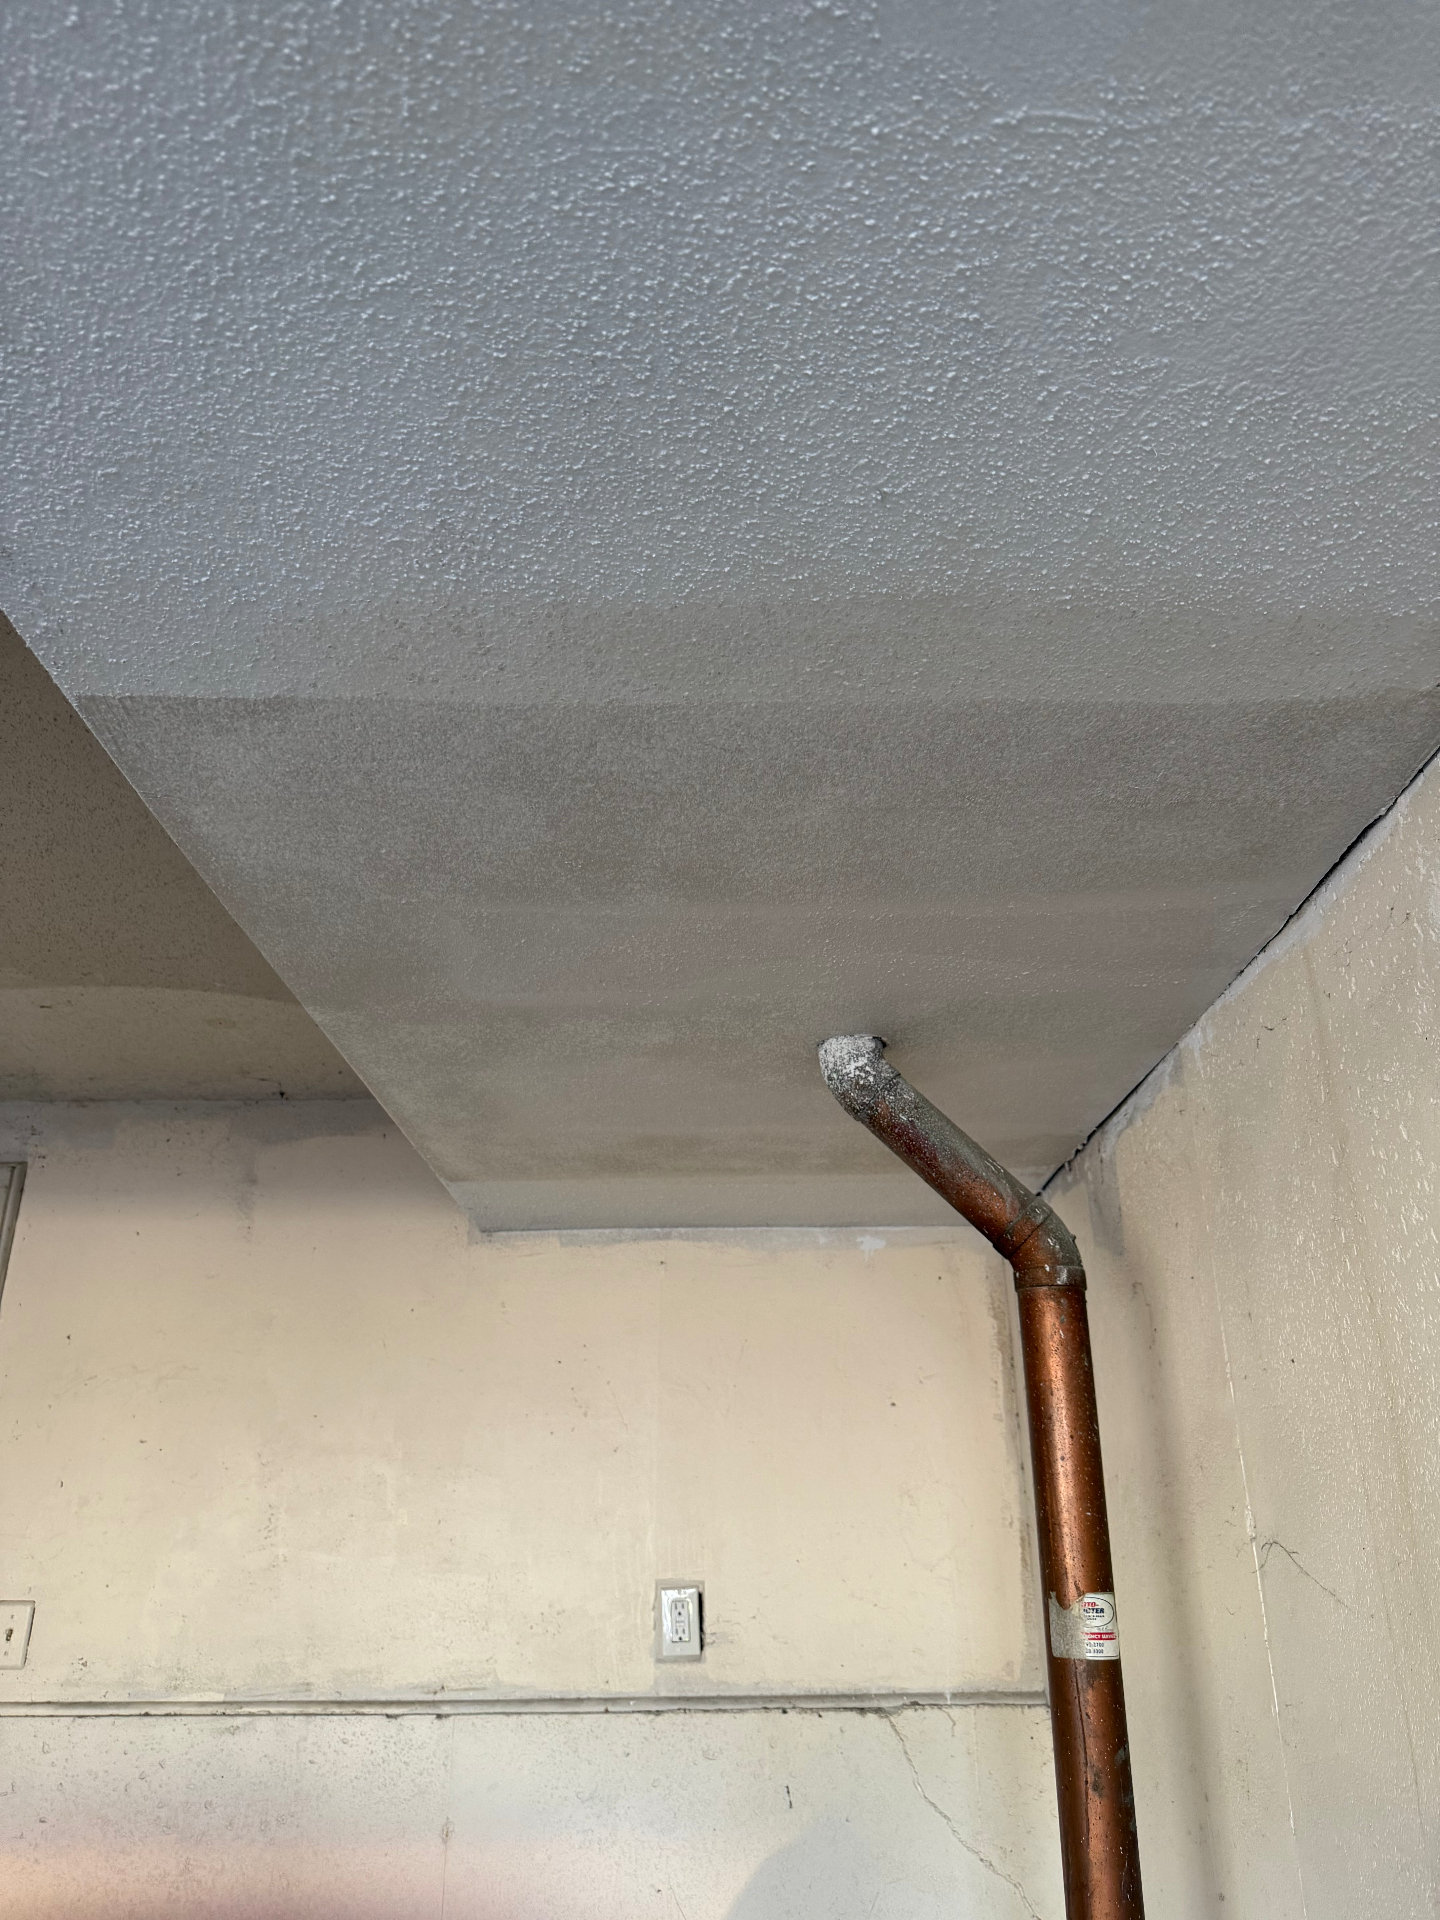
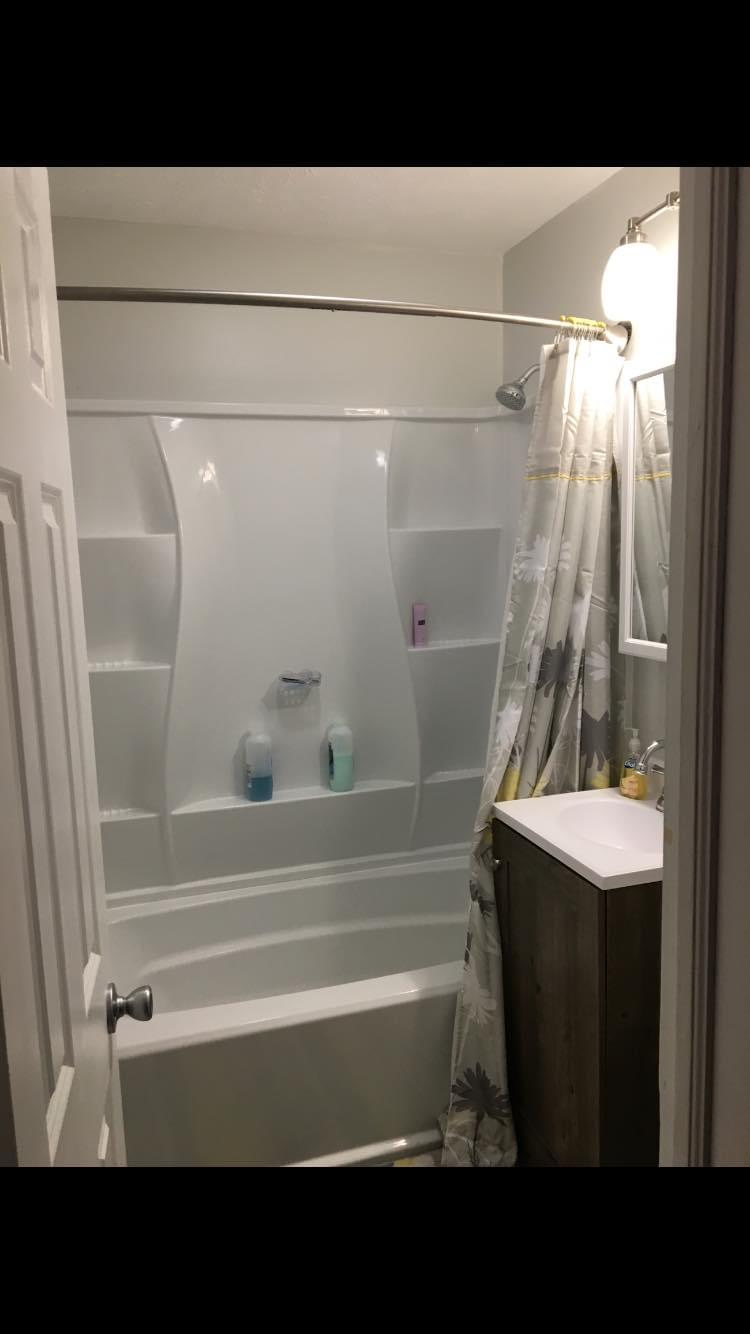
Water Damage — Drywall Rebuild in the field.
— Our process
How water damage — drywall rebuild get done.
Assess
Review the opened area after restoration demo is complete — check framing, insulation needs, and layout.
Insulate
Replace damaged or removed insulation so the wall performs like it should.
Hang
Install new board — mold-resistant where needed — screwed to code with clean joints.
Finish
Tape, three-coat float, sand, and texture match so the repair vanishes into the existing surface.
— Common questions
FAQ
- Do you handle water extraction and mold remediation?
- No — we specialize in the drywall rebuild phase. We come in after the restoration company has removed all damaged materials (carpet, drywall, insulation, trim, etc.) and dried the space. Then we replace insulation, install new drywall, and finish to paint-ready.
- Will my insurance cover this?
- Often. We can document the rebuild with photos to support your claim.
— Where we work
Water Damage — Drywall Rebuild across the Omaha metro.
We deliver water damage — drywall rebuild in every city in our service area. Visit your local page for details and recent water damage — drywall rebuild projects in your neighborhood.
- Water Damage — Drywall Rebuild in Omaha, NE
- Water Damage — Drywall Rebuild in Papillion, NE
- Water Damage — Drywall Rebuild in La Vista, NE
- Water Damage — Drywall Rebuild in Bellevue, NE
- Water Damage — Drywall Rebuild in Council Bluffs, IA
- Water Damage — Drywall Rebuild in Elkhorn, NE
- Water Damage — Drywall Rebuild in Ralston, NE
- Water Damage — Drywall Rebuild in Millard, NE
- Water Damage — Drywall Rebuild in Dundee, NE
- Water Damage — Drywall Rebuild in Bennington, NE
- Water Damage — Drywall Rebuild in Gretna, NE
- Water Damage — Drywall Rebuild in Springfield, NE
Ready to get a quote?
— Related work
More repair services.
— Repair
Drywall Patching & Repairs
Holes, cracks, dings, and impact damage repaired so the wall reads as new.
Read more— Repair
Ceiling Repairs
Cracks, sags, water stains, and patch jobs that have to look perfect from below.
Read more— Repair
Wall Repairs
Anything from a single nail hole to a full wall section, finished to match.
Read more